Best Selling Products
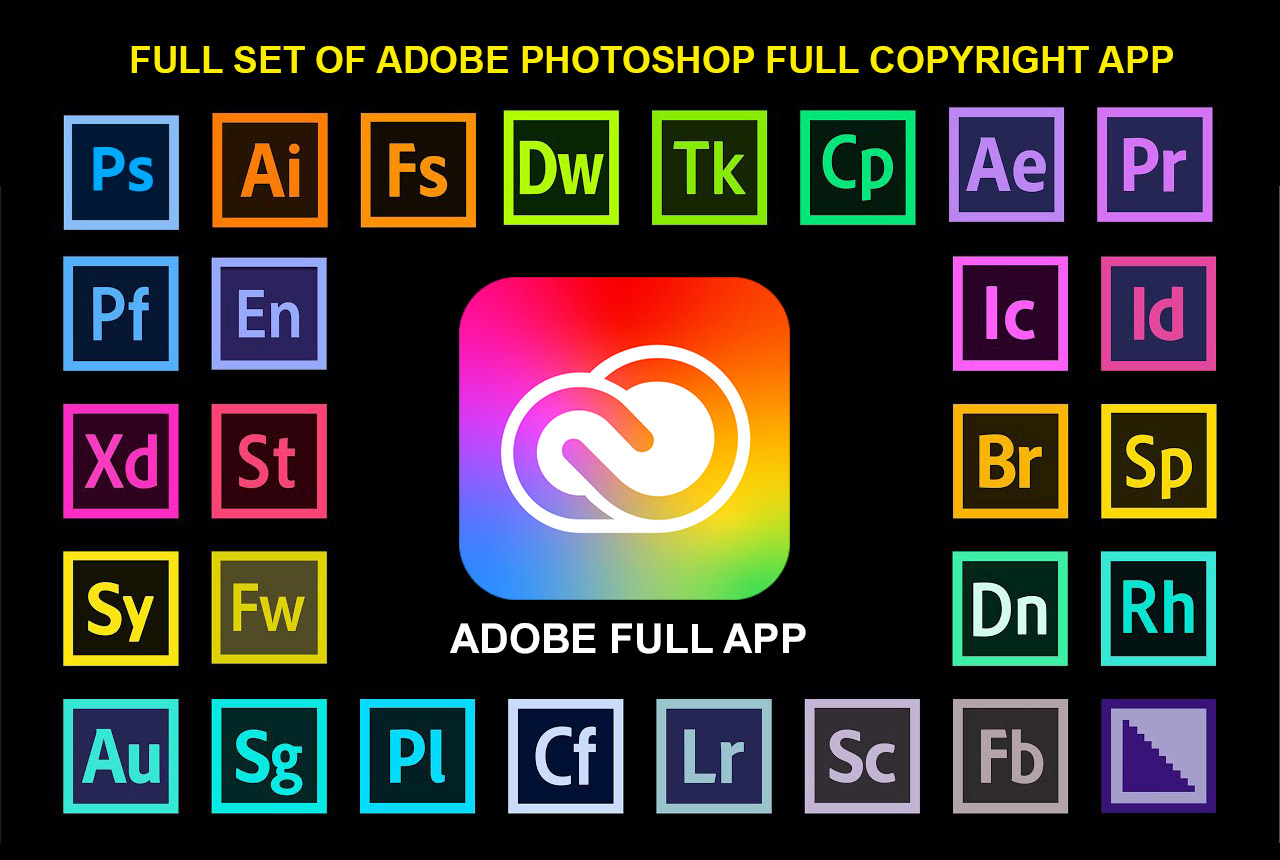
Adobe Photoshop Copyright - Full App
120 USD

Copyright Adobe Lightroom Account
59 USD

Freepik Premium Account
59 USD
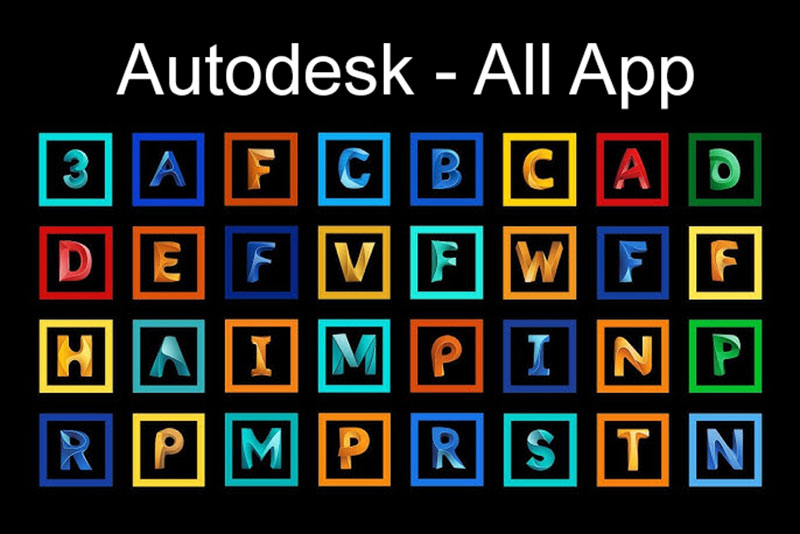
Autodesk All App Account Copyright
120 USD
Upgrade Genuine Office 365
49 USD

Upgrade Duolingo Super
29 USD
Windows 10 & 11 Pro Key
36 USD
Genuine Cheap Canva Pro
39 USD
Genuine Adobe Illustrator account
99 USD

ChatGPT Plus Account (GPT-4)
16 USD

MidJourney Account
29 USD
Plugin Retouch4me
69 USD

Capcut Pro 1 Year
39 USD
Adobe Premiere Pro Account
99 USD
Upgrade genuine Capture One account
120 USD
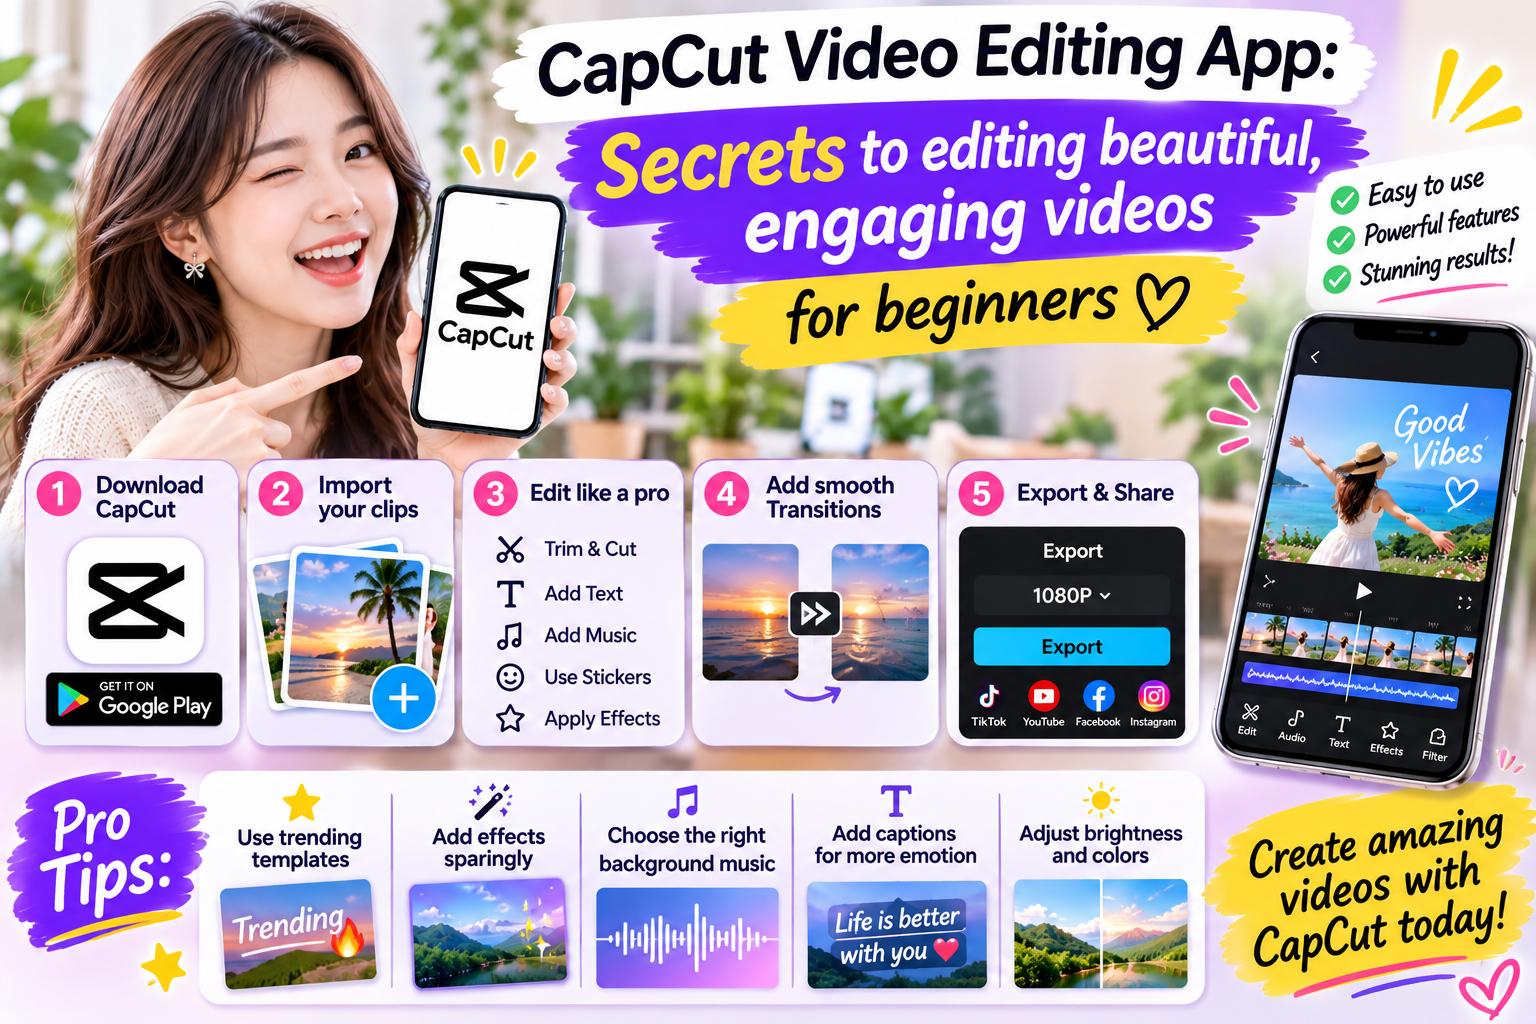
CapCut video editing app: Secrets to editing beautiful, engaging videos for beginners.
Nội dung
- 1. What is the CapCut application? Why is it so popular?
- 2. CapCut's outstanding features make videos more engaging.
- 3. How to use CapCut to create beautiful videos from A to Z
- 4. Secrets to creating an opening sequence that makes viewers want to stay.
- 5. Tips for using effects and transitions to make your videos more professional.
- 6. How to adjust video color using CapCut for visually appealing images.
- 7. Tips for adding text and subtitles to make videos easier to watch.
- 8. Tips for choosing background music and adjusting sound in CapCut
- 9. Conclusion
In the booming era of short videos, a clip with eye-catching visuals, captivating sound, and an engaging storytelling style will easily capture viewers'' attention. You don''t need a professional camera or complex editing skills to create quality videos. With just a phone and the right app, you can transform everyday moments into creative content to share on TikTok, Facebook Reels, or YouTube Shorts. CapCut is a popular video editing app thanks to its user-friendly interface, diverse editing tools, and many creative effects. Whether you want to create vlogs, travel videos, commemorative clips, or sales content, you can utilize the app''s features to create products with your own unique touch. In this article, let''s explore with Sadesign the secrets to using CapCut, useful video editing tips, and how to fix common errors to make your videos even more professional.
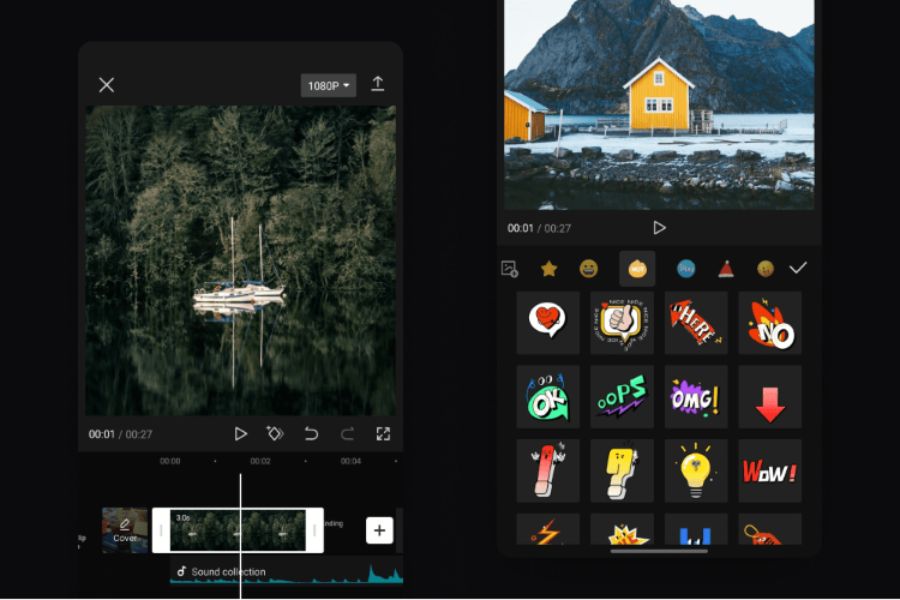
1. What is the CapCut application? Why is it so popular?
CapCut is a video editing app that allows users to cut and merge images, add music, insert text, adjust colors, and create effects directly on their device. Thanks to its intuitive tool layout, the app is suitable for both beginners and experienced video creators. Instead of spending a lot of time getting familiar with complex software, you can start with simple operations and improve your skills with each project. Some notable advantages of CapCut include:
-
User-friendly interface: The editing tools are clearly arranged, allowing users to quickly find the necessary functions.
-
Diverse effects: Offers a wide selection of color filters, transitions, animations, and visual effects.
-
Convenient audio editing: Supports adding background music, sound effects, and adjusting volume as needed.
-
Subtitle creation support: Some versions have speech recognition and automatic subtitle generation features.
-
Suitable for many purposes: Can be used for TikTok videos, travel vlogs, birthday clips, product introduction videos, or knowledge-sharing content.
2. CapCut's outstanding features make videos more engaging.
CapCut's appeal lies not only in its ability to combine multiple clips into a complete video, but also in its tools that help you express your creative ideas. Understanding the function of each tool will make it easier to choose the right editing method, saving time and preventing your video from looking cluttered. Some notable features you should explore include:
-
Video editing: Removing unnecessary footage, arranging scenes in a logical sequence, and creating rhythm in the content.
-
Transitions: Connect the segments with appropriate effects, making the video more seamless.
-
Color correction: Adjust brightness, contrast, saturation, and filters for a balanced image.
-
Insert text: Add titles, subtitles, dialogue, or product information.
-
Effects and animations: Highlight important details or add emphasis to special moments.
-
Adjust speed: Create the effect of fast or slow movement, or emphasize a specific action.
-
AI tools: Some versions support subtitle creation, text-to-speech conversion, and partial automation of the editing process.
3. How to use CapCut to create beautiful videos from A to Z
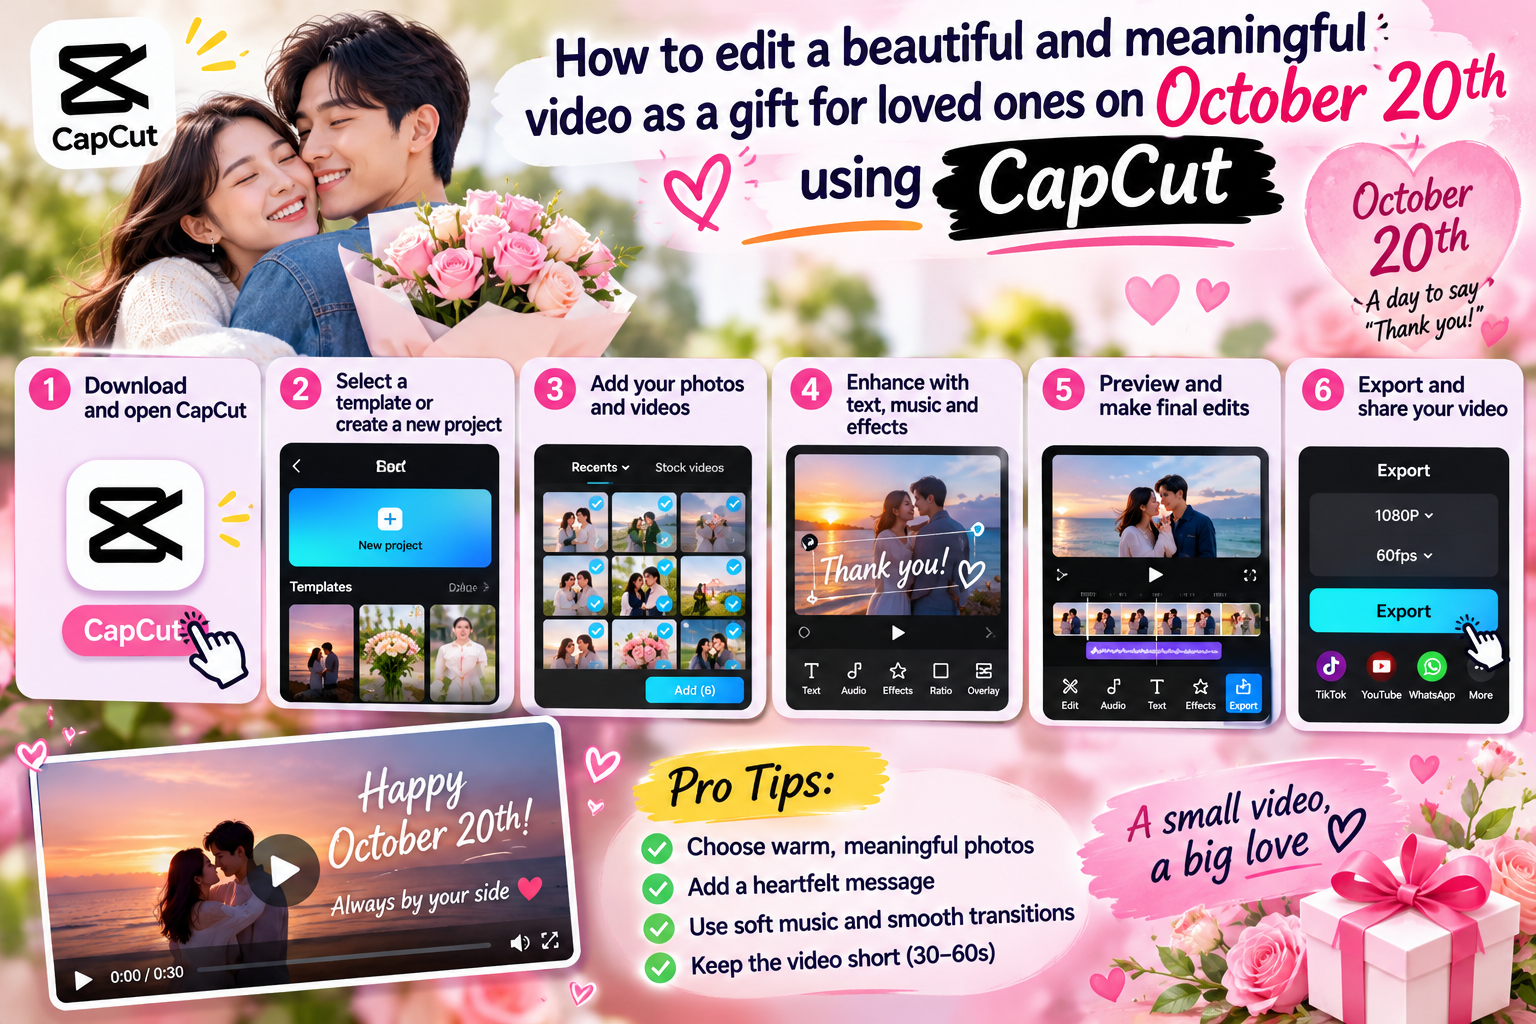
If you've never edited video before, you can start with a simple project consisting of a few clips, background music, and introductory text. Once you're familiar with the process, you can add effects, subtitles, and other creative details. The basic process involves importing materials, editing content, finalizing images, and then exporting the video.
The steps are as follows:
-
Step 1: Create a new project. Open CapCut on your phone or computer, select create project, and import the videos and images you want to use.
-
Step 2: Organize the clips. Place the footage on the timeline in a logical order, prioritizing highlights and removing shaky or unnecessary footage.
-
Step 3: Edit and combine the video. Use tools to cut, split, or shorten clips to adjust the pace. For short videos, focus on the images that convey the message most clearly.
-
Step 4: Add music and text. Choose appropriate music, and insert an easy-to-read title or subtitle. If the video has dialogue, adjust the volume so viewers can clearly hear the content.
-
Step 5: Finalize the image. Adjust the color, brightness, and add any necessary effects. You can also try transitions if the segments need a smoother connection.
-
Step 6: Review and export the video. Check the entire clip before selecting the appropriate resolution, frame rate, and format for uploading.

4. Secrets to creating an opening sequence that makes viewers want to stay.
In a short video, the opening serves to grab the viewer's attention and explain why they should continue watching. Whether the content is sharing beauty tips, introducing a product, or telling an everyday story, avoid a lengthy opening with cliché greetings. Instead, you can start with an interesting topic, a beautiful image, or a result that piques the viewer's curiosity.
To make your introduction more engaging, you can apply the following tips:
-
Show the results first: With room transformation videos, show viewers the final outcome before recounting the process.
-
Ask the right questions that address the need: For example, "How can I make videos shot with my phone look more professional?"
-
Use striking imagery: Choose a moment with beautiful movement, impressive lighting, or detail that makes the viewer want to look closer.
-
Add a short title: An easy-to-understand title helps viewers quickly grasp the video's topic.
-
Trim unnecessary introductory material: If a line of dialogue or a scene doesn't help the content progress, you can shorten it.
When editing with CapCut, place the opening sequence at the beginning of the timeline and check that the images, text, and sound appear at the right time. A compelling opening doesn't necessarily need complex effects. Sometimes, a well-chosen quote combined with authentic footage is enough to create a captivating effect.
5. Tips for using effects and transitions to make your videos more professional.
Effects are tools that give videos a unique personality, but using more doesn't necessarily mean higher quality. A video with too many transitions, panning, flashing lights, or constant zooming can distract viewers from the main content. The key lies in choosing the right effects at the right time and maintaining a consistent visual style from beginning to end. Here are some tips you should try:
-
Choose transitions according to content: Travel videos can use smooth transitions, while product introduction videos should prioritize clean transitions to highlight the product.
-
Synchronize movement with music: Cut scenes to the beat of the drums or key moments of the song to create a seamless feel.
-
Use zoom in and zoom out appropriately: Highlight important details without making the image look cluttered.
-
Try keyframe animation: The keyframe feature allows you to adjust changes in image position, size, or other attributes over time.
-
Maintain a consistent style throughout: Avoid combining too many different types of effects in the same clip.
Review the video after applying each effect. If removing an effect still conveys the message well, or even makes it more pleasant, you can certainly remove it. The key is knowing when to add and when to keep the original image.
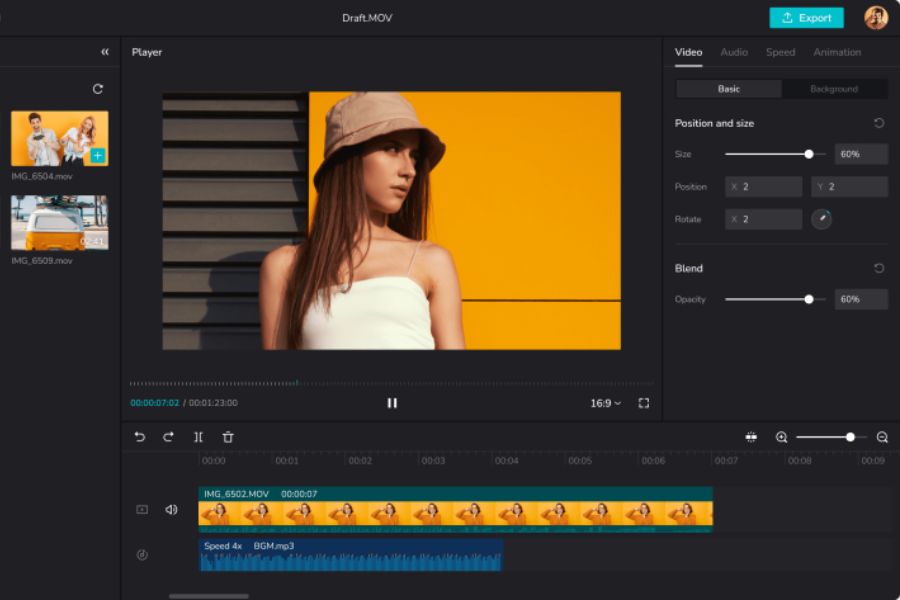
6. How to adjust video color using CapCut for visually appealing images.
Color directly impacts the emotions a video evokes. For the same shot, adjusting brightness, contrast, and hue appropriately can make the image look warm, bright, or cinematic. However, not every shot is suited to the same filter, so you should base your adjustments on the initial lighting and the purpose of the video. To make color correction easier, you can follow these tips:
-
Adjust the brightness beforehand: If the scene is dark, increase the brightness moderately to clearly see the subject. Avoid increasing it too much, as this will cause bright areas to lose detail.
-
Contrast balance: Adjusting the settings so that the subject stands out while maintaining detail in both bright and dark areas.
-
Choose the right filter: Warm tones might suit everyday videos, while cool tones might be more appropriate for minimalist or modern styles.
-
Maintain color consistency: With videos containing multiple shots, check to avoid areas that are too yellow, too blue, or have significant differences in brightness.
-
Prioritize natural colors: Especially when filming cosmetics, clothing, bags, or food, the colors need to be close to the actual product.
A helpful tip is to edit a sample clip first, then apply a similar color scheme to the remaining scenes and fine-tune as needed. If possible, watch the video on a different screen to check the colors. Beautiful visuals don't necessarily have to be vibrant; harmonious colors that accurately convey the content are what matter most.
7. Tips for adding text and subtitles to make videos easier to watch.
Not everyone watches videos in an environment where sound can be turned on. Therefore, on-screen text and subtitles can help viewers quickly grasp information, especially with tutorial videos, experience sharing, or product introductions. CapCut supports adding text in various styles and offers an automatic subtitle generation feature in supported versions.
-
Prioritize clear fonts: Avoid using overly elaborate font styles, especially for content with a lot of information.
-
Keyword highlighting: You can change the color or bold important phrases instead of applying the effect to the entire sentence.
-
Place text in the correct position: Avoid obscuring the faces of characters, products, or details that viewers need to observe.
-
Break sentences into short phrases: Each line should contain just enough information for the reader to grasp.
-
Automatic subtitle checking: Corrects spelling errors, punctuation, brand names, and the timing of each sentence.
Another tip is to watch the video on your phone screen after you're finished. The text might look good on the editing screen but be too small when uploaded. You should also pay attention to the display area of each platform to avoid the text being obscured by interactive buttons or the video description.
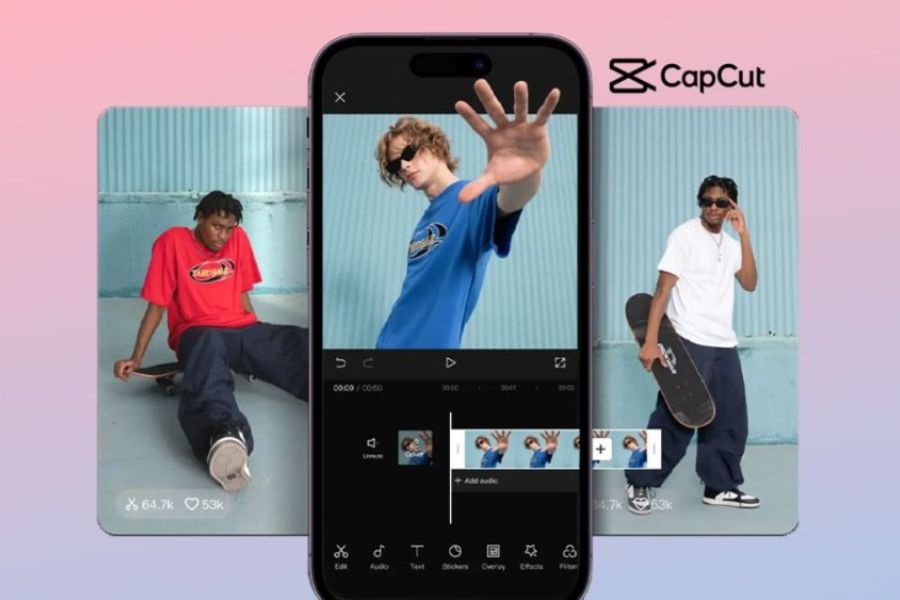
8. Tips for choosing background music and adjusting sound in CapCut
Sound can liven up an ordinary video, but it can also detract from the experience if used inappropriately. The right music helps convey emotion, while well-timed sound effects highlight action or scene transitions. CapCut offers tools to add music, sound effects, and adjust volume to perfect the audio aspect of your video.
-
Choose music according to the theme: Gentle music is suitable for introspective videos, while upbeat rhythms might be better for travel clips or youthful product introductions.
-
Reduce the volume of background music: If the video has dialogue, prioritize the spoken words so viewers don't have to strain to hear them.
-
Music editing follows the rhythm: Adjust the timing of scene transitions according to the highlights of the music to create a natural feel.
-
Use sound effects selectively: Only add movement, emphasis, or illustrative sounds when they are truly useful.
-
Copyright check: If you're uploading videos for business or advertising purposes, check the music usage rights on the platform where you intend to upload them. Not every sound in the library is suitable for every purpose.
Before exporting the video, listen to it again using your phone's speaker or headphones. If the music is too loud, the dialogue is unclear, or the sound changes abruptly between sections, adjust accordingly. A video with good visuals and pleasant sound will feel much more complete.
9. Conclusion
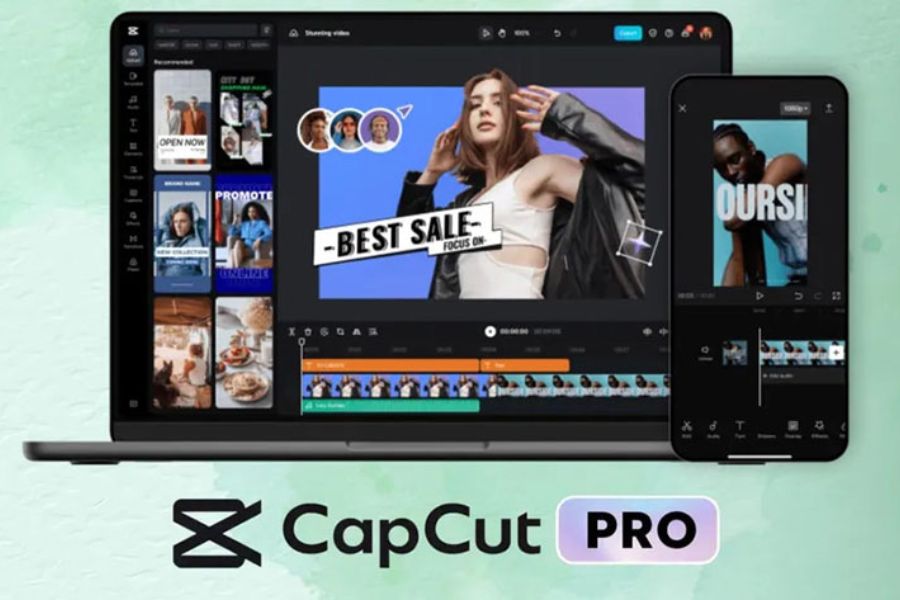
CapCut, a video editing app, is a useful option for those who want to start editing videos without going through a complicated learning process. From cutting and splicing clips, adjusting colors, adding subtitles, to using pre-made templates and AI tools, the app offers many ways to turn your ideas into visually engaging content. To create beautiful and captivating videos, you don't need to use a lot of effects or chase every trend. Start with clear content, choose appropriate images, adjust the sound just right, and carefully check before uploading. By consistently practicing these small tips, you will gradually develop your own editing style, improve video quality, and confidently create content on social media platforms.















VIP Products



Best Selling Products
Adobe Photoshop Copyright - Full App
120 USD
Copyright Adobe Lightroom Account
59 USD
Freepik Premium Account
59 USD
Autodesk All App Account Copyright
120 USD
Upgrade Genuine Office 365
49 USD
Upgrade Duolingo Super
29 USD
Windows 10 & 11 Pro Key
36 USD
Genuine Cheap Canva Pro
39 USD
Genuine Adobe Illustrator account
99 USD
ChatGPT Plus Account (GPT-4)
16 USD
MidJourney Account
29 USD
Plugin Retouch4me
69 USD
Capcut Pro 1 Year
39 USD
Adobe Premiere Pro Account
99 USD
Upgrade genuine Capture One account
120 USD