Best Selling Products
The Celynder tool in Photoshop and how to practice with Celynder
Nội dung
With the Celynder tool in Photoshop, you can wrap your objects to cylindrical surfaces in a simple way. Today SaDesign will show you how to create reflective stripes on traffic warning post with the Celynder tool in Photoshop.

With the Celynder tool in Photoshop, you can wrap your objects to cylindrical surfaces in a simple way. Today SaDesign will show you how to create reflective stripes on traffic warning post with the Celynder tool in Photoshop.
1. What is the Celynder tool in Photoshop?
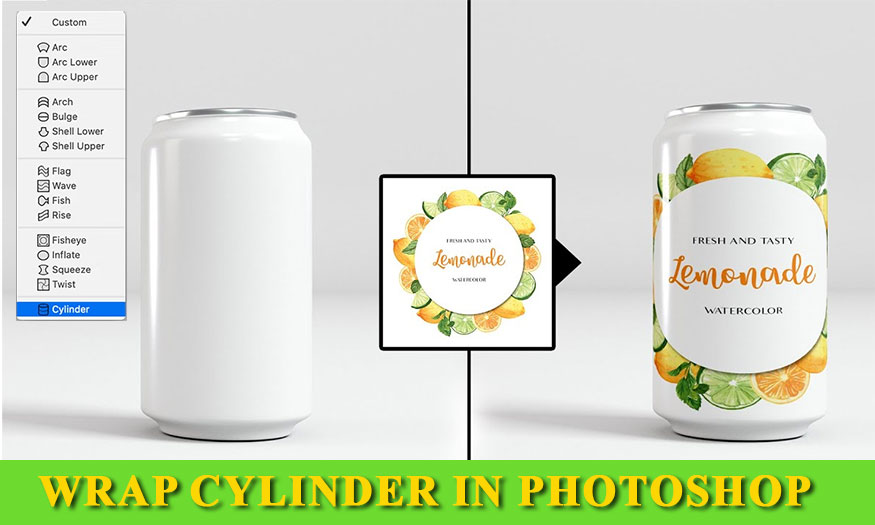
Cylinder is a feature in Photoshop's Transform Warp tool. Cylinder makes it easy to bend flat documents into round cylindrical surfaces.
.jpg)
This tool is most suitable for packaging design, especially the stage of inserting images into cylindrical products.
2. Create reflective lines for warning post using the Celynder tool in Photoshop
To better understand the Celynder tool in Photoshop, let's try practicing it right here. Do you have a photo of a traffic warning cone but part of the reflective stripe is missing? Let's use the Celynder tool in Photoshop to add this reflective line.
Step 1: First, open the photo with the traffic warning pole that needs to create reflective lines. On the menu bar, select File => Open => select the appropriate photo and then click OK.
.jpg)
Step 2: On the toolbar, set the foreground color to white, background color to black. Then select the Rectangle Tool on the toolbar and draw a moderate rectangle across the warning post.
.jpg)
Step 3: Duplicate the newly created rectangular layer by using Ctrl + J. Use the Move Tool to drag the newly copied layer below. Then press Ctrl+T to adjust the size, drag the upper or lower anchor point so that the lower rectangle will be a little smaller than the upper rectangle.
.jpg)
Step 4: Now you need to combine these two layers for easier operation. Click on the layer above, then hold down the Shift key and click to select the layer below. At this point, two layers are selected at the same time. Press Ctrl+E to merge 2 layers into 1.
.jpg)
Step 5: At the merged layer, press Ctrl+T to appear alignment anchor points. Then right-click and select Distort.
.jpg)
Step 6: Now hold Shift, and drag the 4 anchor points to fit the pillar of the warning post.
.jpg)
After dragging all 4 anchor points, you will get the result as shown.
.jpg)
Step 7: Now continue right-clicking on the post and select Wrap.
.jpg)
Step 8: In the Options bar below the menu bar, select Celynder. At this time, the rectangular part will automatically adjust to the shape of the newspaper column. If your Photoshop version is too low, this tool will not be available. You can select Custom and then manually adjust the anchor points so that the reflective line has a slightly arc shape like in the image below.
.jpg)
Step 9: At this point, you have basically created a reflective color line for the warning post. However, add Blend Mode for more realistic colors. At the merged layer, right-click and select Blending Option…
.jpg)
Step 10: The Layer Style panel will now appear, customize the Underlying Layer slider at the bottom so that the reflective lines look most realistic. You can also try lowering the Opacity a bit to make the design look more realistic.
.jpg)
So, you have finished adding reflections to the warning post using the Cylinder tool in Photoshop.
.jpg)
Above are the steps to apply the Celynder tool in Photoshop into a specific design. With this tool, designing on circular cylinders will become simpler. Download the latest versions of Photoshop now to experience all the great applications.


