Best Selling Products

Capcut Pro 1 Year
39 USD

Genuine Cheap Canva Pro
39 USD

Copyright Adobe Lightroom Account
59 USD

Freepik Premium Account
59 USD

MidJourney Account
29 USD

Adobe Photoshop Copyright - Full App
120 USD

Autodesk All App Account Copyright
120 USD

Adobe Premiere Pro Account
99 USD

Upgrade genuine Capture One account
120 USD

Windows 10 & 11 Pro Key
36 USD

Upgrade Duolingo Super
29 USD

Upgrade Genuine Office 365
49 USD

ChatGPT Plus Account (GPT-4)
16 USD

Genuine Adobe Illustrator account
99 USD

Plugin Retouch4me
69 USD
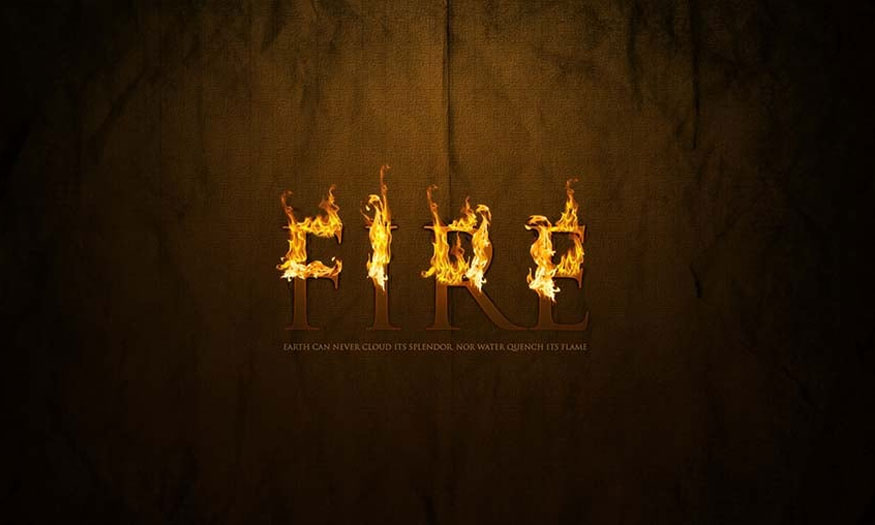
Create fire text effects in Photoshop with SaDesign
Nội dung
One of the effects that designers are especially fascinated by is the fire text effect in Photoshop. If you are interested in how to create this effect, let's find out in detail with SaDesign in the following article!
One of the effects that designers are especially fascinated by is the fire text effect in Photoshop. If you are interested in how to create this effect, let's find out in detail with SaDesign in the following article!

1. Create a background for the design
To create a background, follow these steps:
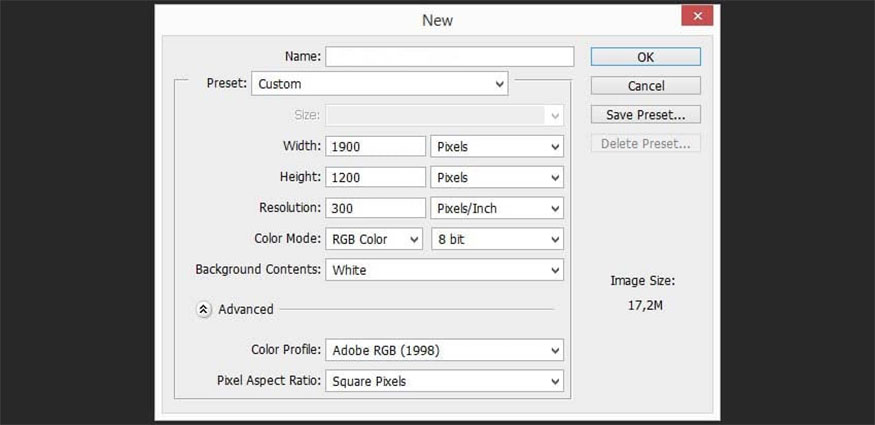
- Step 1: Create a new document by pressing Ctrl N with size: 1900 x 1200 px; 300 dpi.
- Step 2: Select Gradient Tool or press shortcut G, use color palette #5c3d09 and #1f1409.
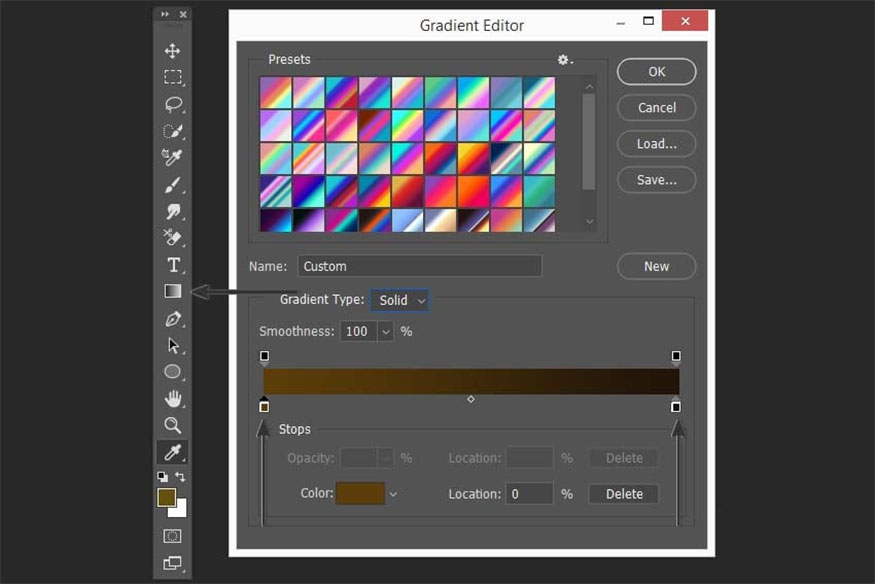
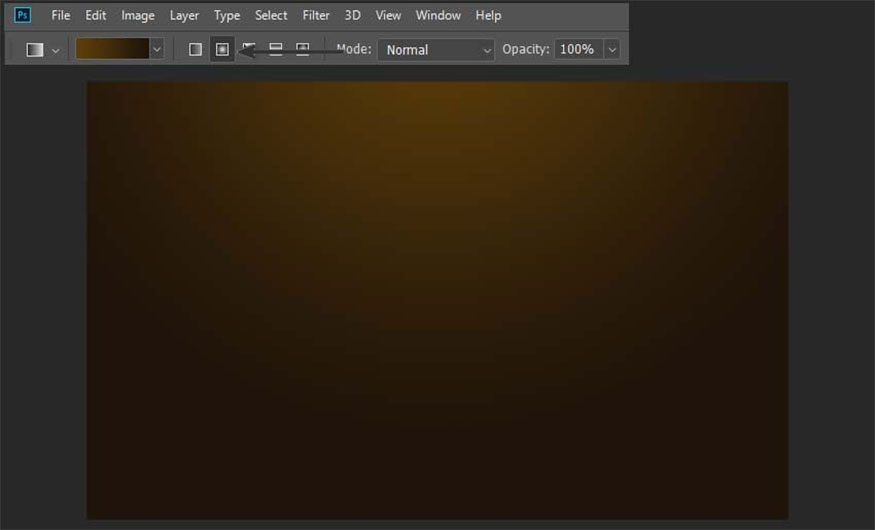
- Step 3: Choose Radial gradient to create the background, don't center the gradient vertically but leave them at the top because we need to let the top text catch fire, so let the top background of the image be brighter a bit.
- Step 4: Copy the existing background and merge all the layers and desaturate, we will get the image like below:
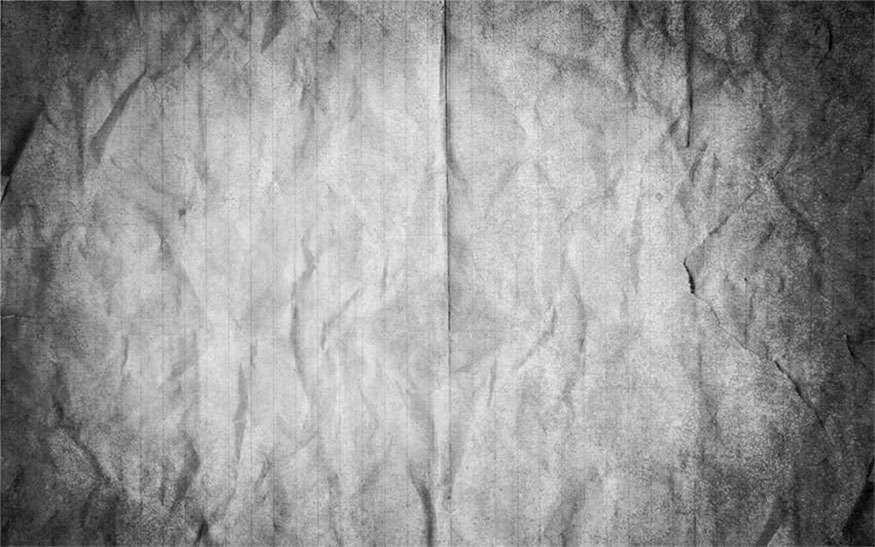
- Step 5: Set the Blending Mode to Overlay to blend the texture with the background.
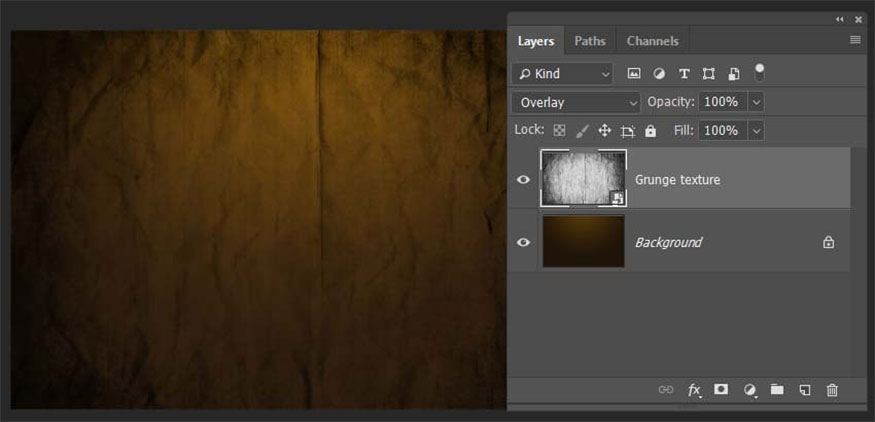
- Step 6: Create texture for the design by adding a new layer, press Shift-Control-N => color #66500f for this new layer.
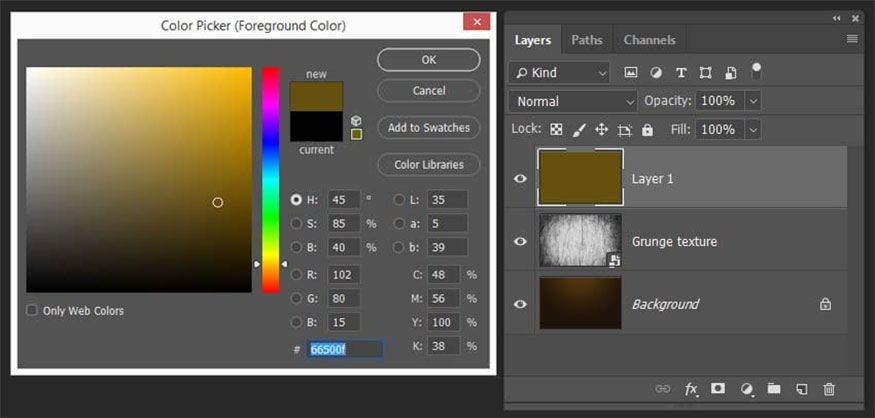
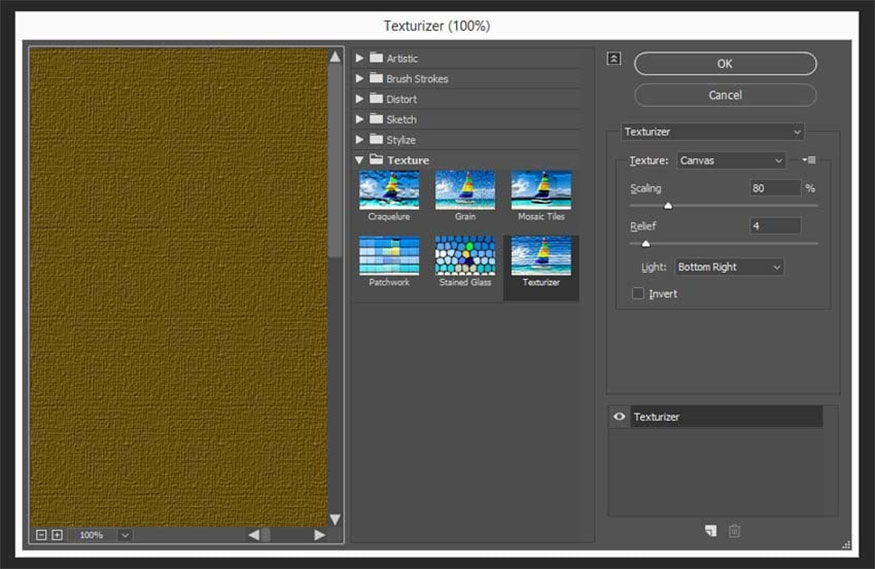
- Step 7: Go to Filter => Texture => Texturizer, use Canvas Text set to 80% Scaling, Relief to 4.
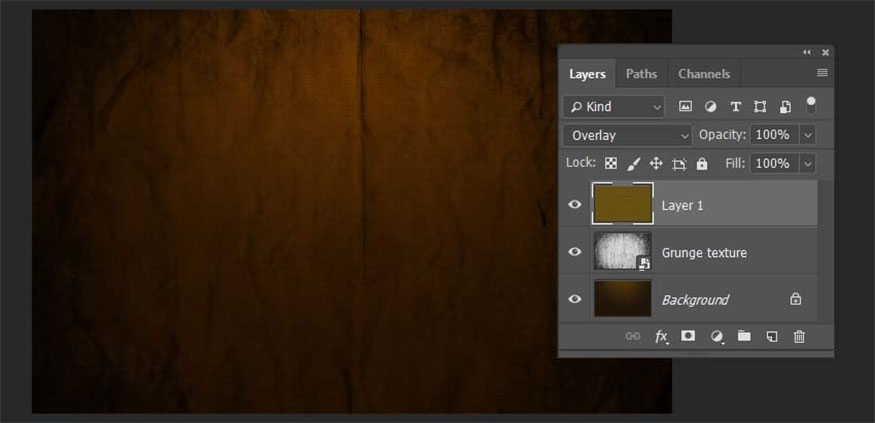
- Step 8: Once you have the texture layer, set the Blending Mode to Overlay.
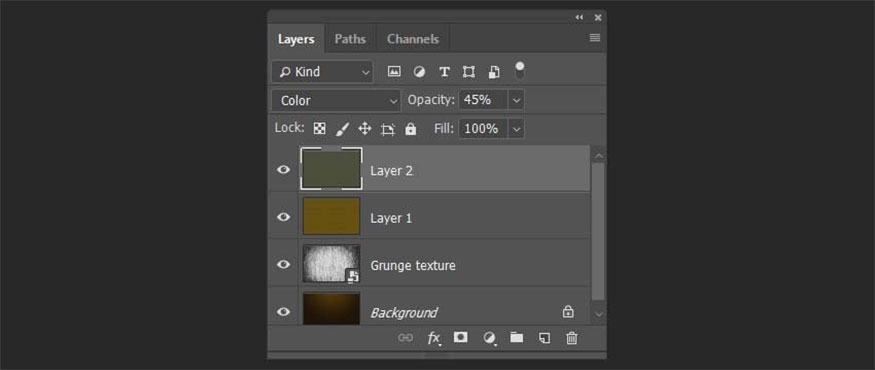
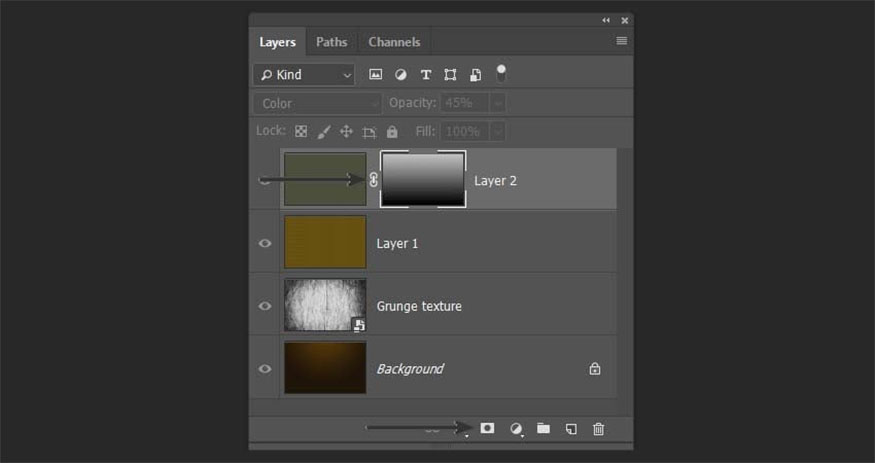
- Step 9: Apply a layer to desaturate the bottom half of the image so that the top part where the fire is is warmer and the bottom part is cooler.
Please create a new layer and color it to #4b4f3b, Blending Mode is Color, Opacity is 45%.
- Step 10: Add a mask with a gradient intended to cover the fading top part.
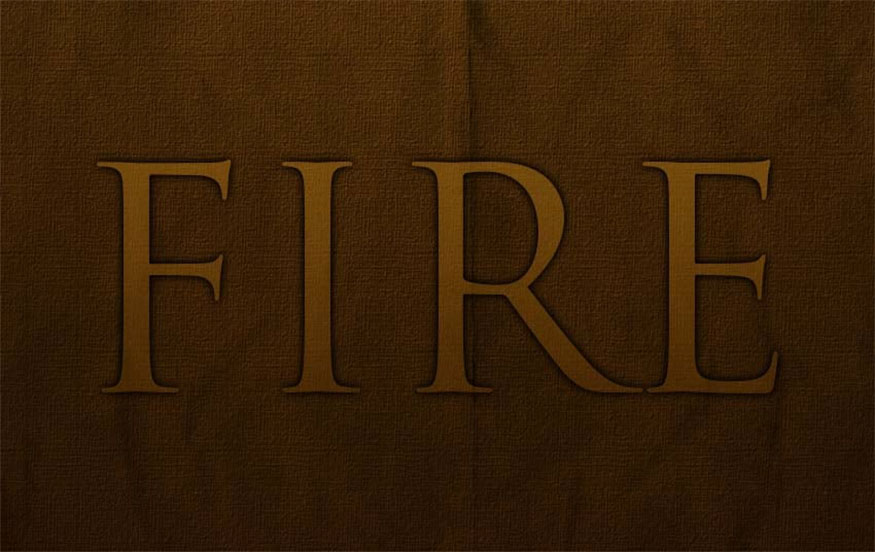
2. How to create a text glow effect
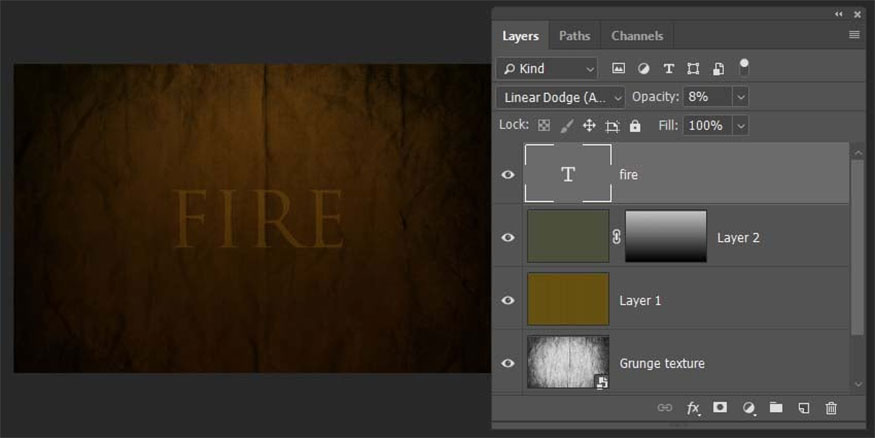
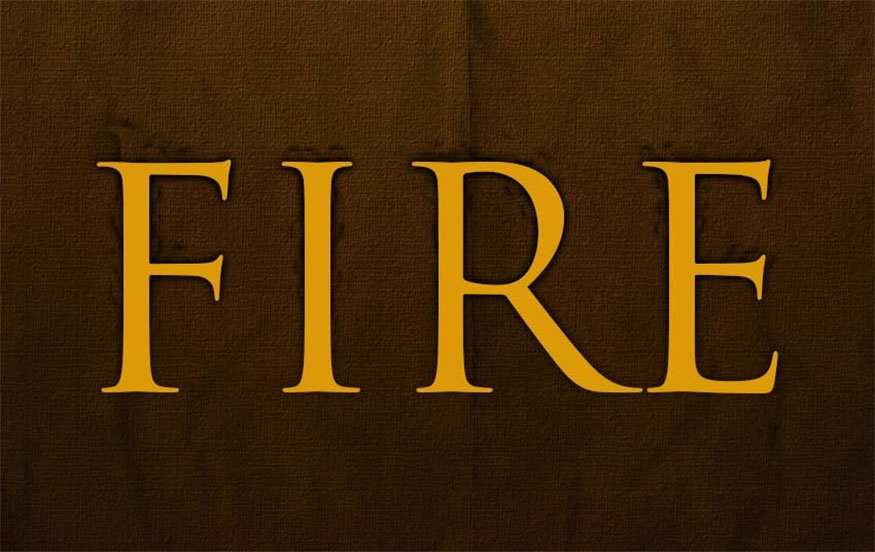
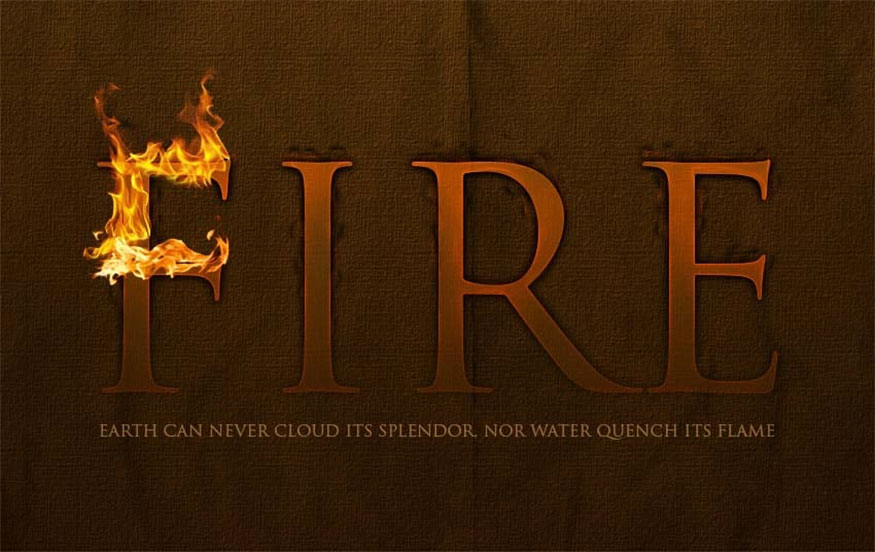
- Step 1: Start with the fire effect on the text using the font Trajan with color #cb9328. Set the Blending Mode to Linear Dodge and the Opacity to 8%.
To make the image of the fire look like it's emerging from the background, we need to run multiple effects, and apply different layer masks so that they only show the top half, while the text of the bottom half fades.
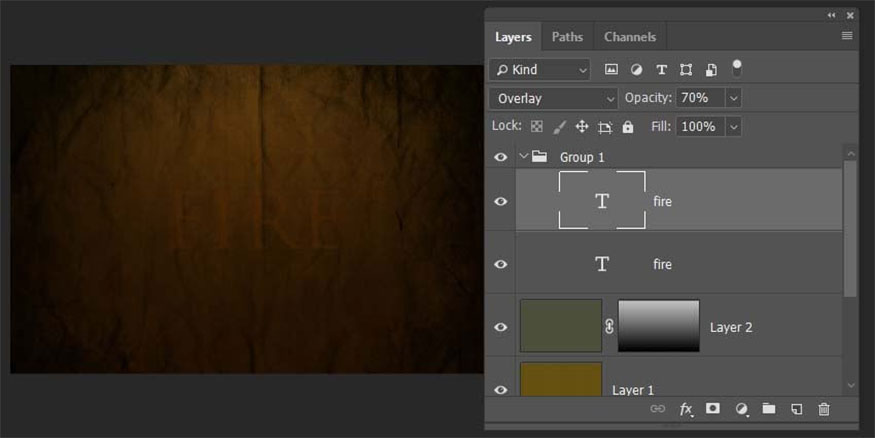
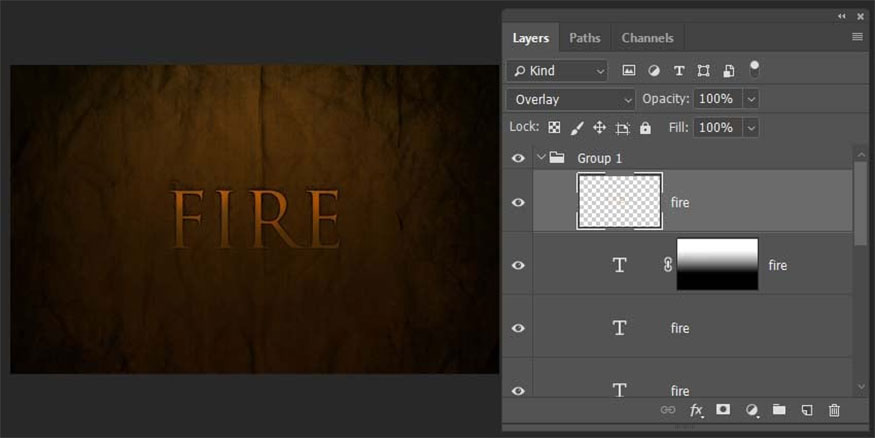
- Step 2: Place the text layers into the new group, then duplicate the text layer by pressing Ctrl-J, set the color of this text with color code #5e3f1c, set the Blending Mode to Overlay, adjust the parameters. Opacity to 70%.
- Step 3: Duplicate the text and set the color to #cb9328, Blending Mode to Linear Dodge, Opacity to 30%.
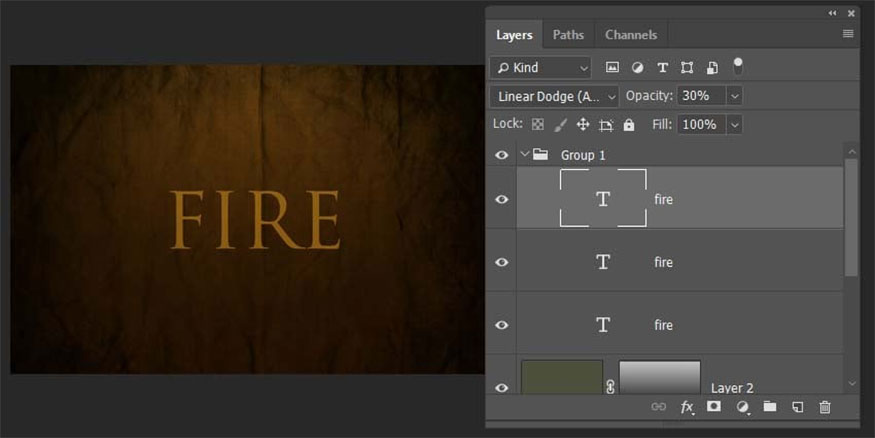
- Step 4: Add a layer mask then draw a gradient so that the new text layer fades out. This shows us the red color combination of the bottom two text layers.
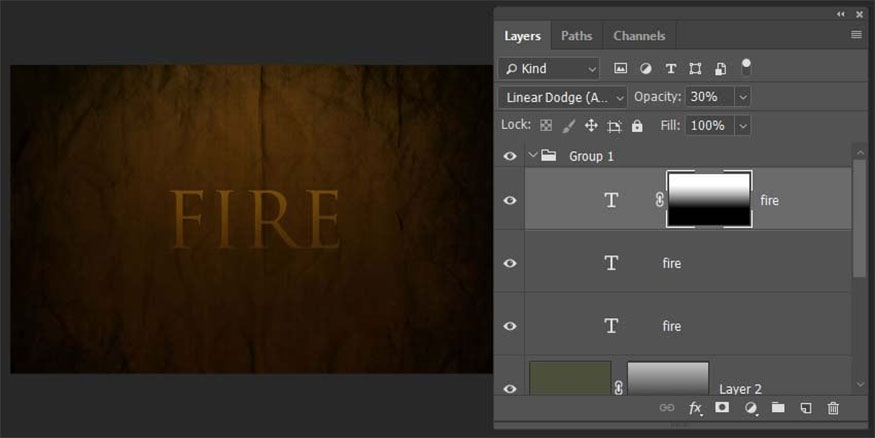
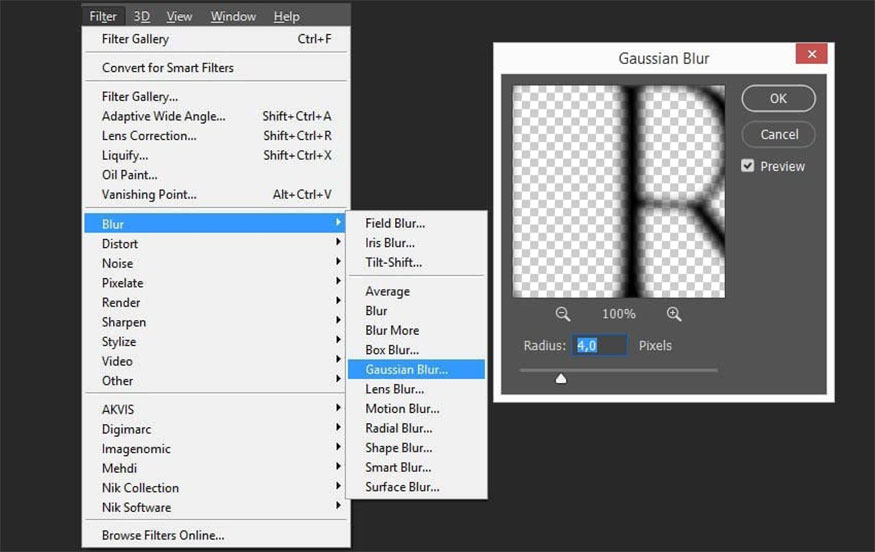
- Step 5: Make another copy of the text layer and place them at the bottom of the group, set the color to color code #000000. Next select Filter => Blur => Gaussian Blur. A new window appears asking you to rasterize the text, click Yes, then set the Radius to 4 px.
- Step 6: Click on any text layer and go back to the black layer, then press the delete button so that only one type of shadow remains. Duplicate this layer and merge the first layer by pressing Ctrl-E. The result we get is as shown below:
- Step 7: We add a gradient layer mask to fade the shadow as shown. This step is to create the feeling that the text layer is escaping from the page.
- Step 8: Duplicate the black layer, then use the Smudge Tool and a soft brush to blur the surrounding shadows to help them look like burning marks.
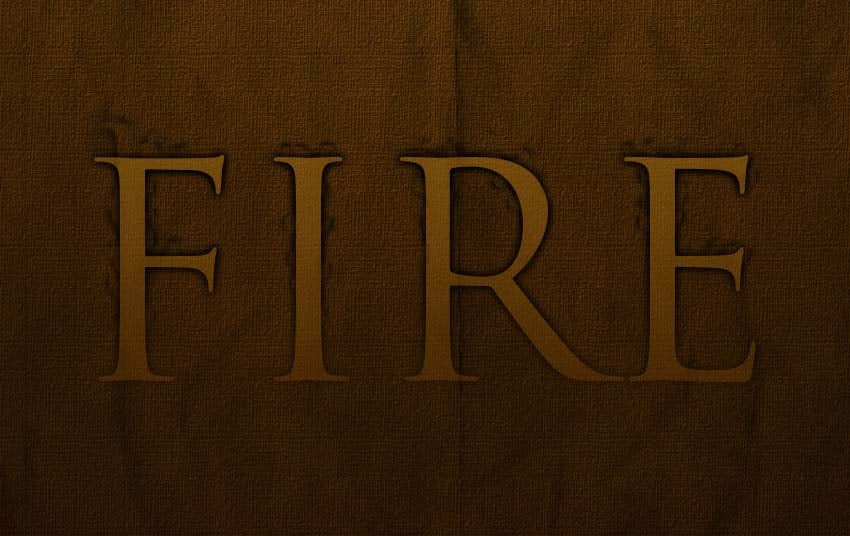
- Step 9: In this step we will make the top layer of the text glow. You duplicate the text layer, then put it on top and choose the color code #dc9a08.
- Step 10: Go to Filter => Blur => Gaussian Blur then set the Radius to 8 px.
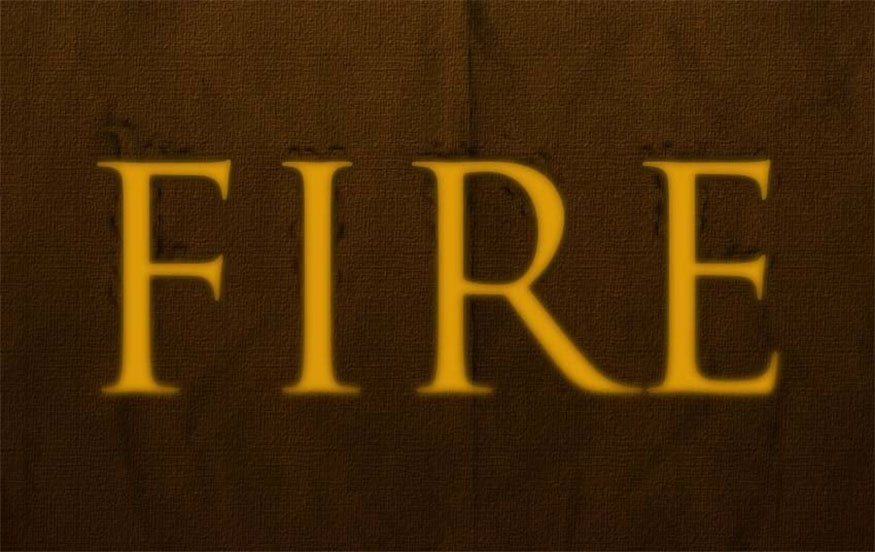
- Step 11: Use the large and soft eraser pen tool to erase only the bottom so that they look uneven.
- Step 12: Reset the Blending Mode of the light layer to Soft Light.
- Step 13: Duplicate the text again then place it on top, choosing color code #dc9a08. Then right-click on the layer to select Rasterize Type.
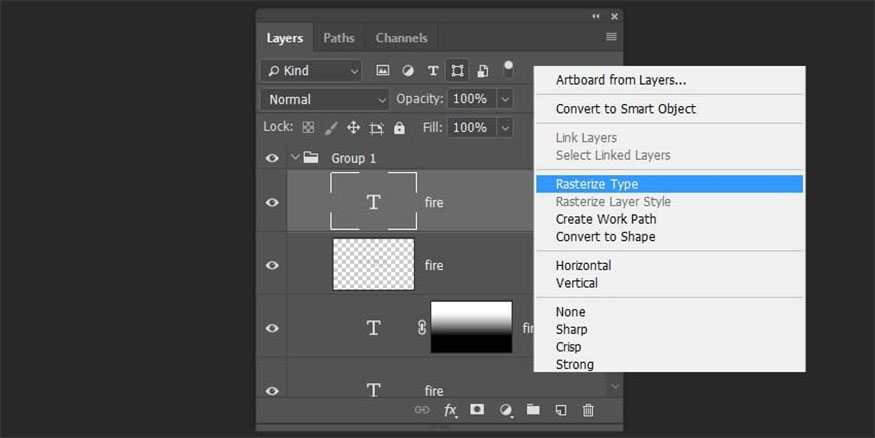
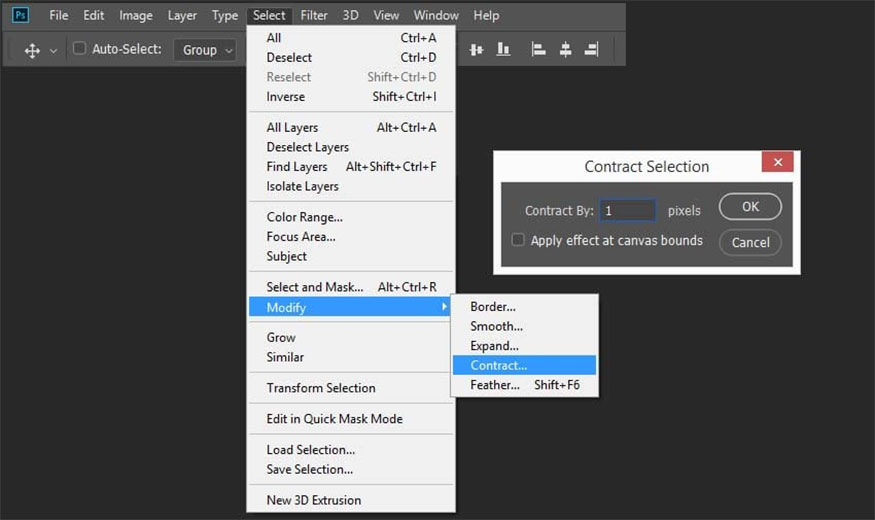
- Step 14: Click on the layer and go to Select => Modify => Contract, use a value of 1px. Then click delete to delete everything except this 1px border.
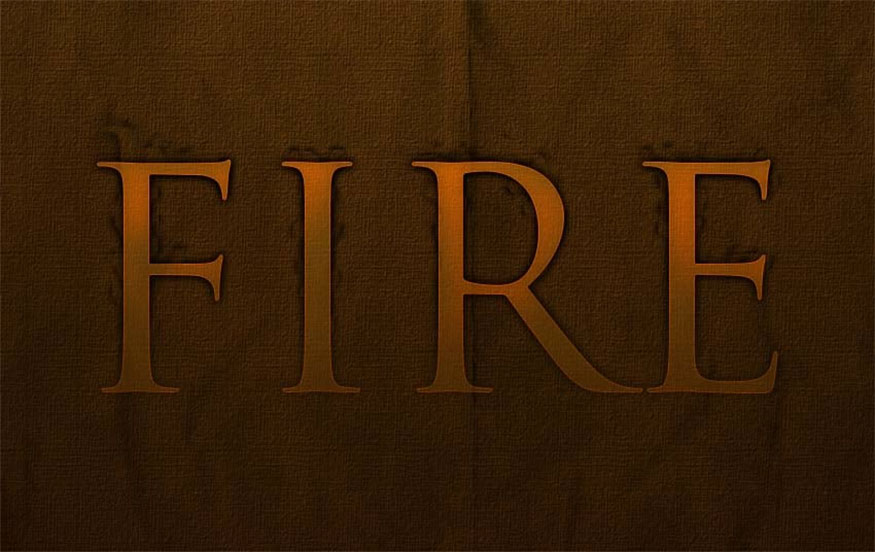
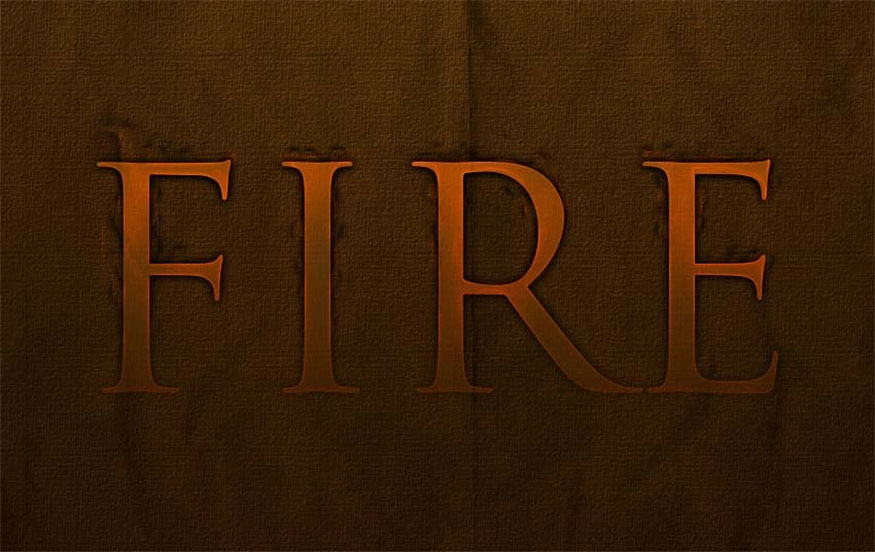
- Step 15: Set this layer's Blending Mode to Overlay, the result is as we see in the image below:
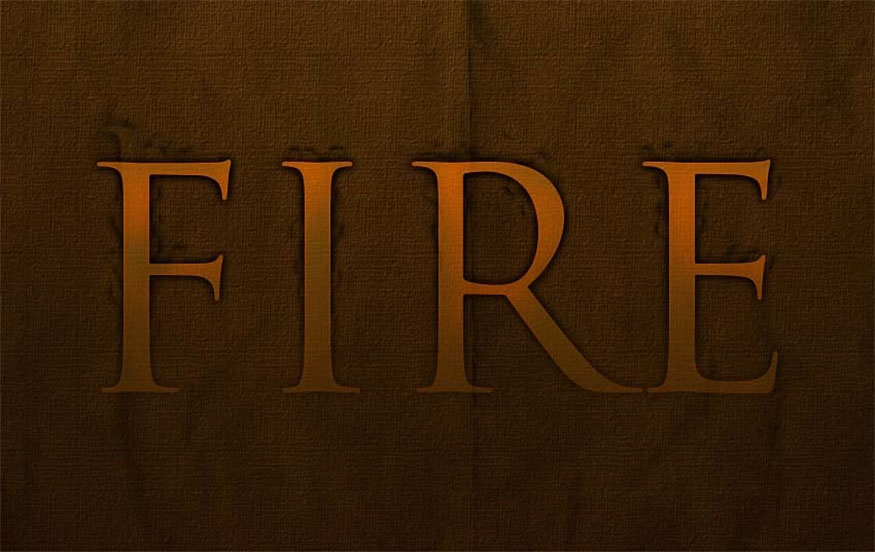
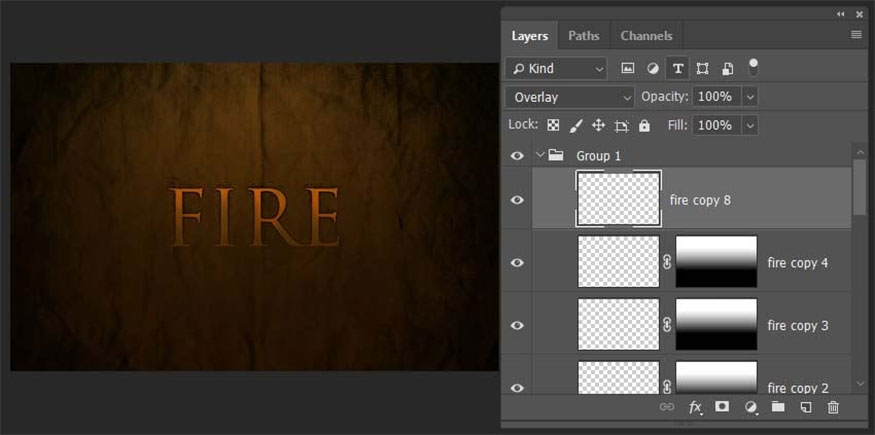
- Step 16: Add a layer mask to the 1px light layer to make them blurry. Then duplicate this layer by going to Filter => Blur => Gaussian Blur set to 1 px. Duplicate this layer one more time and fade it by 2 px. Duplicate it further and continue blurring it by 4 px.
- Step 17: Click on any text layer then press Ctrl -Shift-I to invert the selection and go through each light layer. Continue pressing Delete to remove any blurred parts that go beyond the boundaries of the text.
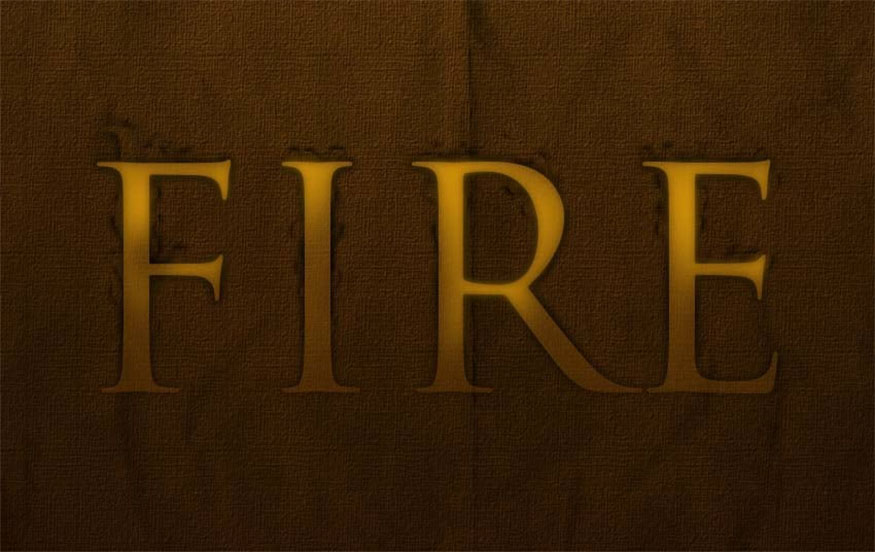
- Step 18: Duplicate the 4 light layers then merge them together. Use the Smudge tool to run over the text, smudging it to create heat waves emanating from the text.
- Step 19: Set Blending Mode to Overlay.
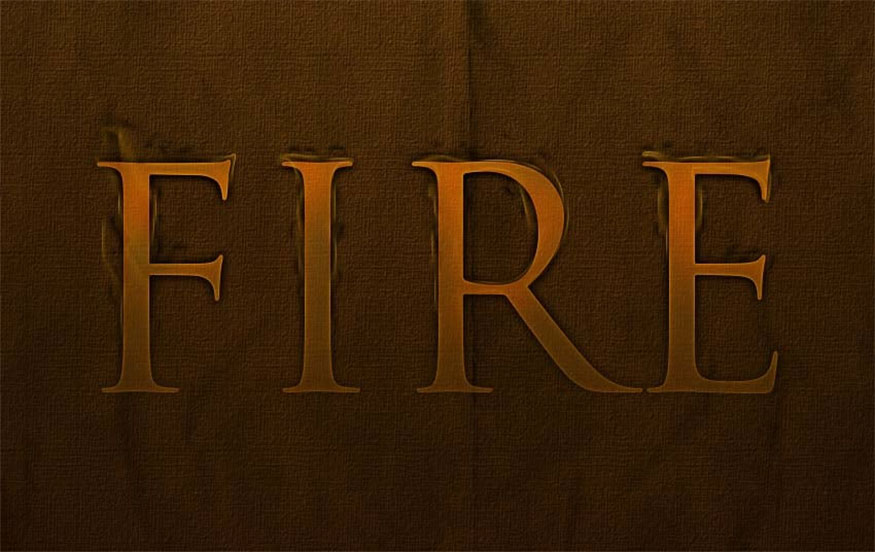
- Step 20: Copy some light layers to make the flame text more vibrant.
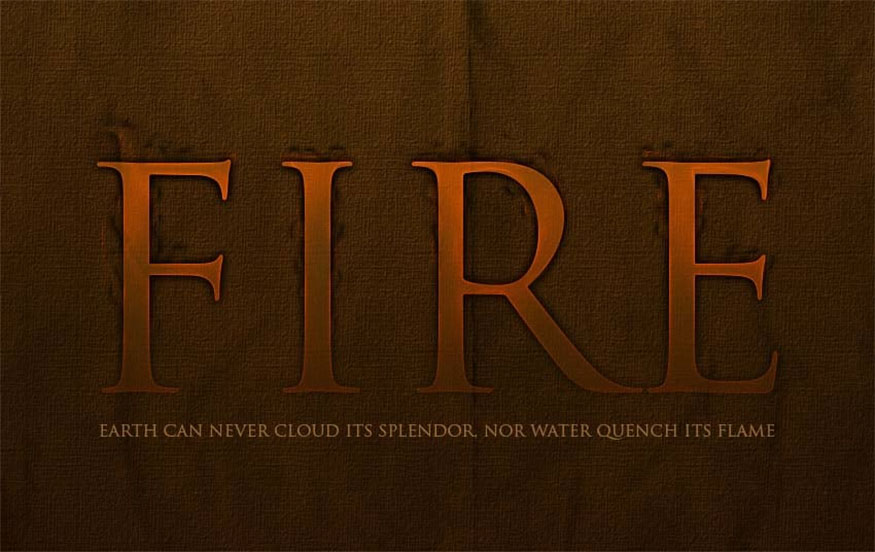
- Step 21: To match the background image, we add a quote below the text to embellish the page. Be careful to use appropriate letterforms so that they don't stand out too much, because this is just a secondary element to the main text. Accordingly, the font we use for this text is Pt Sans.
3. Instructions for adding fire to text
To add fire to text, proceed as follows:
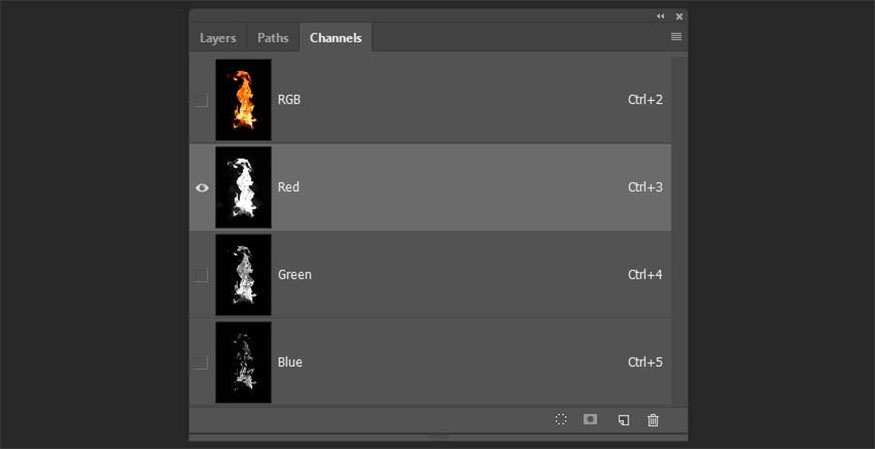
- Step 1: To do this we need some fire images on a plain black background. Open the fire image in Photoshop and go to the Channels tab, then find the channel with the highest contrast.
With the fire image, press Red Channel and then click on that channel. This is to make the image appear black and white. We are in a high contrast layer, so it will bright white.
- Step 2: Click on the channel to select all pixels, return to the RGB channel and copy the selected pixels by pressing Ctrl-C.
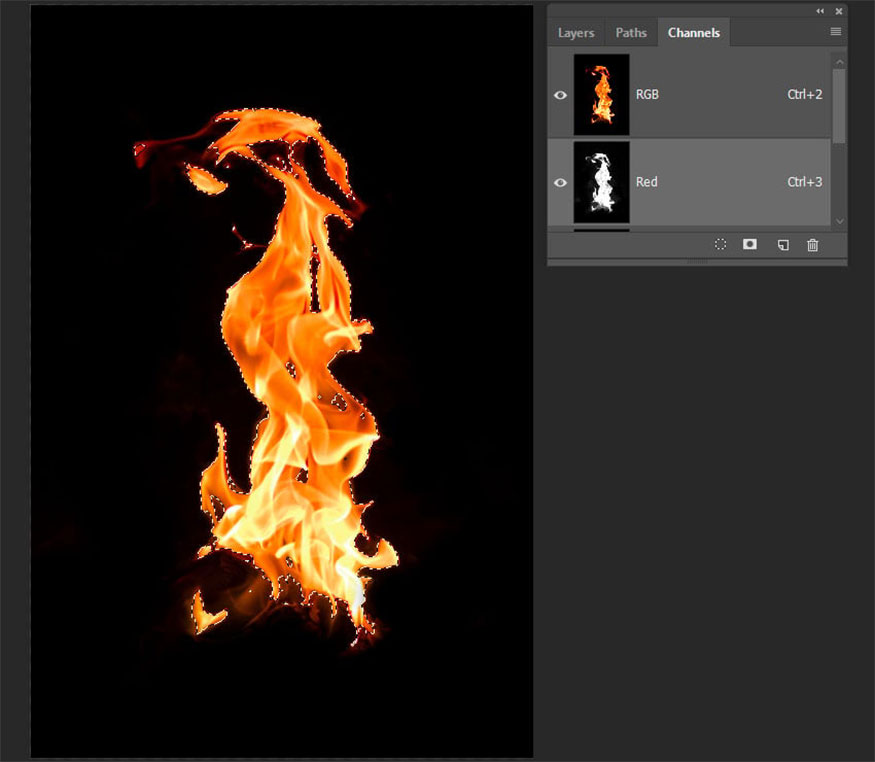
- Step 3: Paste the flame into the main image by pressing Ctrl-V.
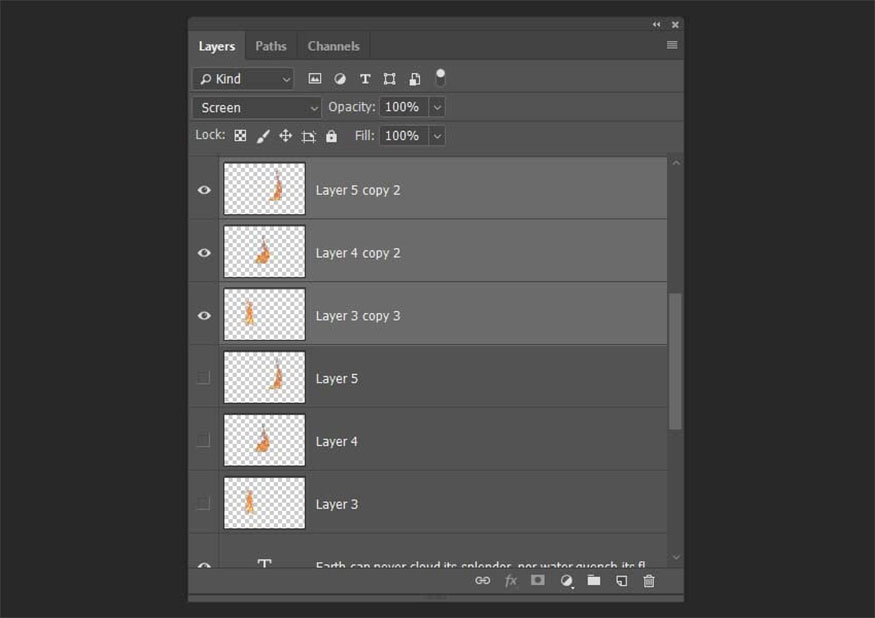
- Step 4: Create copies of all 3 flames to avoid affecting the original files, then make the original flames Invisible.
- Step 5: Select the first copy of the flame and press Ctrl-T, then resize and rotate, adding it to the first letter.
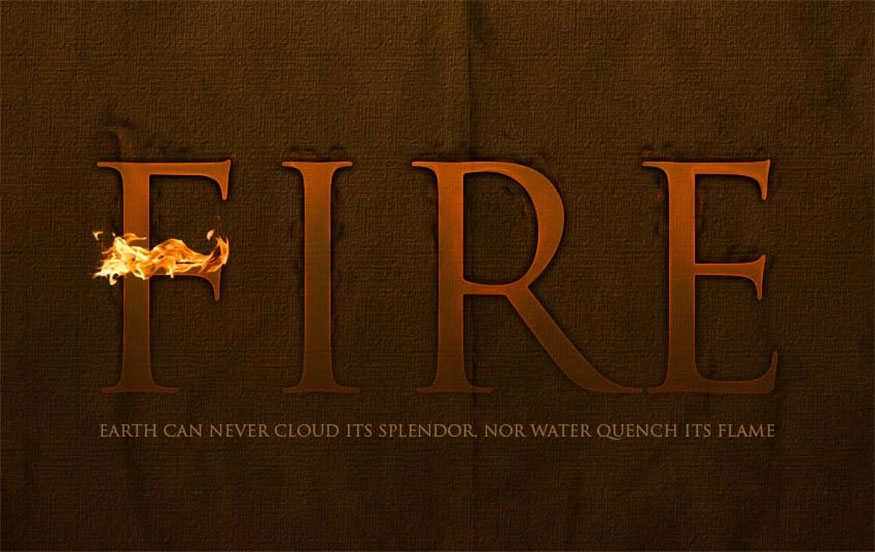
- Step 6: Add the second and third copies of the flame to the letter. Make transformations and rotate them as desired.
- Step 7: Make copies of the flame layers then add them to each letter. Stretch the fire elements to make them more realistic.
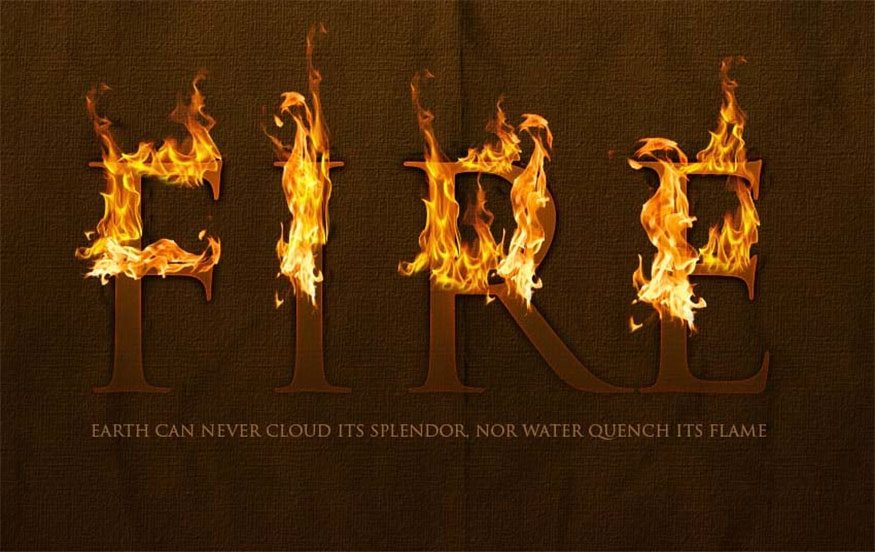
- Step 8: Select all the flame layers and right click to merge the layers. Change the blending mode of the flame layers to Screen so that the remaining black disappears and becomes more transparent.
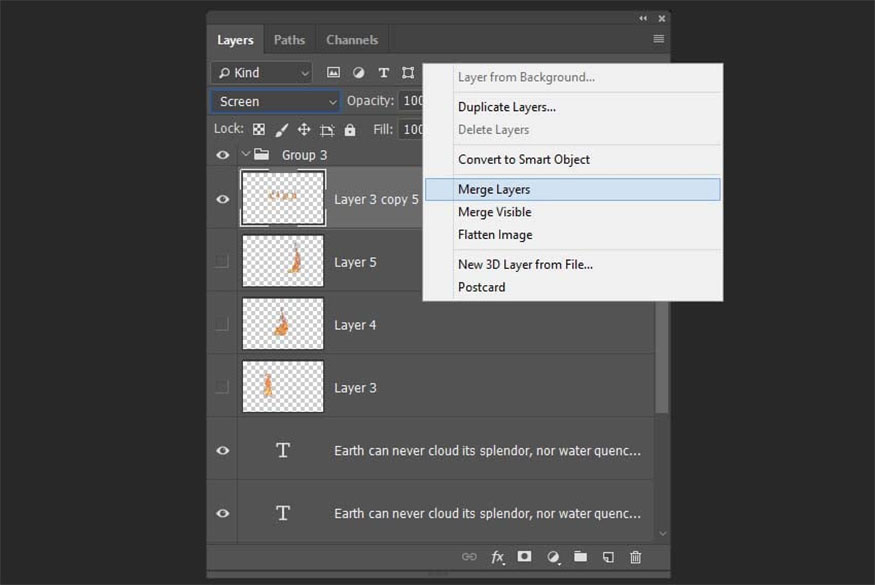
- Step 9: Use the Eraser tool to remove unwanted elements of the flame.
- Step 10: Create a copy of the flame layer, then go to Filters => Blur => Gaussian Blur and set the radius to about 3 px.
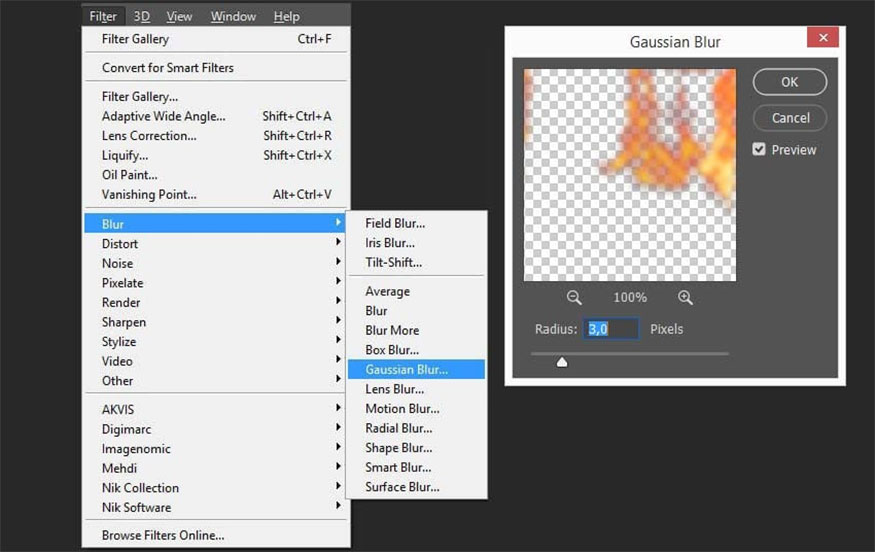
- Step 11: Change the layer's Opacity to 25%, our resulting image will look like this:
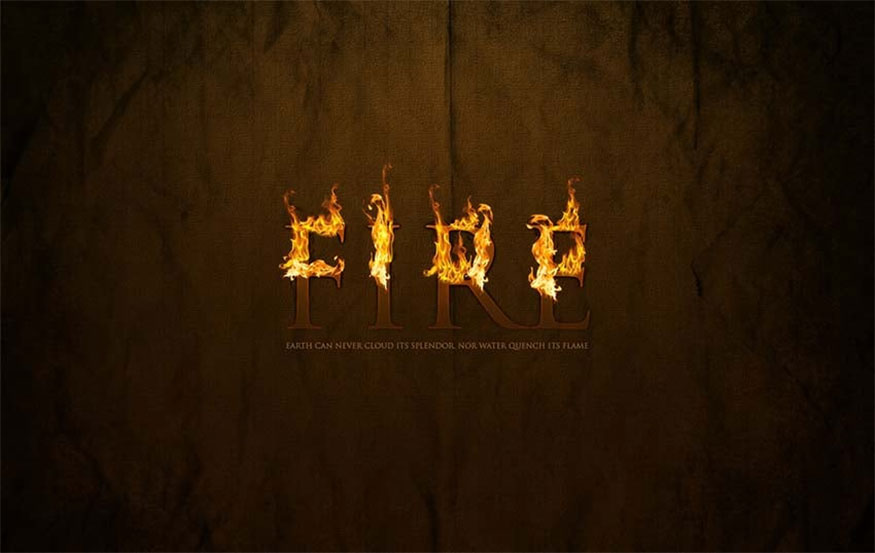
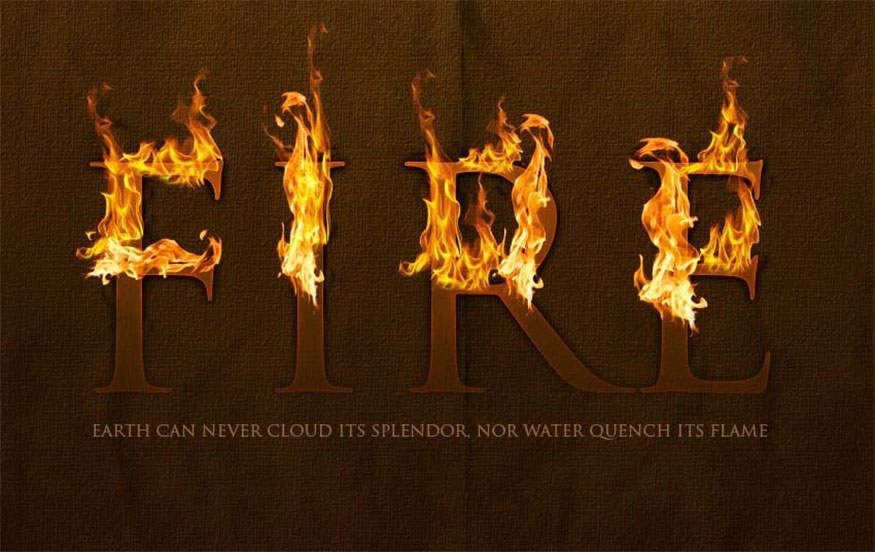
- Step 12: Create a new layer above all other layers then draw a radial gradient from white to black. Set Blending Mode to Overlay and Opacity to 40%.
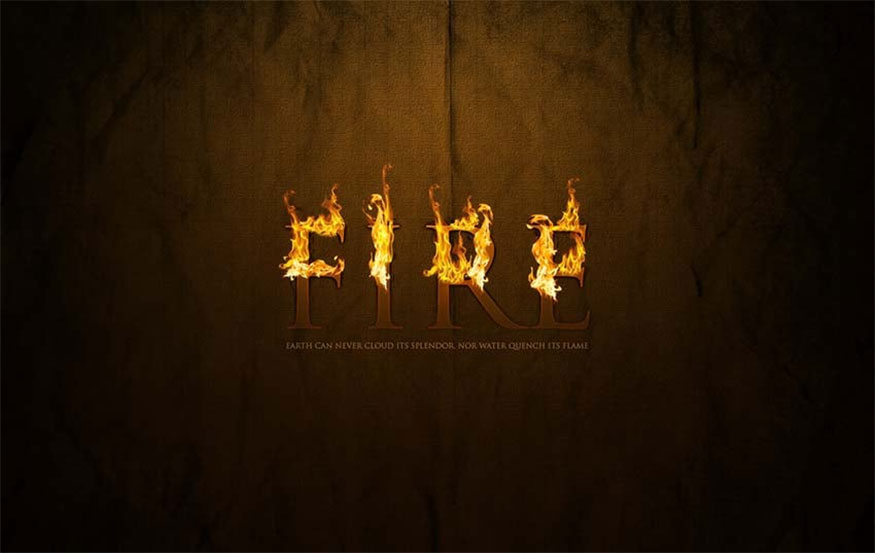
As a result, we get text with an impressive fire effect. Hope you will be successful with the instructions on how to create fire text effects in Photoshop!


VIP Products


Best Selling Products
Capcut Pro 1 Year
39 USD
Genuine Cheap Canva Pro
39 USD
Copyright Adobe Lightroom Account
59 USD
Freepik Premium Account
59 USD
MidJourney Account
29 USD
Adobe Photoshop Copyright - Full App
120 USD
Autodesk All App Account Copyright
120 USD
Adobe Premiere Pro Account
99 USD
Upgrade genuine Capture One account
120 USD
Windows 10 & 11 Pro Key
36 USD
Upgrade Duolingo Super
29 USD
Upgrade Genuine Office 365
49 USD
ChatGPT Plus Account (GPT-4)
16 USD
Genuine Adobe Illustrator account
99 USD
Plugin Retouch4me
69 USD