Best Selling Products
Discover the functionalities of the Color Replacement tool in Photoshop.
Nội dung
Color Replacement is one of the most commonly used color replacement tools in Photoshop. It allows changing the color of the object quickly and extremely realistically. Join SaDesign to learn about the Color Replacement tool in Photoshop through the sharing below.
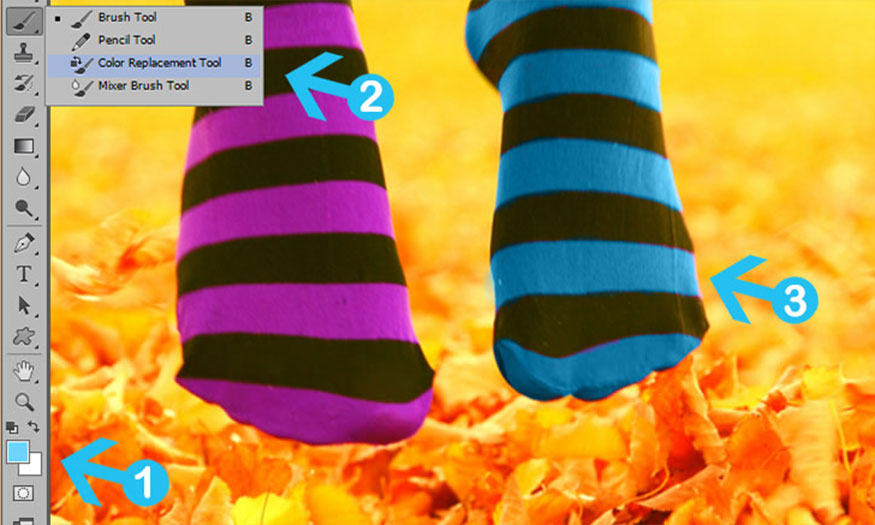
Color Replacement is one of the most commonly used color replacement tools in Photoshop. It allows changing the color of the object quickly and extremely realistically. Join SaDesign to learn about the Color Replacement tool in Photoshop through the sharing below.
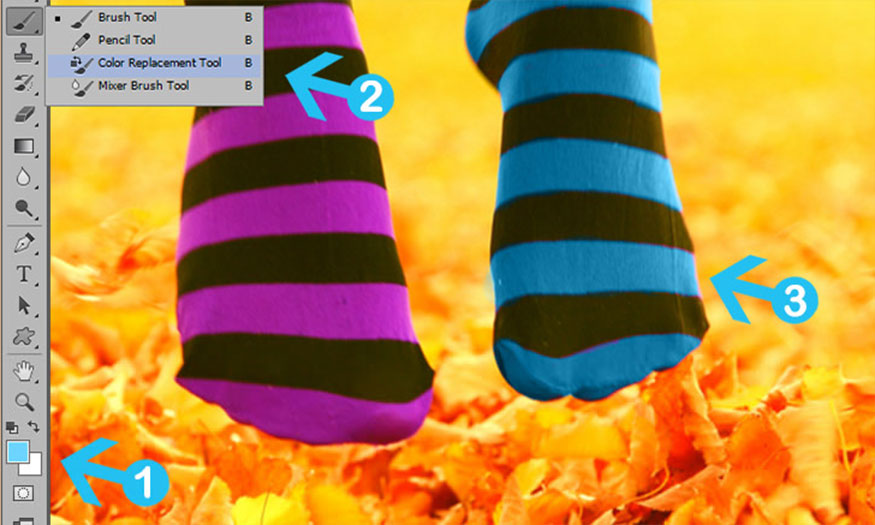
1. Where is the Color Replacement Brush in Photoshop?
Color Replacement is a tool in Photoshop, it is a type of brush, allowing you to easily change the color of an object in a photo. It works best for objects with simple colors.
So, do you know where this tool is located? You can find this tool in the following 2 ways:
Method 1: You can find the Color Replacement Tool in the toolbar, or shortcut B.
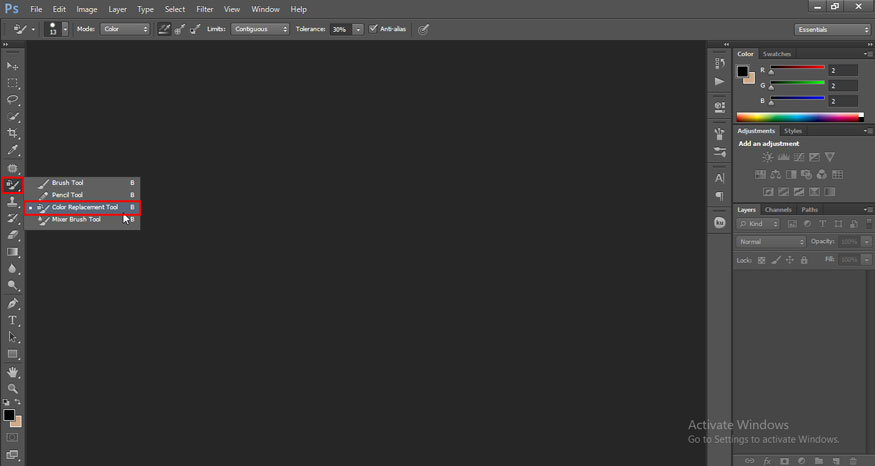
Method 2: If you don't see the Color Replacement Tool in this panel, click the Edit Toolbar icon and select it here.

2. Install the Color Replacement tool in Photoshop
After finding the location of the Color Replacement tool in Photoshop, let's install the tool.
Step 1: Open the image with the object you want to change the color. Then, select the color you want to change at set foreground color.
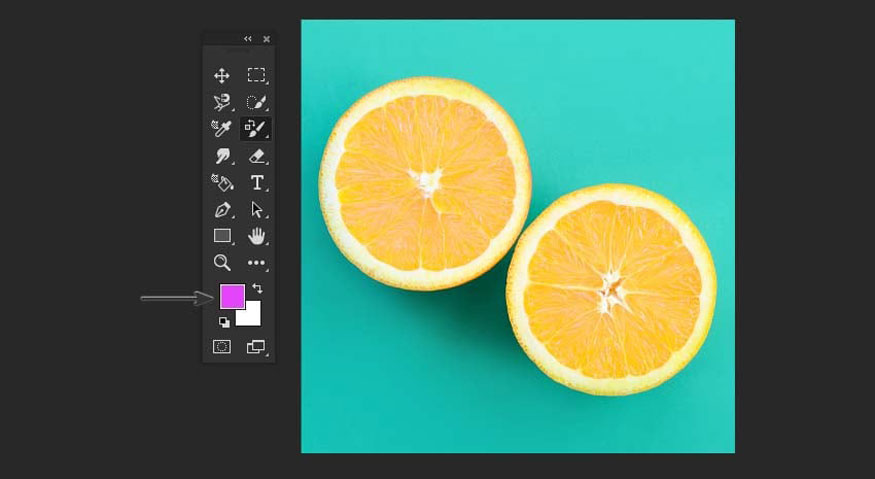
Step 2: Select the Color Replacement Tool on the toolbar, then in the options bar at the top, adjust the Size, Hardness, and Spacing of the brush.
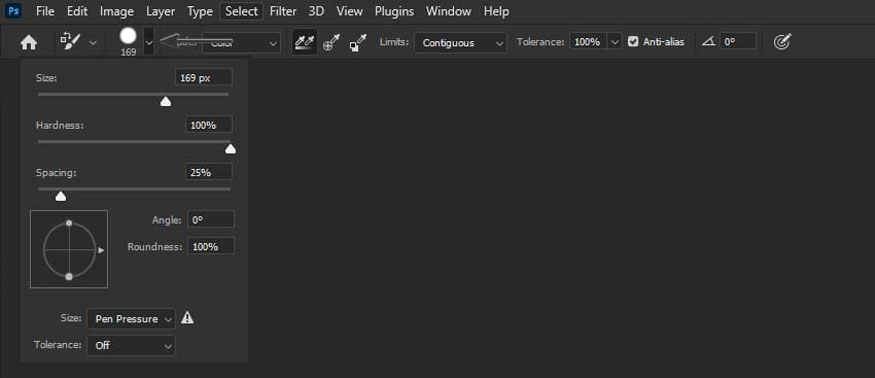
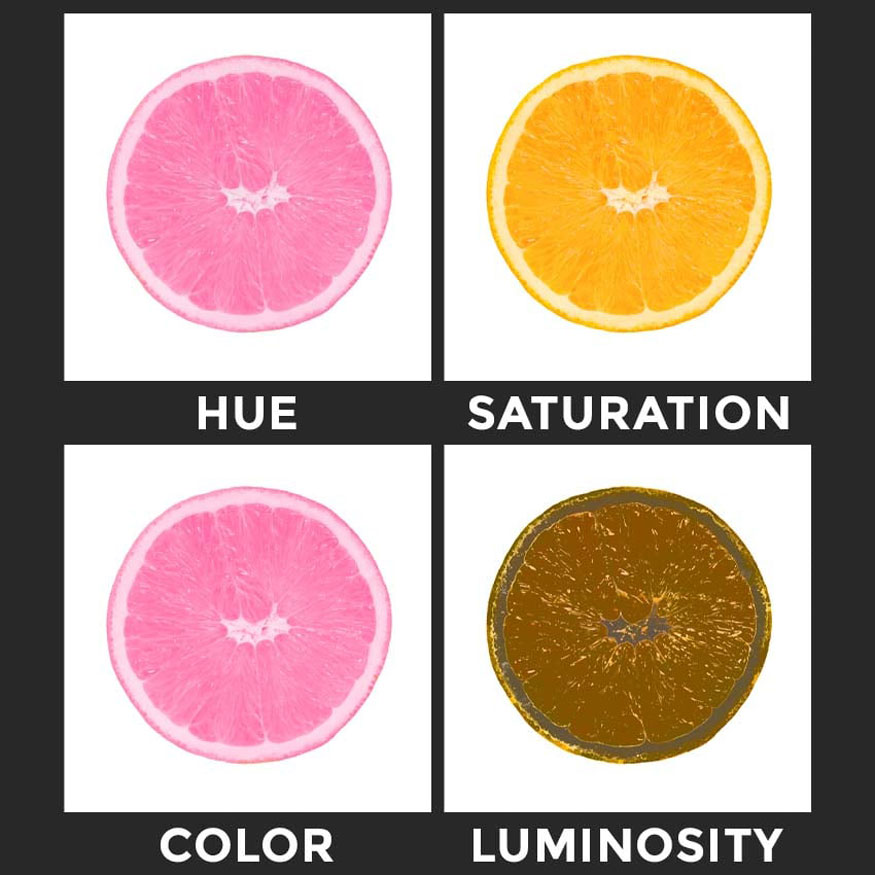
Step 3: Then, you can choose one of the Blending Modes: Color, Hue, Saturation or Luminosity. In which:
- The default Color mode will change both color and saturation.
- Hue settings will only affect color.
- Saturation will only affect saturation.
- Luminosity will only match the brightness of the original color to the brightness of the new color, while hue and saturation will not be affected.
If you want to use Photoshop to replace one color with another, you should choose Color mode in most cases, and in this case it's also your best choice.

Below are some examples of the color changes of different blends.
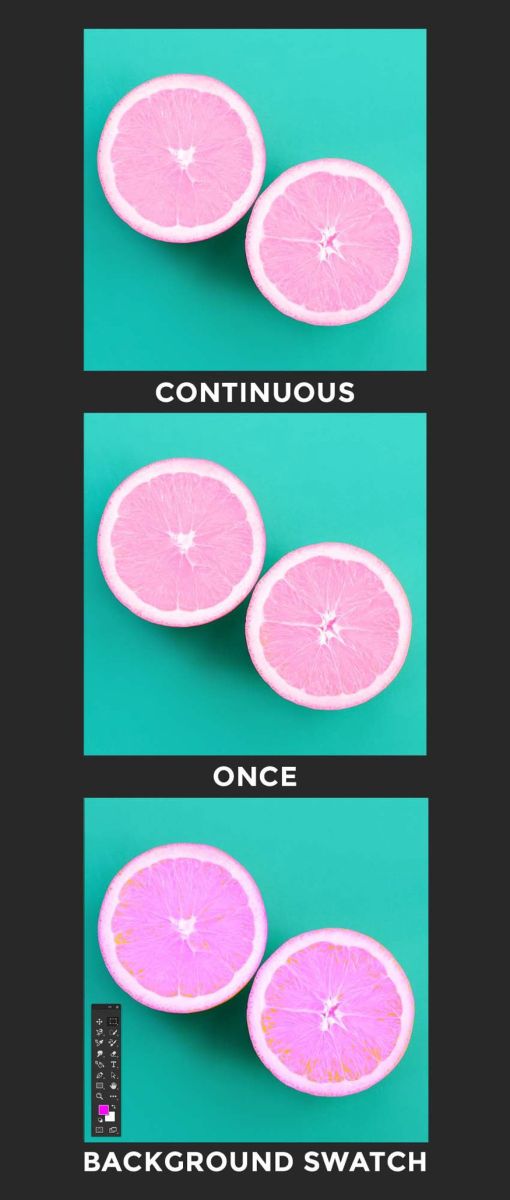
Step 4: The next setting is Sampling and you can choose from three options: Continuous, Once and Background Swatch.
-
Sampling Continuous will always look for the color you're painting over.
-
Sampling Once will follow the color from the brush's starting point.
-
Background Swatch will only paint on areas that match your Background color.
Step 5: On the menu bar, set Limits to control the spread of colors. This option sets the boundaries that can affect color.
- Contiguous will only affect the sampled pixel area where your crosshair brush is. It will not change the color of neighboring areas.
- Discontiguous will change the color of adjacent areas with the sampled color up to the spread of the crosshair boundary.
- Find Edges will find edges in your image and it will stop when it gets close to that edge. The color change will only affect the edges.
In most cases, Contiguous will be the best option to use.

Step 6: On the menu bar, set Tolerance which controls how similar the color is to your sampled color.

3. How to use the Color Replacement tool in Photoshop
After setting the parameters, let's use the Color Replacement tool in Photoshop.
Select the Color Replacement tool and set the brush parameters as follows:
-
Brush Size: 160
-
Mode: Color
-
Sampling: Continuous
-
Limits: Contiguous
-
Tolerance: 75%
Then, paint over the areas you want to change the color of the image.
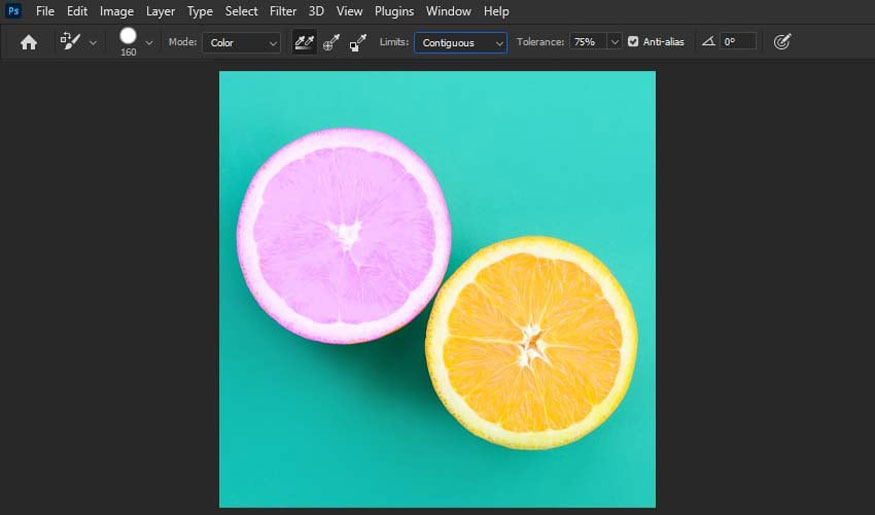
So, you have finished changing the color of the object using the Color Replacement tool in Photoshop. This method is best suited for objects whose colors are not too complex. Please do it many times for best results. Hope the above shares will be useful to you.
- Photoshop remove tool AI - Remove everything with AI
- Batch Automated Photo Editing Tool


