Best Selling Products

ChatGPT Plus Account (GPT-4)
16 USD

Autodesk All App Account Copyright
120 USD

Adobe Premiere Pro Account
99 USD

Upgrade genuine Capture One account
120 USD

Windows 10 & 11 Pro Key
36 USD

Upgrade Duolingo Super
29 USD

Upgrade Genuine Office 365
49 USD

Capcut Pro 1 Year
39 USD

Genuine Cheap Canva Pro
39 USD

MidJourney Account
29 USD

Genuine Adobe Illustrator account
99 USD

Freepik Premium Account
59 USD

Copyright Adobe Lightroom Account
59 USD

Adobe Photoshop Copyright - Full App
120 USD

Plugin Retouch4me
69 USD
How to create colorful and shiny text effects in Photoshop
Nội dung
Photoshop is a powerful editing tool that allows users to create a variety of designs with different styles. In the following tutorial, Sadesign will introduce to readers how to create colorful and shiny text effects in Photoshop.

Photoshop is a powerful editing tool that allows users to create a variety of designs with different styles. In the following tutorial, Sadesign will introduce to readers how to create colorful and shiny text effects in Photoshop.

1. Instructions for adding a shine effect in Photoshop
To add a shine effect to text, do the following:
- Step 1: First you need to go to File => Open and open the background image.
- Step 2: Next, click on the Horizontal Type Tool (T), in the new window that opens, make the size settings as follows:
-
Font: Lobster 1.4
-
Size: 210 pt
-
Anti-Aliasing mode: Sharp
-
Color: White #ffffff
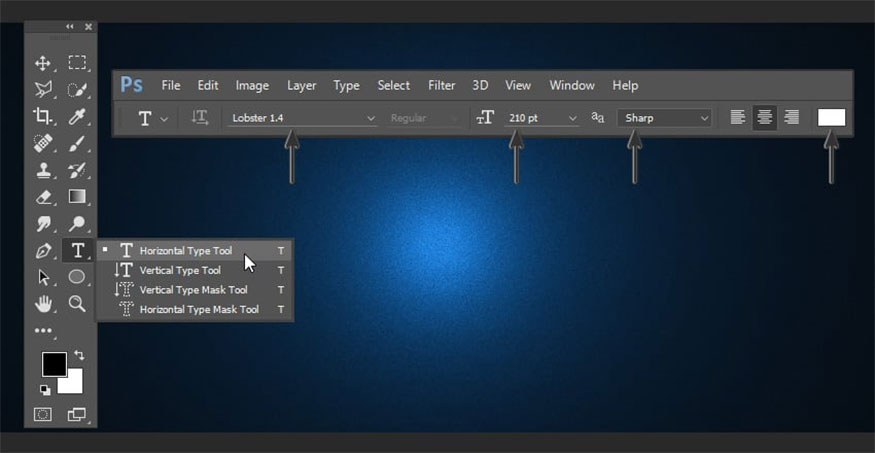
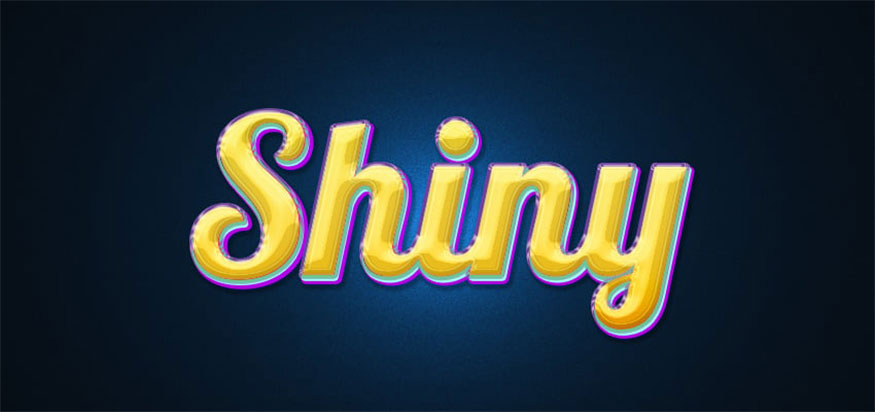
- Step 3: You type the text and place it in the center of the document. In this tutorial we will type the words "Shiny".
To center the text layer, press Ctrl-A to select the document => select Move Tool (V) => click the Align Vertical Center and Align Horizontal Center icons.

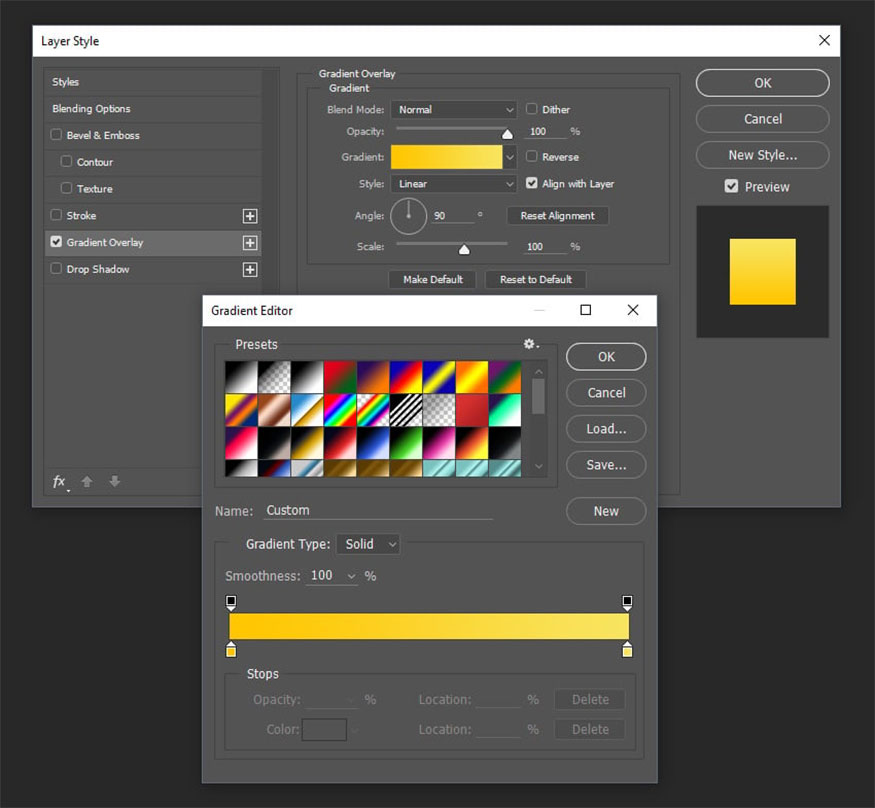
- Step 4: Double-click the text layer to open the Layer Style window. In this step we will change the text color in Photoshop with a gradient effect. You can freely select effects to review the changes and differences in each effect.
First we will start with the Gradient Overlay so we can clearly see the changes in the text.
You add the Gradient Overlay and proceed to set the parameters according to the following instructions:
-
Blend Mode: Normal
-
Dither: Uncheck
-
Opacity: 100%
-
Reverse: Uncheck
-
Style: Linear
-
Align with Layer: Check
-
Angle: 90º
-
Scale: 100%
Next, click Gradient Bar and create a gradient with the following settings:
-
First Stop Color: #ffc600
-
First Stop Position: 0%
-
Second Stop Color: #f8e45f
-
Second Stop Position: 100%.
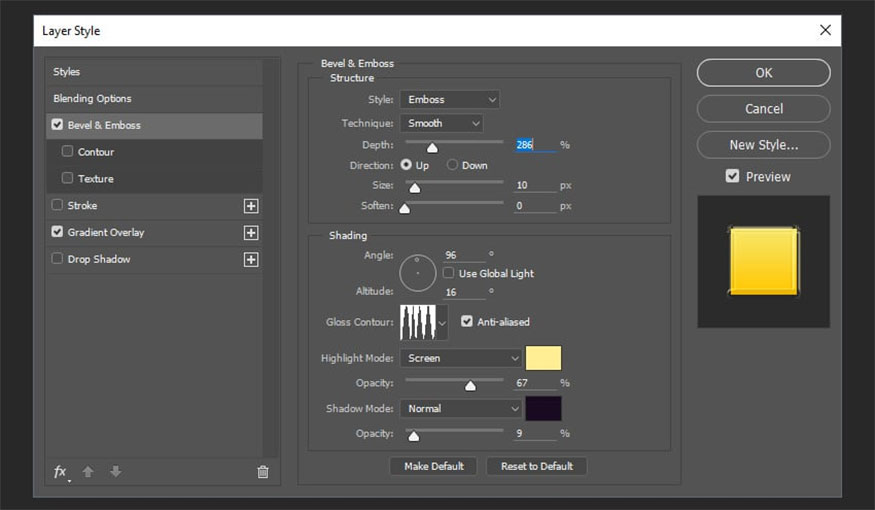
- Step 5: Add Bevel & Emboss and make the following settings:
-
Style: Emboss
-
Technique: Smooth
-
Depth: 286%
-
Direction: Up
-
Size: 10 px
-
Soften: 0 px
-
Use Global Light: Uncheck
-
Angle: 96º
-
Altitude: 16º
-
Gloss Contour: Click Contour and download the file “Shiny Contour.shc” (file zip)
-
Anti-Aliased: Check
-
Highlight Mode: Screen
-
Highlight Mode Color: #ffee93
-
Highlight Mode Opacity: 67%
-
Shadow Mode: Normal
-
Shadow Mode Color: #190a20
-
Shadow Mode Opacity: 9%
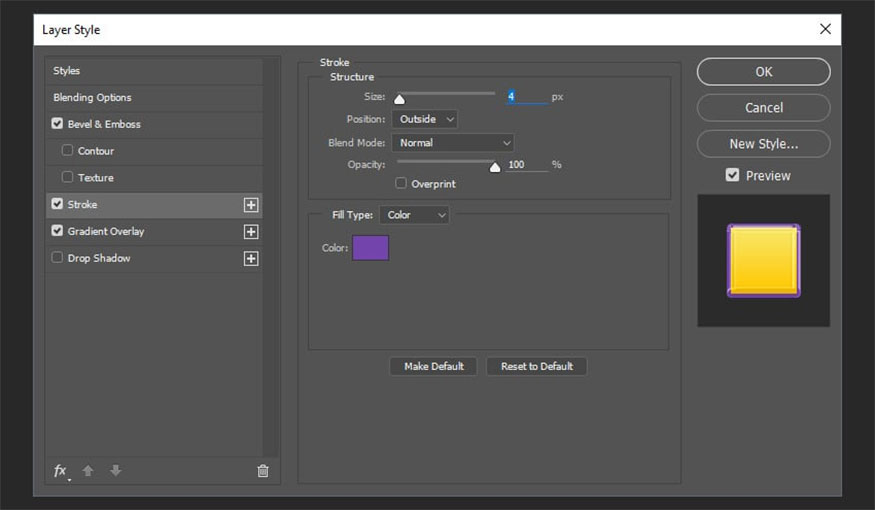
- Step 6: Add Stroke and make the following settings:
-
Size: 4 px
-
Position: Outside
-
Blend Mode: Normal
-
Opacity: 100%
-
Overprint: Uncheck
-
Fill Type: Color
-
Color: #7344ac
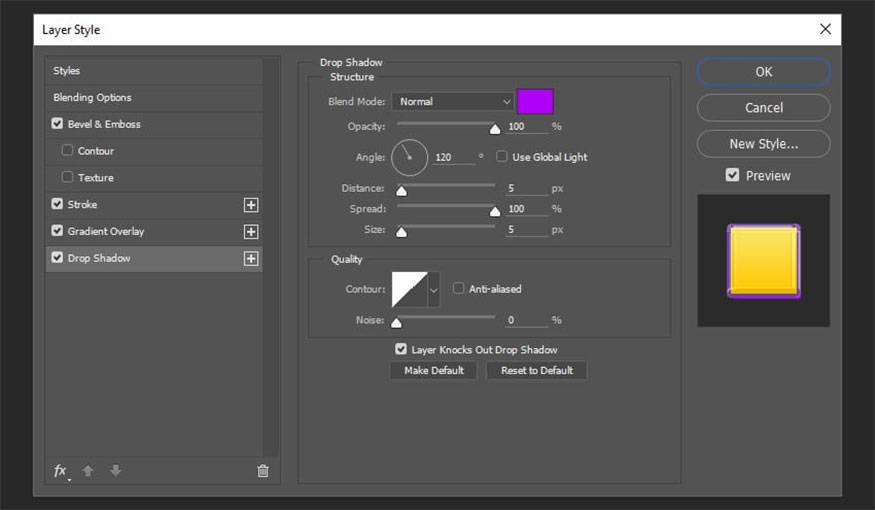
- Step 7: Add Drop Shadow and make the following settings:
-
Blend Mode: Normal
-
Color: #ae00f6
-
Opacity: 100%
-
Use Global Light: Uncheck
-
Angle: 120º
-
Distance: 5 px
-
Spread: 100%
-
Size: 5 px
-
Contour: Linear
-
Anti-Aliased: Uncheck
-
Noise: 0%
-
Layer Knocks Out Drop Shadow: Check.
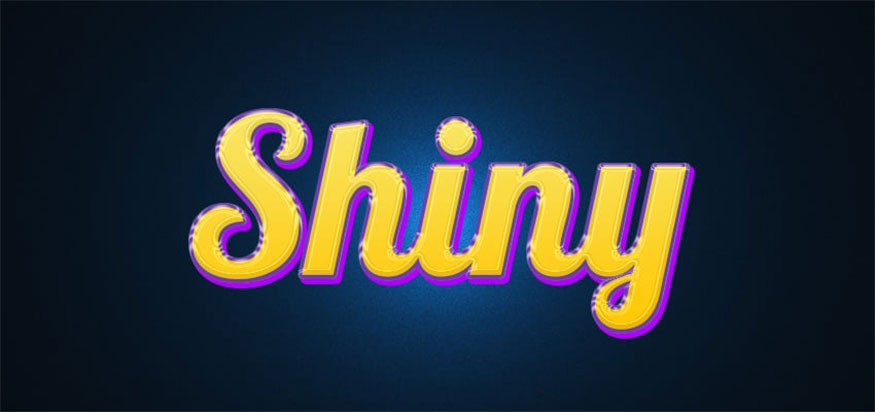
After completing the settings, the image we receive will look like this:
- Step 8: Select the Shiny layer and press Ctrl-J to duplicate this layer. Next, right-click to choose to rename to “Shiny TOP”.
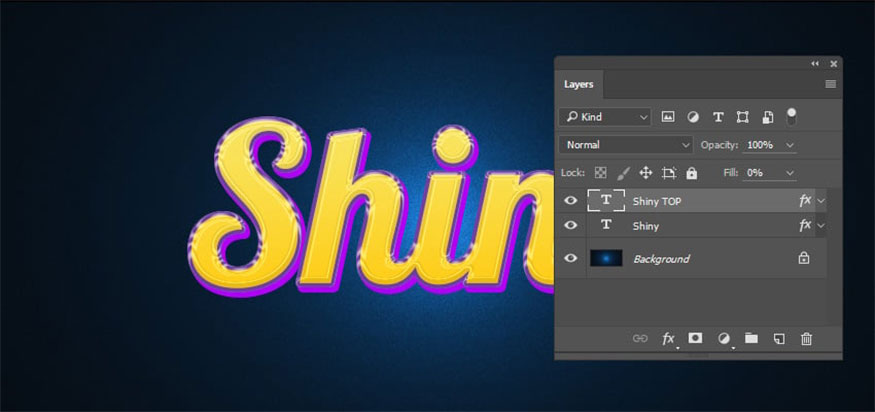
- Step 9: Right click on the Shiny TOP layer then select Clear Layer Style.
Next, double-click on the layer to open the Layer Style window.
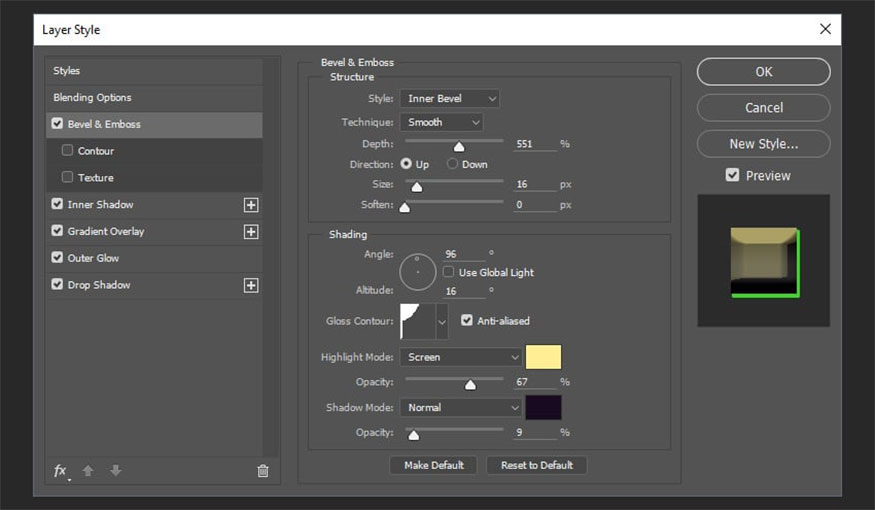
Add Bevel & Emboss with the following parameter settings:
-
Style: Inner Bevel
-
Technique: Smooth
-
Depth: 551%
-
Direction: Up
-
Size: 16 px
-
Soften: 0 px
-
Use Global Light: Uncheck
-
Angle: 96º
-
Altitude: 16º
-
Gloss Contour: Cove - Shallow
-
Highlight Mode: Screen
-
Highlight Mode Color: #ffee93
-
Highlight Mode Opacity: 67%
-
Shadow Mode: Normal
-
Shadow Mode Color: #190a20
-
Shadow Mode Opacity: 9%
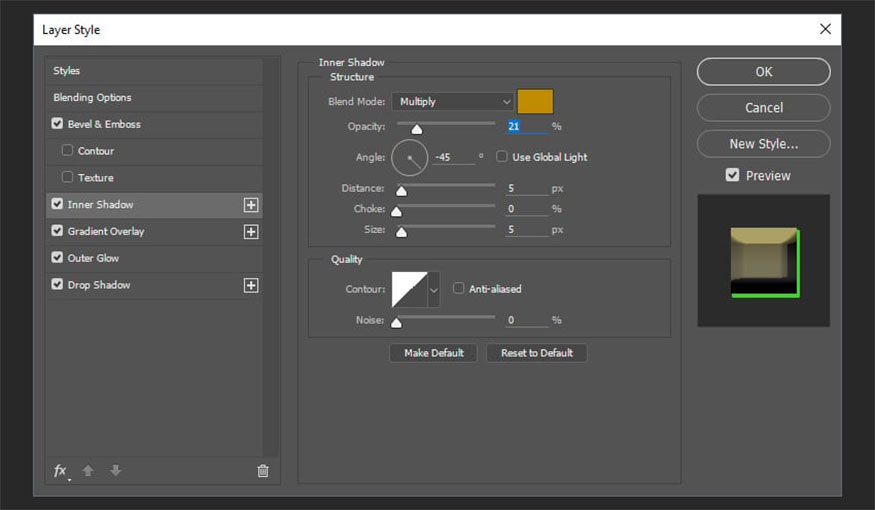
- Step 10: Add Inner Shadow and make the following settings:
-
Blend Mode: Multiply
-
Color: #bf8c01
-
Opacity: 21%
-
Use Global Light: Uncheck
-
Angle: -45º
-
Distance: 5 px
-
Choke: 0%
-
Size: 5 px
-
Contour: Linear
-
Anti-Aliased: Uncheck
-
Noise: 0%
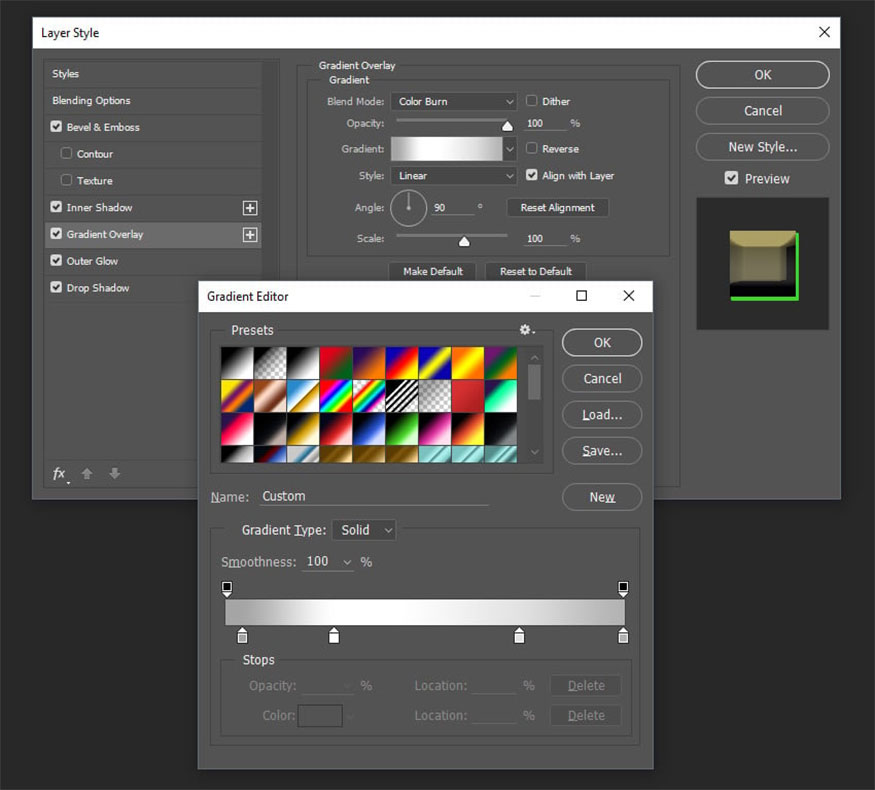
- Step 11: Add Gradient Overlay and make the following settings:
-
Blend Mode: Color Burn
-
Dither: Uncheck
-
Opacity: 100%
-
Style: Linear
-
Align with Layer: Check
-
Angle: 90º
-
Scale: 100%
Next, click on the gradient bar and create it according to the following settings:
-
First Stop Color: #a5a5a5
-
First Stop Position: 4%
-
Second Stop Color: #ffffff
-
Second Stop Position: 27%
-
Third Stop Color: #e2e2e2
-
Third Stop Position: 74%
-
Fourth Stop Color: #b2b2b2
-
Fourth Stop Position: 100%
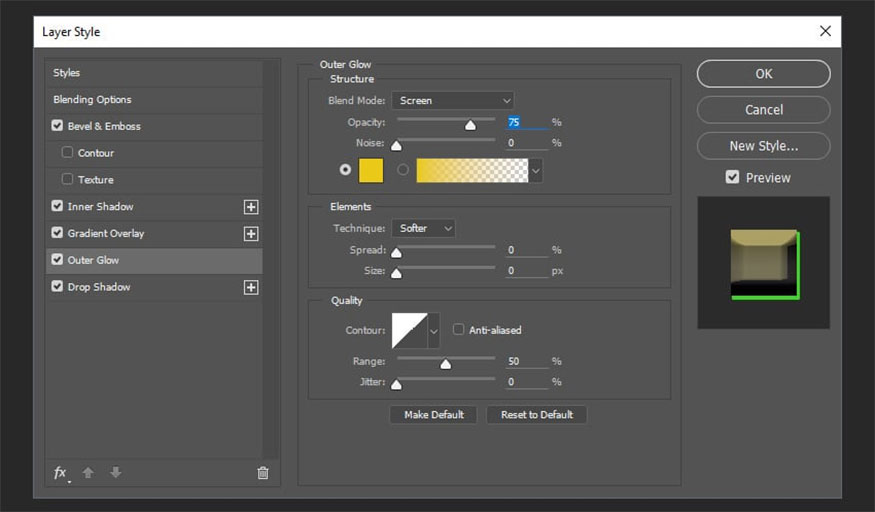
- Step 12: Add Outer Glow and make the following settings:
-
Blend Mode: Screen
-
Opacity: 75%
-
Noise: 0%
-
Color: #eac919
-
Technique: Softer
-
Spread: 0%
-
Size: 0 px
-
Contour: Linear
-
Anti-Aliased: Uncheck
-
Range: 50%
-
Jitter: 0%
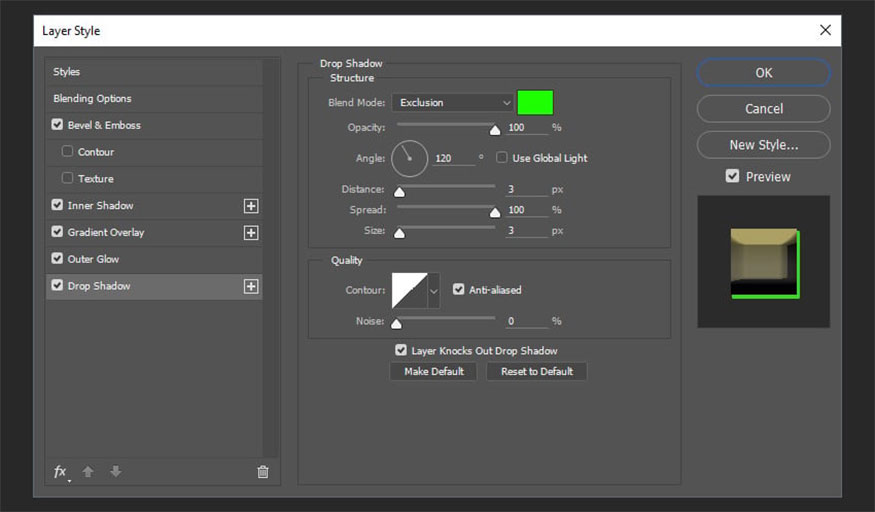
- Step 13: Add Drop Shadow and make the following settings:
-
Blend Mode: Exclusion
-
Color: #1eff00
-
Opacity: 100%
-
Use Global Light: Uncheck
-
Angle: 120º
-
Distance: 3 px
-
Spread: 100%
-
Size: 3 px
-
Contour: Linear
-
Anti-Aliased: Check
-
Noise: 0%
-
Layer Knocks Out Drop Shadow: Check
Click OK.
- Step 14: Press and hold Ctrl then click on the Shiny and Shiny TOP layers to select both. Next press Ctrl-G to group these layers.
hieu-ung-van-ban-day-mau-sac-va-sang-bong-trong-Photoshop-16
- Step 15: Double-click the group layer to open the Layer Style window.
Add Drop Shadow with the following settings:
-
Blend mode: normal
-
Color: #000000
-
Opacity: 30%
-
Global Light: Uncheck
-
Angle: 120°
-
Distance: 3 px
-
Spread: 39 %
-
Size: 5px
-
Contour: Linear
-
Anti-Aliased: Check
-
Noise: 0%
-
Layer Knocks Out Drop Shadow: Check
Click OK.
This is the result:
2. Several shiny text effects.
There are many filters and shiny text effects available, all you have to do is download and apply. This method will help save maximum time for creating effects:
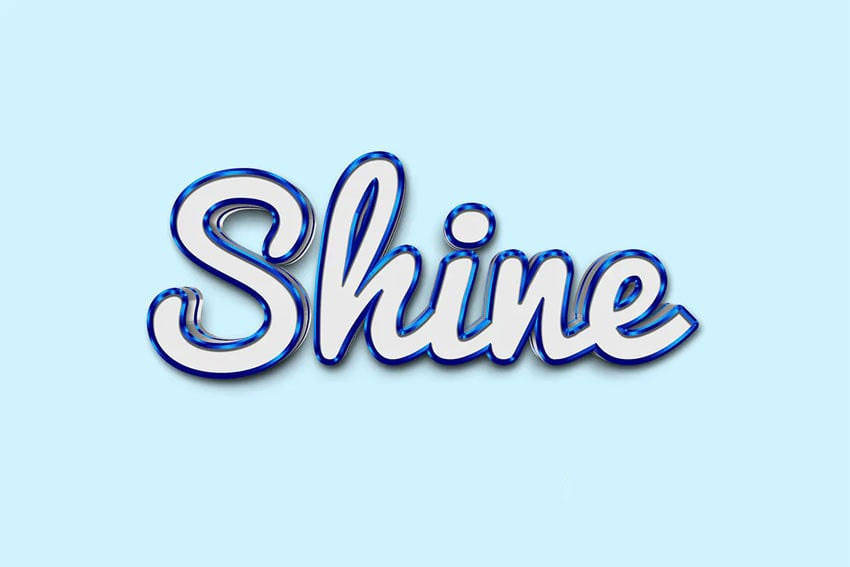
2.1. Shiny blue text effect.
This effect helps your text become shiny, quite similar to the effect we have. created above. However, this effect with 3D depth helps the edges become shiny and more beautiful.
To use the effects, you just need to find and download them, then apply your alternative text.
2.2. Hyper-realistic reflective text effect
If you want your text to have a raised gloss, this is the effect for you to create unique and impressive text. Just download and apply to your text.
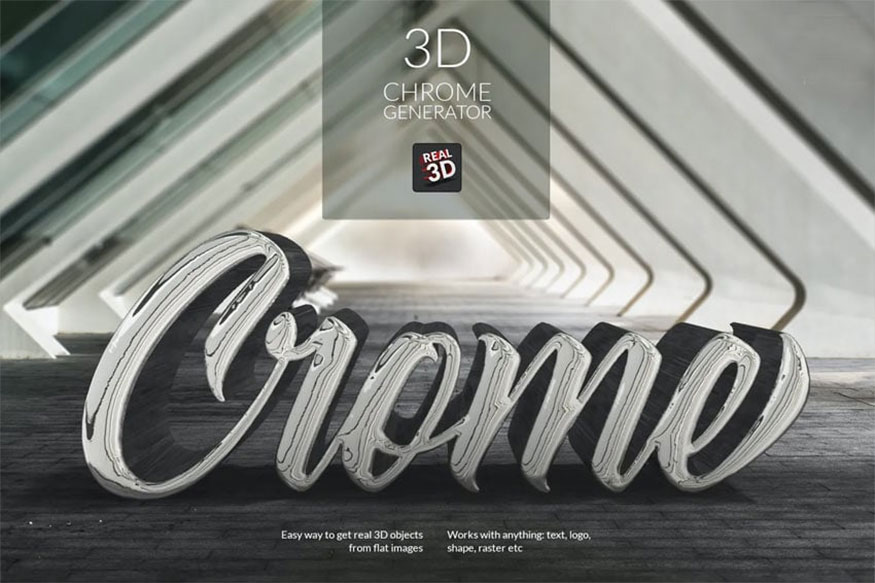
2.3. 3D Crom Shine Text Effect
If you are looking for a metallic text effect in Photoshop, this is one of the ideal choices that you should not miss. The applied text effect looks like Crom, the letters are reflected extremely bright and sharp.
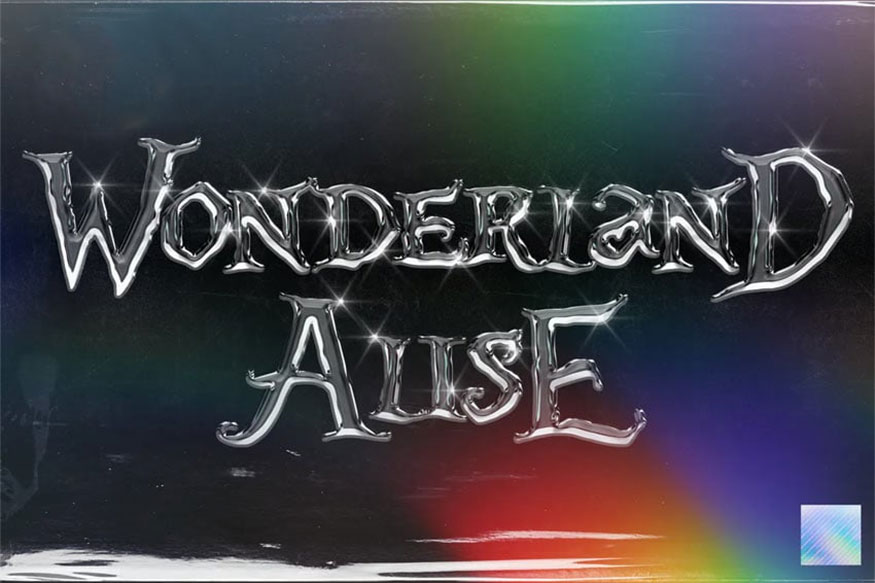
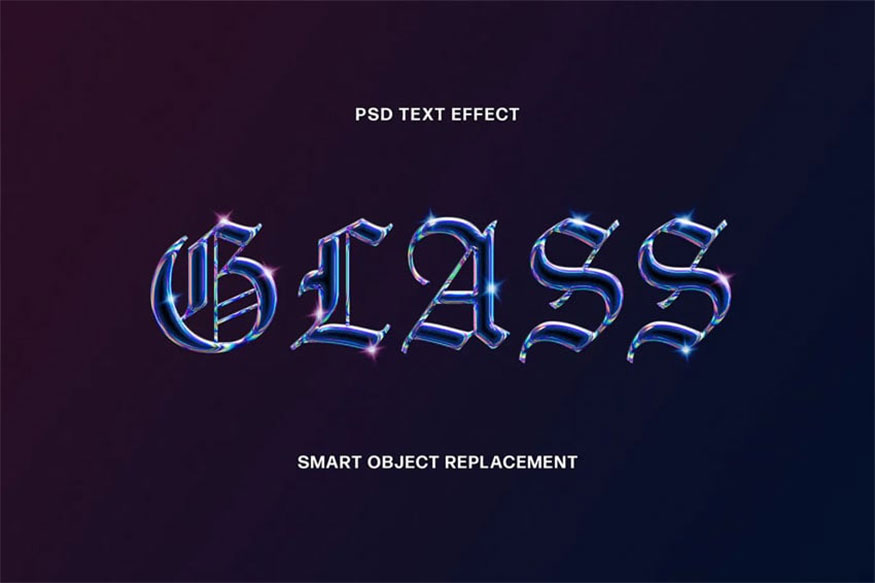
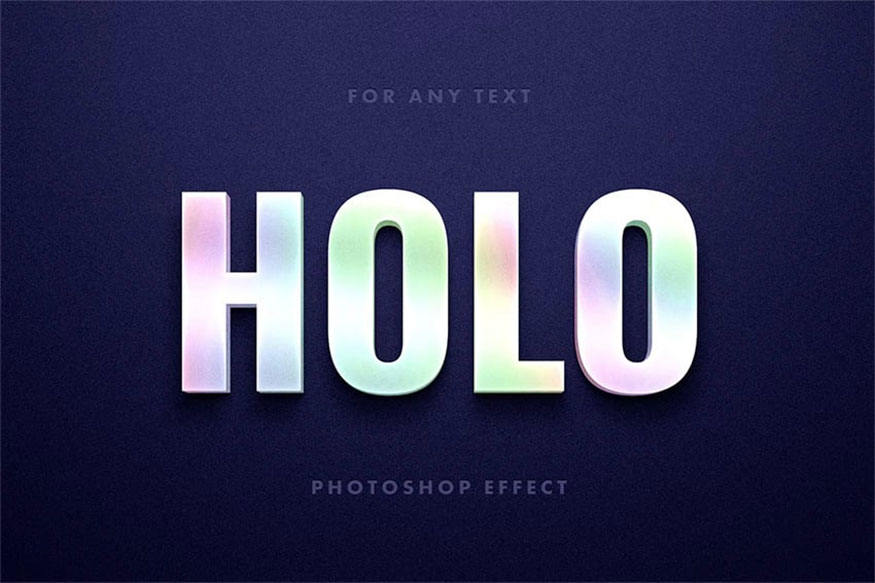
2.4. Holographic glass text effect
This effect makes text shiny and bright with extremely beautiful and impressive highlights. It’s suitable for brand logo design.
You just need to download them, then replace the text and you can apply them immediately. The result is a colorful and sparkly shiny letter effect.
2.5. Shiny three-dimensional text effect
With this effect you can create interesting three-dimensional shiny letters. Just drop the design in and you will see the text transform extremely interesting and attractive.
Therefore, if you need to create colorful and impressive text layers, you absolutely should not ignore this effect!
So, with the specific instructions above, we know how to create colorful and shiny text effects in Photoshop quickly and simply. You can absolutely apply this tutorial to easily create silver or gold text in Photoshop. Don't forget to follow Sadesign to update yourself with many other interesting and useful information!


VIP Products


Best Selling Products
ChatGPT Plus Account (GPT-4)
16 USD
Autodesk All App Account Copyright
120 USD
Adobe Premiere Pro Account
99 USD
Upgrade genuine Capture One account
120 USD
Windows 10 & 11 Pro Key
36 USD
Upgrade Duolingo Super
29 USD
Upgrade Genuine Office 365
49 USD
Capcut Pro 1 Year
39 USD
Genuine Cheap Canva Pro
39 USD
MidJourney Account
29 USD
Genuine Adobe Illustrator account
99 USD
Freepik Premium Account
59 USD
Copyright Adobe Lightroom Account
59 USD
Adobe Photoshop Copyright - Full App
120 USD
Plugin Retouch4me
69 USD