Best Selling Products

Autodesk All App Account Copyright
120 USD

Windows 10 & 11 Pro Key
36 USD

Capcut Pro 1 Year
39 USD

ChatGPT Plus Account (GPT-4)
16 USD

Upgrade Duolingo Super
29 USD

Freepik Premium Account
59 USD

Copyright Adobe Lightroom Account
59 USD

Genuine Adobe Illustrator account
99 USD

Plugin Retouch4me
69 USD

MidJourney Account
29 USD

Adobe Premiere Pro Account
99 USD

Upgrade genuine Capture One account
120 USD

Adobe Photoshop Copyright - Full App
120 USD

Genuine Cheap Canva Pro
39 USD

Upgrade Genuine Office 365
49 USD
Create an interlocking text effect in Photoshop with SaDesign
Nội dung
The interlocking text effect in Photoshop is considered an indispensable part of modern brand design. In this article SaDesign will show you how to create two very simple interlocking letters in Photoshop so you can apply it to your design.

The interlocking text effect in Photoshop is considered an indispensable part of modern brand design. In this article SaDesign will show you how to create two very simple interlocking letters in Photoshop so you can apply it to your design.

1. Introduction to interlocking letters
Interlocking letters is a typeface made up of two or more letters to form a unified symbol. The purpose is to create a style for the lettering, often used to brand companies.
2. Set up a Photoshop file for the interlocking letters
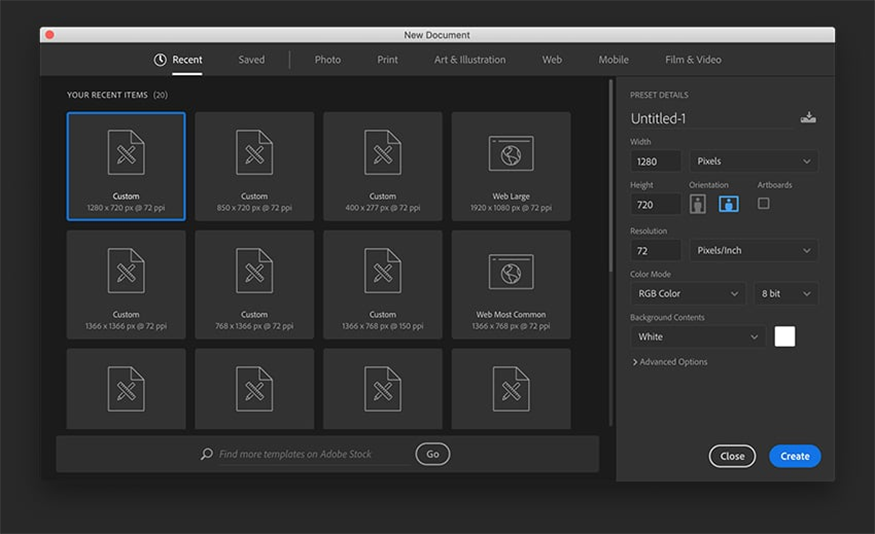
- Step 1: First, open Photoshop => File => New to create a new file and install the new file with the following dimensions:
-
Width: 1280 px
-
Height: 720 px
-
Portrait: Landscape
-
Units: Pixels
-
Resolution: 72 pixels/inch
-
Color Mode: RGB
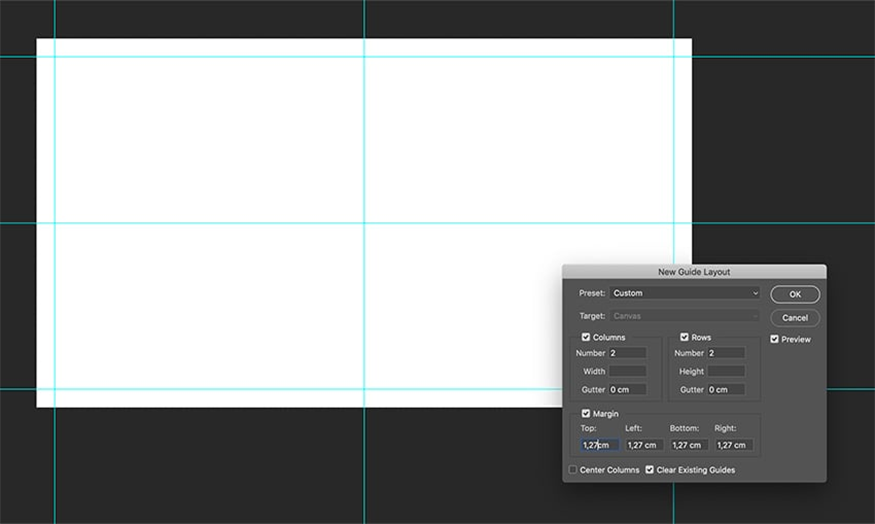
- Step 2: Click View => New Guide Layout, in the New Guide Layout window, set the column and row to 2cm and the Gutter to 0 cm. In the Margin section, keep the default of 1.27cm => click OK.
3. How to design interlocking letters logo
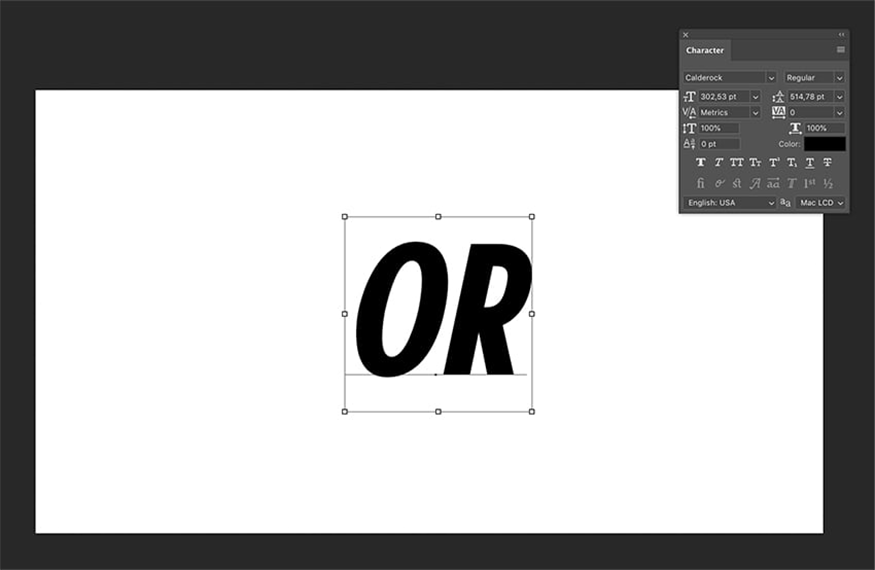
- Step 1: Go to the Tools panel and select Text Tool (T) => add the first letter, in this example we will add "O".
Then add another text layer with the letter "R". In the Character panel set the abbreviation to “Monogram World 5 Regular”.
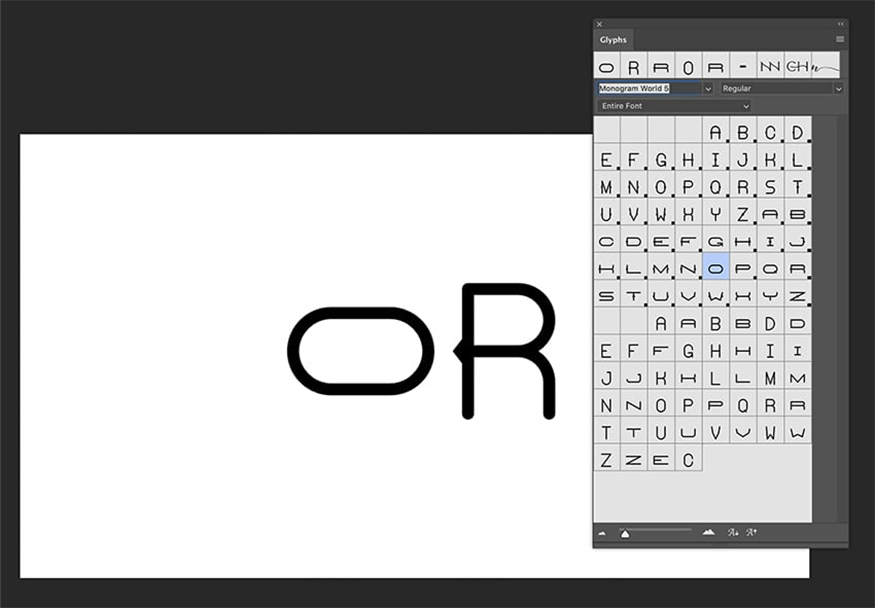
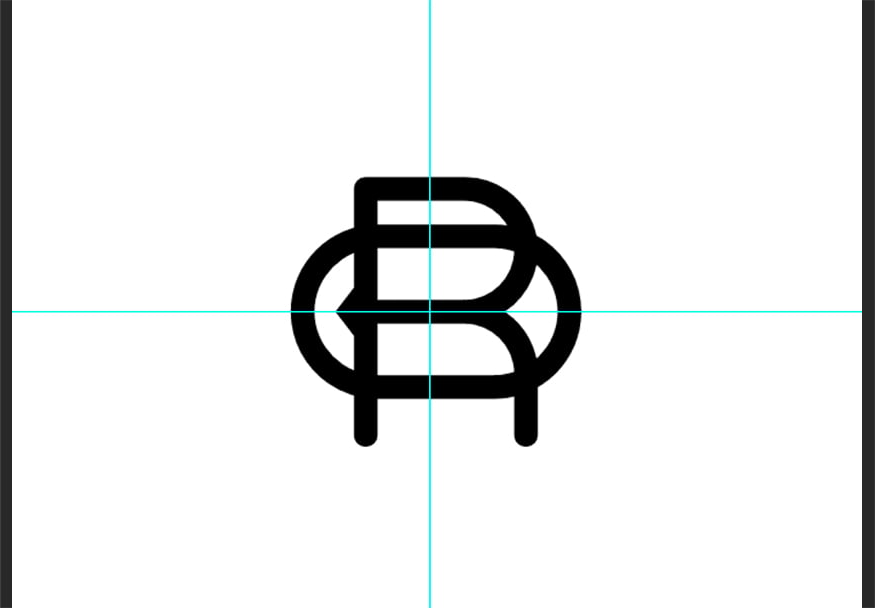
- Step 2: Open the Glyphs panel by going to Window => Glyphs, you will see that in the Glyphs panel there will be different options for interlocking letters.
Select the letter "O" and double-click the wider "O" in the Glyphs panel to add the character. With the letter "R" we will keep the regular width.
- Step 3: In the Layers panel, select both letters by pressing Shift and click on each layer. Then move to the options bar and align both letters by clicking the align horizontally and vertically center box.
Use the Move Tool (V) to place both letters in the center of the document.
- Step 4: In the Layers panel => Create New Fill or Adjustment => Solid Color and add a new solid black layer.
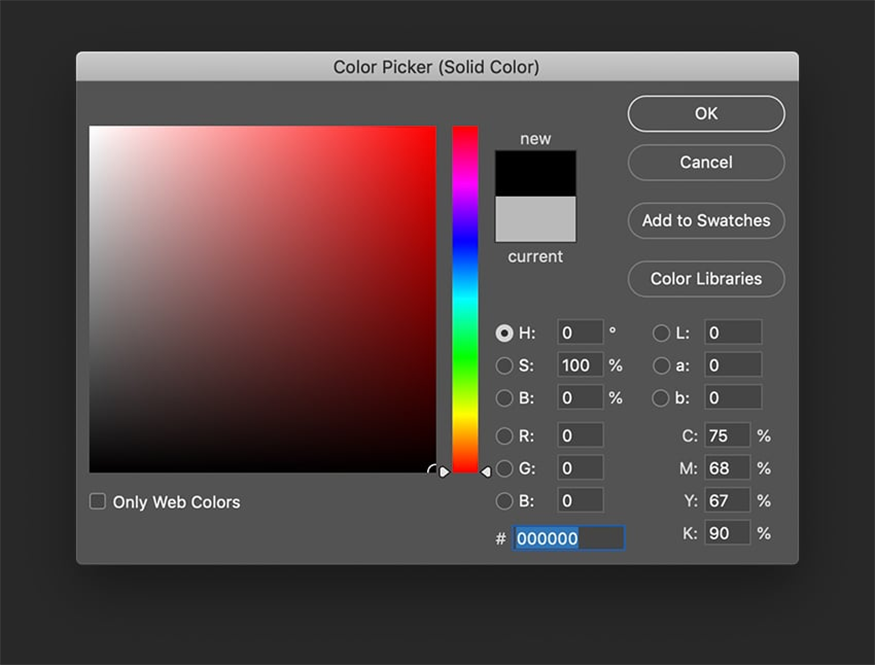
- Step 5: In the Layers panel, right-click on the letter "O" layer and select Blending Options to open the Layer Style window.
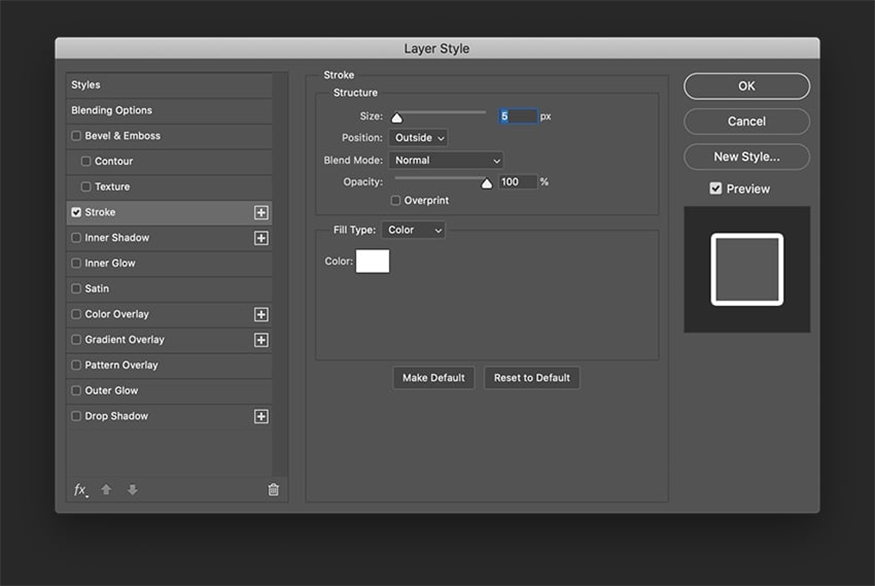
After the Layer Style window opens, click on the Stroke option from the menu on the left. For the Stroke option, set the following parameters:
-
Size: 5 px
-
Position: Outside
-
Color: White.
- Step 6: In the Layers panel, right-click on layer O then select Copy Layer Style. Right click on layer R and select Paste Layer Style.
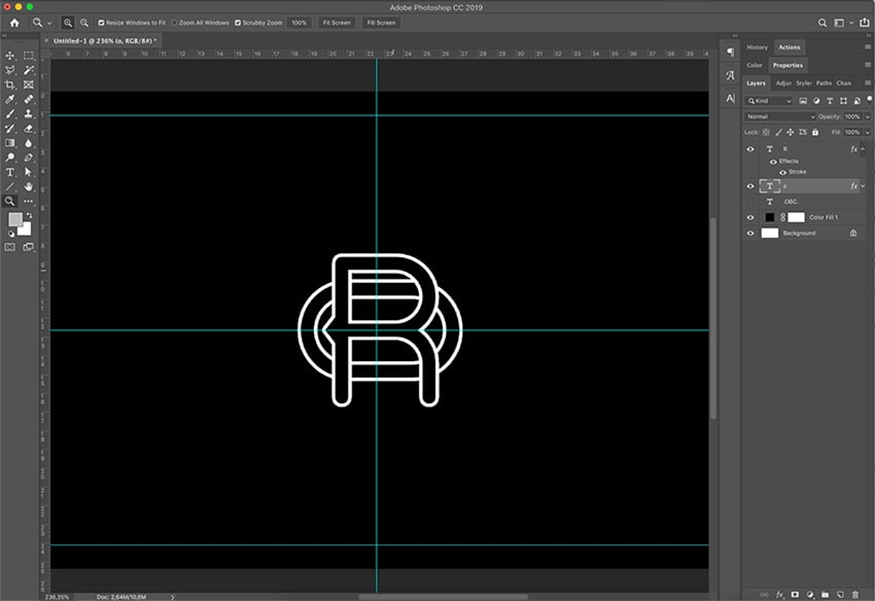
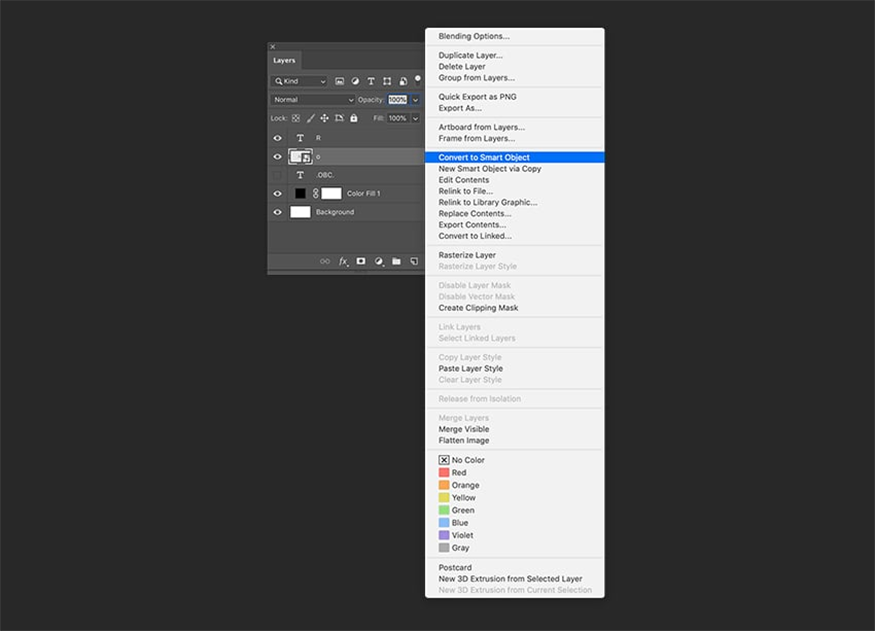
- Step 7: To create the interlocking effect, we need to convert the layers into Smart Objects. Right-click each layer then select Convert to Smart Objects.
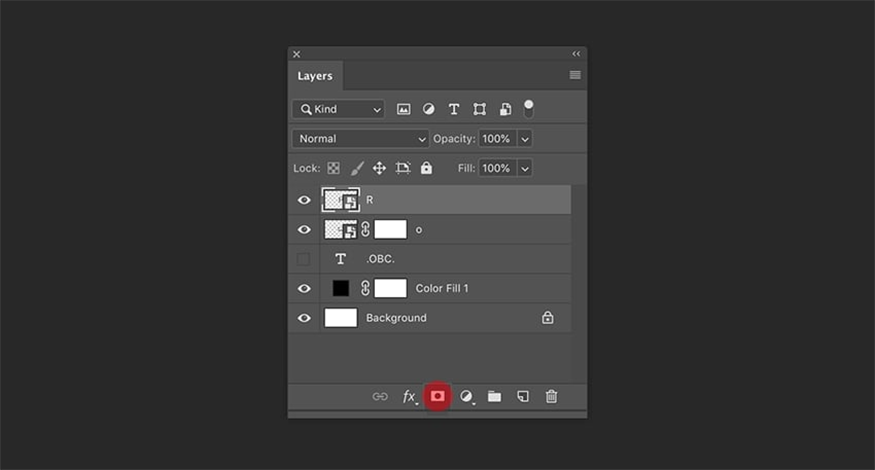
- Step 8: In the Layers panel, select layer O => Add Layer Mask and repeat this step with layer R.
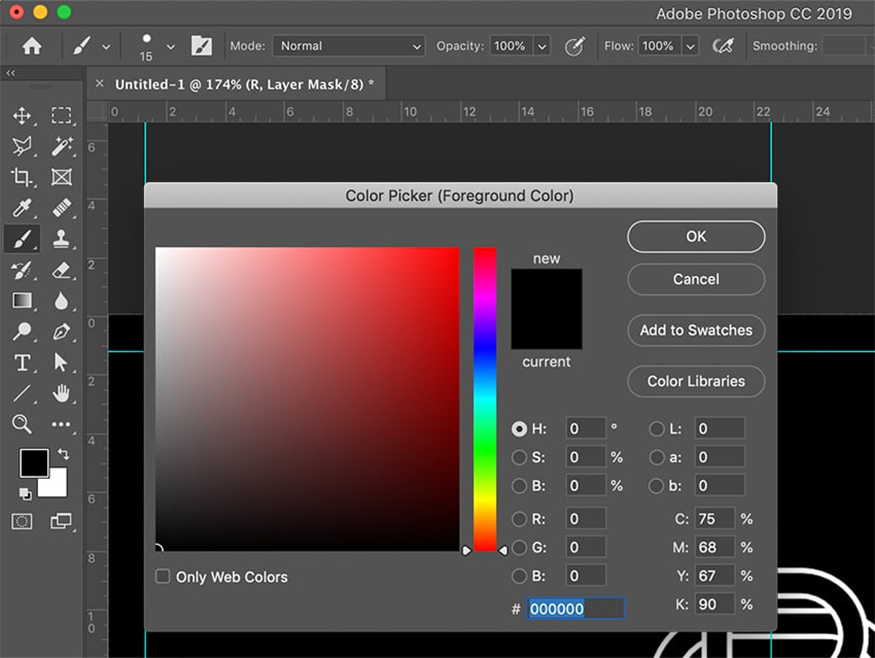
- Step 9: From the toolbar, select the Brush Tool (B) and set Foreground Color to Black.
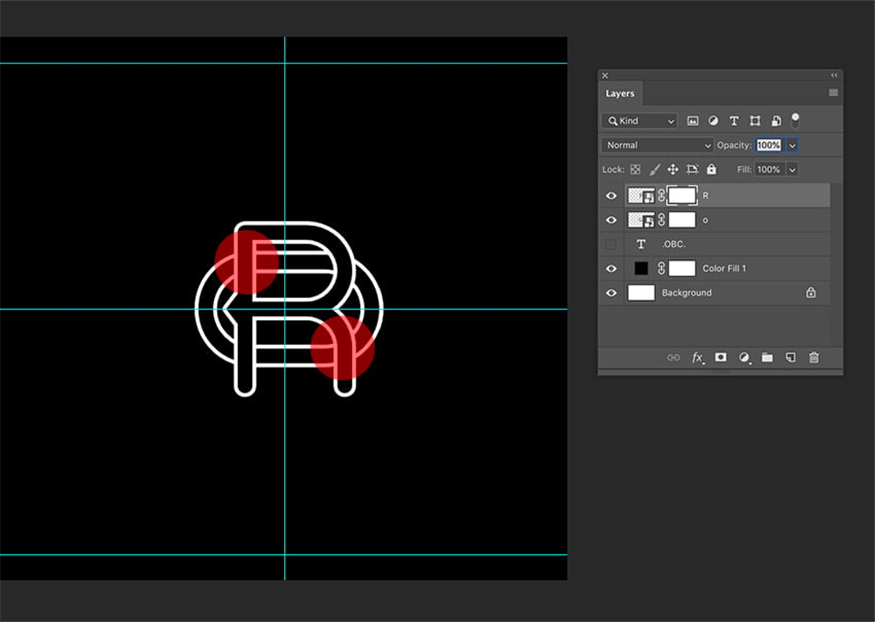
- Step 10: In the Layers panel, click on the Layer Mask thumbnail right above layer R. Layer Mask is a useful feature for hiding and showing parts of a layer without having to delete them. So if you make a mistake, you can still fix it easily by changing the foreground color to white to perfect your design.
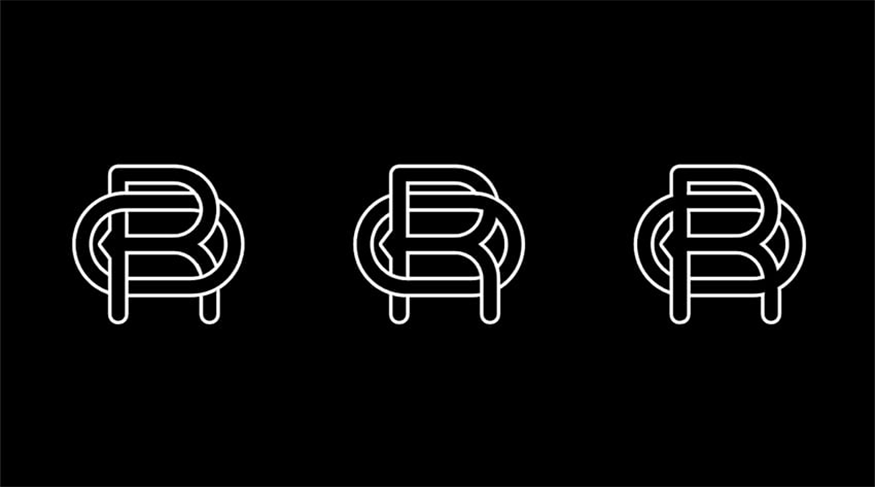
- Step 11: Here are some examples of interlocking letters.
4. How to add touches to finish an interlocking letters logo
- Step 1: Use the Text Tool (T) to add a text layer. Use Characters to change settings. You set the text size to 50 pt and Tracking to 100.
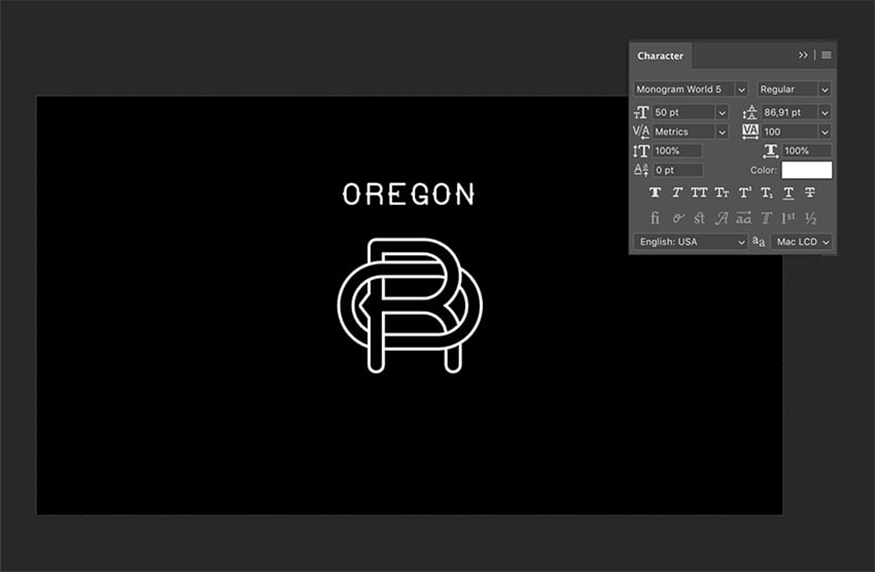
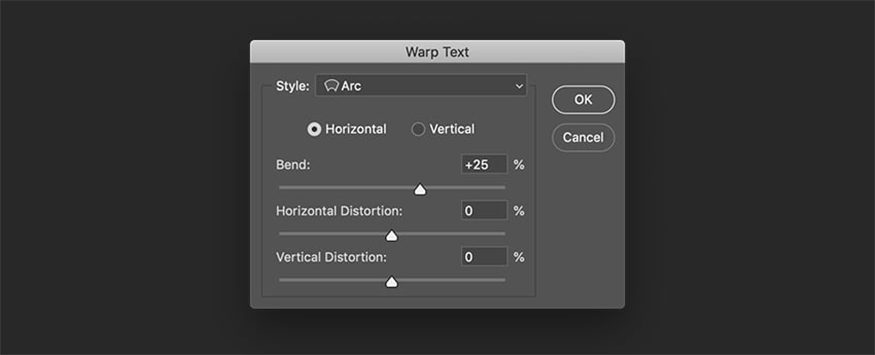
- Step 2: After activating the Text Tool (T), go to the Options bar and select Create Warped Text. In the Warp Text window, make the following settings:
-
Style: Arc
-
Select Horizontal
-
Bend: +25%
Click OK.
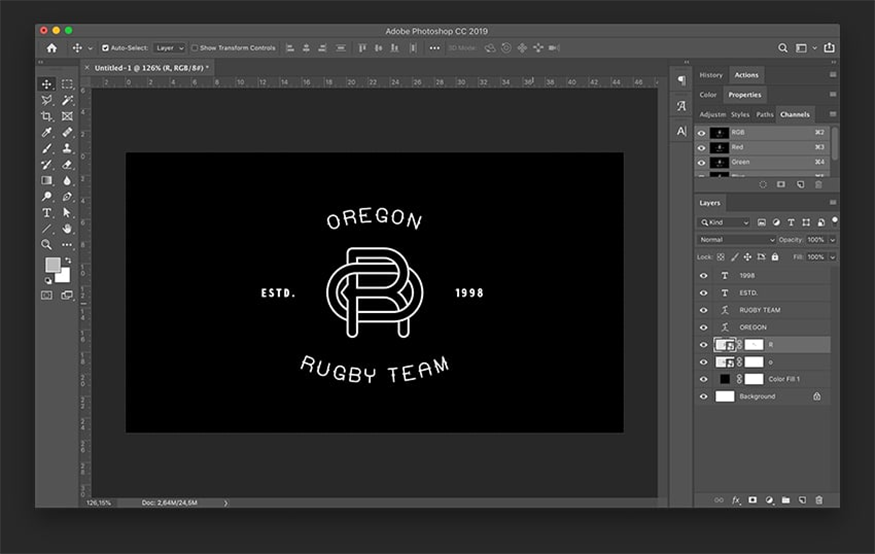
- Step 3: Use the Text Tool (T) to add another text layer, in the example below we add the text "Rugby Team". Then use the Characters panel to change the settings.
Set the text size to 50 pt, and Tracking to 100. After the Text Tool (T) is activated, go to the Options bar => select Create Warped Text. In the Warp Text window, set the following settings:
-
Style: Arc
-
Select Horizontal
-
Bend: -25%.
Click OK.

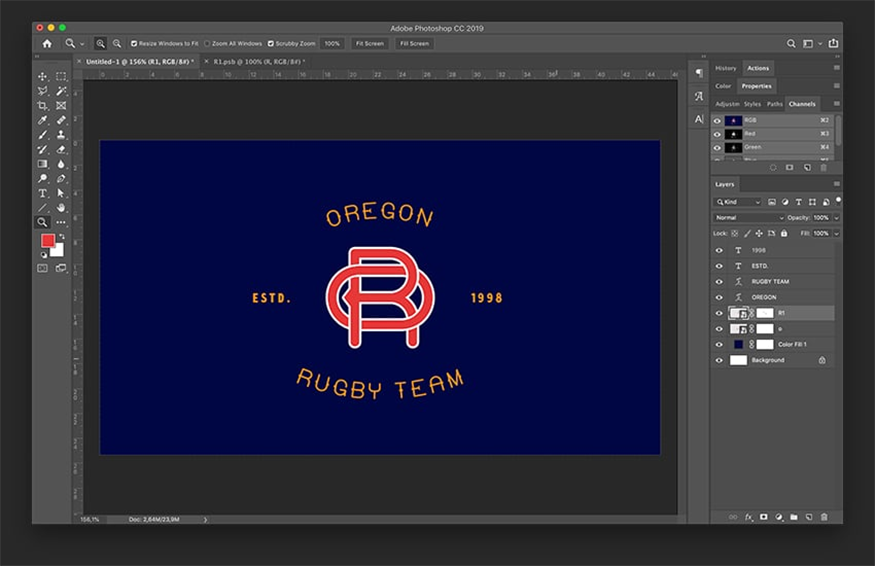
- Step 4: Finally we add 2 content "ESTD." and "1998" on each side of the interlocking letters logo. Select the Text Tool (T) and create a layer to add "ESTD.", then use the Character panel and set the font to Calderock, Size 30 pt and Tracking to 200.
Duplicate the layer by pressing Option and dragging the text towards the right. Press the Shift key to maintain the same horizontal or vertical alignment.
Select the Text Tool (T) and change the text to 5.
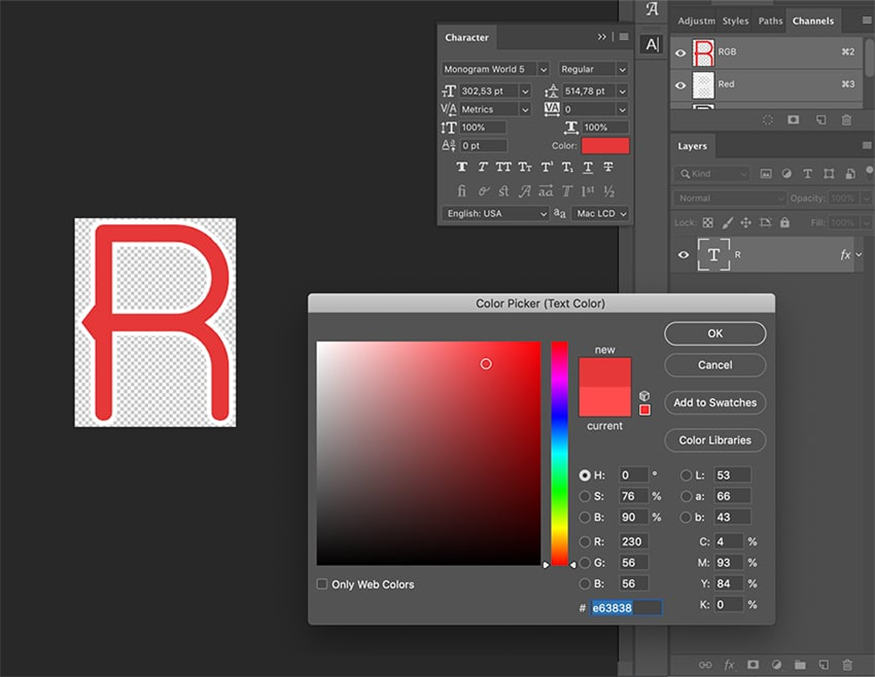
- Step 5: Now we can change the color of the design. Because we have created Smart Layers for the abbreviation, when you want to edit the color, just double-click on the Smart Layers layer. Immediately, a new Photoshop file will open with Smart Layers. You select the layer, then open the Character panel to make color changes.
After you finish changing the colors, press Command-S to save your edits. After closing the door, you will see the new color in the design.
- Step 6: Repeat the same step for the remaining first letter of the interlocking letters design. Change the background color via the Color Fill layer then recolor the text.
- Step 7: To add the size for the interlocking letters design, add a drop shadow effect. Select the original 2 layers by pressing Command, then enter layer and go to the second layer. Right-click to select Duplicate Layers.
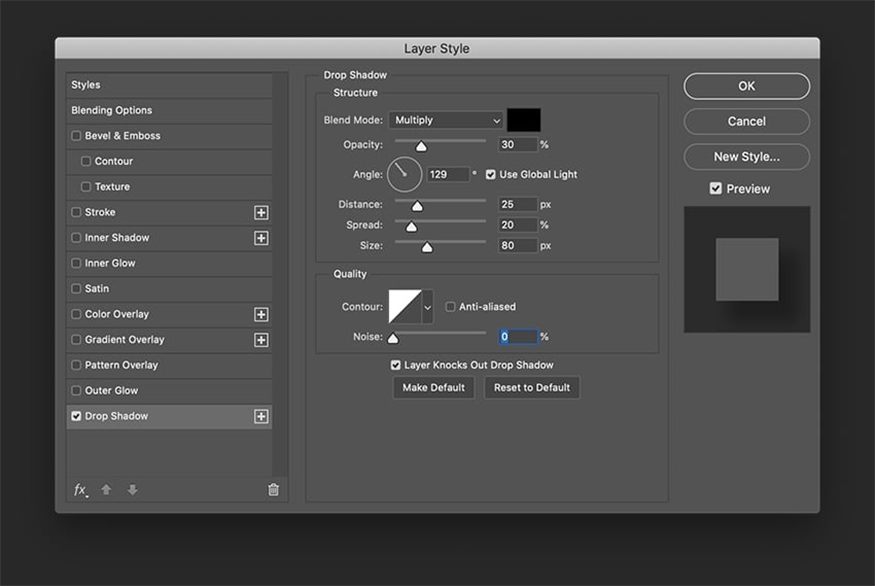
Select both duplicate layers, right-click then click Merge Layers. Right click on the merged layer and select Blending Options. Check and select Drop Shadow from the left menu and set as follows:
-
Blend Mode: Multiply
-
Opacity: 30%
-
Angle: 130
-
Distance: 25 px
-
Spread: 20%
-
Size: 80 px
Click OK
- Step 8: Right click on the merged layer and select Copy Layer Style. Select all four text layers to be added to each side of the design. Then right-click to select Paste Layer Style.
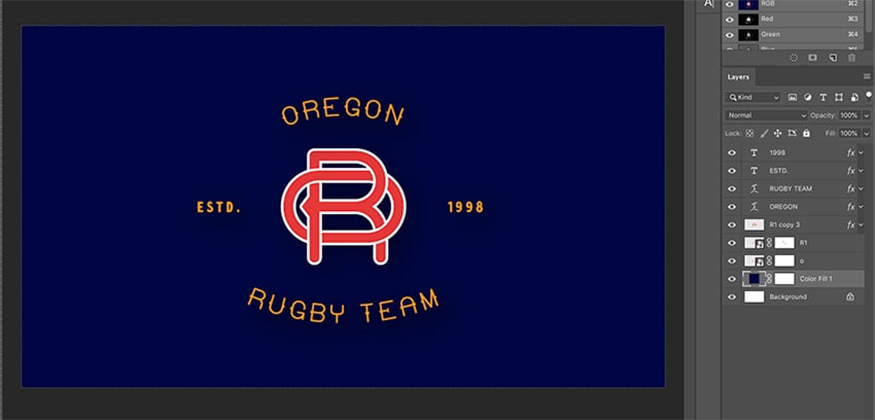
So we have completed how to create an extremely simple interlocking letters effect in Photoshop with just a few simple steps. Hopefully the above instructions will help you apply them successfully to your designs!


VIP Products


Best Selling Products
Autodesk All App Account Copyright
120 USD
Windows 10 & 11 Pro Key
36 USD
Capcut Pro 1 Year
39 USD
ChatGPT Plus Account (GPT-4)
16 USD
Upgrade Duolingo Super
29 USD
Freepik Premium Account
59 USD
Copyright Adobe Lightroom Account
59 USD
Genuine Adobe Illustrator account
99 USD
Plugin Retouch4me
69 USD
MidJourney Account
29 USD
Adobe Premiere Pro Account
99 USD
Upgrade genuine Capture One account
120 USD
Adobe Photoshop Copyright - Full App
120 USD
Genuine Cheap Canva Pro
39 USD
Upgrade Genuine Office 365
49 USD