Best Selling Products

Copyright Adobe Lightroom Account
59 USD

Windows 10 & 11 Pro Key
36 USD

ChatGPT Plus Account (GPT-4)
16 USD

Adobe Photoshop Copyright - Full App
120 USD

Autodesk All App Account Copyright
120 USD

Genuine Cheap Canva Pro
39 USD

Genuine Adobe Illustrator account
99 USD

Upgrade genuine Capture One account
120 USD

Upgrade Genuine Office 365
49 USD

Upgrade Duolingo Super
29 USD

Freepik Premium Account
59 USD

Capcut Pro 1 Year
39 USD

Plugin Retouch4me
69 USD

MidJourney Account
29 USD

Adobe Premiere Pro Account
99 USD
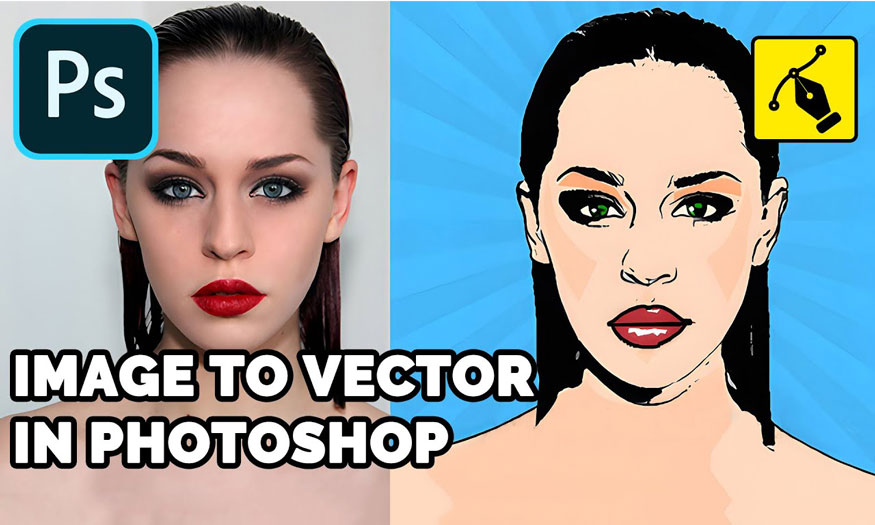
How to convert images to vector in Photoshop
Nội dung
Converting images to vector in Photoshop is an essential skill for graphic artists. Photos are often converted to vector for easy editing, high compatibility, economical storage, etc. Join Sadesign to learn about how to convert photos to vector in Photoshop in the following shares.
Converting images to vector in Photoshop is an essential skill for graphic artists. Photos are often converted to vector for easy editing, high compatibility, economical storage, etc. Join Sadesign to learn about how to convert photos to vector in Photoshop in the following shares.
1. Benefits of converting images to vector in Photoshop
Vector images are created from basic objects, shapes, and boundary points. They use algorithms to mix colors based on previously created boundary lines. Converting images to vector in Photoshop is necessary because vector images have the following benefits:
.jpg)
- High compatibility: vector images can be opened and edited in many different software such as Photoshop, Illustrator, CorelDraw, Inkscape,...
- Ability to flexibly resize images: vector images can be Zoom in and out without losing quality. Therefore, vector is very convenient for printing or displaying on different devices.
- Easy editing ability: Vector can be separated into many parts, can be moved, rotated or deformed, change color easily.
- Economical storage capacity: Vector capacity is smaller than bitmap, thus saving storage space and transmission bandwidth.
2. How to convert photos to vector in Photoshop
To convert photos to vector in Photoshop, you can follow these steps:
Step 1: Open the photo you want to convert to vector in Photoshop by clicking File => Open or select the keyboard shortcut Ctrl+O.
Note, you should choose images with high resolution, clarity, and few complex details to convert to vector.
.jpg)
Step 2: Create a selection for the object using the Quick Selection Tool. You just need to place the tool on the object and then drag the mouse over the entire object.
.jpg)
Step 3: Sharpen the image to convert the image to detailed vector. Create a Layer Mask for the selected object => Menu => Filter => Sharpen => Smart Sharpen.
.jpg)
Step 4: Adjust the given parameters and select OK after finishing.
.jpg)
Step 5: Select Layer 0 that you have created => Right click on Adjustment Layer => Select Threshold.
.jpg)
Step 6: Now adjust the appropriate contrast for the image.
.jpg)
Step 7: Press the keyboard shortcut Ctrl (Command) + J to duplicate the Layer.
.jpg)
Step 8: Select the newly duplicated layer (Layer 1 copy) => Select Filter => Select Other => Select High Pass.
.jpg)
Step 9: Adjust the Radius section to the appropriate parameter and select OK after completion.
.jpg)
Step 10: Select all the layers in Photoshop and then press the key combination Ctrl (Command) + E to merge the layers.
.jpg)
Step 11: Select the merged layer => Right click on the subject => Select Color Range.
.jpg)
Step 12: Select the color absorption icon => Remove dark parts in the image => Customize the Fuzziness section to the appropriate level => Select OK.
.jpg)
Step 13: Select Layer Mask to create a layer mask for the merged layer.
.jpg)
Step 14: Select the mask at Layer 1 (Merged Layer) => Select the Path tool => Right click on the object => Select Mask Work Path.
.jpg)
Step 15: Select File => Select Export => Select Path to Illustrator.
.jpg)
Step 16: Now that you have finished converting the image to vector in Photoshop, you just need to save the image.
.jpg)
3. Some notes when converting images to vector in Photoshop
During the process of converting images to vector in Photoshop, for best results, you should note the following points:
- Choose appropriate images: you should choose images with high resolution, clarity, and few complex details for the most accurate conversion to vector.
- Create accurate paths: when converting images into vectors in Photoshop, you need to pay attention to creating accurate paths, close to the edges of objects in the image.
- Check styles and details: check the styles and details of objects after converting to vector. You can use the Stroke tool to change path strokes such as color, thickness, stroke type, etc.
- Backup original data: You should back up the original data before converting the image to vector in Photoshop. Please save the original image as JPG, PNG, PSD to restore when necessary.
Above is general information on how to convert images to vector in Photoshop. Hopefully Sadesign's sharing can help you convert images to vector easily.


VIP Products


Best Selling Products
Copyright Adobe Lightroom Account
59 USD
Windows 10 & 11 Pro Key
36 USD
ChatGPT Plus Account (GPT-4)
16 USD
Adobe Photoshop Copyright - Full App
120 USD
Autodesk All App Account Copyright
120 USD
Genuine Cheap Canva Pro
39 USD
Genuine Adobe Illustrator account
99 USD
Upgrade genuine Capture One account
120 USD
Upgrade Genuine Office 365
49 USD
Upgrade Duolingo Super
29 USD
Freepik Premium Account
59 USD
Capcut Pro 1 Year
39 USD
Plugin Retouch4me
69 USD
MidJourney Account
29 USD
Adobe Premiere Pro Account
99 USD