Best Selling Products

Genuine Adobe Illustrator account
99 USD

MidJourney Account
29 USD

ChatGPT Plus Account (GPT-4)
16 USD

Upgrade Duolingo Super
29 USD

Capcut Pro 1 Year
39 USD

Plugin Retouch4me
69 USD

Autodesk All App Account Copyright
120 USD

Windows 10 & 11 Pro Key
36 USD

Upgrade genuine Capture One account
120 USD

Adobe Photoshop Copyright - Full App
120 USD

Genuine Cheap Canva Pro
39 USD

Adobe Premiere Pro Account
99 USD

Freepik Premium Account
59 USD

Upgrade Genuine Office 365
49 USD

Copyright Adobe Lightroom Account
59 USD
Guide to create a band flyer in Photoshop with SaDesign
Nội dung
Flyers are a commonly used method to promote bands at concerts thanks to their high recognition efficiency and low cost. Join SaDesign to learn how to create band flyers in Photoshop extremely quickly below to have impressive flyer templates that attract viewers at first sight!

Flyers are a commonly used method to promote bands at concerts thanks to their high recognition efficiency and low cost. Join SaDesign to learn how to create band flyers in Photoshop extremely quickly below to have impressive flyer templates that attract viewers at first sight!
1. How to create a grunge style background for a flyer.
- Step 1: First, you need to open Photoshop and create a new document by going to File => New. Then change the width to 8.75 inches and the height to 11.25 inches.
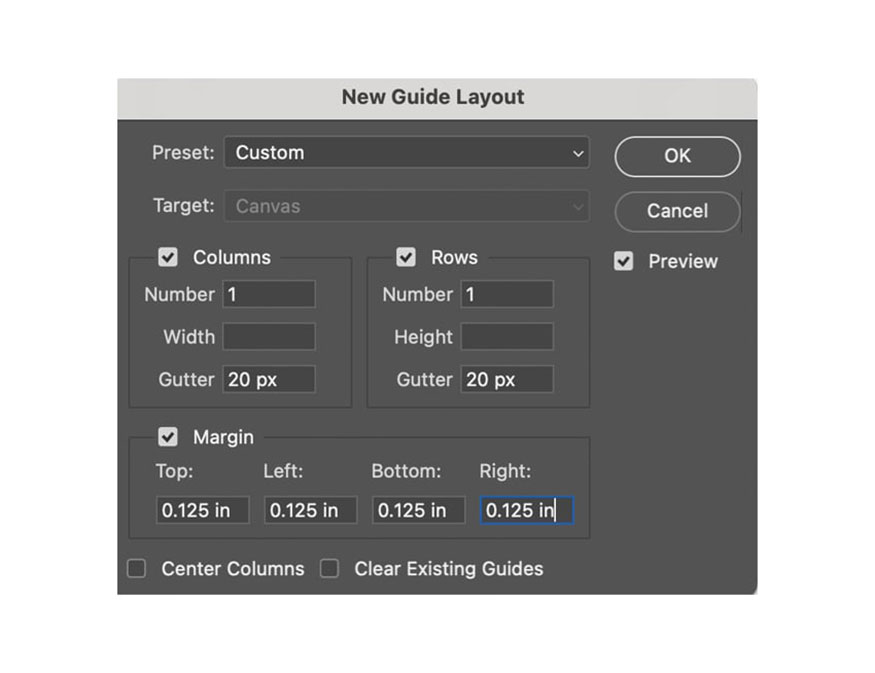
- Step 2: Create 4 guides by going to View => New Guide Layout. Change the top, left, bottom, and right margins to 0.125 in.
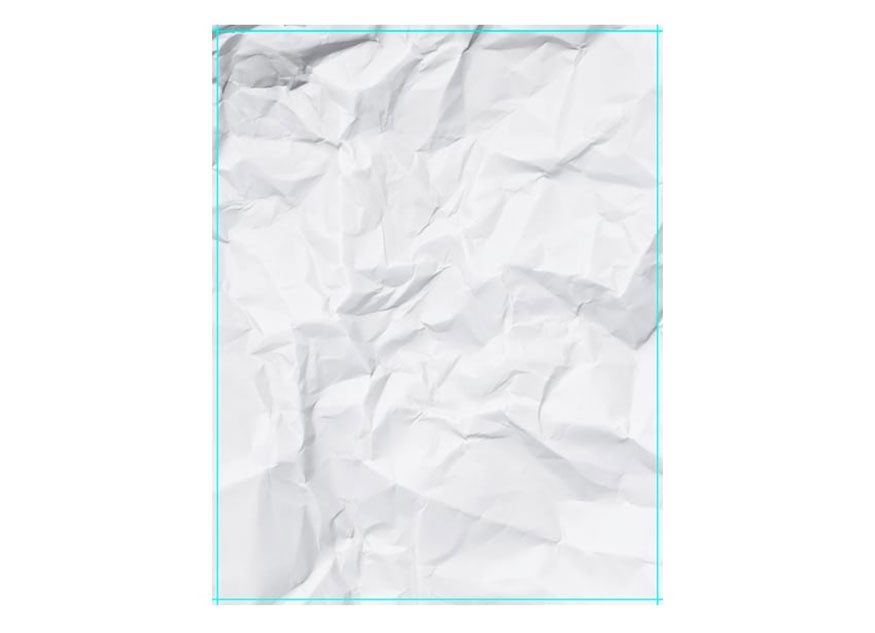
- Step 3: Open the wrinkled paper image in Photoshop, then drag and drop this image into the flyer design.
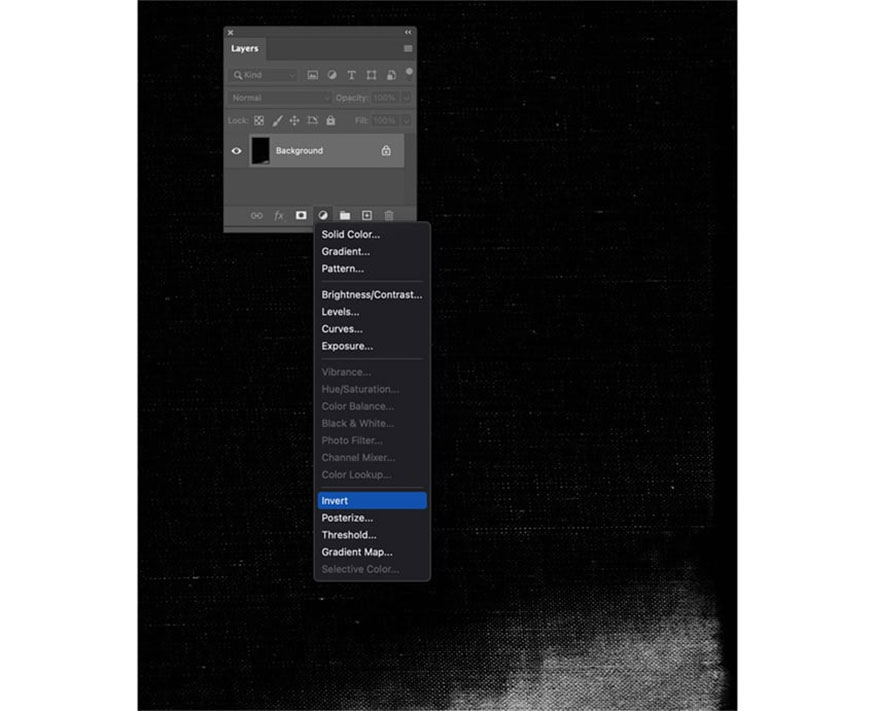
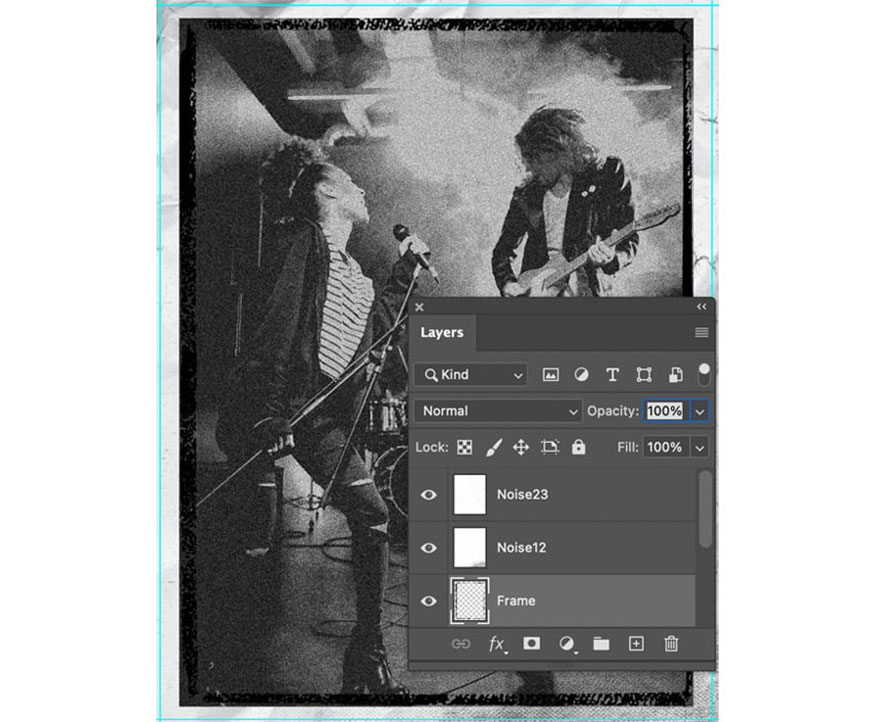
- Step 4: Open noise23.jpg and noise12.jpg from the noise overlay texture zip file in Photoshop. Convert the 2 noisy images to grayscale by going to Image => Mode => Grayscale.
Then, invert both images by adding an Invert Adjustment Layer. Select the Invert and Noise layers in the Layers panel, then right-click and choose Merge Layers.
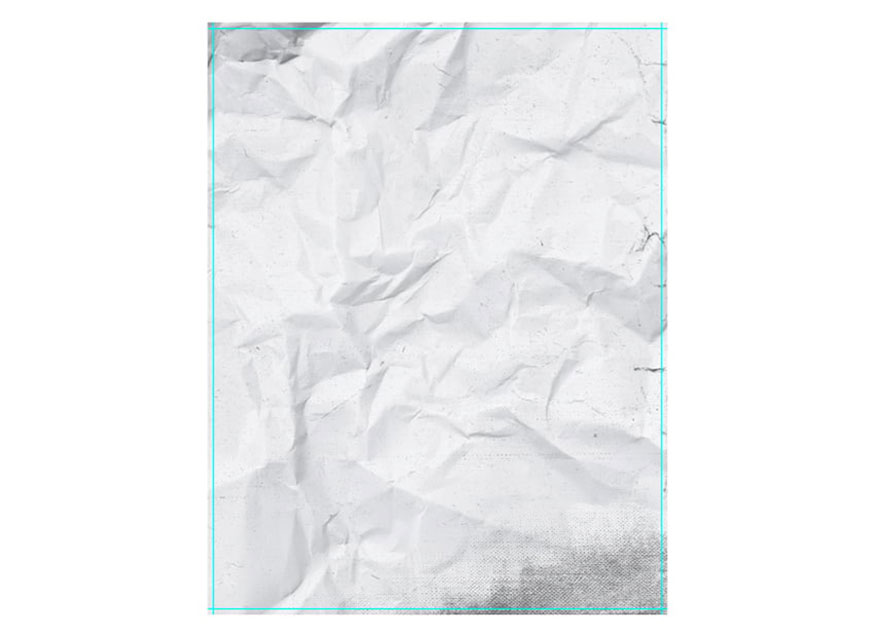
- Step 5: Drag and drop the noise23 and noise12 layers into the flyer design. Next, change the Blending Mode to Multiply.
2. How to create a band flyer in Photoshop
- Step 1: First, you need to click the Rectangle Tool (U) and create a frame for the band photo. Use the dimensions 2380 px x 3185 px. Right-click this rectangular layer in the Layers panel then select Convert to Smart Object.
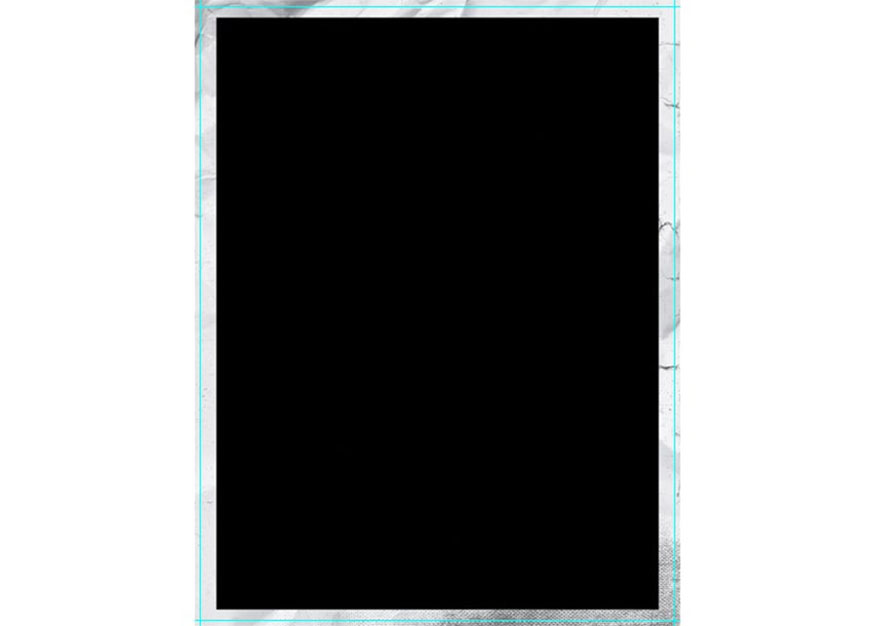
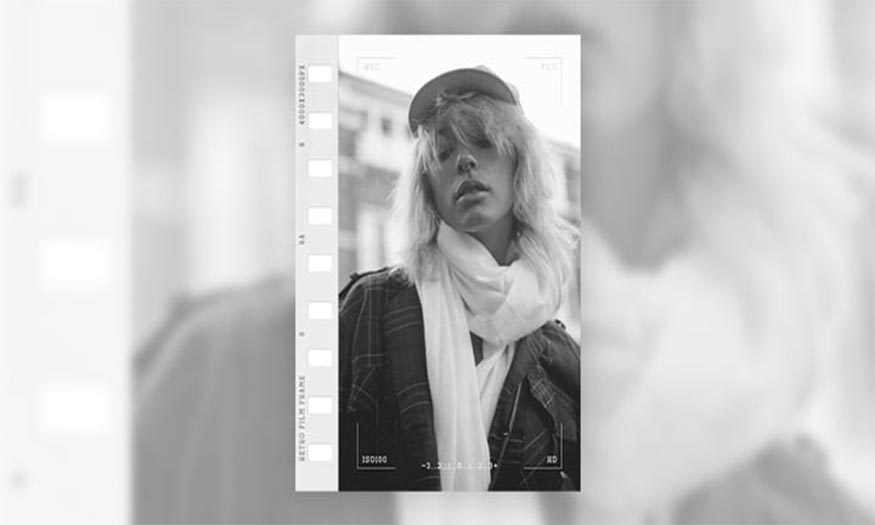
- Step 2: Double click on the black rectangle thumbnail in the layers panel. Open the rock band image in Photoshop, then place it inside the smart object of the black rectangle.
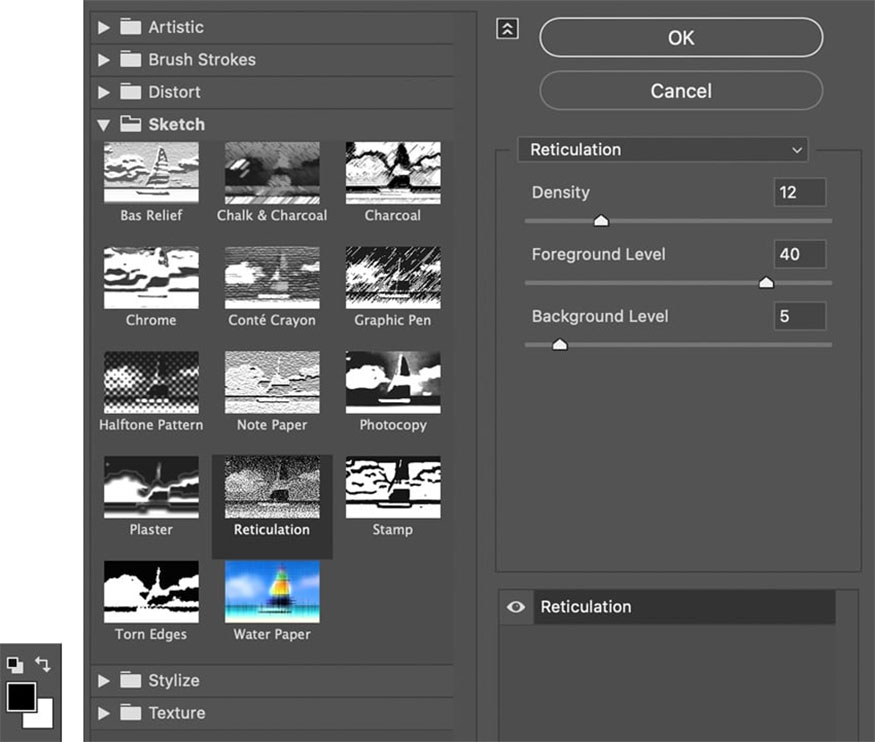
Next, change the color mode to RGB by going to Image => Mode => RGB Color. Then, right-click on the rock band photo and select Convert to Smart Object. Apply the Reticulation Filter by going to Filter => Filter Gallery and making the following settings:
-
Density: 12
-
Foreground Level: 40
-
Background Level: 5
Note: Make sure the Foreground Color is set to the color code #000000 and the Background Color is set to the color code #ffffff on the left toolbar.
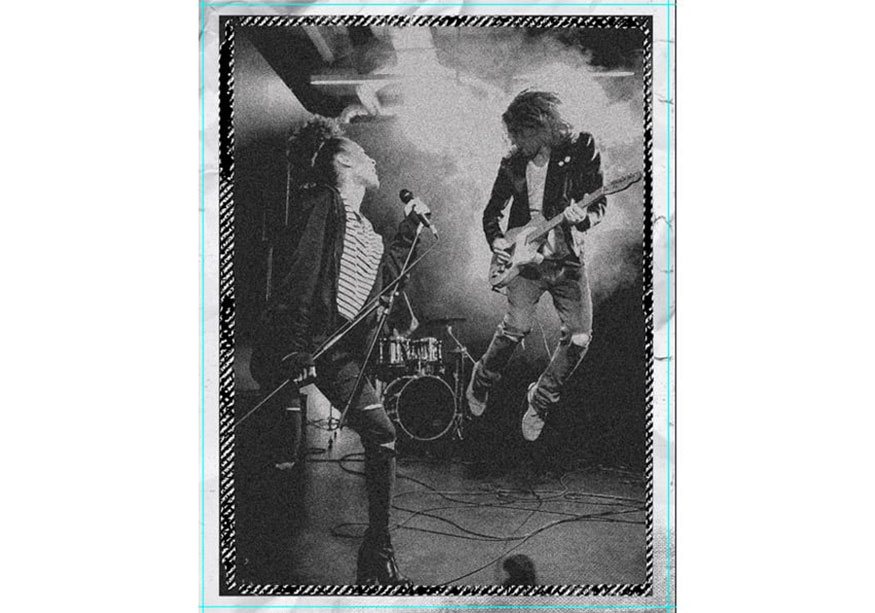
- Step 3: Save the smart object file for this rock band by going to File => Save. Then go back to the band flyer and you'll see the long image filtered in the rectangular smart object.
Open the 12.png textured frames and borders file in Photoshop. Drag and drop them into the flyer. Resize the frame to fit the edge of the long photo.
- Step 4: Press Command and click the black grunge frame thumbnail in the Layers panel. You now have an active selection around the black frame.
- Step 5: Use the Rectangular Marquee Tool (M) and create a selection in the middle of the band photo so that it looks like the image below. Select Add to Selection in the top toolbar. The area shown in pink below is where you add your selections.
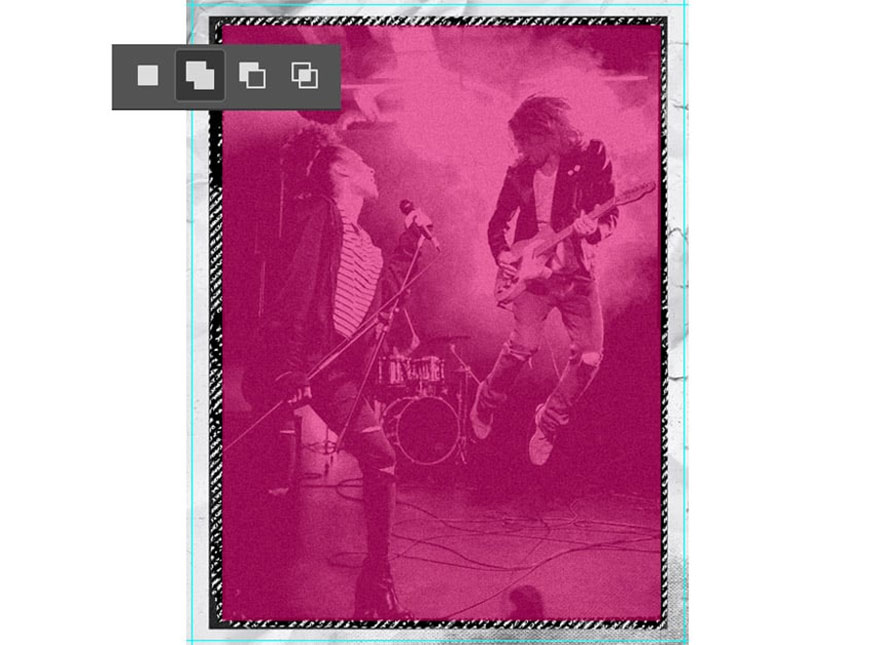
- Step 6: Select the Band Photo layer and add a Layer Mask at the bottom of the Layers panel. you need to make the Frame layer invisible by selecting the eye icon.

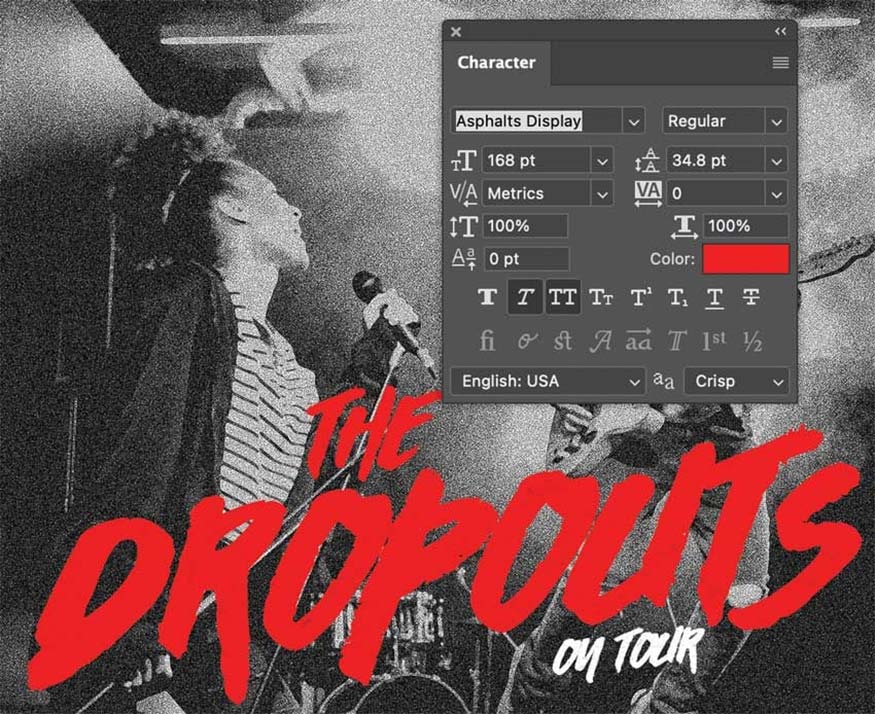
- Step 7: Use the Type Tool (T) with Asphalts Display and enter your band name with the following settings:
- The: 77 pt; All Caps; Faux Italic; -20 Tracking; color code #ed2024
- Dropouts: 168 pt; All Caps; Faux Italic; color code #ed2024
- On Tour: 38 pt; All Caps; Faux Italic; -20 Tracking; color code #ffffff
Select all three text layers, go to Edit => Transform => Skew and change the Vertical Skew to -5.
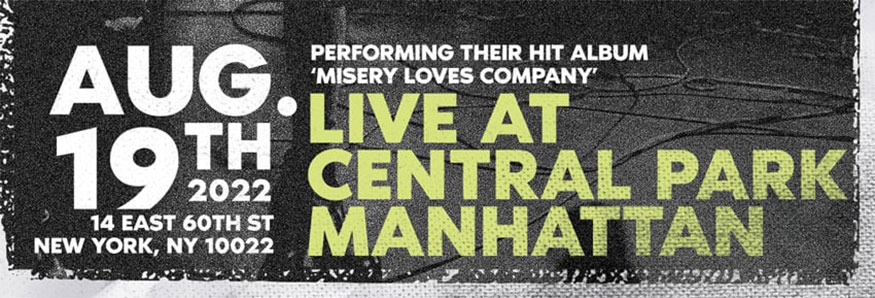
- Step 8: Add the rest of the information for the event, this information includes date, location, address. Use the font Noir Pro Bold.
-
Date: 67 pt, #ffffff
-
Album và Address: 15 pt, #ffffff
-
Location: 48 pt, #d7e480
- Step 9: Open the Douglas Collection PSD badge file in Photoshop. Drag and drop the badge onto the band flyer. Change the fill to #d7e47f.
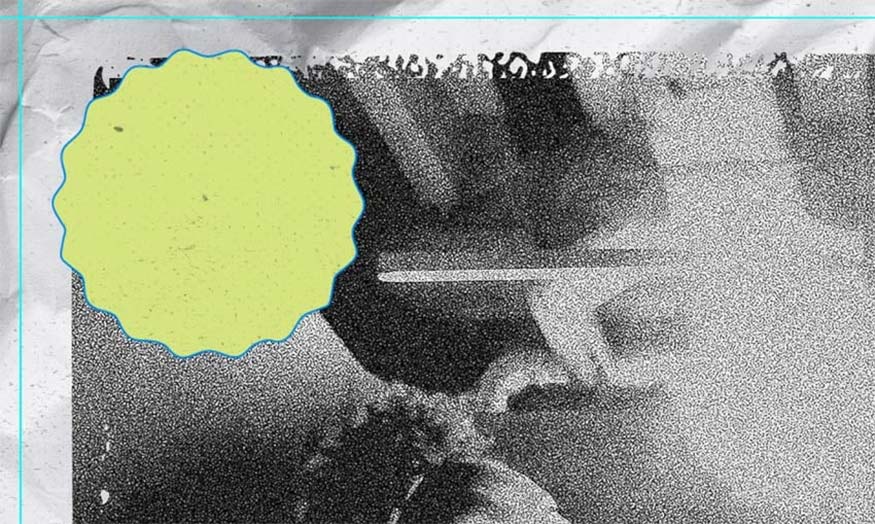
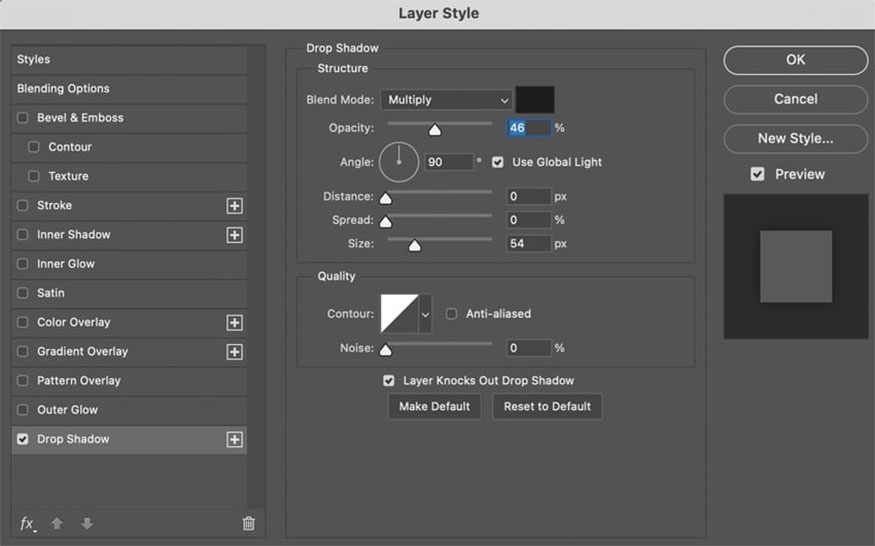
- Step 10: Apply Drop Shadow Layer Style to the green badge by double-clicking on the layer in the Layers panel. Set parameters as follows:
-
Blend Mode: Multiply, #000000
-
Opacity: 46%
-
Angle: 90°
-
Distance: 0 px
-
Spread: 0%
-
Size: 54 px
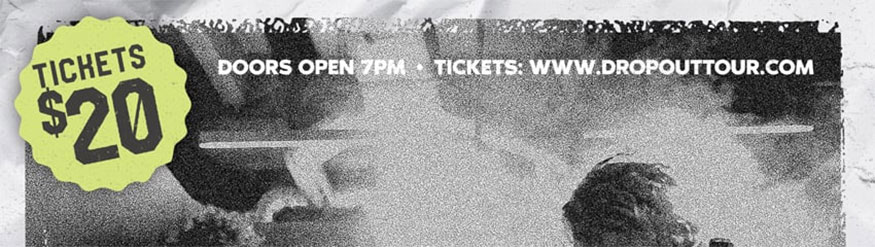
- Step 11: Add the rest of the ticket information and your website address at the top of the band flyer with the selection of Douglas-Calgary and Noir Pro fonts.
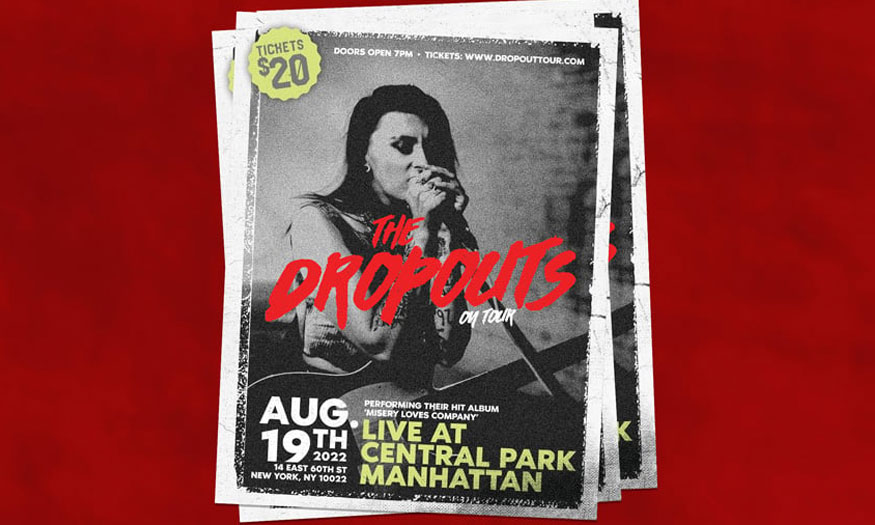
This is the result:
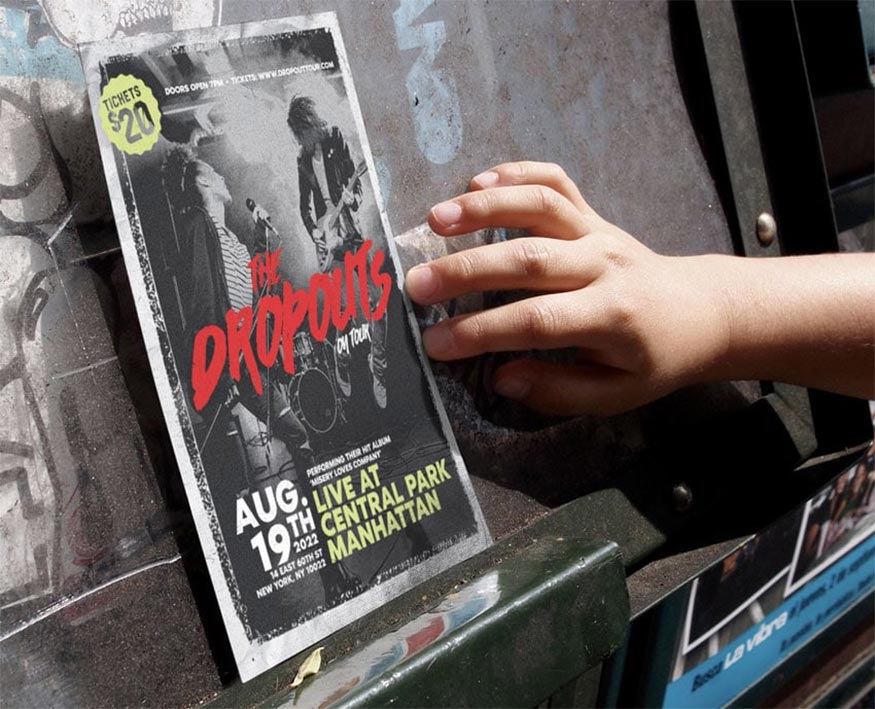
Above are detailed instructions on how to create band flyers in Photoshop. Wishing you success with your design to create the most impressive flyer template!


VIP Products


Best Selling Products
Genuine Adobe Illustrator account
99 USD
MidJourney Account
29 USD
ChatGPT Plus Account (GPT-4)
16 USD
Upgrade Duolingo Super
29 USD
Capcut Pro 1 Year
39 USD
Plugin Retouch4me
69 USD
Autodesk All App Account Copyright
120 USD
Windows 10 & 11 Pro Key
36 USD
Upgrade genuine Capture One account
120 USD
Adobe Photoshop Copyright - Full App
120 USD
Genuine Cheap Canva Pro
39 USD
Adobe Premiere Pro Account
99 USD
Freepik Premium Account
59 USD
Upgrade Genuine Office 365
49 USD
Copyright Adobe Lightroom Account
59 USD