Best Selling Products
Create lamp light in Photoshop
Nội dung
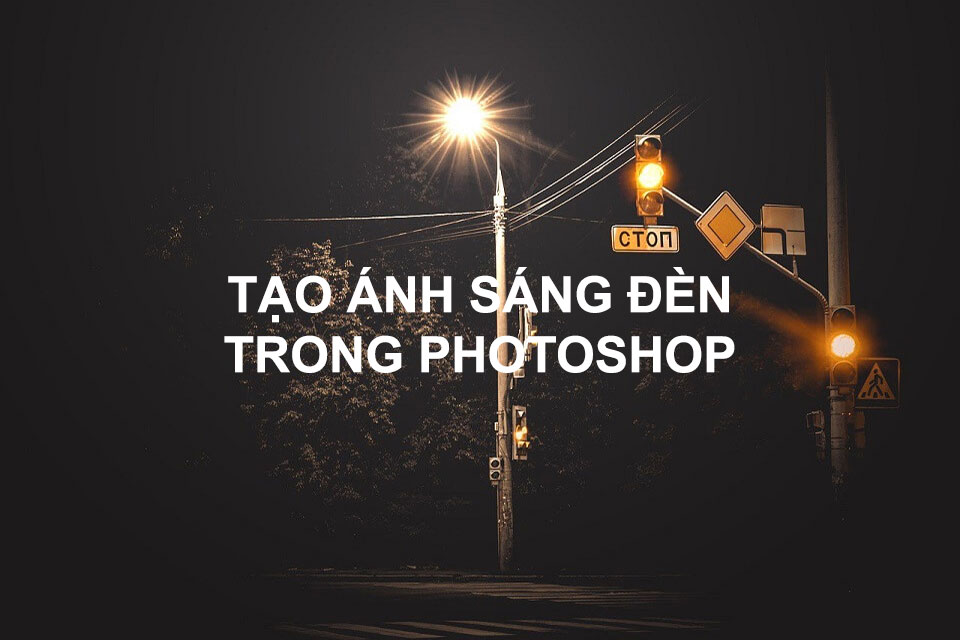
Today I will show you all the details about how to create light in Photoshop. In this article we will use three different types of light effects which are Point light, Spotlight and Infinite light.Create lamp light in Photoshop

Create light in photoshop
To create light in photoshop, you can refer to my instructions below. Step 1 : Open the image file to adjust your light in photoshop. Step 2 : Select Filter > Render > Lighting Effects .
.png)
Step 3 : From the Presets menu on the top left, choose a style: Point, Spot, Infinite
.png)
Step 4 : In the preview window, select each light you want to adjust. Then, in the top half of the Properties panel, do any of the following: Select the light type (Spot, Infinite, or Point) from the top menu. Adjust the color, intensity, and hotspot size.
.png)
Step 5 : At the bottom of the Properties panel, adjust the entire luminaire with the following options:
Colorize : Click to colorize the overall light.
Exposure : Controls highlight and shadow detail.
Gloss : Determines how much the surface reflects light.
Metallic : Determines which is more reflective: the light or the object the light hits
Ambience : Diffuses the light as if it were mixed with other light in the room, such as sunlight or fluorescent lights. Choose a value of 100 to use only the light source or a value of –100 to eliminate the light source.
Let's start practicing step by step with the tools in the Properties panel. Let's start with the Point light effect, this effect will help you get the light like you are holding a torch and shining it on something.
.png)
The next effect is Spotlight . This light shines down on our subject from above. You can stretch the circle around it, to increase the lighting effect, by clicking and dragging the points on the outside.
.png)
Finally, Infinite light . With this effect you will create a light effect like a giant torch, only with this tool you can move the beam angle of the light as shown in the image below.
.png)
And you just need to align the tools under the Properties panel. In addition, you can also change the color of the light effect, because the color will depend on your image, you can completely use other colors to match the light in your photo, because not all photos can use white light.
.png)
Additionally in the Hotspot slider you can enhance the main beam, or in other words the bulb/globe area of your lighting effect.
changes in lighting effects
.png)
In the Lighting Effects section above, the lighting effects are exactly what the exposure would do in a normal camera, so if there is not enough lighting effects, our photo will be gray and blown out, then it will turn completely white, causing the light to be blown out and lose all details. So we don't need to worry about that problem.
.png)
Next you will see Gloss , Metallic in these two tools you will adjust and use it to suit the photo.
.png)
Finally, the Ambience toolbar edits . In the tool, think of your space as a brightness adjustment, let's say you have a nice photo of a living room with people sitting around and you want to create a smoky vintage feel. After other edits, you can use the ambient light effect on the lamp to give the image more atmosphere and expand the range of light.
image of the result of creating light in photoshop
By this point, you're probably familiar with the options in the Properties panel and can use them at will, so try to practice and try to apply them to your skill set. There are also many ways to create light in Photoshop. In this article, SaDesign uses Lighting Effects to create light.


