Best Selling Products

MidJourney Account
29 USD

Genuine Cheap Canva Pro
39 USD

Adobe Photoshop Copyright - Full App
120 USD

Plugin Retouch4me
69 USD

Upgrade genuine Capture One account
120 USD

Windows 10 & 11 Pro Key
36 USD

Genuine Adobe Illustrator account
99 USD

Upgrade Genuine Office 365
49 USD

Capcut Pro 1 Year
39 USD

Upgrade Duolingo Super
29 USD

ChatGPT Plus Account (GPT-4)
16 USD

Autodesk All App Account Copyright
120 USD

Adobe Premiere Pro Account
99 USD

Copyright Adobe Lightroom Account
59 USD

Freepik Premium Account
59 USD
How to create smoke in Photoshop
Nội dung
- 1. Introducing Photoshop's Brush Tool
- 2. Instructions for creating a smoke brush
- 2.1. Use the scratch tool to create a smoke brush.
- 2.2. Use the original image to create a smoke brush
- 3. Some notes when creating smoke brushes in Photoshop
- 3.1. Choose a high-quality original image.
- 3.2. Correct the color of smoke
- 3.3. Editing brush settings
- 3.4. Try blending modes to help the smoke look natural
- 3.5. Use layers and masks to create smoke
- 3.6. Edit carefully before saving.
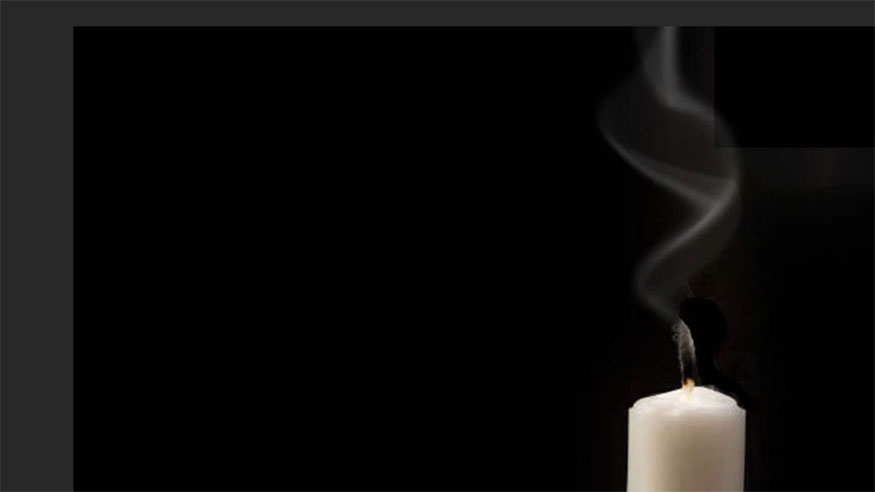
Smoke effect is an impressive feature in Photoshop that allows users to create smoke that is blurry, mysterious, gloomy, or horrifying. Thanks to that, unique works of art are created. If you don't know how to create smoke in Photoshop, immediately refer to the detailed instructions that Sadesign shares below!

Smoke effect is an impressive feature in Photoshop that allows users to create smoke that is blurry, mysterious, gloomy, or horrifying. Thanks to that, unique works of art are created. If you don't know how to create smoke in Photoshop, immediately refer to the detailed instructions that Sadesign shares below!

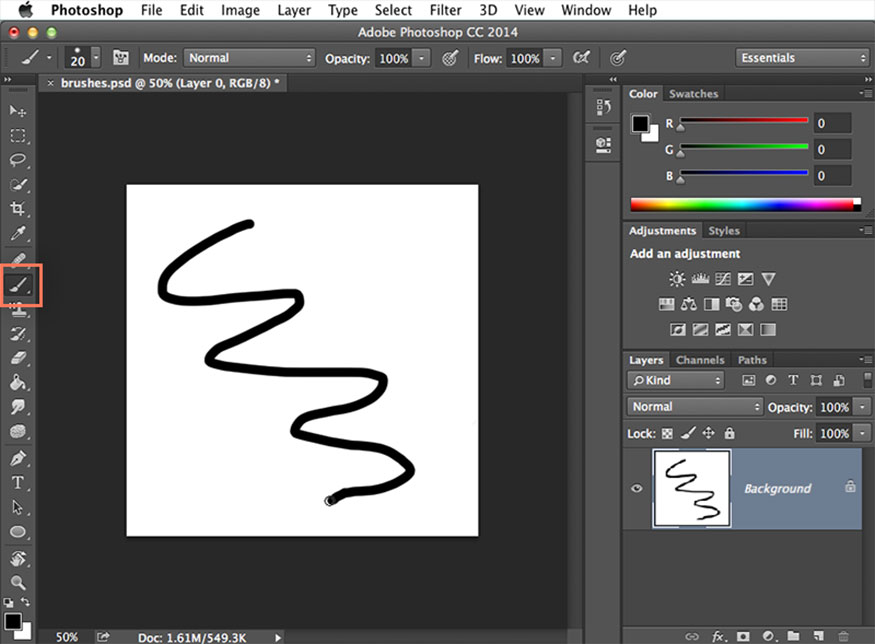
1. Introducing Photoshop's Brush Tool
Brush is a drawing tool that operates on the mechanism of continuously drawing color lines with a defined shape. The Brush is located in the ToolBar, which can be opened by using the keyboard shortcut B.
The Brush Tool allows you to draw shapes with a variety of different colors quickly and easily. With this tool, users can also easily change the hardness, transparency, size, blending mode, as well as other settings to create a satisfactory brush.
2. Instructions for creating a smoke brush
If you want to create a smoke brush in Photoshop, you can use two methods: create a smoke brush from the original image or from scratch as follows:
2.1. Use the scratch tool to create a smoke brush.
With the scratch tool, you do not need to use a pre-existing smoke image. Instead, you just need to use the built-in tools in Photoshop to create a smoke brush. With this method, many diverse and rich forms of smoke will be created. Specifically, the steps will be as follows:
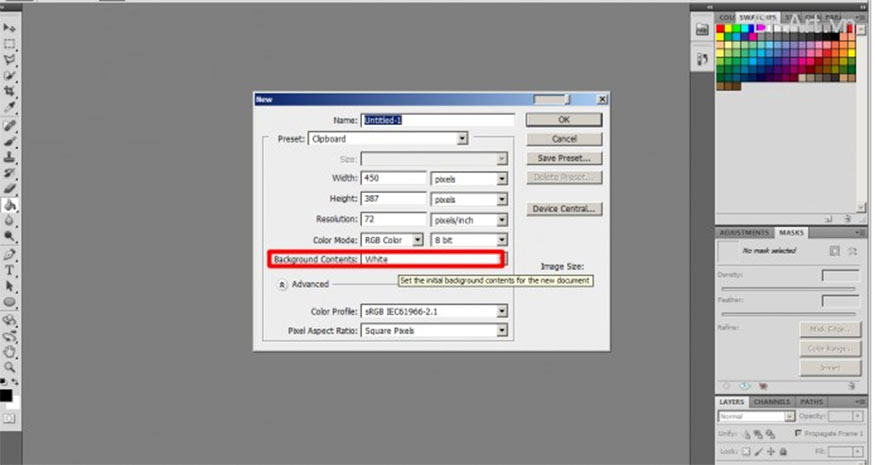
Step 1: Create a new file with the desired size => in the Background Contents section, select White => click OK.
Step 2: Press the Paint Bucket Tool (G), fill the newly created layer with black. Next create a new transparent layer.
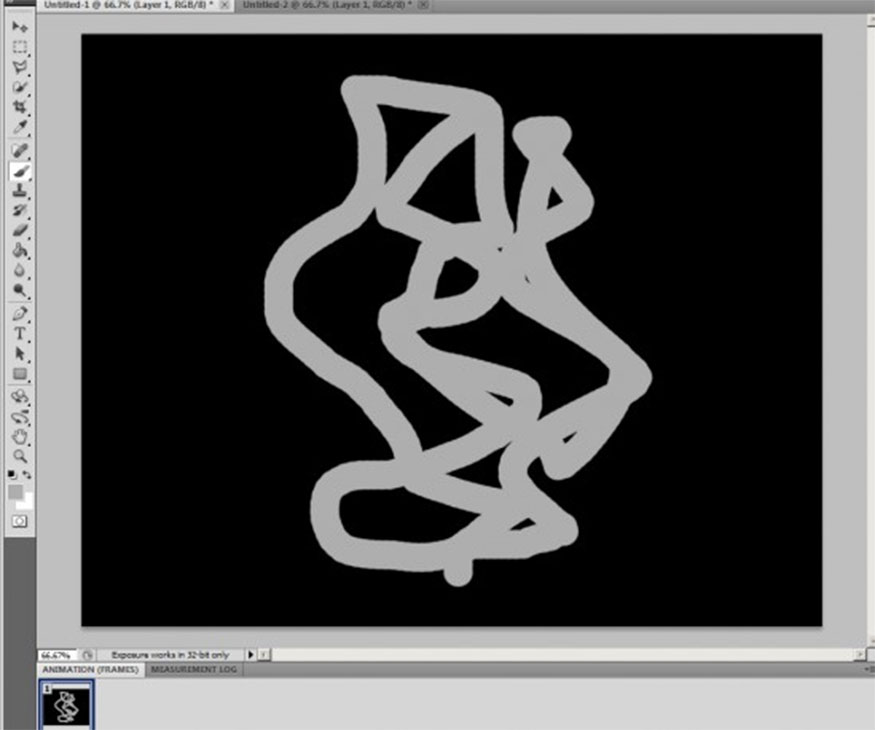
Step 3: Select the Brush Tool (B) with a basic brush with large diameter and low hardness. Draw and outline the shape of the smoke on the transparent layer with gray color. Use different brush sizes to create different smoke lines. If you make a mistake in this step, you can use the Undo command to return to the action you just performed.
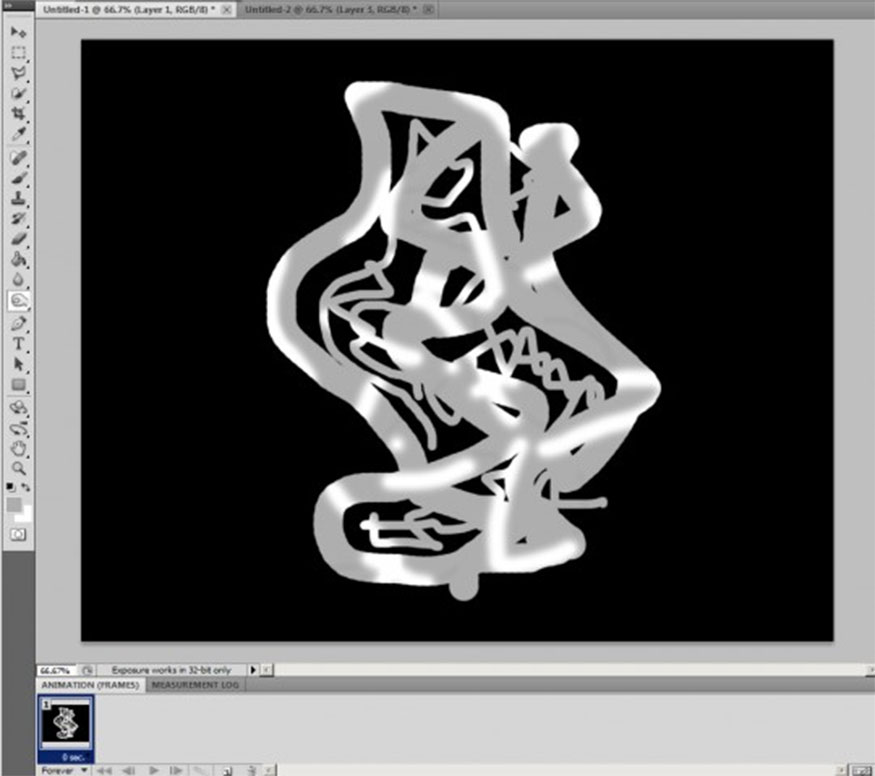
Step 4: Adjust the brightness and darkness of the smoke with the Dodge Tool (O) and Burn Tool (O). Randomly sweep this tool over the smoke to create different light and dark areas.
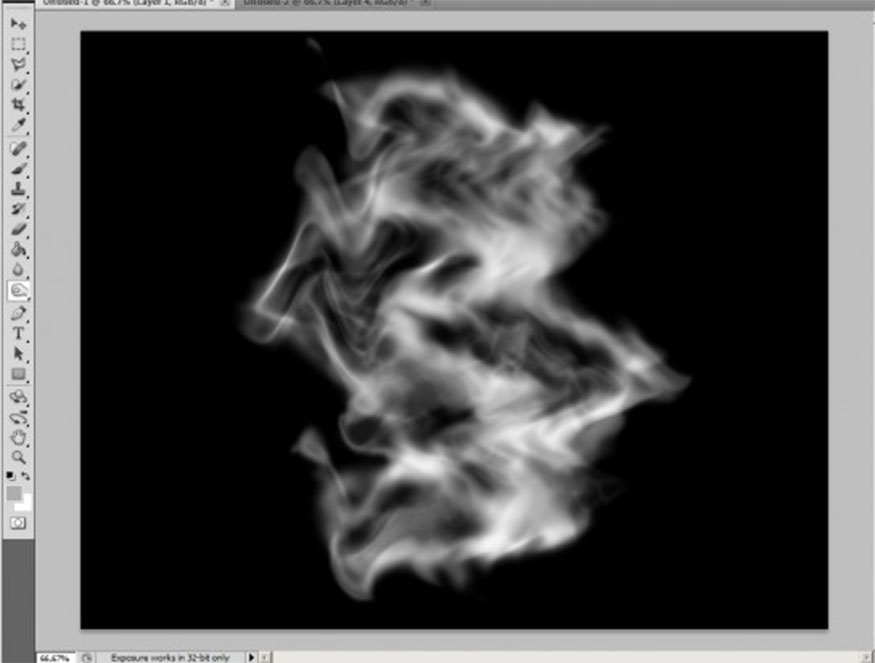
Step 5: Select Filter => Blur => Gaussian Blur to help blur the smoke. Adjust the Radius value to match the smoke shape.
Step 6: Select Filter => Other => Maximum to make the smoke clearer. Adjust the Radius value to match the smoke shape.
Step 7: Choose Filter => Distort => Wave to create solid lines with realistic curves. Click Randomize until you are satisfied with the effect.
Step 8: Select Edit => Fade Wave to adjust the appropriate Opacity value.
Step 9: Repeat steps 5 to 8 to create the perfect smoke brush. Click Edit => Define Brush Preset to save the smoke brush.
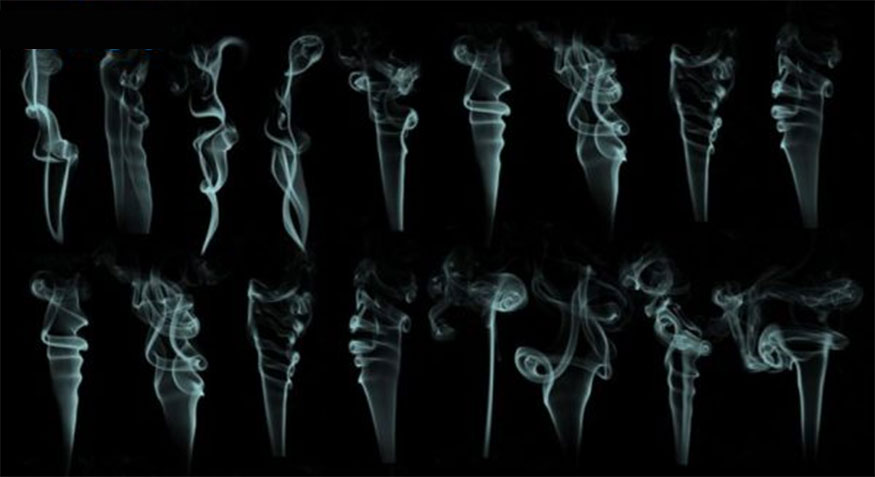
2.2. Use the original image to create a smoke brush
This method requires you to have a smoke image with higher contrast than the background. You can find this image online or take it yourself. Once you have the smoke image, follow these instructions:
- Step 1: Open the smoke image and select Image => Adjustments => Desaturate to convert to grayscale.
- Step 2: Select Image => Adjustments => Levels to adjust image brightness and darkness. Drag the slider to make the white smoke brighter, while the black background is darker.
- Step 3: Select the Rectangular Marquee Tool (M) to select the part of the smoke you want to create as a brush. Choose smoke that has a clear shape, not too large.
- Step 4: Click Edit => Define Brush Preset to save the selected smoke as a brush. Give it a name and click OK.
- Step 5: Select Brush Tool (B) to check if the smoke brush is created, try drawing the brush on a new layer to see the results.
3. Some notes when creating smoke brushes in Photoshop
3.1. Choose a high-quality original image.
If you create a smoke brush from an original image, pay attention to choosing images with high resolution and contrast, with little noise. This is to help create clear, realistic smoke brushes. If you can take a photo with a camera, the smoke will be extremely clear.
3.2. Correct the color of smoke
It is necessary to create a smoke brush to convert images to grayscale. This makes it easy to adjust the brightness and darkness of the smoke section. White smoke should be made brighter and the background darker to increase contrast and help highlight the smoke effect.
3.3. Editing brush settings
When creating smoke, you should adjust the size, hardness, transparency, blending mode and other settings in the Brush Tool to create a brush that suits your idea.
3.4. Try blending modes to help the smoke look natural
When drawing a smoke brush on a new layer, you should try different blending modes to choose the right effect for the photo. Mixing modes commonly applied to smoke effects include: Screen, Overlay, Soft Light, Hard Light, Lighten, Color Dodge, Linear Dodge,...
To change the mixing mode, go to Layer => Layer Style => Blending Options.
3.5. Use layers and masks to create smoke
After creating a smoke brush in Photoshop, use layers and masks to make editing easier. Draw smoke brushes on separate layers to make moving, rotating, deforming, and erasing easy.
Masks should be used to cover unwanted smoke or to make them fade into the distance.
3.6. Edit carefully before saving.
After creating the smoke brush in Photoshop, check the results and carefully edit details such as: Color, brightness, contrast, saturation, sharpness,... of smoke.
You should save the smoke brush as a Brush Preset so you can reuse it if needed. Save using Edit => Define Brush Preset.
Hopefully the instructions on how to create smoke in Photoshop that Sadesign brings above will help you successfully apply it to your photos. To install copyrighted Photoshop or advanced editing tools, please contact Sadesign for the fastest support!


VIP Products


Best Selling Products
MidJourney Account
29 USD
Genuine Cheap Canva Pro
39 USD
Adobe Photoshop Copyright - Full App
120 USD
Plugin Retouch4me
69 USD
Upgrade genuine Capture One account
120 USD
Windows 10 & 11 Pro Key
36 USD
Genuine Adobe Illustrator account
99 USD
Upgrade Genuine Office 365
49 USD
Capcut Pro 1 Year
39 USD
Upgrade Duolingo Super
29 USD
ChatGPT Plus Account (GPT-4)
16 USD
Autodesk All App Account Copyright
120 USD
Adobe Premiere Pro Account
99 USD
Copyright Adobe Lightroom Account
59 USD
Freepik Premium Account
59 USD