Best Selling Products
How to creat 3D text in Photoshop
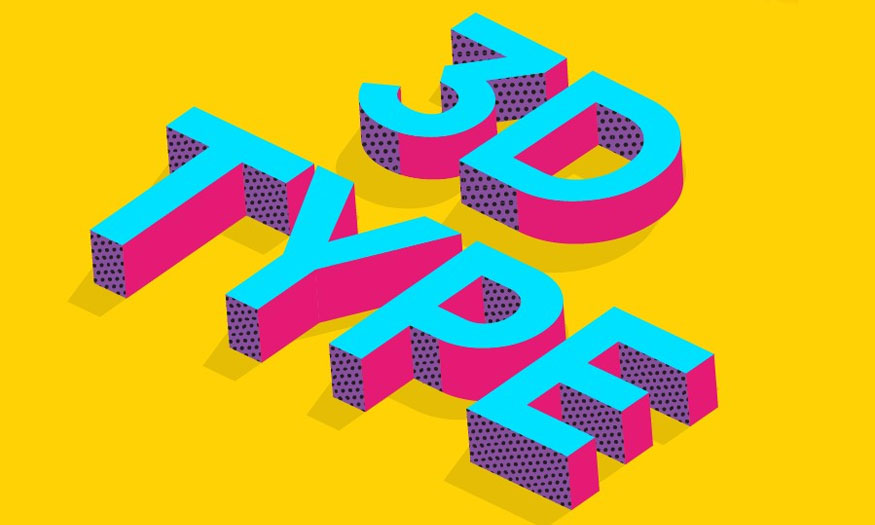
Creating 3D text in Photoshop is a useful trick that any editor should understand to help make editing more professional. Today's content Sadesign will show you how to create extremely simple 3D effects in Photoshop without installing a plugin.
Creating 3D text in Photoshop is a useful trick that any editor should understand to help make editing more professional. Today's content Sadesign will show you how to create extremely simple 3D effects in Photoshop without installing a plugin.
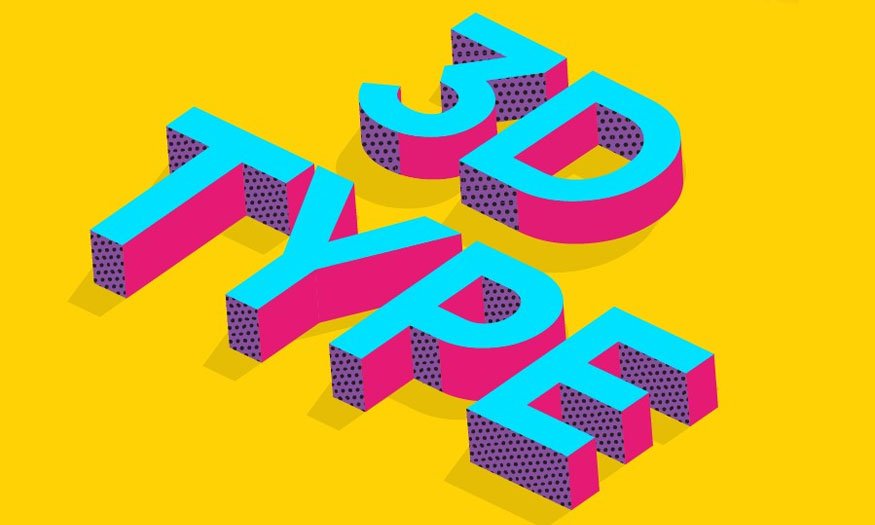
1. Creating 3D text in Photoshop
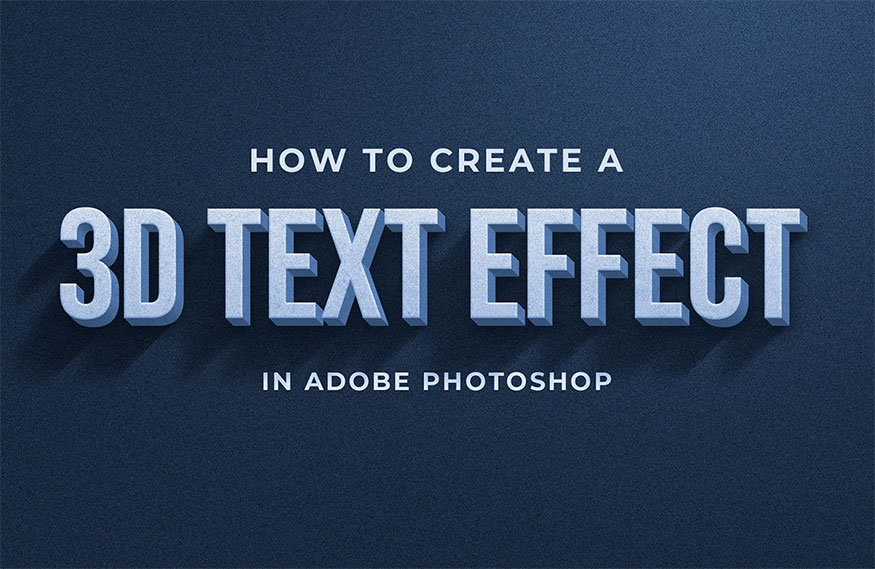
Photoshop is photo editing software widely used in design and photo editing. If you are familiar with the tools and interface of this software, creating 3D text is not difficult. With Photoshop, you can adjust every detail of 3D letters such as: Change size, color, shape, light, etc. to create unique 3D effects suitable for your ideas.
In addition, Photoshop also provides many 3D features and effects that increase the realism of 3D text. To increase the vividness of your text, you add shadow, light, materials and many other effects.
Photoshop is compatible with Adobe Creative Suite tools such as Illustrator and After Effects. Thanks to that, you can work more seamlessly and creatively when creating 3D text.
Although creating 3D text in Photoshop is not as difficult as many people think, it requires you to have basic knowledge when working with layers, effects, and Photoshop's 3D features.
For beginners, creating 3D text will take time to learn and get used to the tools. However, once you understand how to do it, it only takes a few minutes for you to create a more beautiful and professional 3D text effect.
2. How to create 3D text in Photoshop
There are many tools to help you create beautiful 3D text.
Here is one of the simplest and easiest ways to help you create 3D text in Photoshop:
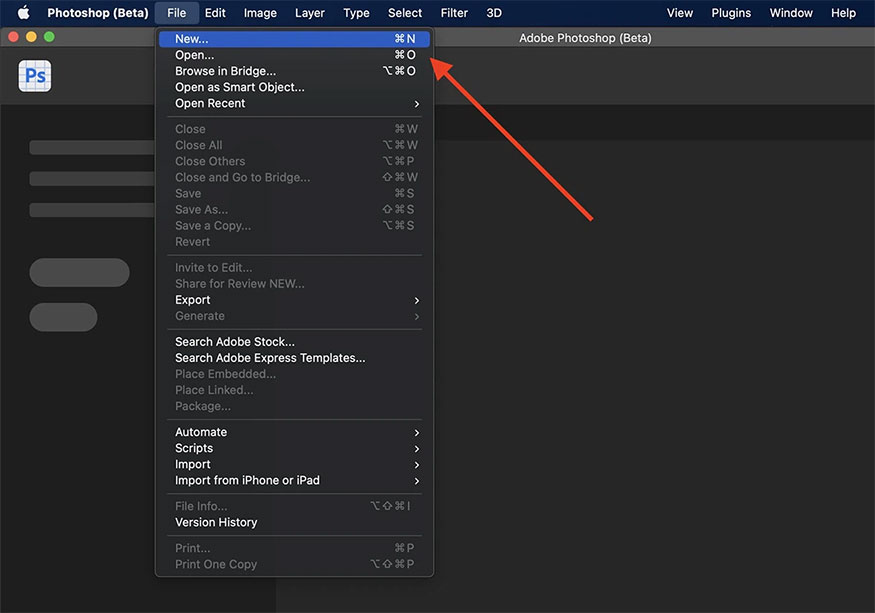
Step 1: First you need to create text by going to Photoshop => File => New to
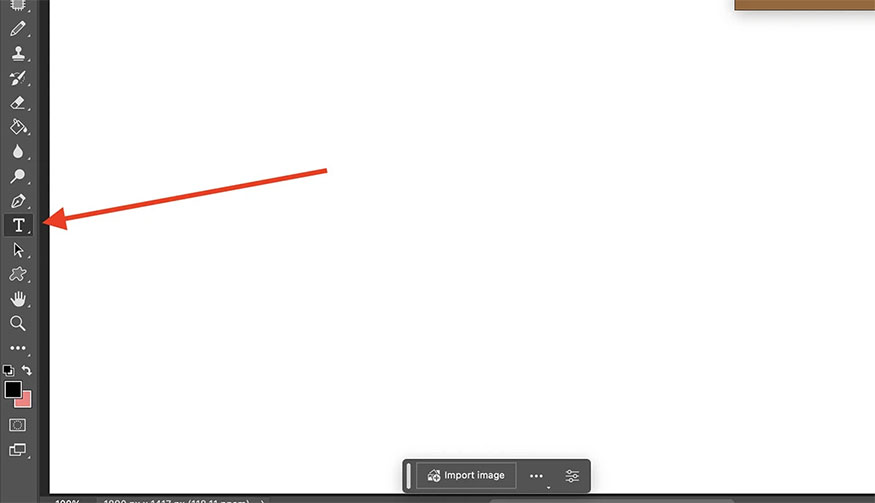
Step 2: Right in the left toolbar, select Horizontal Type Tool (T) or you can press the shortcut key T to select the text tool.
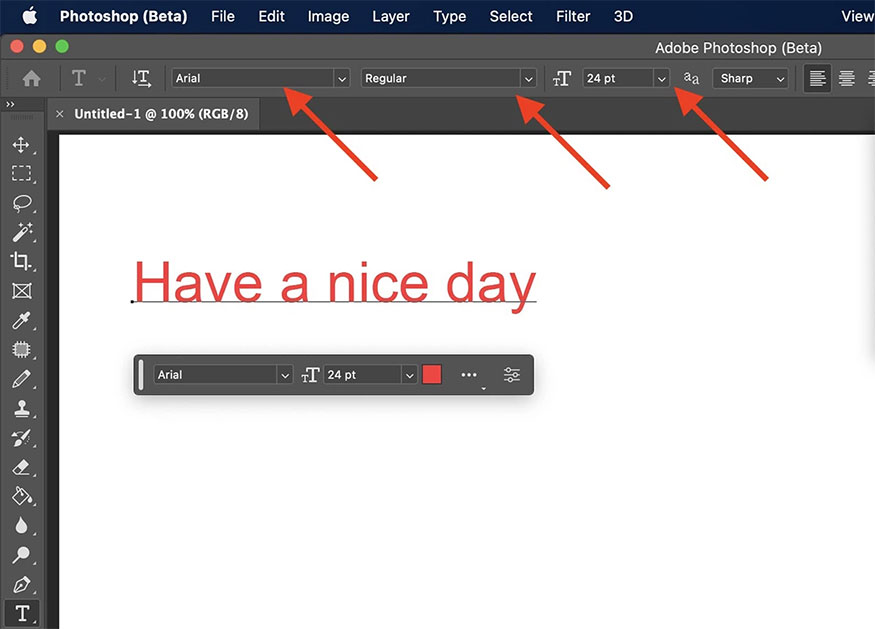
Step 3: Right on the options bar, click to select the font, size and color for the text.
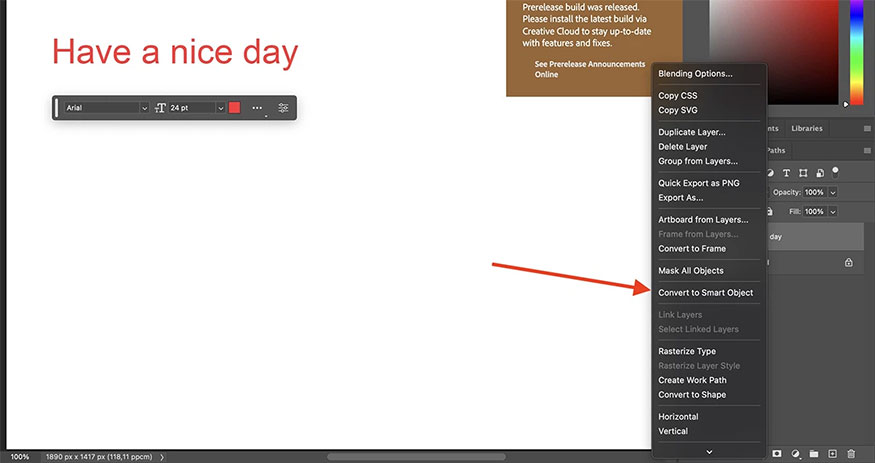
Step 4: Once you have created the text as desired, convert the text into a smart object by right-clicking on the text layer at Layers => select Convert to Smart Object.
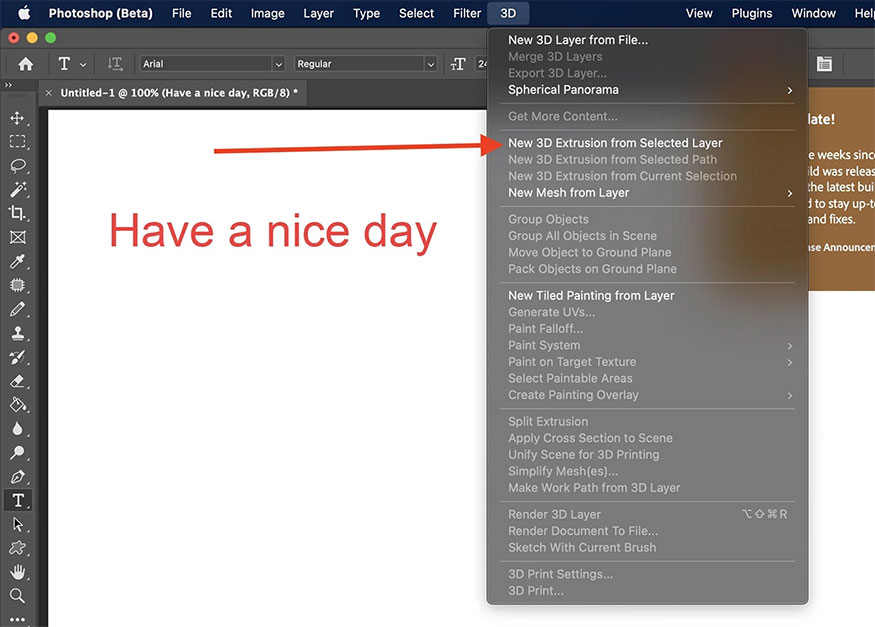
Step 5: Create 3D text with the Extrusion layer by selecting the new layer => on the main menu bar, select 3D => New 3D Extrusion from Selected Layer.
Step 6: Once you have created the Extrusion layer, you will have a finished product that is 2D text that has been converted into 3D text. Now you can change the angle and position of the subject by using the mouse.
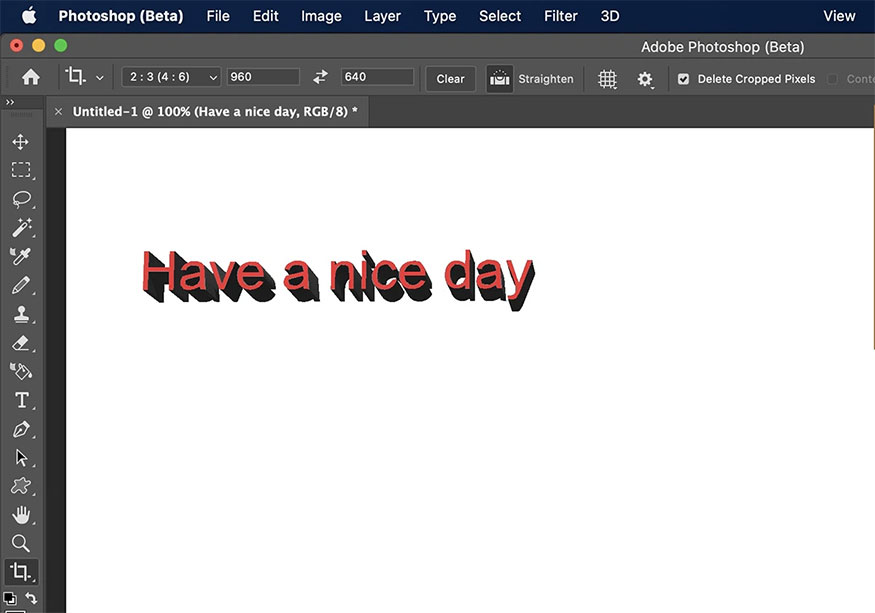
With just a few steps above, you can create an extremely unique and impressive 3D text effect. Creating 3D text in Photoshop is quite simple, but you should note that the 3D text or image function in Photoshop may require high resources, consuming a lot of RAM and CPU.
Furthermore, the provider may also require you to install Photoshop Extended (or Photoshop CC or higher) to be able to create 3D text in Photoshop.
In case you do not have the Extended version, you can refer to using plugins or using additional tools from third parties to create 3D text. However, special attention should be paid to these plugins that may conflict with software or be embedded with viruses, so professional designers should absolutely not use them.
Creating 3D text in Photoshop is one of the basic and necessary content, so if you want to become a professional editor, you absolutely should not ignore this feature. Hopefully the information that Sadesign introduces to readers in this article will be really useful so you can apply it successfully to your edited images


