Best Selling Products
How to separate water in Photoshop for newbie
Nội dung
For those new to Photoshop, separating water from the background is very difficult. The water in photos is often transparent, close to the background color, so when separating the water, it often fails to separate completely, and the water has unnatural jagged edges. Don't worry, even if you are not fluent in Photoshop, you can separate water in Photoshop from the background in a very simple way. Let's see how to do it with Sadesign below.
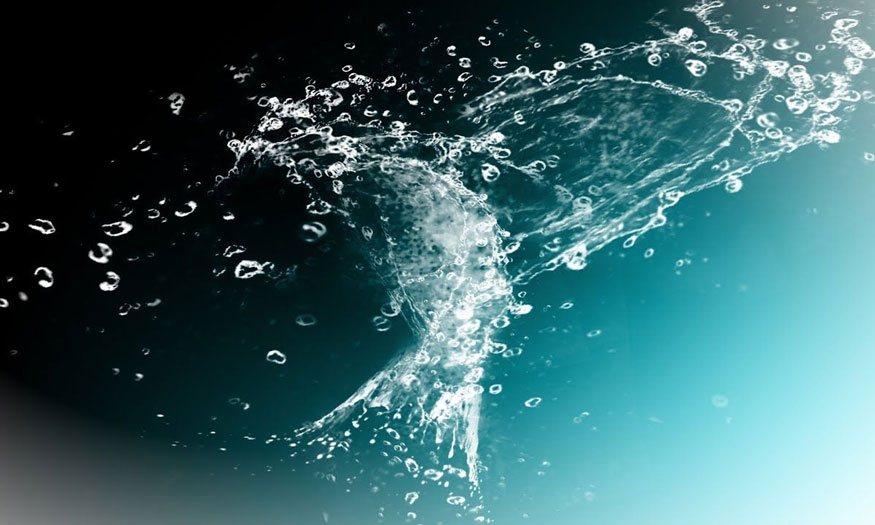
For those new to Photoshop, separating water from the background is very difficult. The water in photos is often transparent, close to the background color, so when separating the water, it often fails to separate completely, and the water has unnatural jagged edges. Don't worry, even if you are not fluent in Photoshop, you can separate water in Photoshop from the background in a very simple way. Let's see how to do it with Sadesign below.
Steps to separate water in Photoshop
There are many photos with beautiful water effects online that you want to combine for your designs. But separating water from the background for use is not simple for many people, especially those who are not too familiar with Photoshop. However, today we will show you how to use Mask to separate water in Photoshop. By setting the layer to a Mask, you can perform water separation in Photoshop in just a few very simple steps.
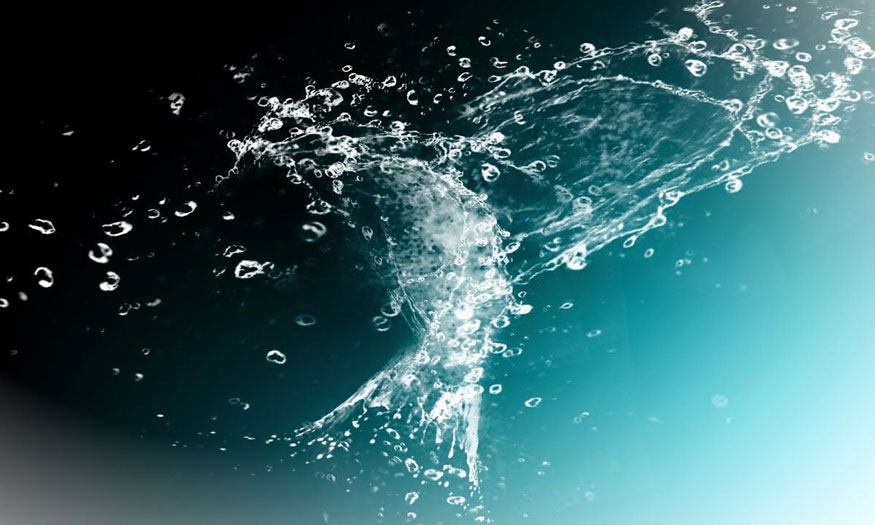
The layer mask layer in Photoshop gives the ability to cover part or all of a layer without affecting the quality of the original image. The coverage of the Layer Mask will depend on the darkness of the layer. Therefore, you can use a mask to easily separate water from the background.
How to separate water in Photoshop using a mask is done through several steps as follows:
Step 1: First you need to open the photo you want to remove water in Photoshop. To open that photo in Photoshop, on the menu bar, select File => Open => select the image to open => Open. Or you can use the key combination Ctrl+O and select the photo to open.
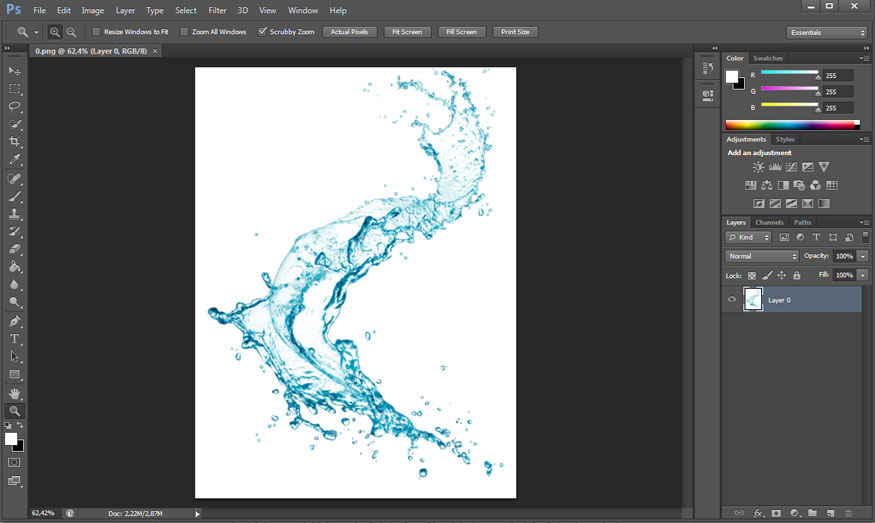
Step 2: Now we need to create a layer mask - layer mask for the photo. In the bottom right corner of the screen, select the rectangular icon with a black circle in the middle - Add vector mask.
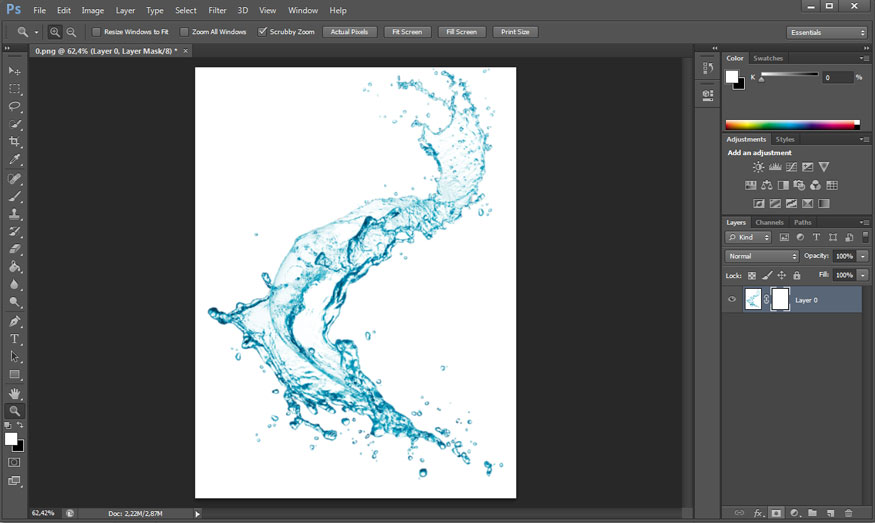
Step 3: Now point your mouse to the thumbnail layer - the layer containing the photo with water and press the key combination Alt + A to select the photo, then press Ctrl + C to copy the photo.
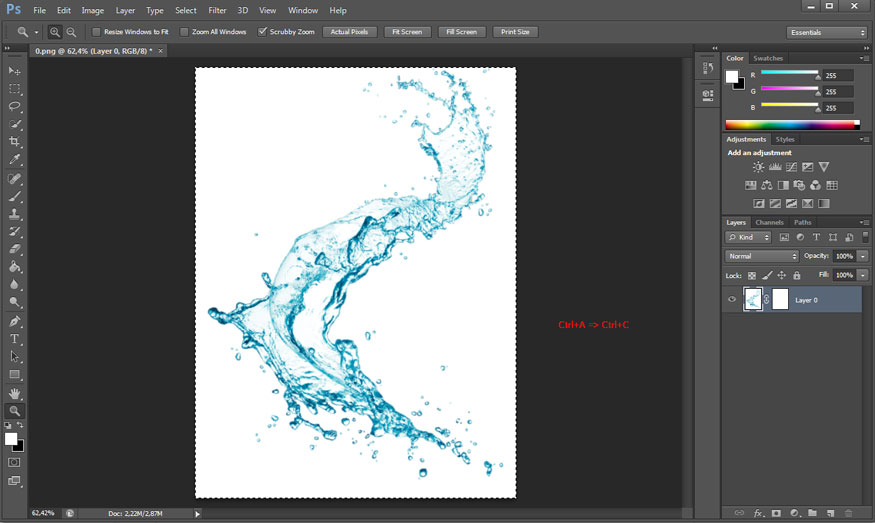
Step 4: Go back to the layer mask thumbnail next to it, hold Alt and click on the mask to open the mask. The mask will now be opened on the working file with a white background.
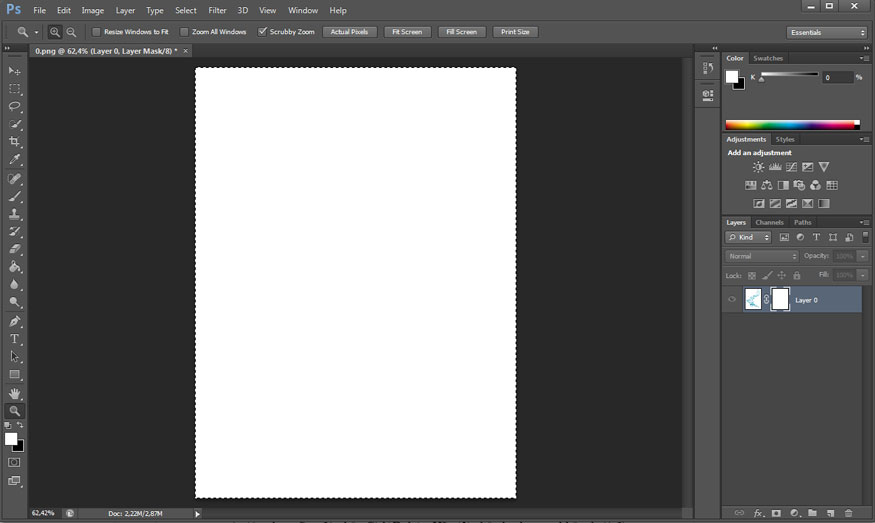
To continue, we need to paste the copied image into the mask. Press Ctrl+V to paste the water image there. Then press the key combination Ctrl + D to delete the selection.
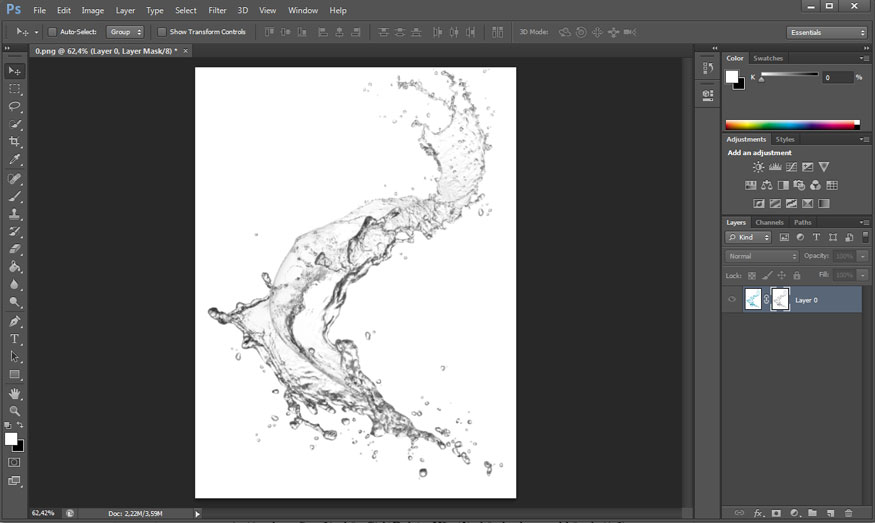
Step 5: In the mask layer, press Ctrl+I to invert. At this point the background will be black and the water will be white.
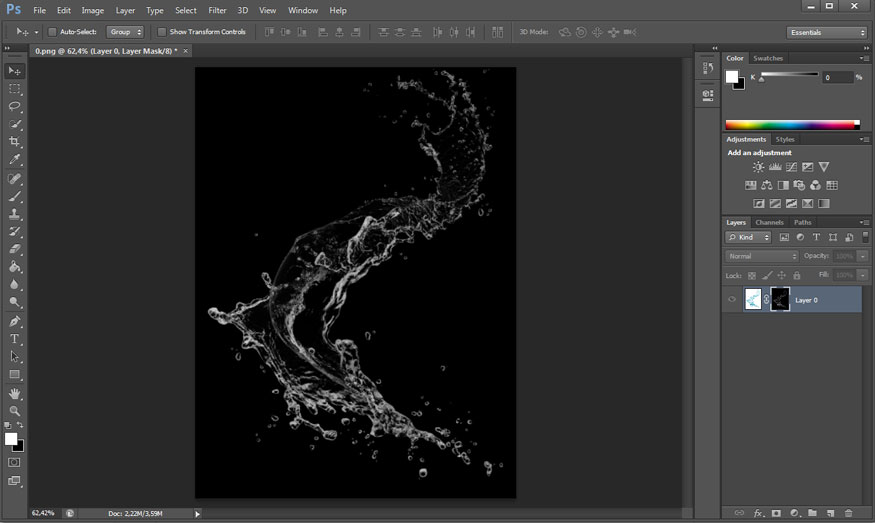
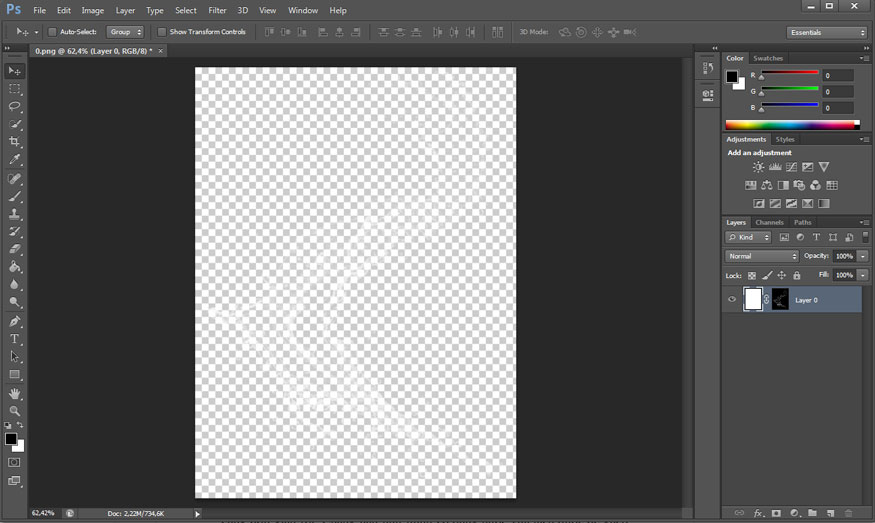
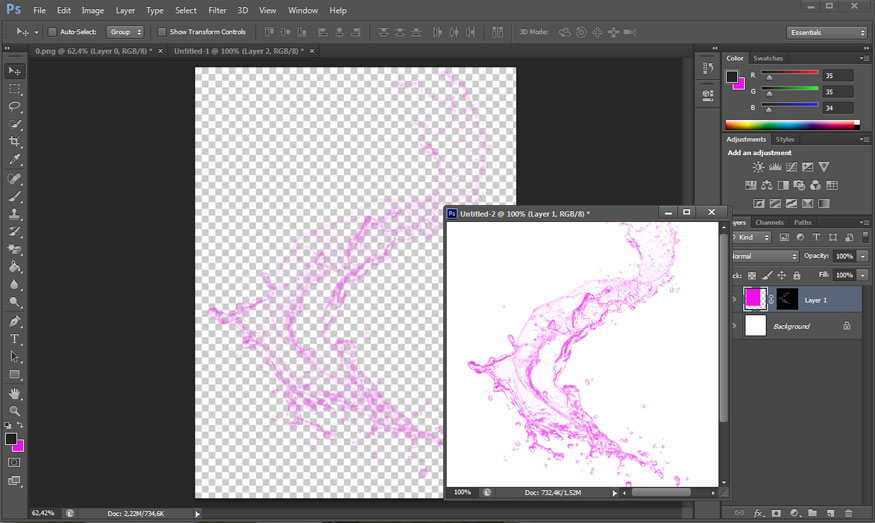
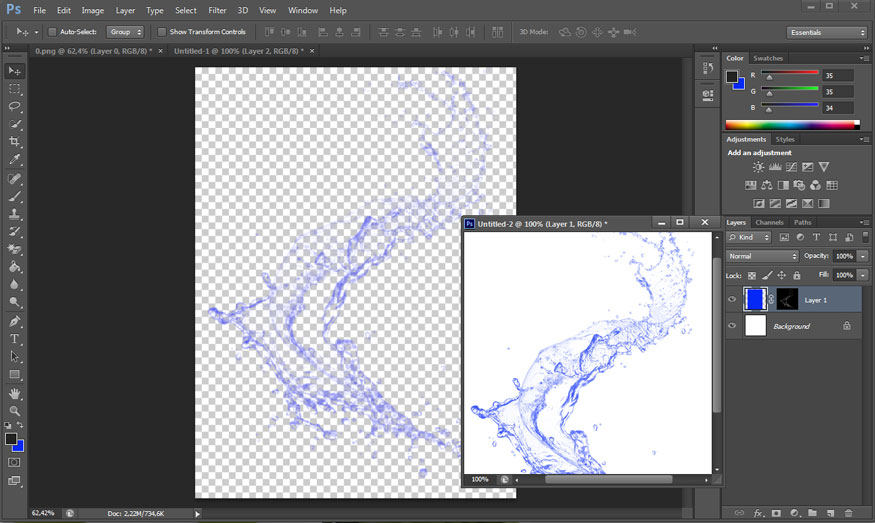
Step 6: Select the transparent layer. If you want transparent water to match many different background colors, set the foreground color to white. If you want the water effect to be blue, red, purple, or yellow as desired, set the color options. Then press Ctrl+Delete. Please turn off the background below. We will get the result as shown.
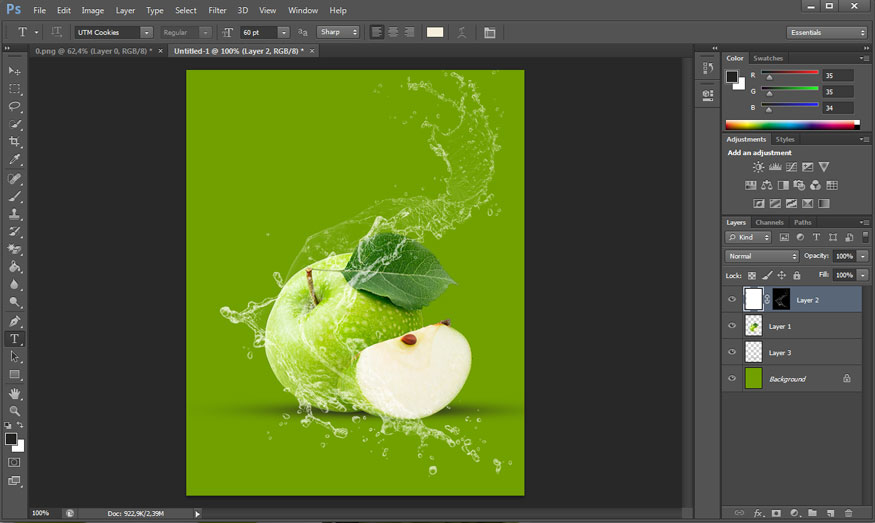
Below are some images of water separation in Photoshop, with water in different colors.
Above are detailed instructions on water separation steps in Photoshop. The method is very simple, with just a few basic steps you can simply separate water from the photo background using Photoshop. Hopefully the above sharing from Sadesign can help you easily separate water yourself, try it now.


