Best Selling Products

Freepik Premium Account
59 USD

MidJourney Account
29 USD

Capcut Pro 1 Year
39 USD

Plugin Retouch4me
69 USD

Genuine Cheap Canva Pro
39 USD

Adobe Premiere Pro Account
99 USD

Windows 10 & 11 Pro Key
36 USD

Upgrade genuine Capture One account
120 USD

Upgrade Genuine Office 365
49 USD

Copyright Adobe Lightroom Account
59 USD

Autodesk All App Account Copyright
120 USD

Adobe Photoshop Copyright - Full App
120 USD

Genuine Adobe Illustrator account
99 USD

ChatGPT Plus Account (GPT-4)
16 USD

Upgrade Duolingo Super
29 USD
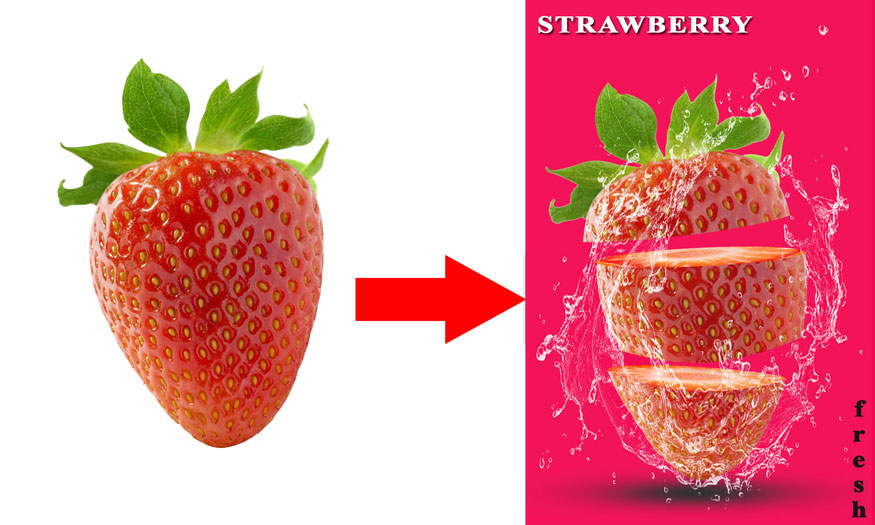
How to creating a fruit slice effect in Photoshop
Are you wanting to create a poster or banner with a vivid fruit slice effect but don't know how to do it? In fact, creating a fruit slice effect in Photoshop is not difficult. With just a few steps, you will have yourself an extremely unique photo of fruit cutting. Let's see how to do it with Sadesign below.

Are you wanting to create a poster or banner with a vivid fruit slice effect but don't know how to do it? In fact, creating a fruit slice effect in Photoshop is not difficult. With just a few steps, you will have yourself an extremely unique photo of fruit cutting. Let's see how to do it with Sadesign below.
Steps to perform the fruit slice effect in Photoshop
The fruit slice effect in Photoshop is actually not difficult, with a combination of many tools such as Pen Tool, Ellipse Tool,... will help you have a realistic design. Specifically, the steps to perform the fruit slice effect in Photoshop are as follows:
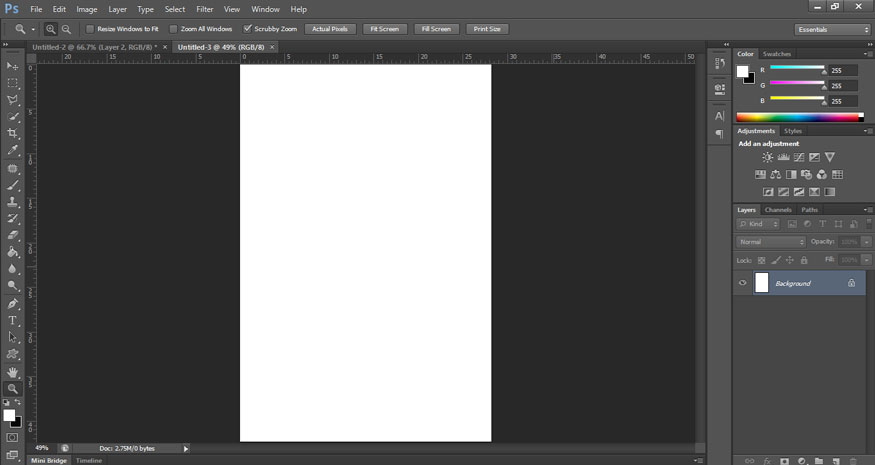
Step 1: The first step we need to create a working file to create the fruit slice effect in Photoshop on it. To create a new file, on the menu bar, select New... => set appropriate parameters => OK.
Or you can also use the keyboard shortcut Ctrl+O and fill in the parameters, then click OK.
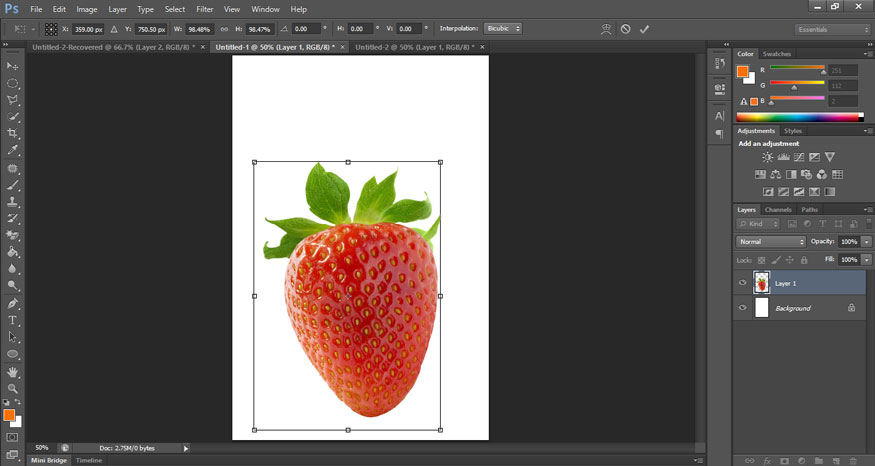
Step 2: Now upload the image of the fruit you want to create the fruit slice effect in Photoshop. For example, I will create an effect on a strawberry. Use the Magic Eraser Tool to separate the fruit from the background, or you can use the Quick Selection Tool to create a selection on the strawberry and then separate the fruit from the background. If your fruit is already in PNG format, just upload the image to Photoshop.
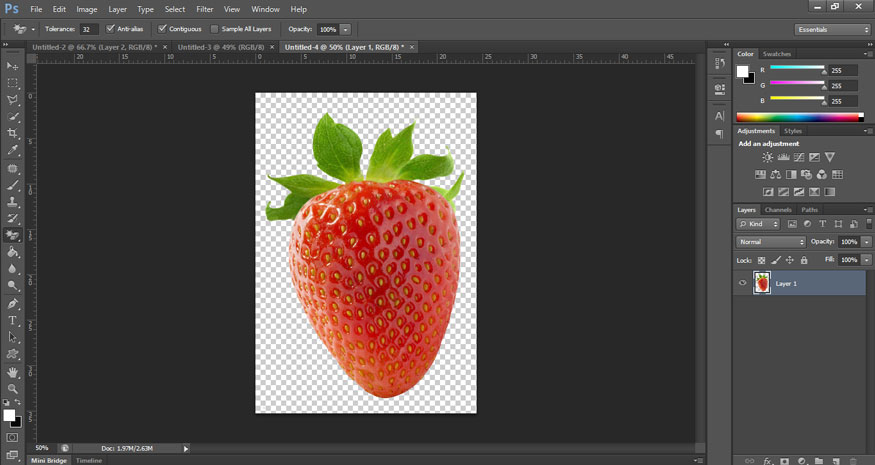
Step 3: In the working file containing the fruit, on the toolbar use the Move Tool to drag the fruit to the blank file you initially created. Then press Ctrl + T and adjust the fruit size accordingly.
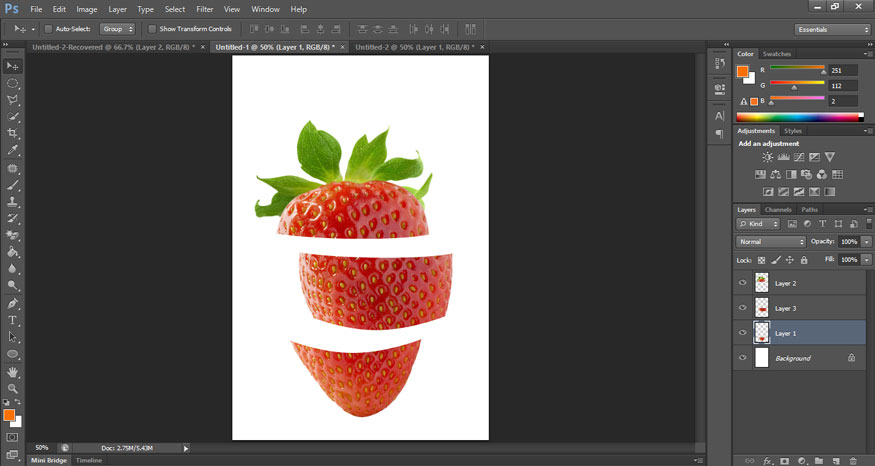
Step 4: Now use the Pen Tool on the toolbar to create a selection above the strawberry you want to create a fruit slice effect in Photoshop. Use anchor points to adjust for the smoothest cut.
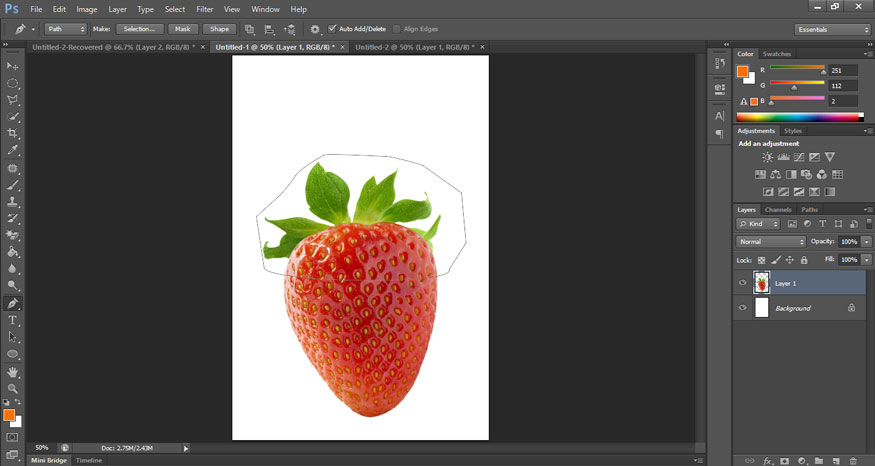
Then we right-click on the image and select Make Selection... to create a selection for the cut fruit.
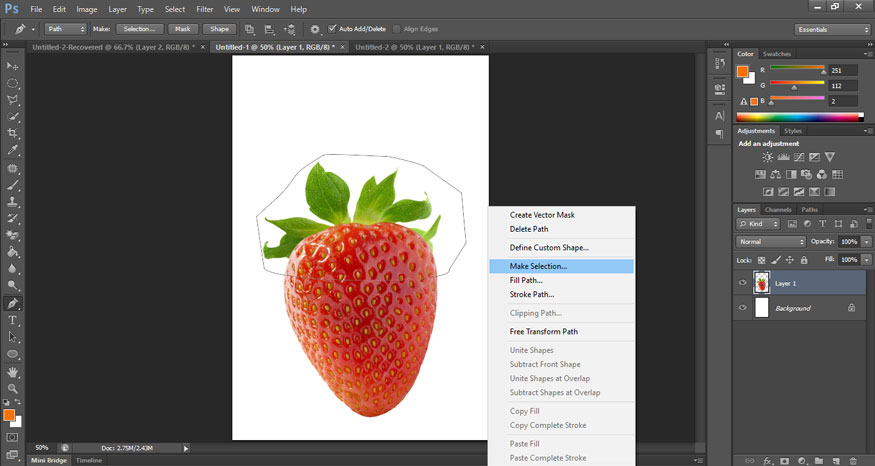
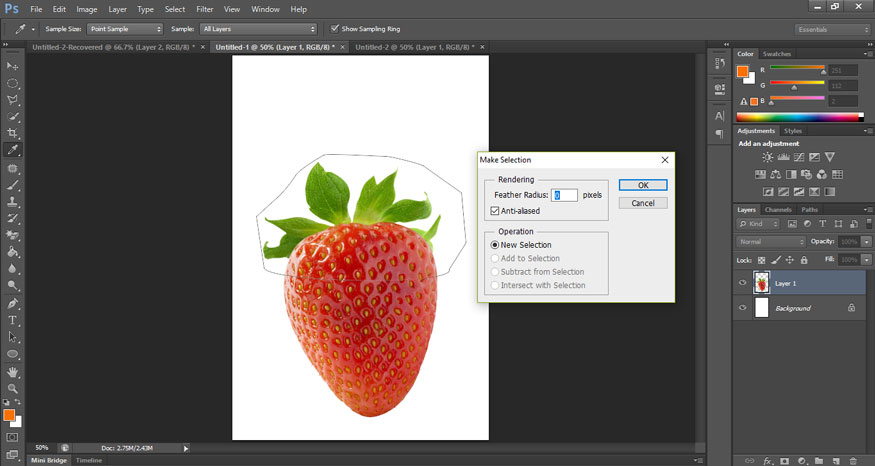
In the Make Selection dialog box that appears, set Feather Radius to 0, in the Operation section select New Selection. Then select OK. Now we have a selection of the upper half of the strawberry cut off.
Step 5: Now press the keyboard shortcut Ctrl+Shift+J to cut this selection out. Then adjust the size and position according to your ideas.

Step 6: Repeat steps 4 and 5 on the bottom of the strawberry to get another slice of fruit slice effect in Photoshop.
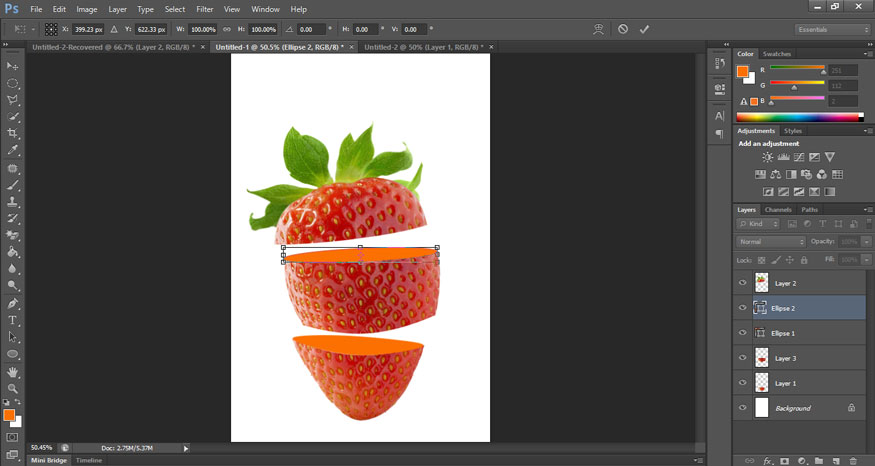
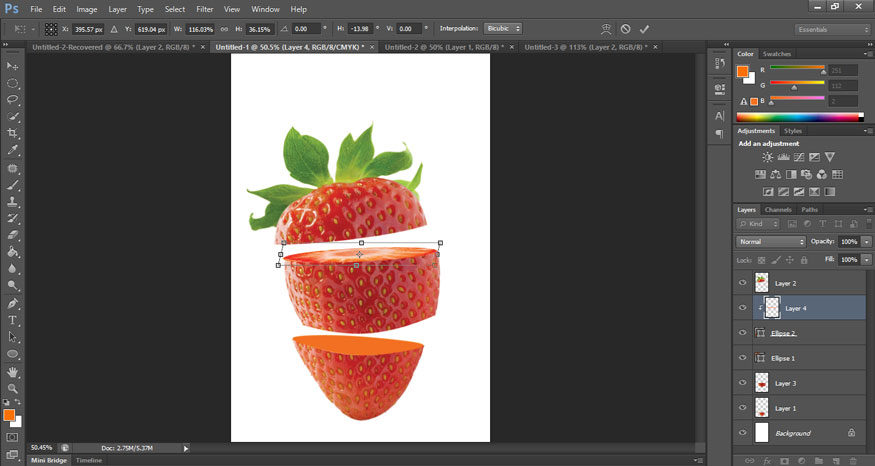
Step 7: On the toolbar, select Ellipse Tool to draw an ellipse the same size as a strawberry slice.
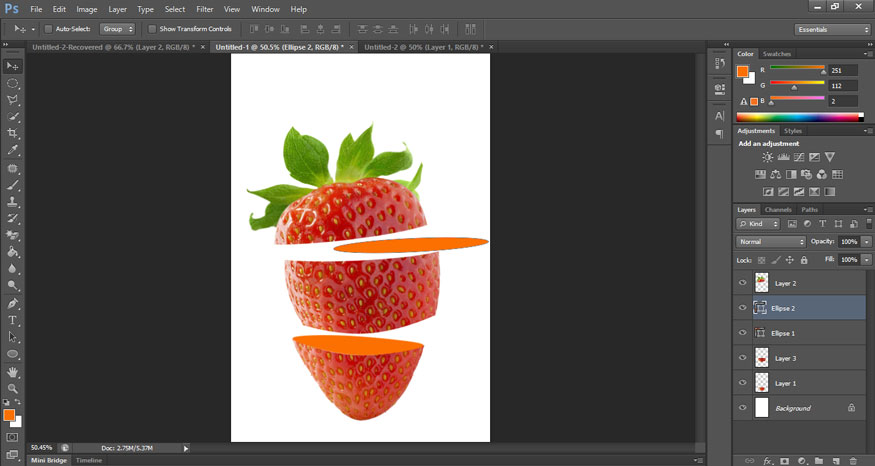
Then press the key combination Ctrl + T and adjust the position and size of the ellipse to fit the slice. During the adjustment process, you can press Ctrl and drag the mouse at the anchor points to get the most suitable size and position.
Step 8: Upload the photo of a strawberry slice to Photoshop. Then use the Move Tool to drag it to the file containing the strawberry that needs to create the fruit slice effect in Photoshop. Rearrange the layer position so that the strawberry slice layer is directly above the first slice.
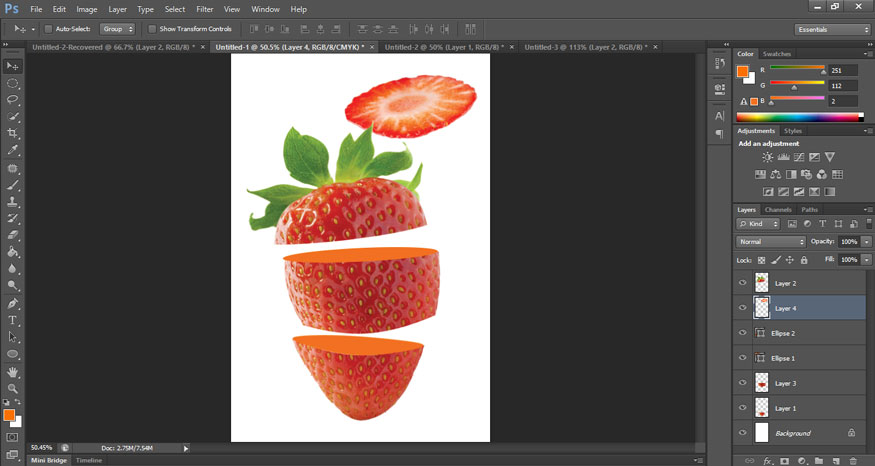
Step 9: At the lemon slice layer, right-click and select Create Clipping Mask.
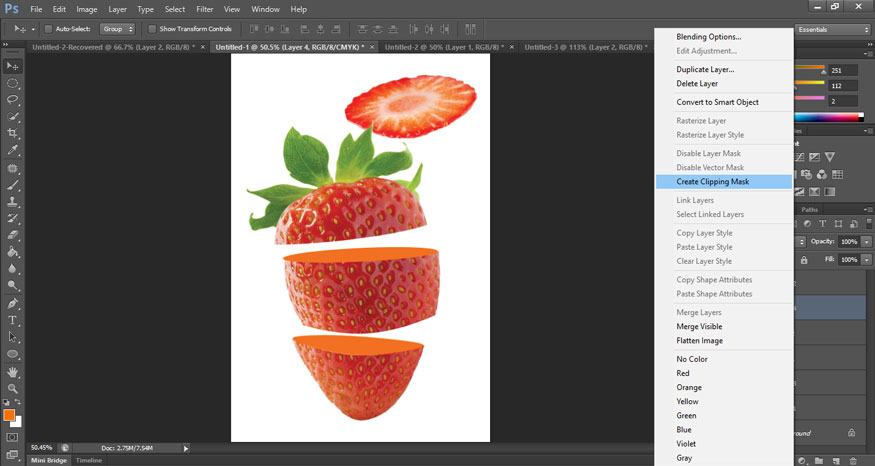
Then we will press Ctrl + T and then adjust the size of the strawberry slice to fit the new ellipse.
Repeat step 9 with the slice below.

Finally, we have the result:

So you have finished creating the fruit slice effect in Photoshop. Try adding a little water and shadow effects to make your design more vivid.
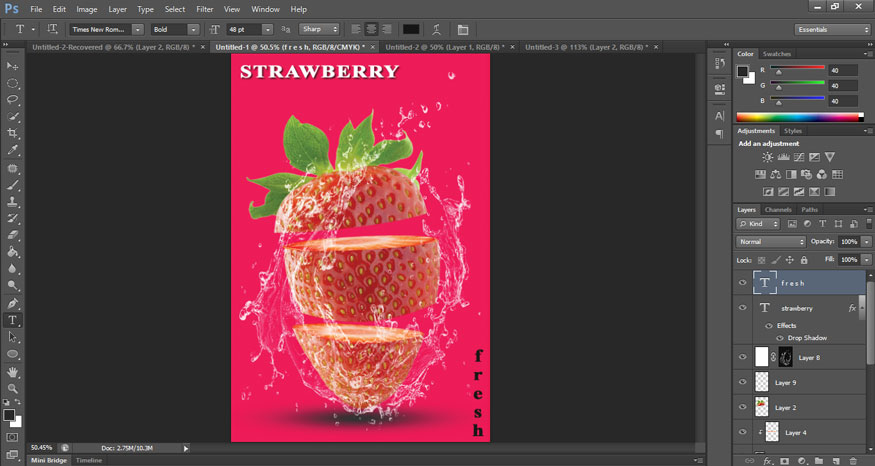
Above are instructions on how to create a fruit slice effect in Photoshop. The method is not complicated, try it now. Hopefully the above sharing from Sadesign can help you create vivid fruit cutting effect photos.


VIP Products


Best Selling Products
Freepik Premium Account
59 USD
MidJourney Account
29 USD
Capcut Pro 1 Year
39 USD
Plugin Retouch4me
69 USD
Genuine Cheap Canva Pro
39 USD
Adobe Premiere Pro Account
99 USD
Windows 10 & 11 Pro Key
36 USD
Upgrade genuine Capture One account
120 USD
Upgrade Genuine Office 365
49 USD
Copyright Adobe Lightroom Account
59 USD
Autodesk All App Account Copyright
120 USD
Adobe Photoshop Copyright - Full App
120 USD
Genuine Adobe Illustrator account
99 USD
ChatGPT Plus Account (GPT-4)
16 USD
Upgrade Duolingo Super
29 USD