Best Selling Products

Plugin Retouch4me
69 USD

Copyright Adobe Lightroom Account
59 USD

MidJourney Account
29 USD

Autodesk All App Account Copyright
120 USD

ChatGPT Plus Account (GPT-4)
16 USD

Upgrade genuine Capture One account
120 USD

Genuine Adobe Illustrator account
99 USD

Adobe Photoshop Copyright - Full App
120 USD

Genuine Cheap Canva Pro
39 USD

Freepik Premium Account
59 USD

Upgrade Genuine Office 365
49 USD

Capcut Pro 1 Year
39 USD

Adobe Premiere Pro Account
99 USD

Upgrade Duolingo Super
29 USD

Windows 10 & 11 Pro Key
36 USD
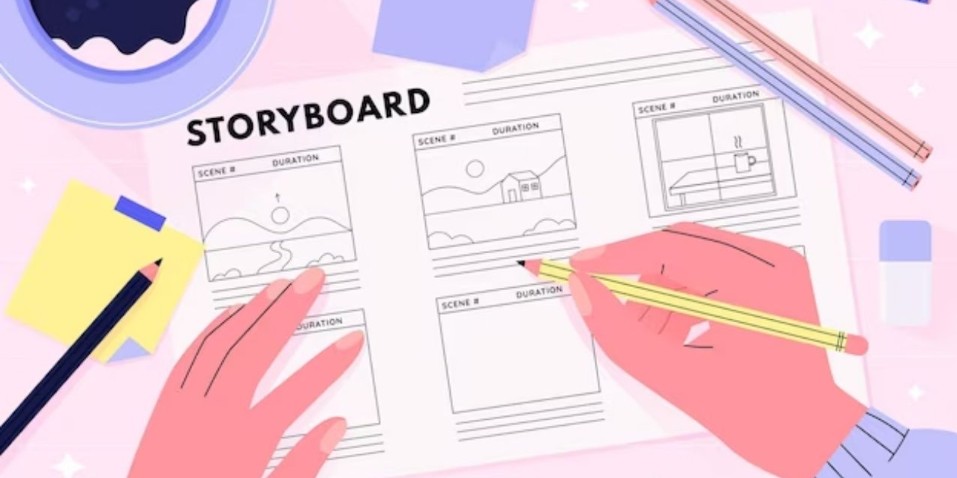
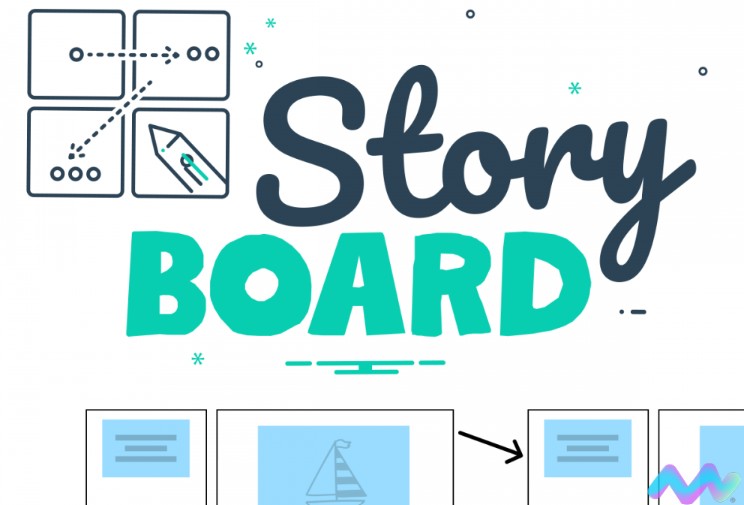
Detailed Guide to the Professional Storyboard Making Process
Nội dung
- 1. What is a Storyboard?
- 2. The role of sample Storyboard in film production
- 3. First Step Before Drawing Storyboard
- 3.1 Reading the script
- 3.2 Scene division
- 3.3 Identify the transmission factor
- 4. Prepare and Choose Storyboard Drawing Tools
- 4.1 Choosing a drawing method
- 4.2 Prepare reference documents
- 4.3 Layout planning
- 5. Storyboard Implementation Process
- 5.1 Step 1: Analyze and select important scenes
- 5.2 Step 2: Draw the keyframe
- 5.3 Step 3: Determine camera angle and movement
- 5.4 Step 4: Add notes and illustrations
- 5.5 Step 5: Synthesize and review storyboard
- 6. Experience in making effective sample Storyboard
This guide helps readers understand the journey from a script to a visual drawing that bridges the gap between ideas and the final product. The article details the stages of analyzing the script, identifying key shots, and choosing the right tools, to build a professional storyboard that effectively supports the film production process.
In the context of the increasingly developing and fiercely competitive film industry, preparing a detailed and professional storyboard is not only the first step but also the key to forming ideas, communicating effectively between production departments and saving significant costs and time. SaDesign always believes that creativity and technical expertise can work together to create breakthrough film works. This article will take you through each step of making a sample storyboard for a film project, from reading the script to completing the illustration, helping you confidently apply and be creative in production work.
1. What is a Storyboard?
Storyboard is a compound word of two elements: Story - story and Board - sample boards, squares for presentation. Accordingly, Storyboard can be understood as coherent stories, with developments, with plots presented in the form of small boards, adjacent boxes to express the author's intentions as well as creative ideas. Storyboards can actually be short stories, movie scripts, TVC advertisements, animated films or simply presentations used in presentations and speeches. The form of Storyboards is actually very diverse and rich such as hand-drawn drawings, design drawings in Photoshop, Sketch drawings, etc. Storyboards do not need to be elaborate in drawing but can make the work of filming, taking pictures, videos, preparation and post-production stages happen faster and smoother.
.png)
2. The role of sample Storyboard in film production
Although Storyboards are just very simple scripts and limit the amount of text displayed, Storyboard scripts bring great benefits to film producers. That is because Storyboards help directors and screenwriters best express ideas as well as important information of the story. Along with that, thanks to the special short and concise form of expression, Storyboard templates help the implementation time to be faster than traditional scripts. Not only that, using Storyboards in film creation and production also helps you to come up with many new ideas right in the process of implementation, put them into the script as well as change the points that are not really satisfactory.
3. First Step Before Drawing Storyboard
3.1 Reading the script
Before you pick up a pen to draw, the first and most important thing is to understand the content, spirit and purpose of the story. Take the time to carefully study the script, learn about the setting, plot and character traits. The dialogue, actions and emotions expressed in the script will become a source of inspiration and the basis for choosing the key frames to illustrate.
3.2 Scene division
Once you have a grasp of the plot, the next task is to divide the script into small scenes. Each scene is divided into several scenes depending on the nature of the content, the complexity of the action and the climax points that need to be emphasized. This division makes it easier to arrange the order, creating a seamless story.
.png)
Factors to consider:
Mark transition points: Clearly define where one scene ends and the next begins.
Highlight key moments: Pick out plot points and important developments to make sure nothing is left out.
3.3 Identify the transmission factor
When analyzing a script, you need to focus on the key elements that drive the characters' emotions and actions. Take note of details like:
Camera angle: Clearly determine the camera angle to use (close-up, wide angle, tilted angle…) to highlight emotions or actions.
Lighting: Adjust the lighting mood according to the situation, from gloomy darkness to bright light, to create a unique atmosphere for each scene.
Emotional development: The changes in the character's emotions need to be clearly shown through each frame.
4. Prepare and Choose Storyboard Drawing Tools
4.1 Choosing a drawing method
Once you have your script layout and scene breakdown, the next step is to choose the right storyboarding method. Depending on your purpose and stage of production, there are two main methods you can choose from:
.png)
Hand drawing on paper:
With the hand-drawing method, you can quickly sketch out ideas and easily adjust them if needed. It is an ideal tool for brainstorming when you need to be flexible and explore many different ideas without being constrained by software.
Using specialized software:
Tools like Storyboard Pro, Photoshop or SketchUp are beneficial in editing, storing and sharing storyboards efficiently. These software provide many utilities such as frame templates, animation symbols, illustration effects, etc., helping you focus on creativity without worrying about drawing techniques.
4.2 Prepare reference documents
Preparing reference materials is an essential step. This is where you search for and collect common images, icons, symbols, and storyboard templates from previous projects that have been successful. These materials will help guide your drawing style, layout, and inspire your creative process.
.png)
Sources of documents include:
Online image library and sample projects from reputable studios.
Blogs and magazines specializing in film design and production.
Video tutorials and storyboard analysis from experts.
4.3 Layout planning
The layout of your storyboard not only affects the visual appeal, but also determines how your story is told. Before you start sketching out each frame, plan out each storyboard page:
Frame size: Define the size and aspect ratio of the frame to help you easily format and arrange information.
Number of frames per page: Depending on the complexity of each scene, arrange the number of frames reasonably, ensuring the story line is clear but not too dense, making the viewer feel confused.
Divide space between images and notes: Always leave room for important notes like camera movement, character orientation, lighting effects, or sound.
.png)
5. Storyboard Implementation Process
5.1 Step 1: Analyze and select important scenes
In any film project, not every frame is created equal. Before you start drawing, select the key plot points – the opening, climax, and closing moments of the story.
Choose a focal frame: Focus on key scenes, moments where character emotions and actions peak.
Identify the key elements: This is the time to capture the details that make up the “highlight” of the scene, such as camera movement, changes in lighting, or unique character expressions.
5.2 Step 2: Draw the keyframe
Once you have identified your key shots, begin the process of sketching out each key frame:
Rough sketches: Use a pencil or drawing software to create quick sketches to quickly capture your initial ideas. Don't worry too much about the details, just focus on getting the basics across like character placement, setting, and camera angles.
Break it down into panels: Each storyboard page should be broken down into several panels, each representing a different movement, action, or perspective. This helps to clarify the movement and logic of the story.
.png)
5.3 Step 3: Determine camera angle and movement
More than just drawing shapes, storyboards also need to clearly show dynamic elements:
Choose the right angle: Every angle conveys a message. Close-ups can highlight emotions, while wide-angles help the audience understand the overall setting. Think carefully about which angle works best for each scene.
Camera Movement Markers: Use symbols and arrows to indicate camera movements, such as pan, tilt, zoom, or crane. These details help the camera crew capture ideas quickly and accurately.
5.4 Step 4: Add notes and illustrations
To ensure that each frame is not misinterpreted, it is extremely important to add notes and symbols:
.png)
Detailed notes: Clearly note lighting, color, sound, and special effects if any. The more detailed the notes, the more the team members will understand the requirements of each scene.
Use motion symbols: Standard symbols like “pan,” “tilt,” or “zoom” not only save space, but also create consistency within your storyboard.
Icons: Sometimes a simple icon is enough to convey a message, so use icons to express emotions and situations without having to write too many words.
5.5 Step 5: Synthesize and review storyboard
Once you've completed the drawing and note-taking steps, the final task is to review the entire storyboard:
Review the story line: Make sure the frames are arranged in a logical sequence, telling a coherent and logical story.
Team Feedback: Get input from team members – director, editor, and producer – to refine and refine the storyboard. This feedback is invaluable because it helps uncover small errors that might have been missed during the initial drawing process.
Visual Check: Make sure all notes, symbols, and icons are clear and easy to understand. Update frames if there are any mismatches between images and content.
.png)
6. Experience in making effective sample Storyboard
In fact, implementing Storyboard is also very different from basic theories. Accordingly, in theory, Storyboard used in film scripts needs to be more meticulous than Storyboard short videos, short advertising videos, etc. However, Storyboard for film projects does not always need to be meticulous, meticulous with complex and elaborate drawings. They just need to be neat, easy to observe, easy to understand, easy to implement during editing, filming, etc. Not only that, the sample Storyboard also needs to have certain spaces so that the screenwriter and director can change and add new elements at any time. In addition to the above factors, the sample Storyboard used in film projects also needs to pay attention to annotations, scene information, shots, digital formats, etc.
Ultimately, a detailed and well-prepared storyboard is a sign of professionalism and respect for every stage of production. It helps to reduce risk, facilitates collaboration between crew members, and ensures that each frame contributes to the complete story.


VIP Products


Best Selling Products
Plugin Retouch4me
69 USD
Copyright Adobe Lightroom Account
59 USD
MidJourney Account
29 USD
Autodesk All App Account Copyright
120 USD
ChatGPT Plus Account (GPT-4)
16 USD
Upgrade genuine Capture One account
120 USD
Genuine Adobe Illustrator account
99 USD
Adobe Photoshop Copyright - Full App
120 USD
Genuine Cheap Canva Pro
39 USD
Freepik Premium Account
59 USD
Upgrade Genuine Office 365
49 USD
Capcut Pro 1 Year
39 USD
Adobe Premiere Pro Account
99 USD
Upgrade Duolingo Super
29 USD
Windows 10 & 11 Pro Key
36 USD