Best Selling Products

Plugin Retouch4me
69 USD

Genuine Adobe Illustrator account
99 USD

Capcut Pro 1 Year
39 USD

Copyright Adobe Lightroom Account
59 USD

Upgrade Duolingo Super
29 USD

Freepik Premium Account
59 USD

Upgrade Genuine Office 365
49 USD

Adobe Premiere Pro Account
99 USD

MidJourney Account
29 USD

Adobe Photoshop Copyright - Full App
120 USD

Windows 10 & 11 Pro Key
36 USD

Genuine Cheap Canva Pro
39 USD

ChatGPT Plus Account (GPT-4)
16 USD

Upgrade genuine Capture One account
120 USD

Autodesk All App Account Copyright
120 USD
Discover amazing tips for taking stunning food layout photos with your smartphone.
Nội dung
Transform your dining table into a work of art with just your phone in hand.
Taking food photos with smartphones has become a common habit for many people. However, to create a truly captivating food photo that has an artistic flair, rather than just a fun shot, you need more than simply pointing your phone and pressing a button. A beautiful food photo is always the result of a harmonious combination of lighting, composition, color, and storytelling through the smallest details.
Interestingly, you don't need an expensive camera. Today's smartphone technology is powerful enough to create stunning photos if you know how to use it correctly. Every angle, the way the food is arranged, the choice of background, and even the appearance of hands in the frame all contribute to making the image more vibrant and appetizing. This article summarizes the 5 most important secrets to help you take "super artistic food map" photos of food using just your phone. Let's see how your smartphone can become a powerful creative tool in your journey to mastering the art of food photography.
1. Food looks best in natural light.
Lighting is a core element of all photography genres, and food photography is no exception. No filter, preset, or color correction technique can save a poorly lit or misdirected photograph. Especially for food photography, natural light is the ideal choice because it provides softness, authenticity, and maximizes the beauty of the food.
Some people have a habit of taking photos of food in restaurants or kitchens where the lighting is often quite dim or has a strong yellowish tint, causing the food to look dull. This makes the food less appealing and lacking its inherent freshness. Conversely, natural sunlight, especially when diffused gently through curtains or coming from the outdoors, helps to highlight the surface of the food more clearly, showcasing its texture, sheen, and color vividly.
If you're shooting at home, placing the food near a window, in the garden, on the balcony, or where natural light shines in will yield outstanding results. Natural light in these areas is usually soft, not too harsh, and creates subtle shadows that give the photo depth and a natural feel. Positioning the light source at about a 45-degree angle is also a technique many professional photographers use to create a balance between light and shadow, making the food stand out without appearing flat or lifeless.
However, you don't always have access to sunlight. On cloudy days, when the light is too weak, or when shooting in a restaurant at night, you'll have to use artificial light. In this case, choose a light source with a warm, even light that doesn't create harsh shadows. Some LED lights with a color temperature of around 4000–5000K will produce light close to daylight. If using an external flash, you should diffuse the light with a mini softbox or reflector to avoid creating overexposed areas on the food surface.
2. If necessary, rearrange the food presentation.
Food doesn't always look "picture-perfect" on screen immediately. You're probably all too familiar with seeing food in advertisements looking stunning and perfect, only to find it less appealing in reality. This is perfectly normal, because advertising images are always meticulously crafted: the food is rearranged, toppings are added, and every small detail is adjusted to make the overall presentation as flawless as possible.
Therefore, if you want a photo as beautiful as an advertisement, you need to take some time to rearrange the food. Not to completely change the dish, but to help it showcase its inherent beauty. A bowl of noodles will look more appealing if you gently lift the noodles with chopsticks to separate them, instead of letting them lie flat at the bottom of the bowl. A cake will look better if you turn the cross-section towards the light so that the cream and cake layers are more visible. Even just adding a few mint leaves, a pinch of fruit, or sprinkled nuts on top can make the dish more visually appealing.

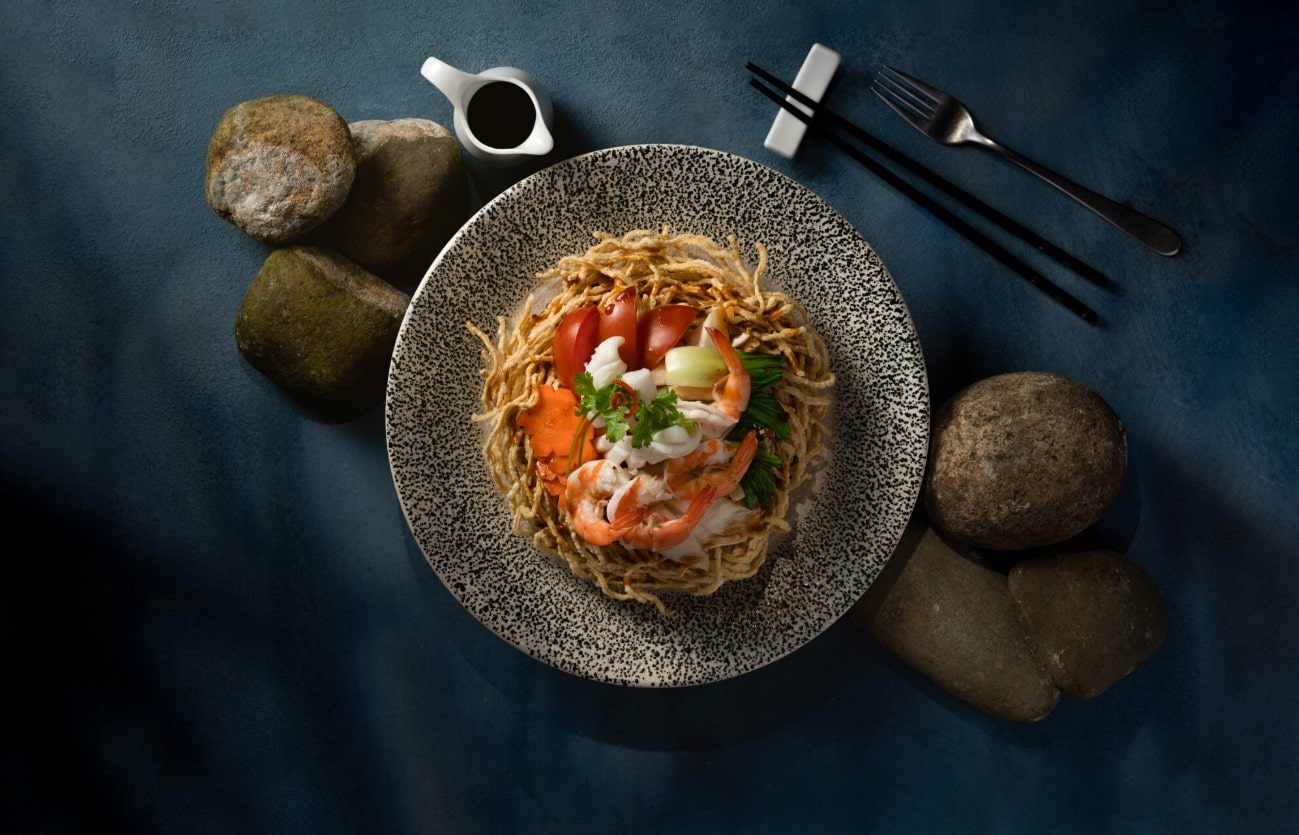
When presenting a dish, pay attention to the overall composition. You can add items such as tablecloths, cutlery, glasses, flowers, or small food-related decorations to create a complete setting. Every dish tells a story, and the surrounding accessories help to make that story clearer. A European-style breakfast would be well-suited to a brightly colored tablecloth, a cup of coffee, and slices of brown bread. While an authentic Asian dish like pho or vermicelli might be accompanied by wooden chopsticks, a brocade napkin, or a few slices of lemon or chili peppers to create a sense of authenticity.
Most importantly, everything should support the dish, not overshadow it. The presentation should only aim to draw attention to the main dish, making it the focal point of the frame. Clever arrangement will make your photo look like a professional advertisement, even if it's just taken with a phone.
3. Choose a neutral or contrasting background.
The background is the "stage" where the food becomes the main character. If the stage is cluttered, too colorful, or contains too many distracting details, the food will easily lose its prominence. In food photography, choosing the right background is key to making the overall image sophisticated, harmonious, and captivating.
A common approach is to use neutral background tones such as white, beige, wood brown, or light gray. These colors have the ability to soothe the eyes and make the colors of the food stand out more. For example, a light brown tiramisu placed on a white background will create a gentle contrast but enough to make the dish the focal point. Similarly, dishes with strong colors like yellow curry, green salad, or red strawberry cake will also stand out more when placed on a gray or beige background.
Besides neutral backgrounds, you can also choose contrasting backgrounds to create a strong visual effect. The contrast between the background and the food helps viewers focus on the main course immediately. For example, a pristine white cake on a black background will create an elegant and striking impression. A red soup on a blue napkin will create a fresh and eye-catching feel. Contrasting color pairs such as yellow-purple, orange-blue, and red-green are also popular choices for creating emphasis.
However, you need to keep in mind that contrast must be used in a controlled manner. If the background is too bright or has a complex pattern, the food may be overshadowed or appear cluttered. Ideally, the background should be simple enough to highlight the food, but still have personality to create a unique style.
You can utilize various materials as a backdrop, such as wooden tables, faux stone PVC panels, wallpaper, fabric towels, or even hand-painted foam boards. The important thing is that the background is clean, uniform, and consistent with the story you want to tell in the photograph.
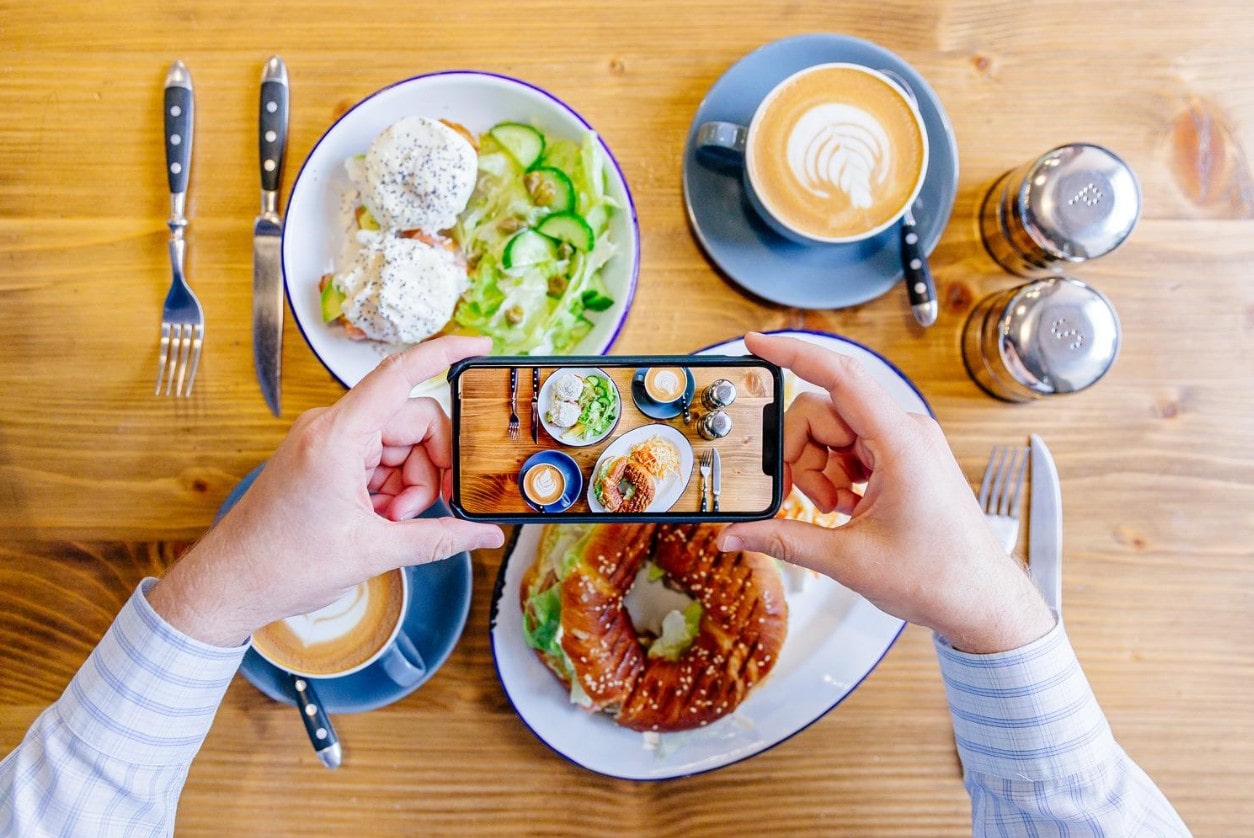
4. There is interaction between people and food.
A photograph of just food can sometimes look quite "static" and lifeless. That's why many professional food bloggers always include a human element in the frame, such as a hand picking up food, holding a glass of water, or turning a pastry. The presence of people creates a warm, intimate feeling and allows viewers to experience the setting more authentically.
When there is interaction, the photograph is not just a capture of the food, but also tells the story of the moment of enjoyment. A hand holding chopsticks lifted from the bowl of noodles gives the viewer the feeling that the dish is being savored right now. A hand pouring sauce over the food creates a subtle, captivating sense of movement.
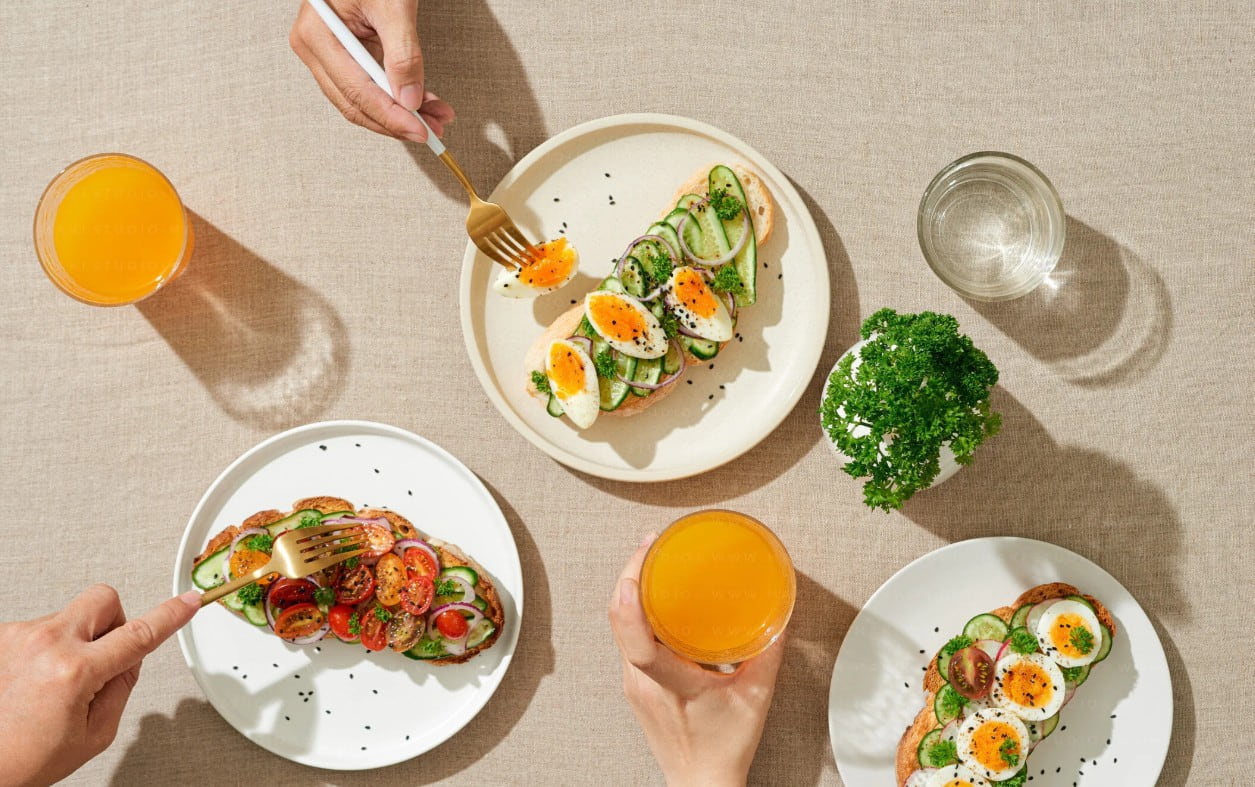
To make the interaction look natural, you should use gentle movements. For example, only lift a small portion of the food, hold the glass at a slight angle, or cut the cake gracefully with a knife. This helps to highlight the contours of the food without obscuring too many details. The interaction should be done in a way that guides the viewer's eye back to the food.
A helpful tip is to ask a friend for help if you want your hand to be in the frame. Having someone else take the picture will give you better control over the composition and prevent shaky hands from posing and pressing the shutter button at the same time. If you have to take the picture yourself, the timer or gesture-based shooting (like raising your hand) on your smartphone can also be very useful.
The human element also contributes to the storytelling aspect of a photograph. For example, a hand with an accessory like a watch, bracelet, or sweater can suggest a lifestyle or weather context. A thick brown coat would suit a winter setting when photographing a hot cup of cocoa, while a simple white shirt would be appropriate for a light, summery breakfast.
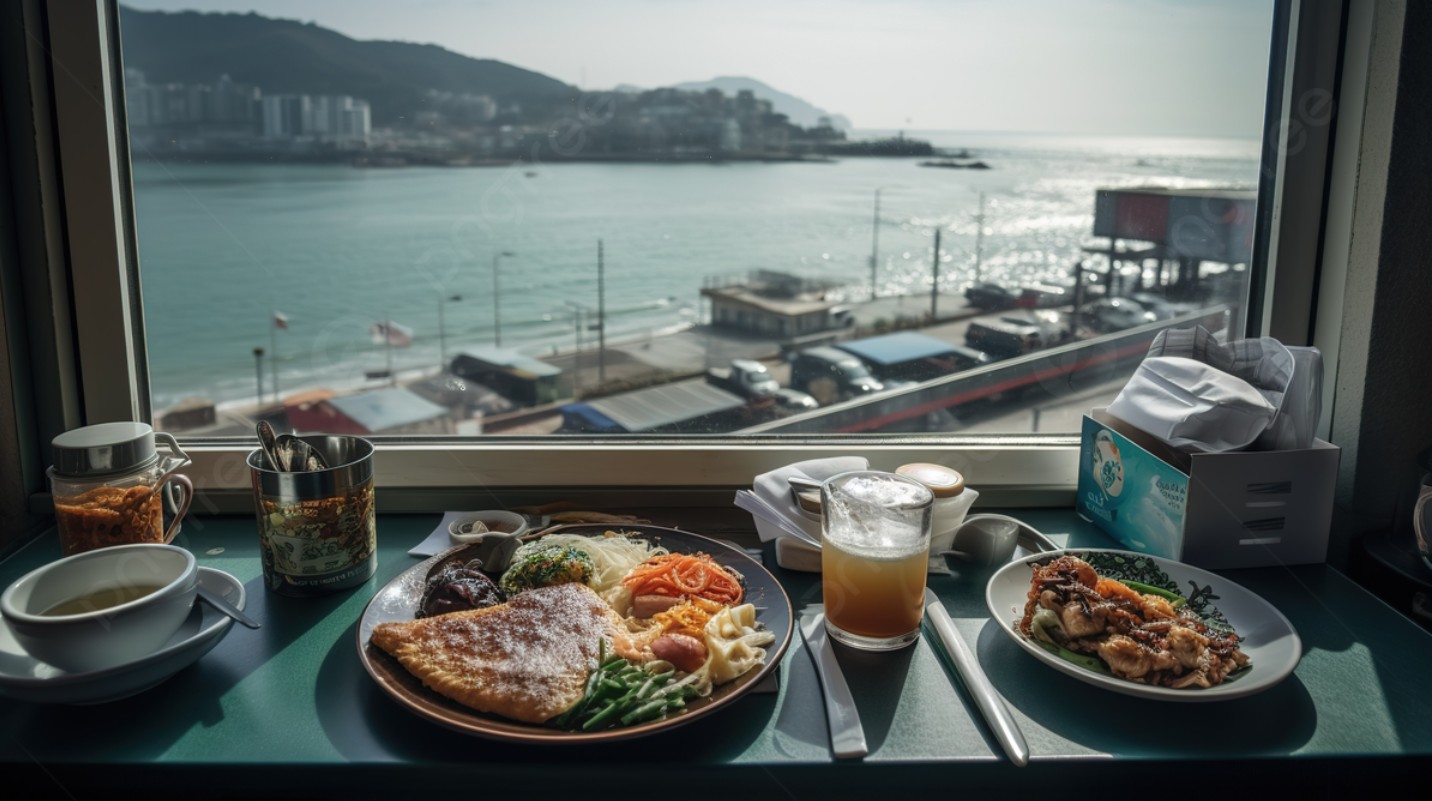
5. If shooting from above, use the wide-angle camera.
Flatlay is a top-down photography style, popular in food photography and particularly suitable for diagrammatic compositions. This style involves arranging objects on a flat surface and photographing them straight down from above to create a harmonious and artistic overall effect. Flatlay requires finesse in arrangement and control of proportions between objects, while also allowing you to showcase the overall story surrounding the dish.
However, a common difficulty when shooting flatlays with a smartphone is the height limitation. You can't raise the phone too high without the risk of blurry images or difficulty in framing the shot. This is where a wide-angle camera comes in handy. A wide angle allows you to capture more detail without having to hold the phone too far up. This not only results in sharper images but also makes it easier to control the composition when arranging objects.
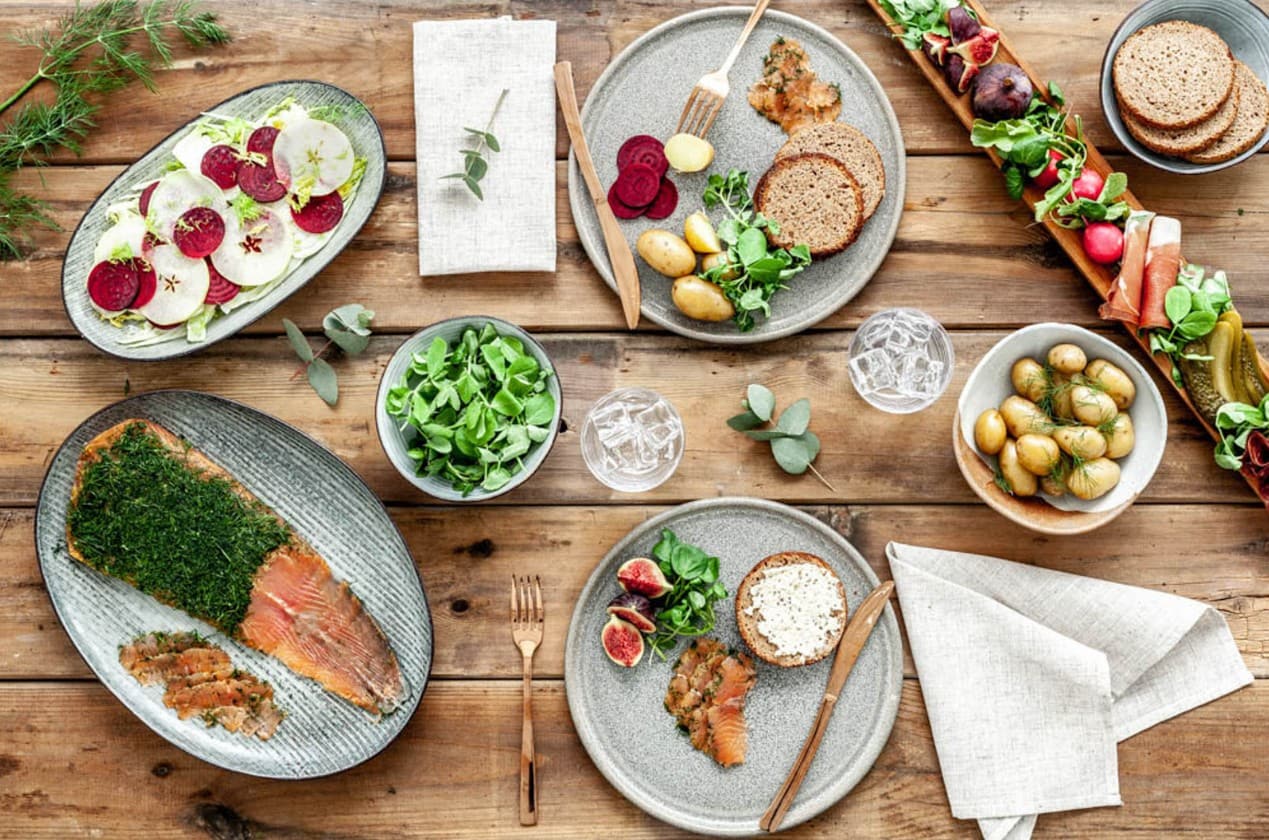
When using a wide-angle lens, you should stand or sit in a central position, holding your phone parallel to the surface to avoid distortion. Arrange objects in a circle or in layers to create depth, while maintaining empty space to create overall balance. Wide-angle cameras are especially effective in scenes with many objects, such as a banquet table, a brunch setting, or a multi-layered food presentation.
Additionally, when shooting flatlays, the lighting must be very even. Too much light from one side can cause objects to cast long shadows and disrupt the flat feel that is characteristic of this style. A wide-angle camera helps you capture the whole scene, but it is the even lighting and subtle composition that create the "artistic" quality in the photograph.
Each tip in this article aims to help you realize that food photography isn't difficult; it just requires finesse and a little creativity. Start experimenting with each little trick, adjusting them to your own style, and feel the difference in each photo. Who knows, you might even become a culinary inspiration for those around you with your emotionally resonant and artistic photographs.


VIP Products


Best Selling Products
Plugin Retouch4me
69 USD
Genuine Adobe Illustrator account
99 USD
Capcut Pro 1 Year
39 USD
Copyright Adobe Lightroom Account
59 USD
Upgrade Duolingo Super
29 USD
Freepik Premium Account
59 USD
Upgrade Genuine Office 365
49 USD
Adobe Premiere Pro Account
99 USD
MidJourney Account
29 USD
Adobe Photoshop Copyright - Full App
120 USD
Windows 10 & 11 Pro Key
36 USD
Genuine Cheap Canva Pro
39 USD
ChatGPT Plus Account (GPT-4)
16 USD
Upgrade genuine Capture One account
120 USD
Autodesk All App Account Copyright
120 USD