Best Selling Products

Upgrade genuine Capture One account
120 USD

Freepik Premium Account
59 USD

Genuine Cheap Canva Pro
39 USD

Adobe Premiere Pro Account
99 USD

MidJourney Account
29 USD

Autodesk All App Account Copyright
120 USD

Genuine Adobe Illustrator account
99 USD

Upgrade Genuine Office 365
49 USD

Windows 10 & 11 Pro Key
36 USD

Plugin Retouch4me
69 USD

Upgrade Duolingo Super
29 USD

Capcut Pro 1 Year
39 USD

ChatGPT Plus Account (GPT-4)
16 USD

Adobe Photoshop Copyright - Full App
120 USD

Copyright Adobe Lightroom Account
59 USD
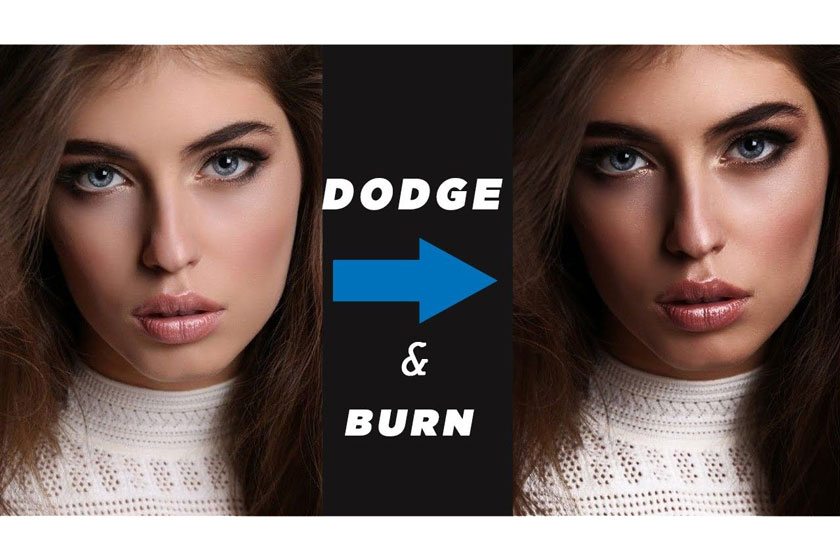
Micro-transform on face with Dodge and Burn in Photoshop
Nội dung
Tip to help you successfully micro-transform with Dodge and Burn in Photoshop is to simply set the hardness of the brush between 0 - 30% (change the billion zoom percentage during your work). If you always enlarge the brush during work then you will miss out on small areas and vice versa if you zoom out you will miss the bigger details.
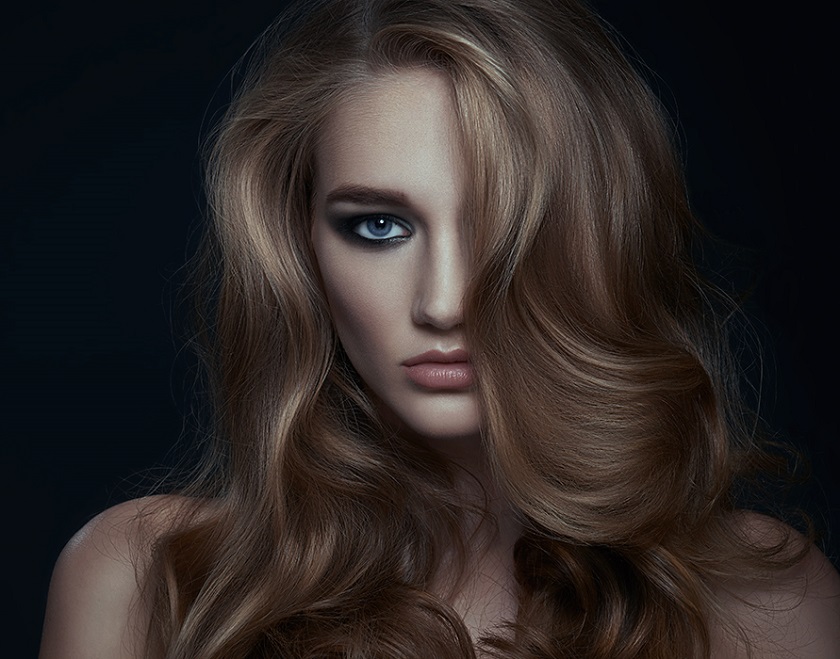
dodge and burn in photoshopTransitions, hue transitions, and micro-transitions are important in the photography industry because it will help you determine the quality of the image you create. In today's article we want to share with you how to micro transform using Photoshop's Dodge & Burn technique.
Conversion value concepts
What is forward value?
Transition values are values found between midtones and shadows, and between the neutral area and highlights of an object. For example, the amount of transition we will see above the portrait subject is determined by the quality of the light source.
What is hue conversion?
A gradation is any change in tone or color on your portrait subject. These conversions are all big conversions, to put it simply, it's the conversions that we can see on a large scale or shrink.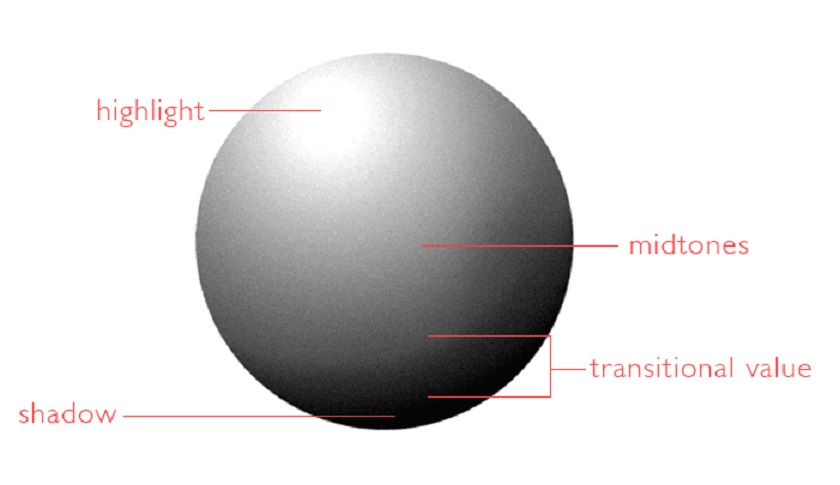 What is hue conversion?
What is Micro Transitions?
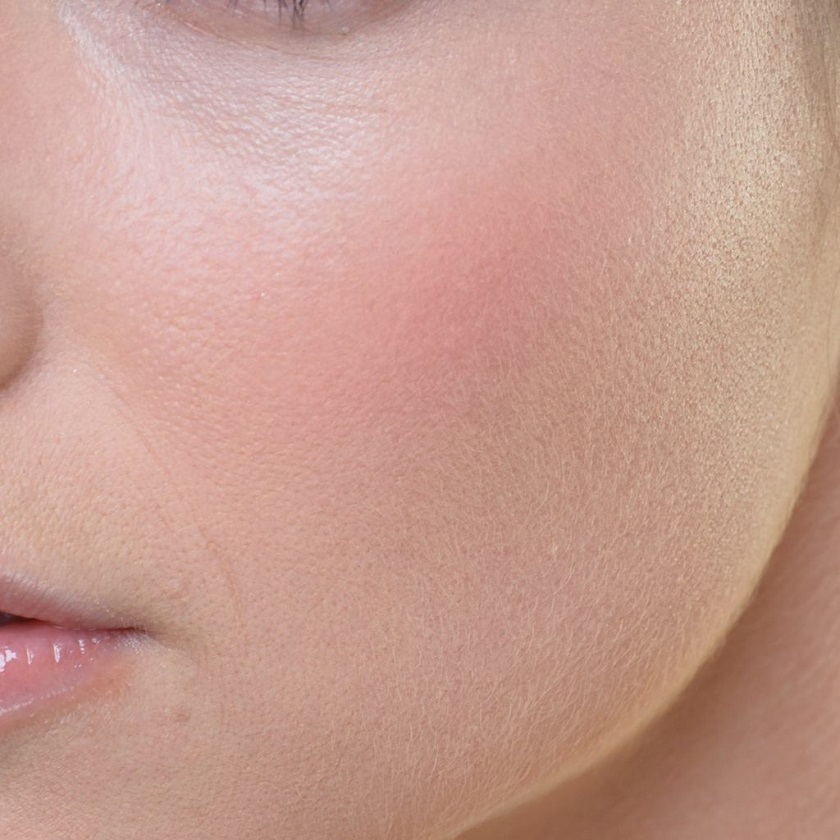
Micro Switching is about converting values and rhythms, but on a small scale. While large variation in value is possible due to 3-dimensional forms of the subject - shape of the forehead, shadow on the nose, ... these microscopic transformations will be caused by displacement or smallest cleavage on the surface of the skin.
These are small shadows and highlights that are normally only visible when we zoom in on an image. Every bump, scratch, or dent in the skin's surface creates a slight highlight and shadow will help break through the smooth transition and the flow value and tone of the skin's surface.
 What is Micro Transitions
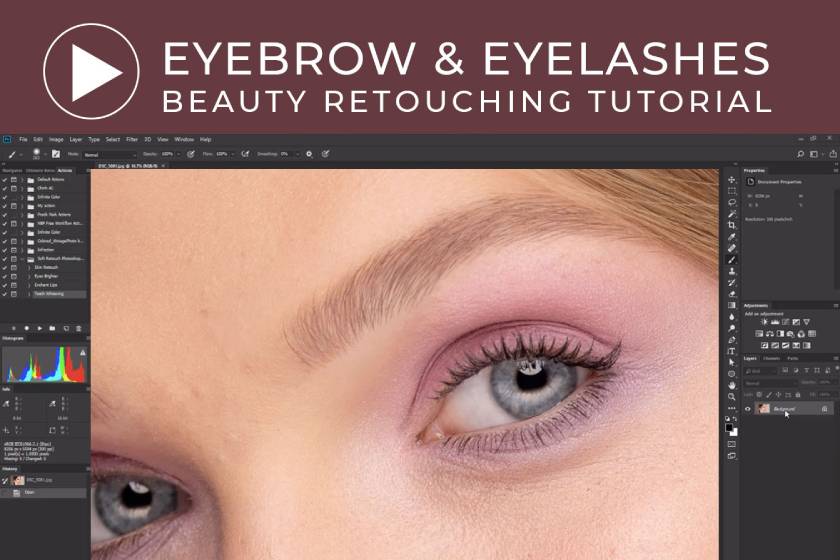
The eyes will be more tweaked, as these small transitions will become more pronounced, but if you can't see them there are ways to make it stand out as you edit.
Visual aid settings
In the black and white example below, I added a few layers to help me see the microscopic transitions better: adjust the Curves to darken the image and add a bit of contrast, and 50% of the middle gray layers are set to Color blending to remove the colors. This setup is helping the micro-transitions stand out.
Below you can see some circled micro transformations, but of course, it's not all
Visual aid settingsHow to edit micro conversions?
Now that we can clearly identify these small changes in the subject's skin, let's see how to correct them properly. Most detectable microscopic transformations are darker arrays. So dodge usually takes up most of my time while dealing with microscopic transitions. And we also need to address the slightly lighter areas by burning them.
There are certainly ways to Dodge and Burn, you can use with the "Curves" method like me.
How to edit micro conversionsAfter the Dodge & Burn layers are set up, select a soft white brush and paint over the areas that appear as darker micro transitions.
Or, you can also use the existing photographers' beauty retouch panel with simpler operation in no time.
Tips for Dodging & Burning micro conversions successfully
Here are some setting tips:
- Default by setting your opacity to 100% and your Flow from 1 to 3%.
- Set the hardness of your brush between 0 - 30%. Again, things are a little quicker and easier with a nice editing panel - So the Dodge and Burn Brushes technique will automatically default to the correct D&B settings.
- I prefer to make my brush a little smaller, then fix the blemishes that I want to fix, although there are a lot of editors who prefer to have their brush the areas with defects.
- Change your zoom percentage as you work. If you always zoom in the whole time, you will miss the larger areas and vice versa if you are too zoomed out, you will miss the smaller details.
Although with the Dodge and Burn method to correct the light and shadow is very slow and pale, but if you have time, practice it to become more proficient with this working process. SaDesign Retouching is sure to help you get good results in your photo editing process.
See more The differences between Fill and Opacity in photoshop


VIP Products


Best Selling Products
Upgrade genuine Capture One account
120 USD
Freepik Premium Account
59 USD
Genuine Cheap Canva Pro
39 USD
Adobe Premiere Pro Account
99 USD
MidJourney Account
29 USD
Autodesk All App Account Copyright
120 USD
Genuine Adobe Illustrator account
99 USD
Upgrade Genuine Office 365
49 USD
Windows 10 & 11 Pro Key
36 USD
Plugin Retouch4me
69 USD
Upgrade Duolingo Super
29 USD
Capcut Pro 1 Year
39 USD
ChatGPT Plus Account (GPT-4)
16 USD
Adobe Photoshop Copyright - Full App
120 USD
Copyright Adobe Lightroom Account
59 USD