Best Selling Products
How to expand the background in Photoshop
Nội dung
Currently there are many ways to expand the background in Photoshop. Each method is suitable for different types of photos. Correct and appropriate use of tools will help the photo to be realistically enlarged and ensure quality. Join Sadesign to learn about ways to expand the background in Photoshop through the shares below.
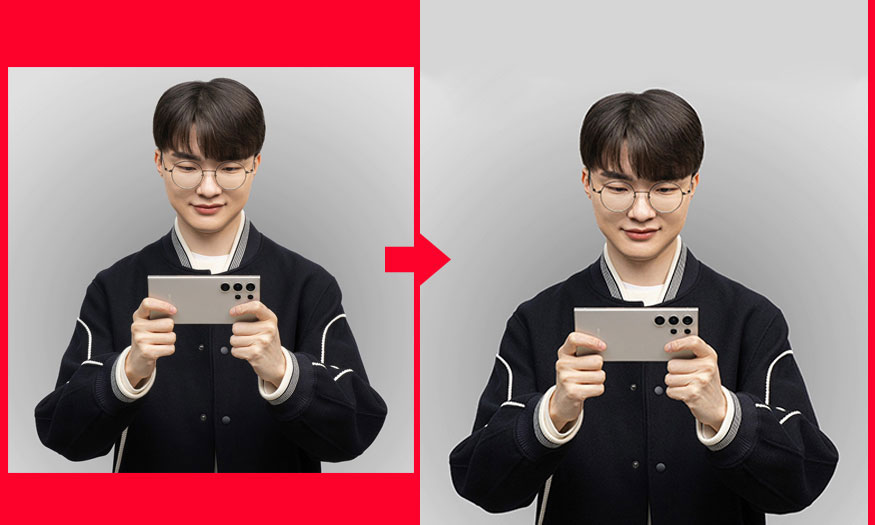
Currently there are many ways to expand the background in Photoshop. Each method is suitable for different types of photos. Correct and appropriate use of tools will help the photo to be realistically enlarged and ensure quality. Join Sadesign to learn about ways to expand the background in Photoshop through the shares below.

1. How to expand the background in Photoshop using Canvas size
Using Canvas size is the simplest way to expand the background in Photoshop. This method is suitable for photos with a uniform background, simply one color or a slight color transition.
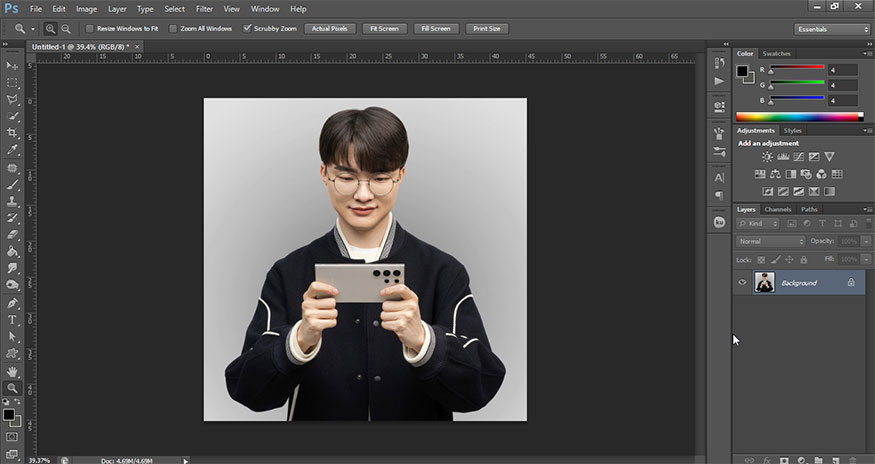
Step 1: First, open the photo you want to expand the background in Photoshop. Select File on the menu bar => Open => select the image to open => click Open.
Or you can press the key combination Ctrl+O.
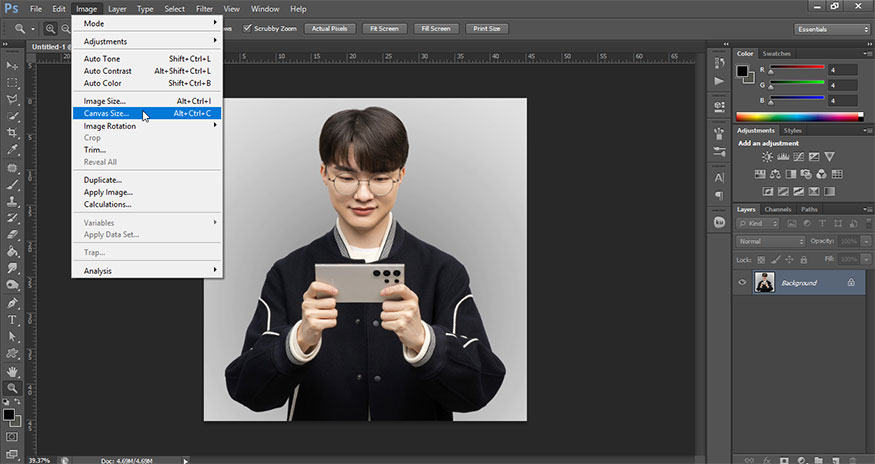
Step 2: On the menu bar, select Image => Canvas size...
Or you can press the keyboard shortcut Alt+Ctrl+C.
If you want to expand the background in Photoshop, change the Width and Height parameters accordingly. Then change the Canvas Extension Color to the background color of the current image using the Color Picker Tool. In the Anchor section, if you want to expand in any direction, click on the arrow in the red direction.
In this photo, I want the image height to increase to 1500px, the extension will be added above, keeping the width the same. I fill in the parameters as shown. Then click OK.
.jpg)
At this point, I receive a photo with the background expanded in Photoshop facing upwards as shown.
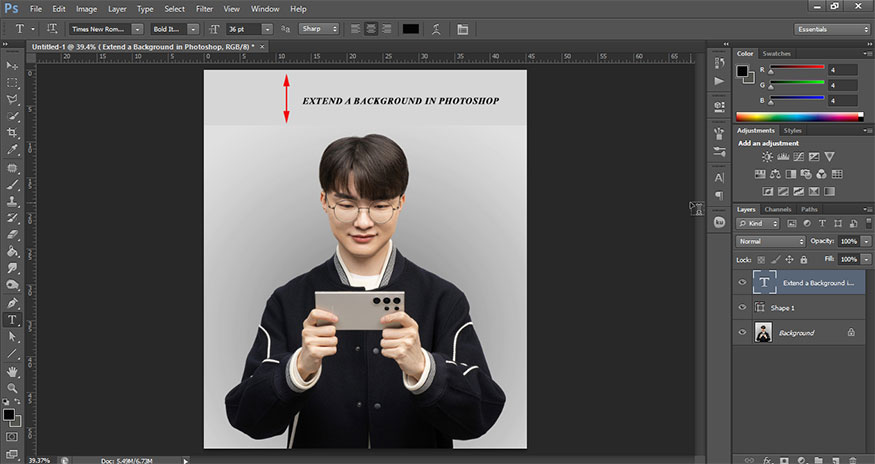
Step 3: We can see that on the photo there is a horizontal line that does not match the color. You can fix them with the Spot Healing Brush Tool (J). Just draw these lines with this tool.
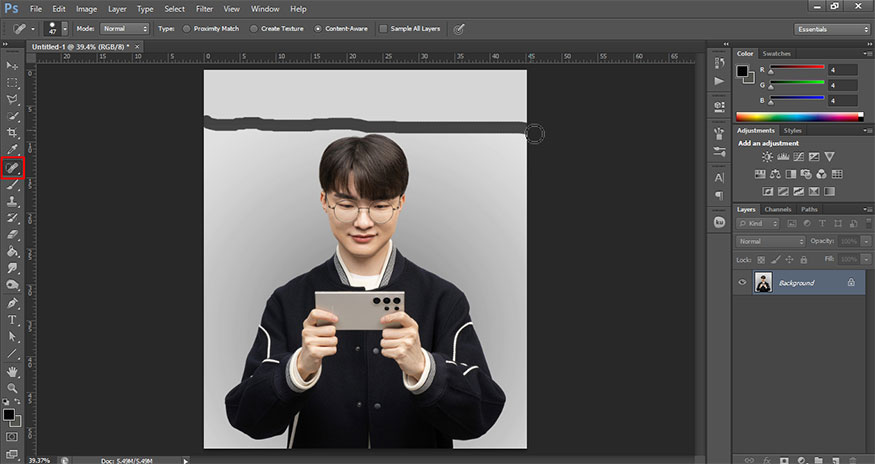
At this point we will obtain an image with the background expanded in Photoshop as shown. The extended background matches the original image background.

2. Expanding the background in Photoshop using the Content-Aware Scale Option
Step 1: We also need to open the photo we want to expand the background in Photoshop.
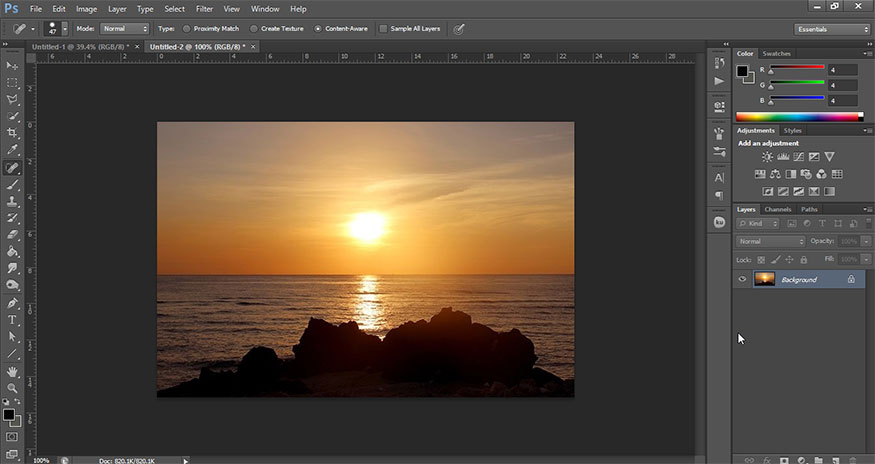
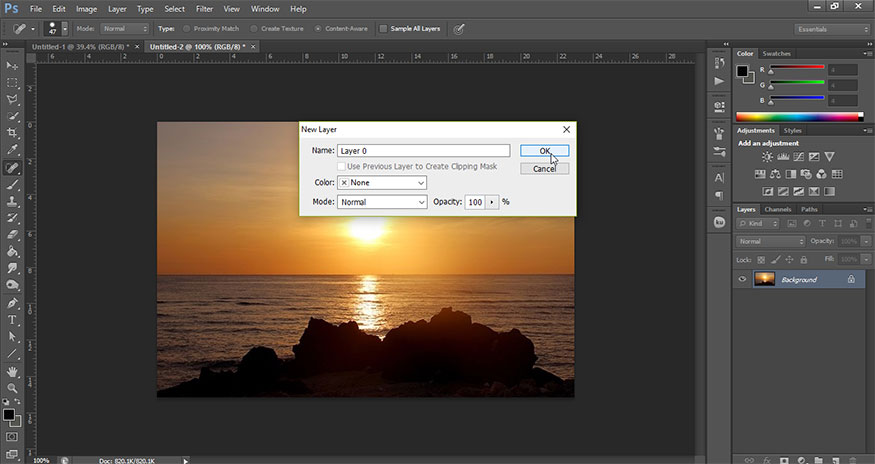
Step 2: Double-click the Background layer, then select OK to unlock the background.
Step 3: On the menu bar, select Crop Tool or press shortcut C.
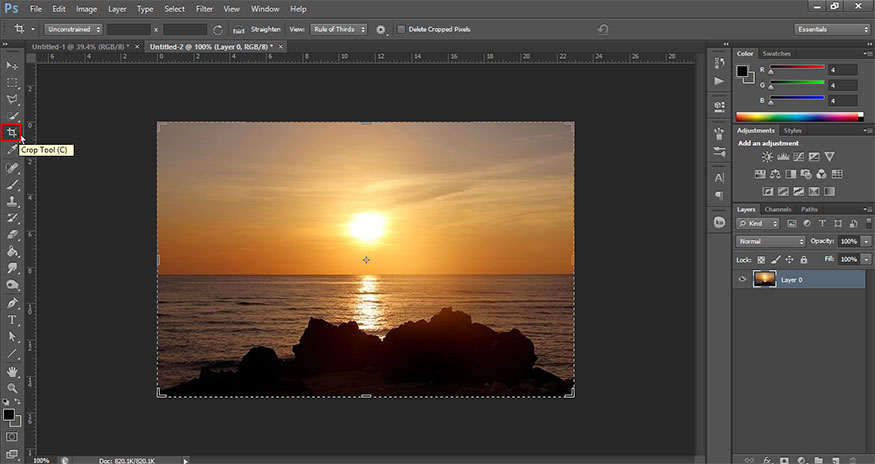
Step 4: Drag the crop tool lines to expand the background as desired.
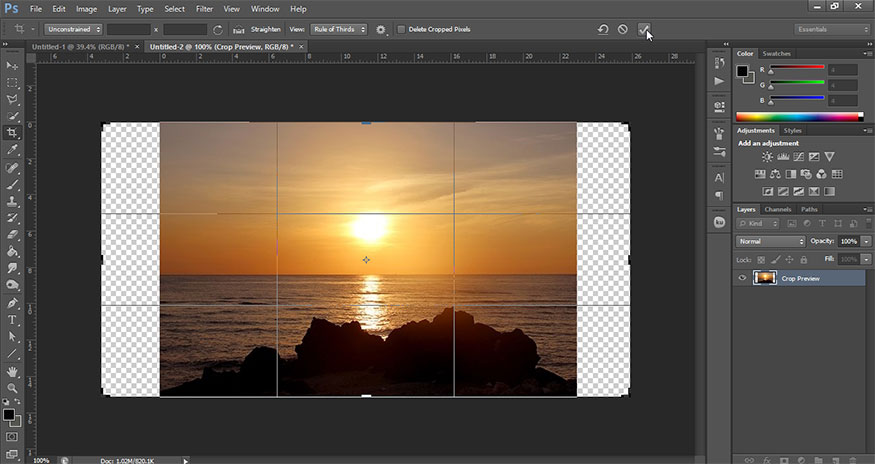
Step 5: Edit => Content-Aware Scale. Or press shortcut Alt+Shift+Ctrl+C.
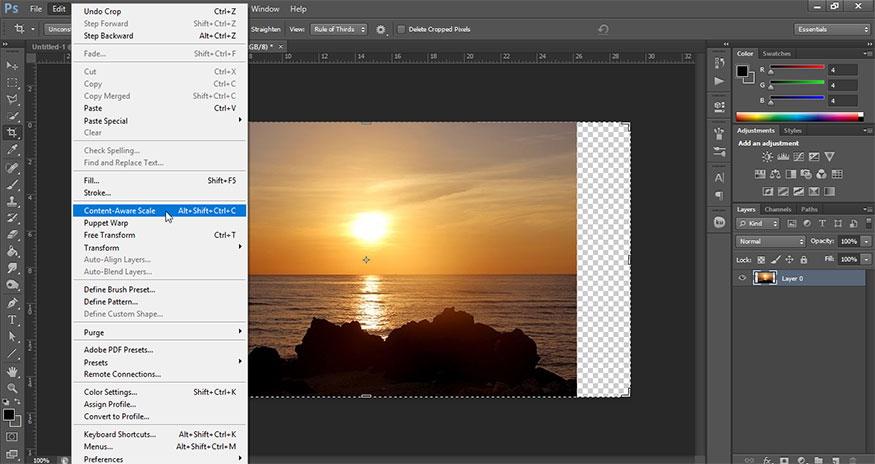
Hold down the Shift key and drag the lines to expand the image background.

This is the result.
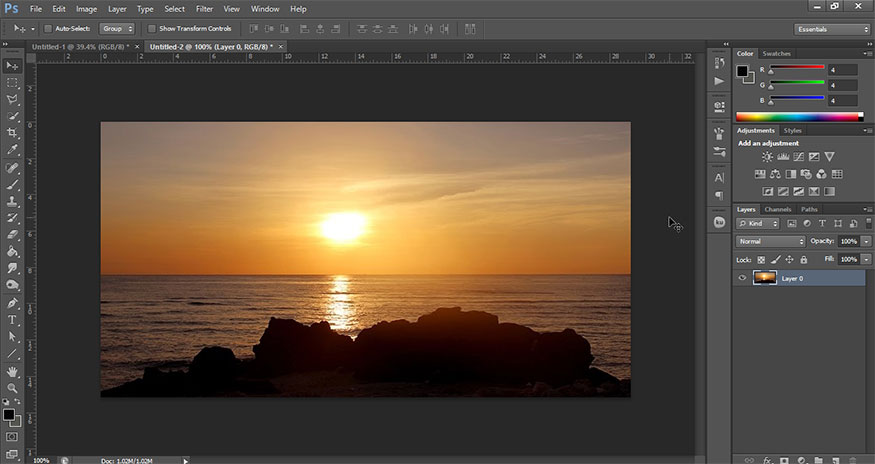
Note, Content Aware Scale is suitable for scaling with landscape photos, it is not suitable for portraits, as this can affect facial proportions, causing the face to appear elongated or shortened.
3. Extending a background in Photoshop using Image Extend Addon
The method of extending a background in Photoshop using Content Aware Scale can make some areas of your image look blurry and reduce image quality. To avoid this, try using Image Extend.
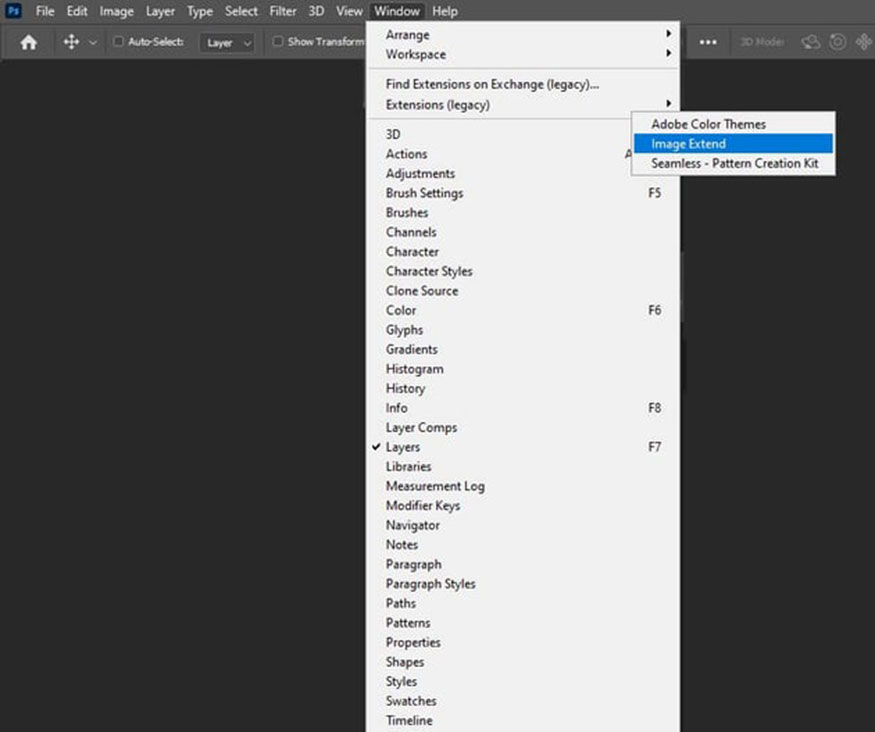
Step 1: Open the image you want to extend the background, then select Window => Extensions => Image Extend.
Step 2: Here, you can choose which side of the background you want to extend and how many pixels you want to add. Check Content-Aware and set the size the edges. Here I want to expand the image in all directions with an additional size of 200px. Then just press Extend and wait a bit.
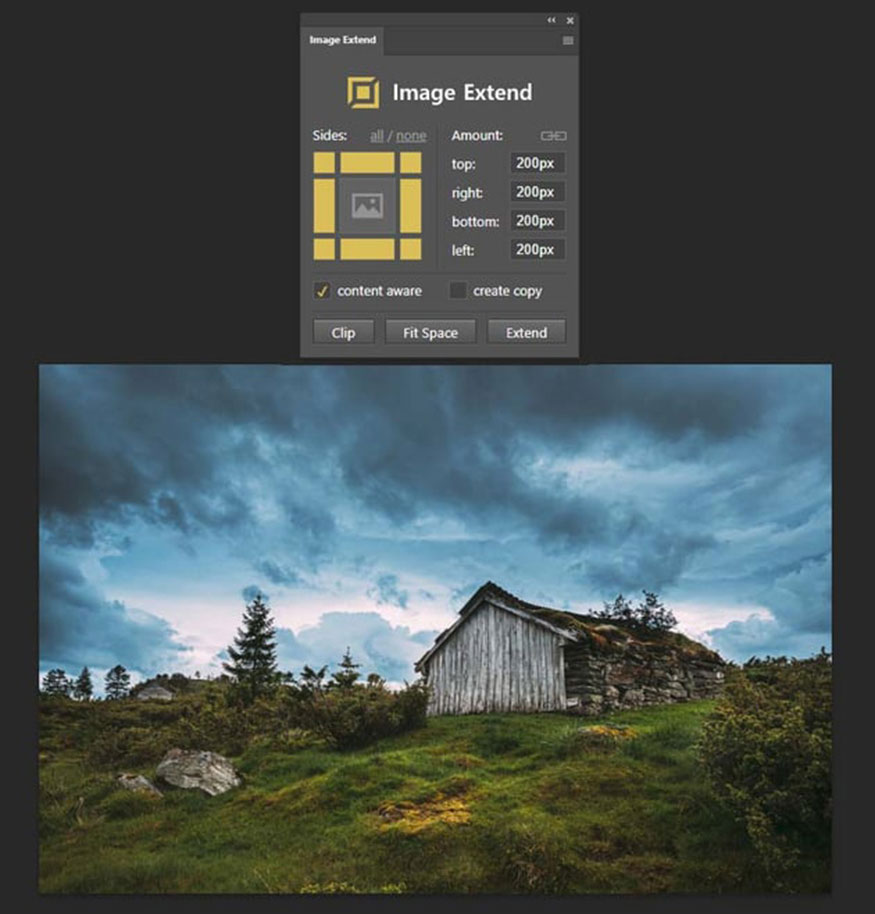
Step 3: Now we will get the result as shown. The photo has been expanded to all sides.
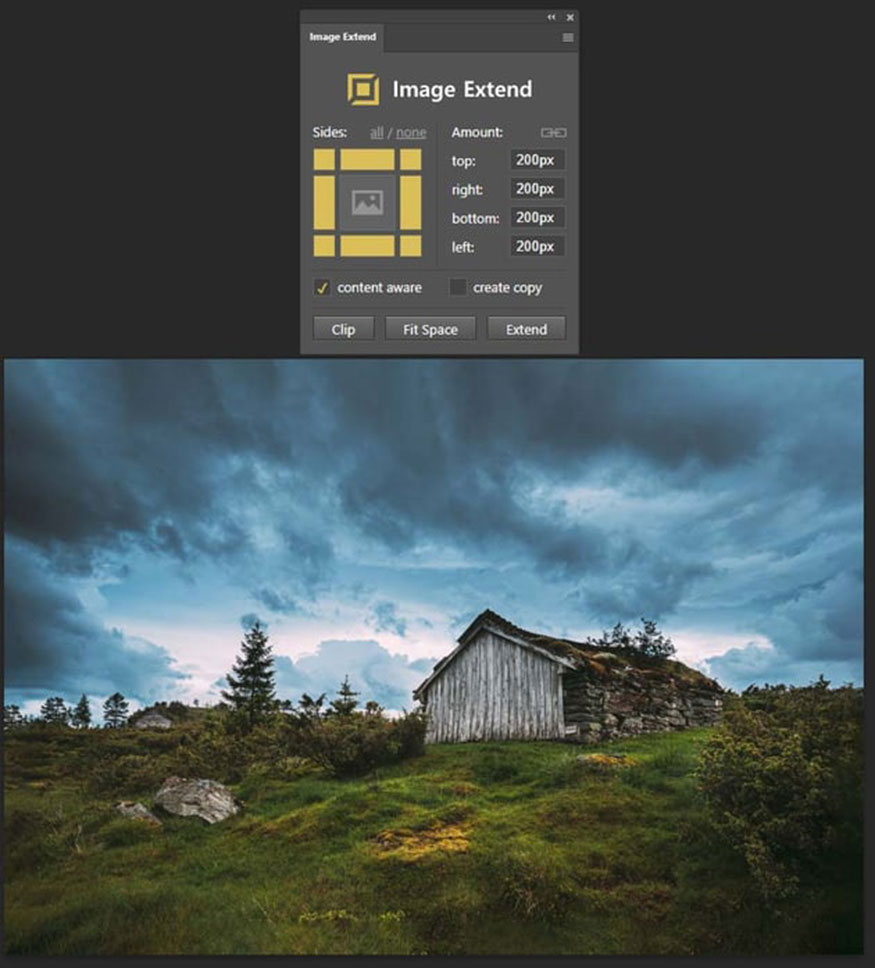
So we have finished learning about 3 ways to expand the background in Photoshop. All 3 methods are very simple, try it now.


