Best Selling Products

Genuine Adobe Illustrator account
99 USD

Adobe Photoshop Copyright - Full App
120 USD

Freepik Premium Account
59 USD

Upgrade Duolingo Super
29 USD

Capcut Pro 1 Year
39 USD

Autodesk All App Account Copyright
120 USD

Plugin Retouch4me
69 USD

Copyright Adobe Lightroom Account
59 USD

Upgrade Genuine Office 365
49 USD

ChatGPT Plus Account (GPT-4)
16 USD

Genuine Cheap Canva Pro
39 USD

Windows 10 & 11 Pro Key
36 USD

MidJourney Account
29 USD

Adobe Premiere Pro Account
99 USD

Upgrade genuine Capture One account
120 USD
Guide to Turning Mind Maps and Infographics into Animated Images on Canva, Super Easy
Nội dung
- 1. Benefits of Turning Mind Maps and Infographics into Animated Images
- 2. How to Turn a Mind Map or Infographic into an Animated Image on Canva
- 2.1. Step 1: Upload the Image to Canva
- 2.2. Step 2: Open the Image Editor
- 2.3. Step 3: Separate the Elements in the Infographic into Layers
- 2.4. Step 4: Add Motion Effects
- 3. Tips for Making Animated Infographics Visually Appealing and Easy to Follow
- 4. Things to Note When Turning Mind Maps and Infographics into Animated Images
- 5. Who Should Use Animated Infographics on Canva?
- 6. Reliable Canva Upgrades with Fast Support at Appvip
- 7. Conclusion
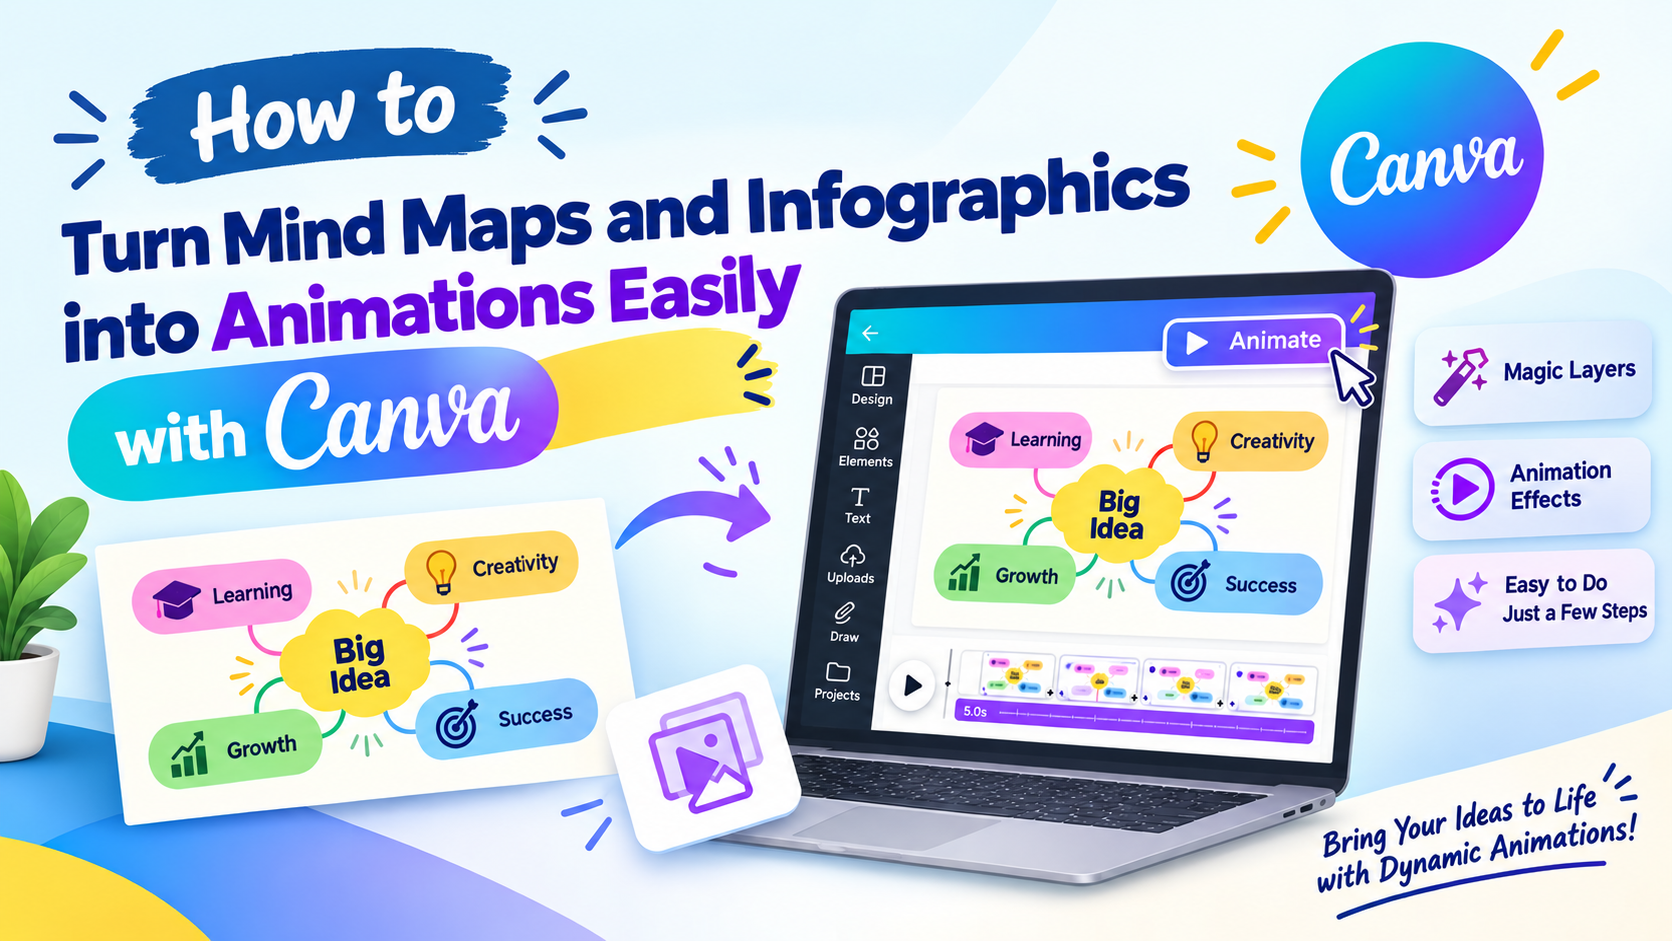
No matter how beautifully a mind map or infographic is designed, it can still feel fairly flat if it''''''''''''''''s only shown as a static image. Especially when used in lectures, presentations, or knowledge-sharing videos, a bit of well-timed motion can make content more visual, engaging, and easier to remember. With Canva, you can turn a mind map or infographic into an animated image right on your computer without needing complicated editing software. The interesting part is that Canva supports the Magic Layer Separation tool, which helps identify and split multiple elements in an image into separate layers. After that, you can add motion effects to each detail however you like. With just a few simple steps, a static infographic can become a lively animated image to use in lectures, presentations, or to post on social media.
1. Benefits of Turning Mind Maps and Infographics into Animated Images
It's no accident that animated infographics are being used more and more in education, marketing, and content creation. When elements appear in sequence, viewers find it easier to focus on the information being presented instead of having to take in the entire content all at once.
Some notable benefits of turning mind maps and infographics into animated images on Canva include:
- More engaging lectures: Motion helps content that would otherwise feel dry become visual and appealing.
- Grabs attention: Elements appearing one after another create emphasis and hold the viewer's gaze.
- Easier-to-follow information: You can arrange each point to appear in exactly the right content sequence.
- Improved memorability: Images combined with motion make it easier for viewers to visualize and remember the main points.
- Saves time: Canva provides a range of built-in tools and effects, so you don't need professional animation software.
.png)
2. How to Turn a Mind Map or Infographic into an Animated Image on Canva
The process is fairly simple, even if you've never edited an animated image before. All you need is a ready-made mind map or infographic, uploaded to Canva, and the Magic Layer Separation tool to split the elements in the image into separate layers. After that, you can select each object to add motion effects. Below is a detailed step-by-step guide to turning a static design into an eye-catching animated image right on Canva.
2.1. Step 1: Upload the Image to Canva
First, log into your Canva account on your computer. On the workspace interface, find and open the "Magic Layer Separation" tool, then upload the mind map or infographic you want to animate. If the image is already saved in your Canva library, you can select it directly instead of uploading it again from your computer.
For the recognition process to go smoothly, it's best to use an image with reasonably good resolution, clear text, and elements arranged so they're easy to distinguish. After uploading the image, Canva will process it and identify the elements present in the design. Just wait for the system to finish, then move on to the editing step.
.png)
2.2. Step 2: Open the Image Editor
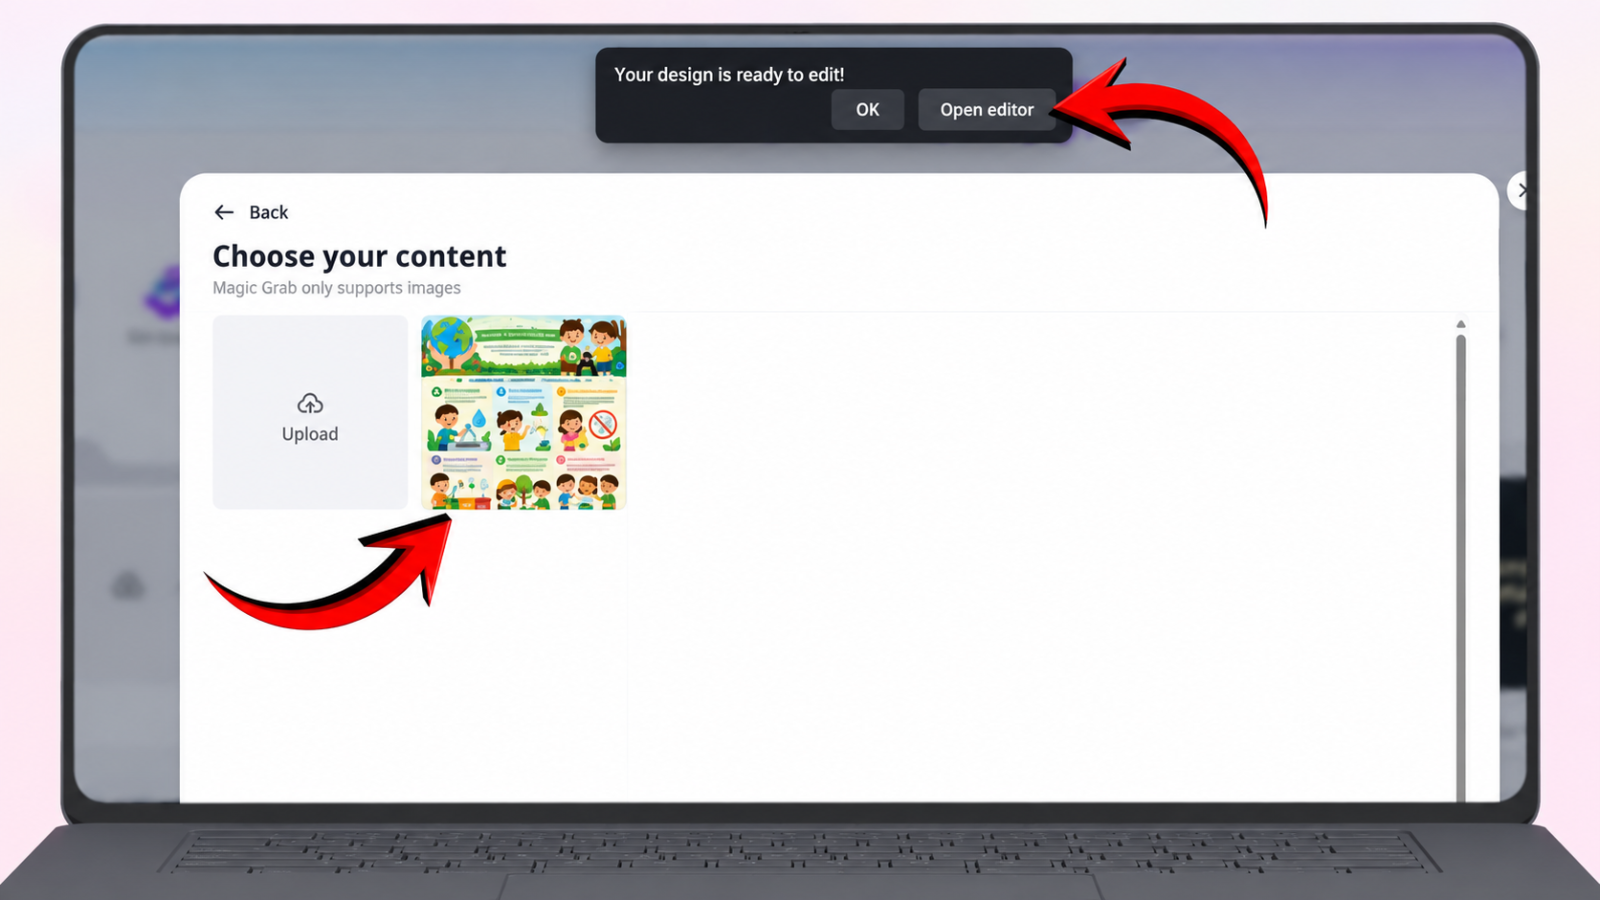
After Canva processes the image, the interface will show an "Open editor" option. Click on this to start editing. At this point, the image will be brought into the editing area for you to review and carry out the next steps.
This is also a good time to do a preliminary check of the layer-separation results. Look to see whether the text, icons, illustrations, content branches, or other details have been recognized correctly. If everything looks fine, you can move on to separating the layers and adding motion effects to each element.
2.3. Step 3: Separate the Elements in the Infographic into Layers
After opening the editor, Canva will automatically analyze the image and split the elements into multiple separate layers. Thanks to this feature, you can edit each detail individually instead of having to apply a single effect to the entire infographic.
For example, with a mind map, you can separate the central topic, the main branches, and the sub-branches to create a sequential appearance effect. With an infographic, numbers, icons, or key information can also be handled separately. After reviewing the layers, select the element you want to animate. Next, find and click "Motion" at the top of the interface. Canva will open a list of effects for you to choose from. This is the step that brings previously still elements in the image to life with motion.
.png)
2.4. Step 4: Add Motion Effects
When you open the "Motion" section, Canva will offer a variety of different effects for you to choose from. You can try each effect to preview how the object appears or moves on screen. Choose a style that fits the content rather than just prioritizing the flashiest-looking effects. If you want the infographic to feel professional, you can have the elements appear in sequence. For example, the title appears first, followed by the main content, then the icons or sub-branches. This creates a clear flow of motion, helping viewers know where to focus.
Canva also allows you to apply a separate effect to each individual detail. You can select one object, add an effect, and then do the same for the other elements. Once finished, play through the entire design to check whether the animations flow smoothly. For some advanced options like speed and intensity, availability may depend on your Canva account type. If you frequently design animated images and need more control, you might consider using Canva Pro to access additional supporting tools.
.png)
3. Tips for Making Animated Infographics Visually Appealing and Easy to Follow
A good-looking animated infographic doesn't necessarily need a lot of effects. What matters is that the motion serves the content, helping viewers understand the information faster instead of distracting them. When designing, keep the following tips in mind:
- Prioritize gentle effects: Simple motions are usually well-suited to lectures and presentations.
- Create emphasis in the right places: Only use eye-catching effects for important information.
- Keep the style consistent: Avoid combining too many different types of motion.
- Let content appear in sequence: This helps viewers easily follow the flow of information.
- Preview multiple times: Play through the design from start to finish to catch any motion details that don't work well.
4. Things to Note When Turning Mind Maps and Infographics into Animated Images
Adding effects to an infographic is fairly easy, but getting a final product that's both attractive and easy to view still requires a bit of fine-tuning. Don't turn every single element into its own separate motion if it's not really necessary, since too many effects can strip the design of its natural clarity. Before exporting the animated image, carefully check the overall layout and the appearance timing of each element. Some important notes include:
- Don't overuse effects: Too much motion can easily clutter the eye and reduce focus.
- Check the order of appearance: Points should appear in the correct content sequence.
- Make sure text has enough time to be read: Don't let information disappear too quickly.
- Check the layout after separating layers: Some details may end up misaligned or overlapping.
- Choose effects based on purpose: Lectures should prioritize clarity, while social media content can be more flexible.
- Check the presentation device: If it's for a presentation, preview it on the actual screen before using it.
5. Who Should Use Animated Infographics on Canva?
You don't need to be a professional designer to make use of this approach. Anyone who regularly works with mind maps, infographics, or information-dense images can try turning a static design into an animated one to boost its appeal. Some groups this approach is especially well-suited to include:
- Teachers and lecturers: Make lectures more visual and easier to absorb.
- Students: Create lively, memorable presentation slides.
- Content creators: Turn infographic-style information into short videos.
- Marketers: Create visual content for social media.
- Online shop owners: Showcase products with moving images instead of plain static photos.
- Trainers: Present processes, knowledge, or instructions step by step.
.png)
6. Reliable Canva Upgrades with Fast Support at Appvip
If you regularly design infographics, mind maps, presentations, or social media content, using Canva with advanced features will make the creative process more convenient and flexible. You can easily produce professional designs, take advantage of a wide range of supporting tools, and significantly cut down the time it takes to finish content.
If you're looking for a reliable, affordably priced place to upgrade Canva, Appvip is an option many people turn to. The service offers fast, dedicated support throughout your usage, helping you easily access the features you need without spending a lot of time troubleshooting issues yourself. With reasonable pricing and a clear support policy, Appvip provides a convenient solution for individuals, content creators, teachers, and anyone who regularly uses Canva for design.
7. Conclusion
Turning mind maps and infographics into animated images on Canva is a simple way to transform otherwise dry content into something more visual and engaging. Thanks to the Magic Layer Separation tool, you can split the elements in a design into separate layers, then add individual motion effects without needing professional animation software. What matters most isn't how many effects you use, but how you arrange them. Let content appear in a logical sequence, prioritize gentle motion, and always check readability before exporting the final product. With just a few steps on Canva, you can create an animated infographic that's visually appealing, easy to understand, and well-suited for lectures, presentations, and social media content alike.





















VIP Products








Best Selling Products
Genuine Adobe Illustrator account
99 USD
Adobe Photoshop Copyright - Full App
120 USD
Freepik Premium Account
59 USD
Upgrade Duolingo Super
29 USD
Capcut Pro 1 Year
39 USD
Autodesk All App Account Copyright
120 USD
Plugin Retouch4me
69 USD
Copyright Adobe Lightroom Account
59 USD
Upgrade Genuine Office 365
49 USD
ChatGPT Plus Account (GPT-4)
16 USD
Genuine Cheap Canva Pro
39 USD
Windows 10 & 11 Pro Key
36 USD
MidJourney Account
29 USD
Adobe Premiere Pro Account
99 USD
Upgrade genuine Capture One account
120 USD