
Best Selling Products

Upgrade Duolingo Super
29 USD

Adobe Photoshop Copyright - Full App
120 USD

ChatGPT Plus Account (GPT-4)
16 USD

MidJourney Account
29 USD

Upgrade Genuine Office 365
49 USD

Genuine Adobe Illustrator account
99 USD

Capcut Pro 1 Year
39 USD

Adobe Premiere Pro Account
99 USD
Upgrade genuine Capture One account
120 USD

Genuine Cheap Canva Pro
39 USD
Copyright Adobe Lightroom Account
59 USD

Plugin Retouch4me
69 USD

Autodesk All App Account Copyright
120 USD

Freepik Premium Account
59 USD

Windows 10 & 11 Pro Key
36 USD
How to adjust the sky to be bluer in Lightroom for a natural, beautiful look without appearing artificial.
Nội dung
- 1. Why should you adjust the sky to be bluer in Lightroom?
- 2. Essential tools for adjusting the sky in Lightroom
- 2.1. Light adjusts brightness and contrast.
- 2.2. Color Mixer changes the blue color of the sky.
- 2.3. Masking for specific areas of the sky
- 3. Detailed guide on how to make the sky bluer in Lightroom
- Step 1: Open the image you want to edit in Lightroom.
- Step 2: Adjust the overall lighting using Light.
- Step 3: Increase the blue color using Color Mixer
- Step 4: Use Masking to adjust only the sky.
- Step 5: Increase the blue tint and balance the lighting in Masking.
- Step 6: Check colors and export image
- 4. Formula for adjusting the sky to a natural blue in Lightroom
- 5. Common mistakes when adjusting blue skies in Lightroom
- 6. Conclusion
A clear blue sky, light white clouds, and harmonious lighting always make a photo brighter, deeper, and more appealing. However, not every outdoor photo gets the desired sky color. Sometimes the sky is pale, lifeless, or too bright, making the overall photo look less striking. With Lightroom, you can completely improve the sky color without using too many complicated tools. This article will guide you on how to adjust the sky to be bluer in Lightroom using specific parameters, helping to maintain natural colors, preserve cloud details, and prevent the sky from looking artificially blue. You will also learn when to use the sky adjustment tool to get the best results. Let''s explore with Sadesign!
1. Why should you adjust the sky to be bluer in Lightroom?
The sky is one of the elements that directly influences the overall mood and color of a photograph. A soft blue sky can make the scene look clearer, more expansive, and more vibrant. Conversely, a pale, dull gray, or overly bright sky can sometimes make a photograph lack focus, even if the subject and composition are well-arranged.
Lightroom offers a variety of tools for adjusting color, light, and contrast to help you enhance the sky's color directly in the original image. Instead of replacing the entire sky, you can adjust the blue tones, reduce highlights, and increase saturation to match the original lighting conditions.
Specifically, adjusting the sky in Lightroom also helps you control the colors of surrounding areas such as trees, houses, and people. As a result, the edited photo maintains consistency, avoiding the feeling that the sky is detached from the scene.

2. Essential tools for adjusting the sky in Lightroom
Before you begin, you should familiarize yourself with some of the key tools in Lightroom. Each tool performs a specific task, making sky color correction easier and more accurate.
2.1. Light adjusts brightness and contrast.
Light is a set of tools that helps control the lighting of the entire image. When the sky is too bright, you can reduce the highlights to restore some detail in the clouds and areas with strong light.
Additionally, Exposure helps adjust the overall brightness, while Contrast enhances the contrast between bright and dark areas. However, you shouldn't reduce Exposure too drastically just to make the sky bluer, as this can darken the subject and make it look unnatural.
2.2. Color Mixer changes the blue color of the sky.
Color Mixer is a very useful tool when you want to adjust the sky color without replacing the background of the image. Here, you can select individual color ranges and change three main parameters: Hue, Saturation, and Luminance.
-
Hue: Changes the shade of blue, making the sky appear blue or greenish-blue.
-
Saturation: Increases or decreases the intensity of the blue color.
-
Luminance: Adjusts the brightness of the blue color, making the sky appear brighter or darker.
For a natural sky color, you should prioritize adjusting Blue first, then check Aqua if the sky has a greenish tint.
2.3. Masking for specific areas of the sky
Masking allows you to select a specific area for editing without affecting the entire image. With the Select Sky feature, Lightroom can automatically detect the sky and create a separate selection.
After selecting the area to be adjusted, you can reduce Exposure, Highlights, increase Saturation, or change the Temperature depending on the condition of the original image. This is a suitable method when you want to make the sky blue while preserving the color of skin, clothing, and scenery.
3. Detailed guide on how to make the sky bluer in Lightroom
To achieve a beautiful blue sky, you should follow a sequence from light to color. This method helps to avoid the sky being too dark or having unnatural contrasts between different areas in the photo.
Step 1: Open the image you want to edit in Lightroom.
First, access Lightroom on your computer or phone, then import the photo you want to edit into your library. You should prioritize outdoor photos where the sky retains some detail and isn't completely overexposed.
After opening the image, observe the overall picture to determine the condition of the sky's color. If the sky is only slightly pale, you can adjust it using the Color Mixer. If the sky is too bright or has high contrast, combine it with the Light and Masking tools for better results.
Step 2: Adjust the overall lighting using Light.
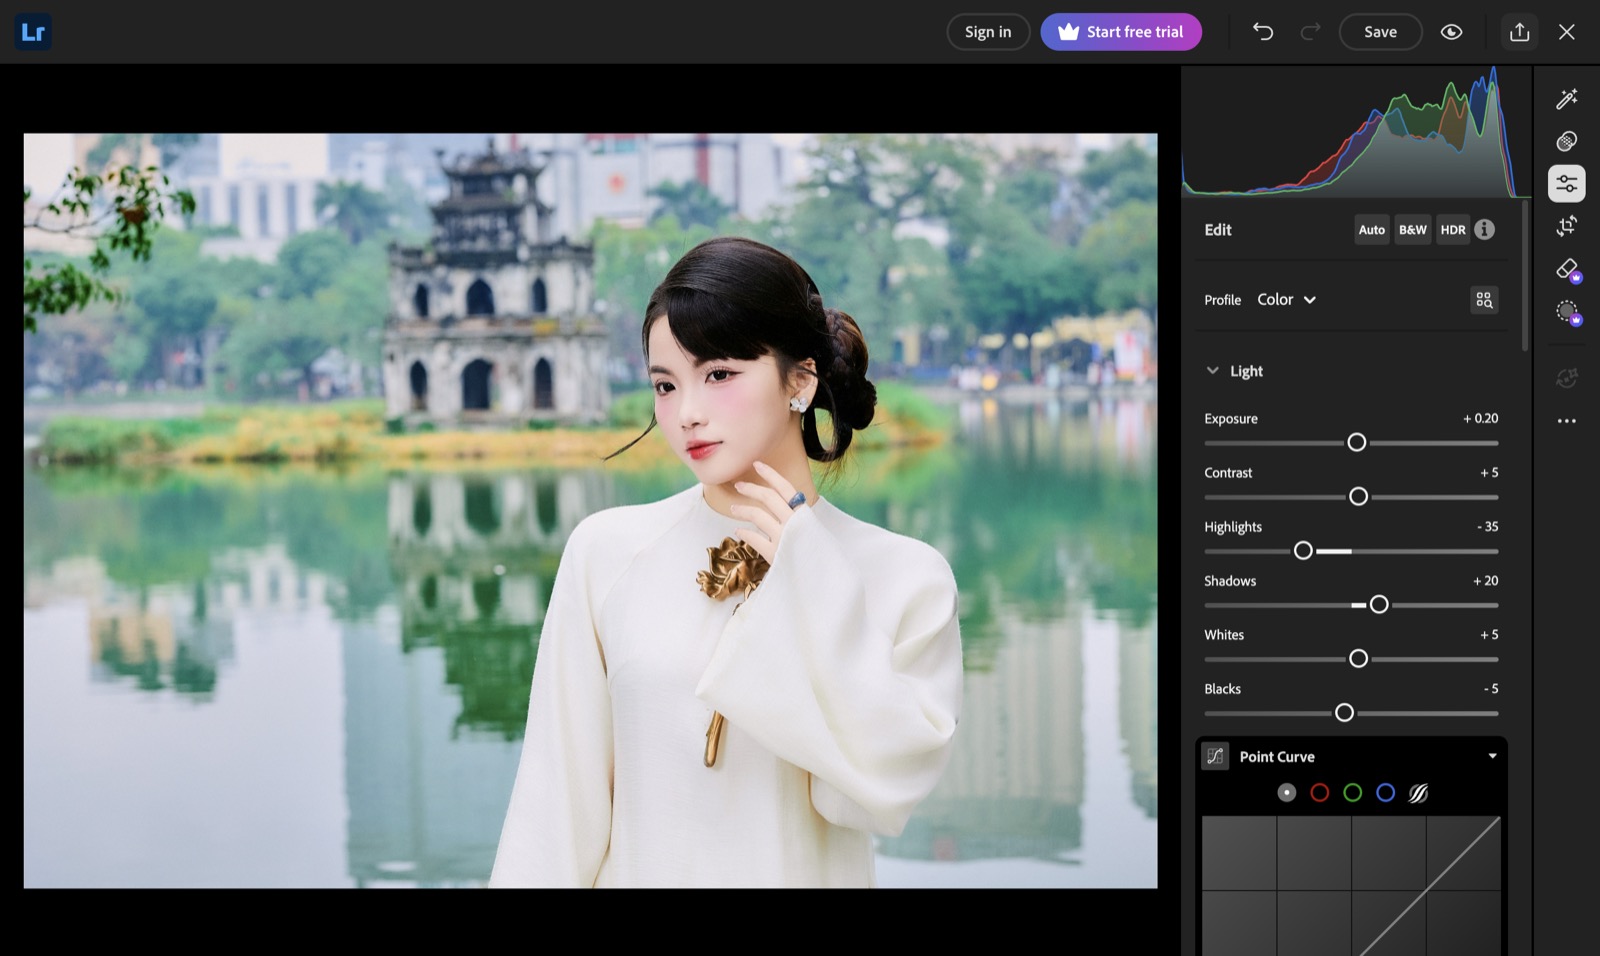
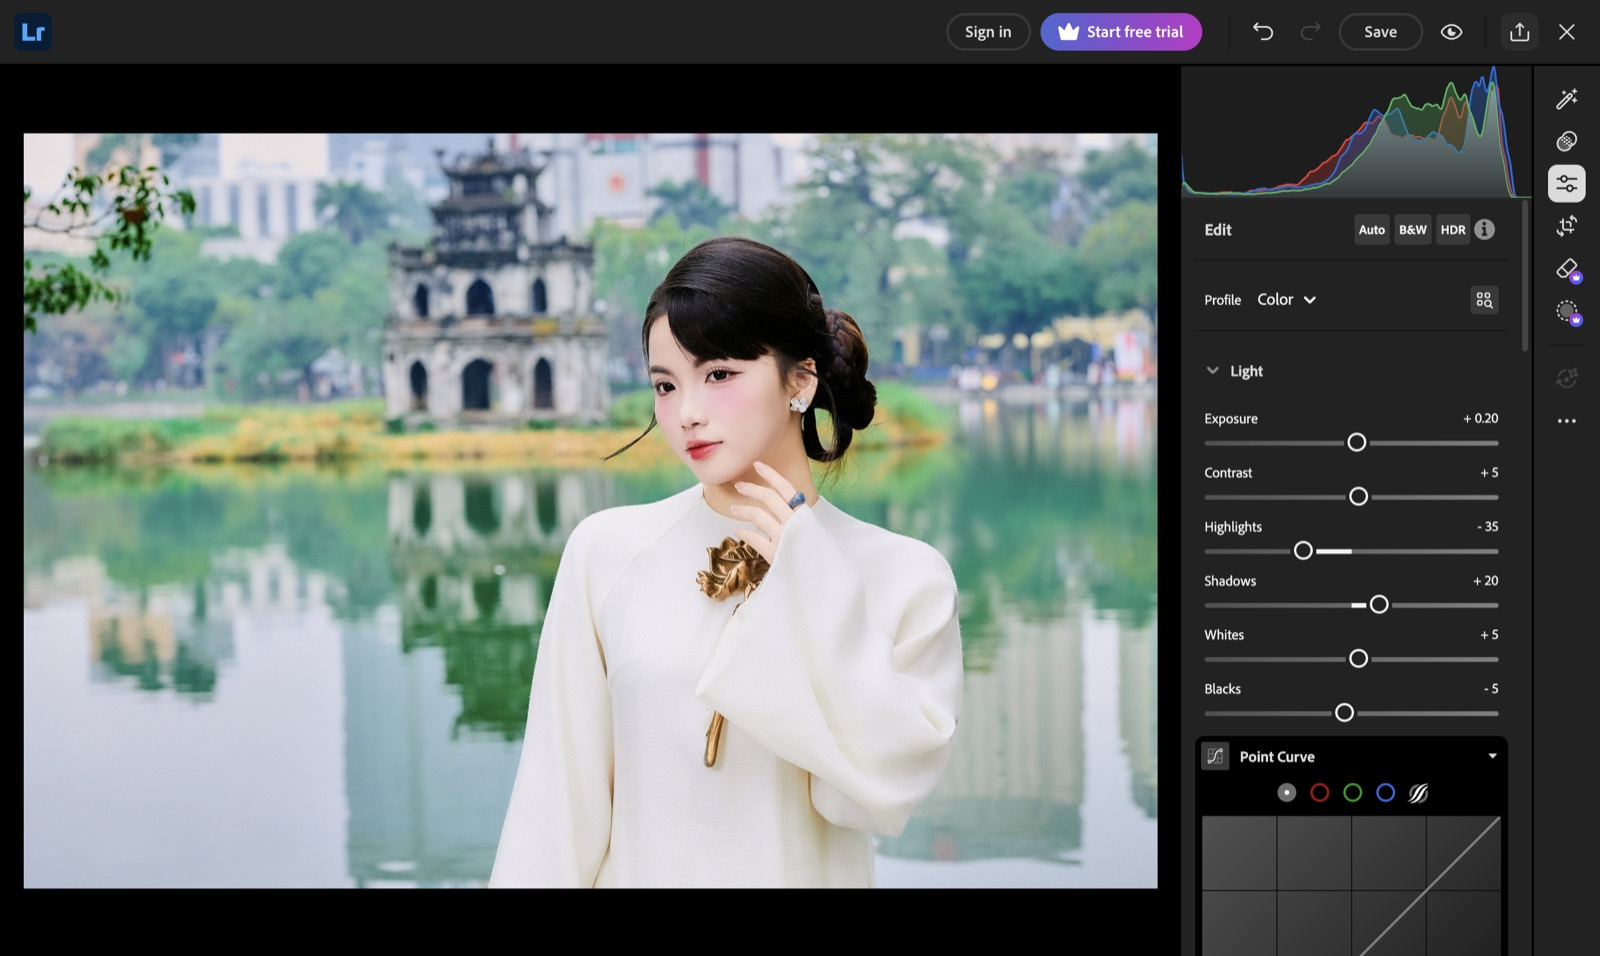
In the editing interface, select Light to open the light adjustment sliders. First, you can reduce the Highlights to around -20 to -40 to limit the sky from being too bright. If the image is too dark, slightly increase the Exposure to around +0.1 to +0.2 to maintain brightness for the subject.
Next, adjust the Contrast between +5 and +10 to increase the depth of field in the image. Avoid changing too many parameters at once, as this can cause the clouds to lose detail or the scenery to become too dark.
Step 3: Increase the blue color using Color Mixer
Select Color, then open Color Mixer and click on the Blue color range. This is the most important area when you want to make the sky bluer without replacing the background. You can refer to the following initial settings:
After entering the parameters, observe the changes in the sky. If the blue becomes too dark or turns purple, you should reduce the saturation or adjust the hue. The values above are for reference only, as each photo has different lighting conditions and white balance.
Step 4: Use Masking to adjust only the sky.
If adjusting the Color Mixer causes the green of trees or other objects to change, you should use Masking. Select the Masking tool, then find the Select Sky feature to have Lightroom automatically detect the sky area.
Once the selection area appears, carefully check the areas bordering trees, rooftops, or the subject's hair. If any parts are incorrectly selected, you can use the add or subtract selection tools to adjust them. This is a crucial step to prevent the sky color from bleeding into surrounding details.
Step 5: Increase the blue tint and balance the lighting in Masking.
After selecting the sky, you can directly adjust the parameters within Masking. Try reducing Exposure by about -0.2, Highlights by about -25, and increasing Saturation by about +10 to +15.
If the sky has a slightly cool blue hue, you can slightly increase the temperature to balance the colors. Conversely, if the photo has the yellow light of the afternoon, keep the warm tones so the sky doesn't clash with the rest of the scene.
Step 6: Check colors and export image
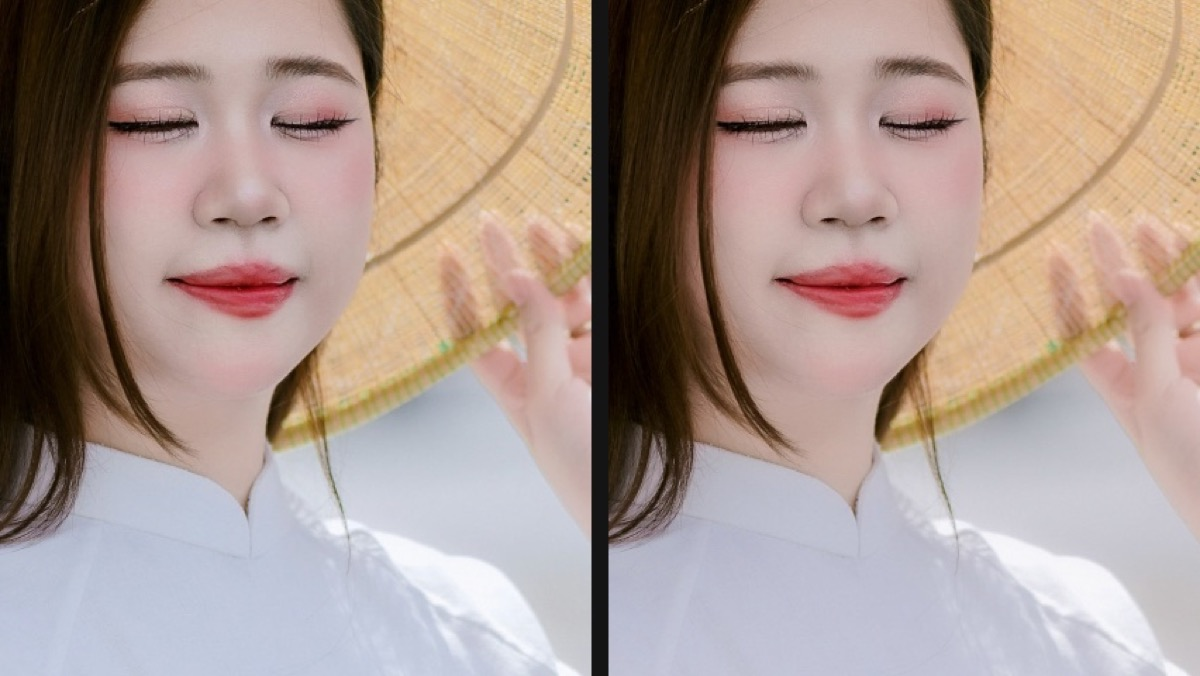
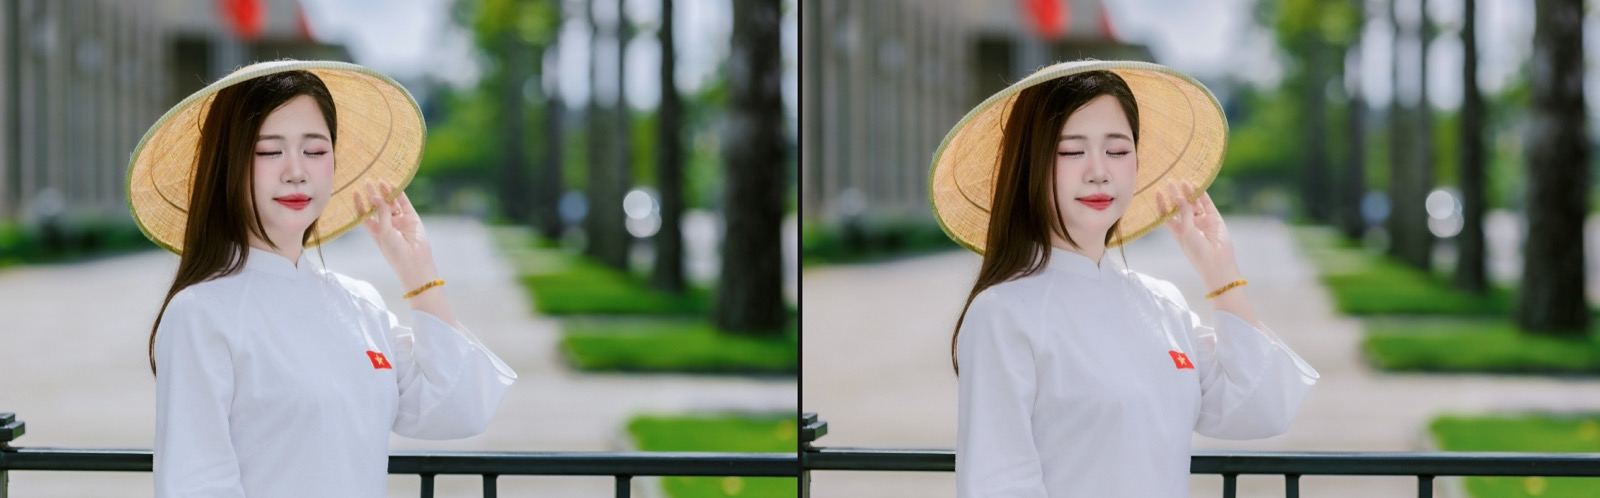
Once you've finished the editing steps, compare the before and after photos by toggling the original image view on and off. The sky after editing should be a clearer blue, but still retain the natural color transition between light and dark areas.
Don't forget to check details like tree edges, hair, roof, and faces. If green borders appear or the selection is smudged, go back to Masking to fine-tune. Finally, select Export to save the image at the desired quality.
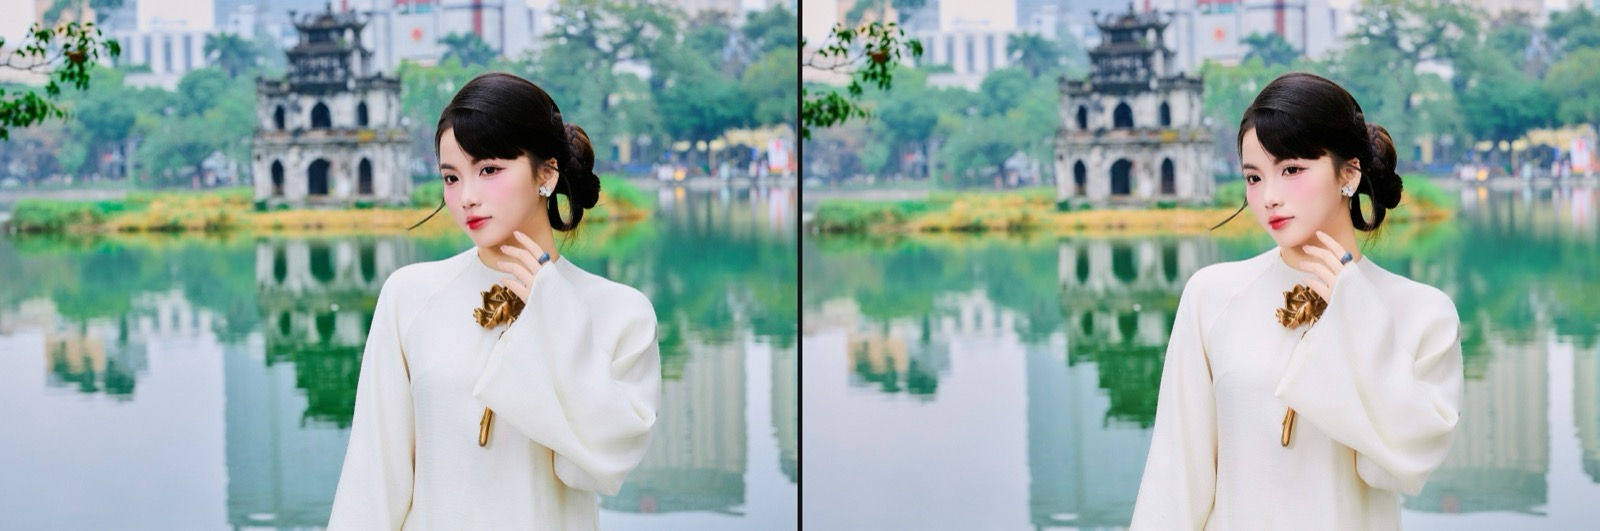
4. Formula for adjusting the sky to a natural blue in Lightroom
If you're unfamiliar with manually adjusting each parameter, you can start with the formula below. This is a reference set of parameters for outdoor photos with a slightly pale sky, still showing cloud detail and not severely overexposed.
5. Common mistakes when adjusting blue skies in Lightroom
During the color grading process, beginners often make several mistakes that cause the photo to lose its natural look. Understanding these issues will help you control the colors better.
-
The sky is too dark blue: This is usually caused by excessively high saturation. Try reducing the blue saturation to around +10 to +15 and observe again.
-
The sky is turning purple: The Hue is either not right or the blue is pushed too far from the original shade. Adjust the Blue Hue gradually.
-
White clouds lack detail: Highlights are too high or the bright areas are overexposed. You should reduce the highlights and check the original image again.
-
The trees are discolored: The Color Mixer is affecting multiple areas with the same color range. Use Masking to limit the editing area.
-
A green border appears around the subject: The sky selection is inaccurate. You should zoom in on the image and adjust the masking in the adjacent areas.
-
The photo looks unnatural: The sky color doesn't match the lighting of the scene. Reduce the saturation and balance the temperature.
6. Conclusion
Adjusting the sky to appear bluer in Lightroom isn't overly complicated if you know how to properly combine the Light, Color Mixer, and Masking tools. With just a few adjustments to lighting, hue, and saturation, the photo can become clearer, brighter, and more appealing. However, remember that color correction and sky replacement are two different methods. When the sky still has detail, you should prioritize preserving the original scene and making only moderate color adjustments. If the sky is completely overexposed or there's no data left to recover, sky replacement is a more sensible option. Most importantly, maintain harmony between the sky and the subject so that the edited photo looks natural and not artificial.















VIP Products







Best Selling Products
Upgrade Duolingo Super
29 USD
Adobe Photoshop Copyright - Full App
120 USD
ChatGPT Plus Account (GPT-4)
16 USD
MidJourney Account
29 USD
Upgrade Genuine Office 365
49 USD
Genuine Adobe Illustrator account
99 USD
Capcut Pro 1 Year
39 USD
Adobe Premiere Pro Account
99 USD
Upgrade genuine Capture One account
120 USD
Genuine Cheap Canva Pro
39 USD
Copyright Adobe Lightroom Account
59 USD
Plugin Retouch4me
69 USD
Autodesk All App Account Copyright
120 USD
Freepik Premium Account
59 USD
Windows 10 & 11 Pro Key
36 USD