Best Selling Products
How to Create a Clipping Mask in Illutrator Fast and Simple
Nội dung
- 1. What is Clipping Mask in Illustrator?
- 1.1 Clipping Mask Concept
- 1.2 Applications of Clipping Mask
- 2. Instructions for Creating Clipping Mask in Illustrator
- 2.1 Step 1: Prepare the object to be used as Clipping Mask
- 2.2 Step 2: Select the Mask object and the object to be clipped
- 2.3 Step 3: Create Clipping Mask
- 3. Customize Clipping Mask in Illustrator
- 3.1 Change the position or size of the Clipping Mask
- 3.2 Split Clipping Mask
- 4. Notes When Using Clipping Mask
- 4.1 Pay attention to layer order
- 4.2 Clipping Mask cannot be applied to groups of objects
- 4.3 Clipping Mask cannot be applied to live text
- 4.4. Make sure the Mask Object is on Top
- 4.5. Use Simple Shapes
- 4.6. Be Careful With Grouped Objects
- 4.7. Check Opacity Settings
- 5. Advanced Clipping Mask Tricks
- 5.1. Using Clipping Mask with Images
- 5.2. Combining Clipping Mask with Gradient
- 5.3. Clipping Mask and Texture
- 6. Using Clipping Mask in Design Projects
- 6.1 Create Logo with Clipping Mask
- 6.2 Create a Poster or Banner
- 6.3 Website or Application Design
- Conclude
How to create clipping mask in Adobe Illustrator for professional graphic design and manipulation? Please find out through the following article.
Adobe Illustrator is a powerful graphic design software that is commonly used in creating vector designs. One of the useful features that designers cannot ignore is clipping mask . So what is Clipping Mask? How to Create Clipping Mask in Illustrator Quickly and Simply? All information Sadesign updates in the following article.
1. What is Clipping Mask in Illustrator?
If you want to create layering effects, crop images or objects flexibly and professionally, use the clipping mask method in Illustrator.
1.1 Clipping Mask Concept
Clipping masks in Illustrator are a method of using an object (also called a mask) to "cover" one or more other objects according to the shape of that mask. Simply put, a clipping mask allows you to create a visible area based on a shape or object, and hide the area outside that shape.
1.2 Applications of Clipping Mask
Clipping masks can be used in many different situations, such as:
- Create complex visual effects without having to modify or crop objects.
- Create creative designs with unique shapes.
- Create logos, banners or graphic elements with clean, sharp lines.
Using clipping masks correctly can save you time and increase creativity in your designs.
2. Instructions for Creating Clipping Mask in Illustrator
Using Clipping Masks not only saves time but also expands the creativity of your design works. Here is a detailed guide on how to use the Clipping Mask tool in Illustrator, helping you perform professional techniques right from the first steps.
2.1 Step 1: Prepare the object to be used as Clipping Mask
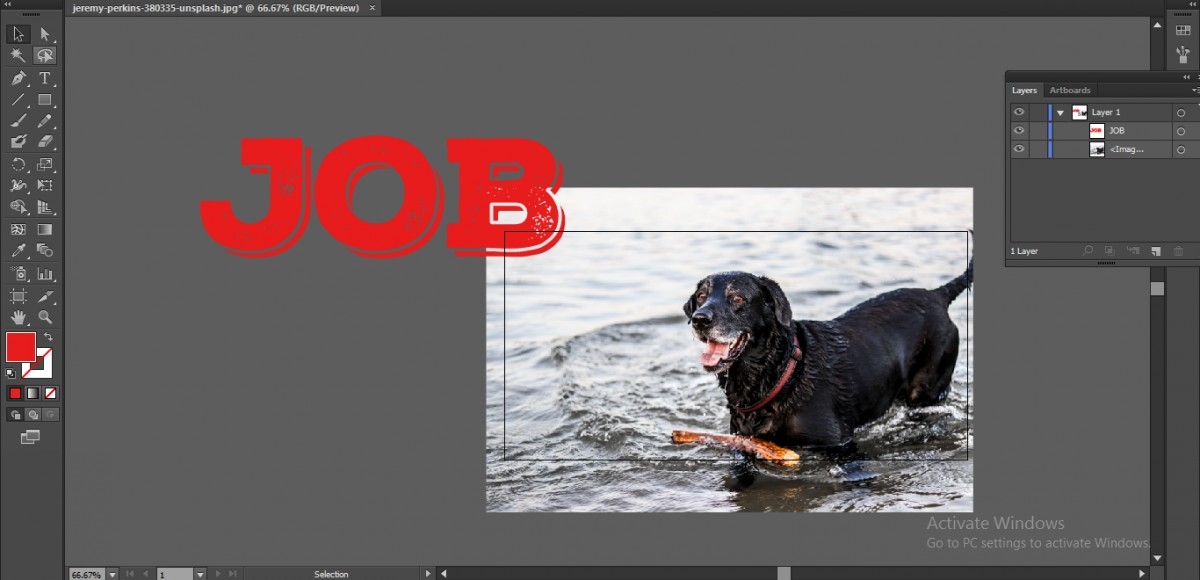
Before creating a clipping mask, you need to prepare the objects you want to manipulate. Make sure the first object you want to clip or mask has been created.
- Open Adobe Illustrator and create a new document.
- Draw the object you want to use as a clipping mask, such as a rectangle, circle, or any shape you like.
- Next, add an image or other object to the document to use as the content below the mask.
2.2 Step 2: Select the Mask object and the object to be clipped
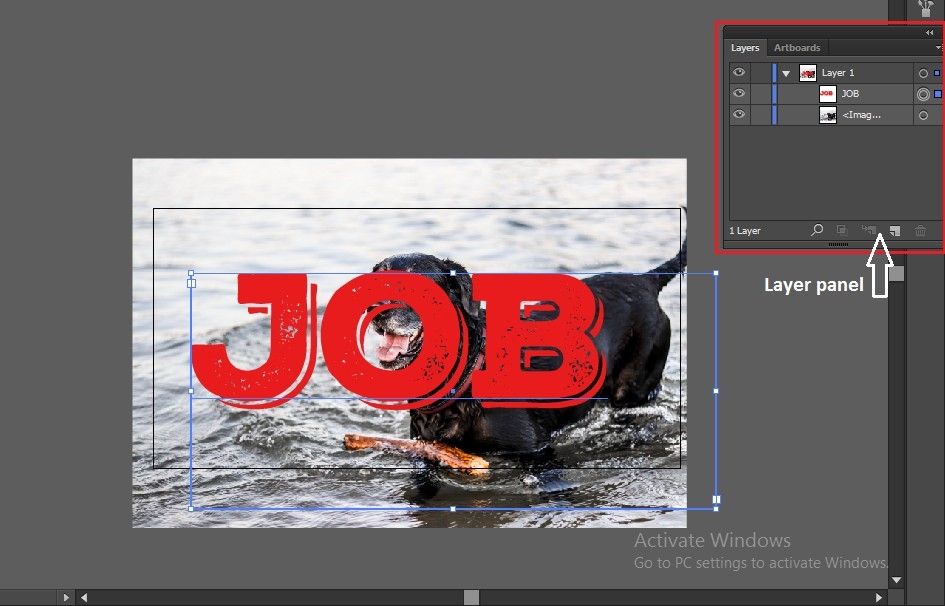
- Use the Selection Tool (V) to select both objects: the mask object (shape) and the object to which you want to apply the clipping mask.
- Note that the mask object must be on top of the object to be clipped in the Layers panel.
2.3 Step 3: Create Clipping Mask
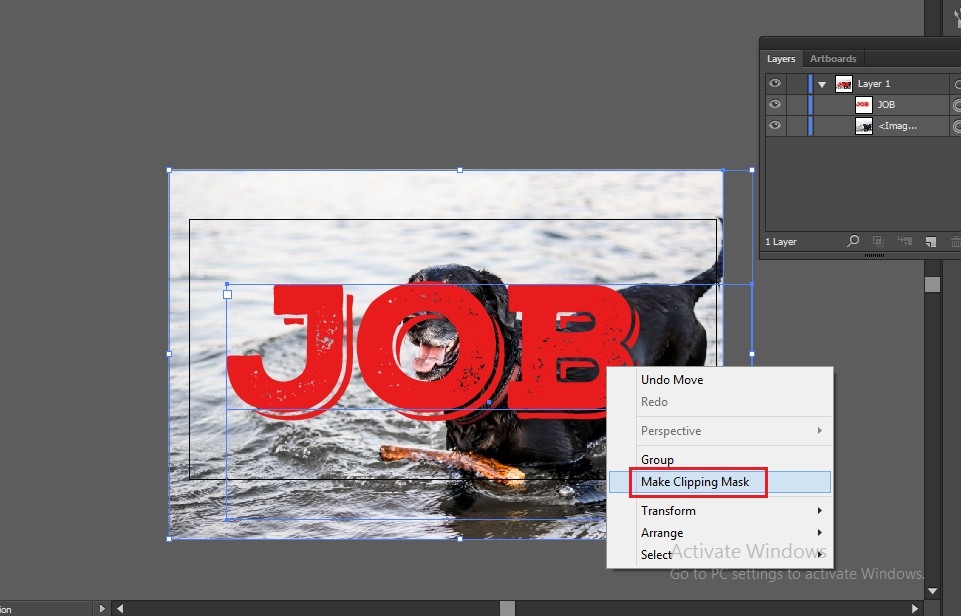
To create a clipping mask, you just need to do one simple operation:
- Once both objects are selected, press Ctrl + 7 (or Cmd + 7 on Mac) to create a clipping mask.
- Immediately, the underlying object will be cut to the shape of the mask. The outer part of the object will be hidden, leaving only the inner part of the mask shape.
3. Customize Clipping Mask in Illustrator
Understanding how to customize Clipping Masks not only saves you time, but also opens up endless possibilities for creativity in graphic design. From creating sharp cutouts to combining multiple geometric elements, this tool gives you easy control over your workspace and improves your efficiency.
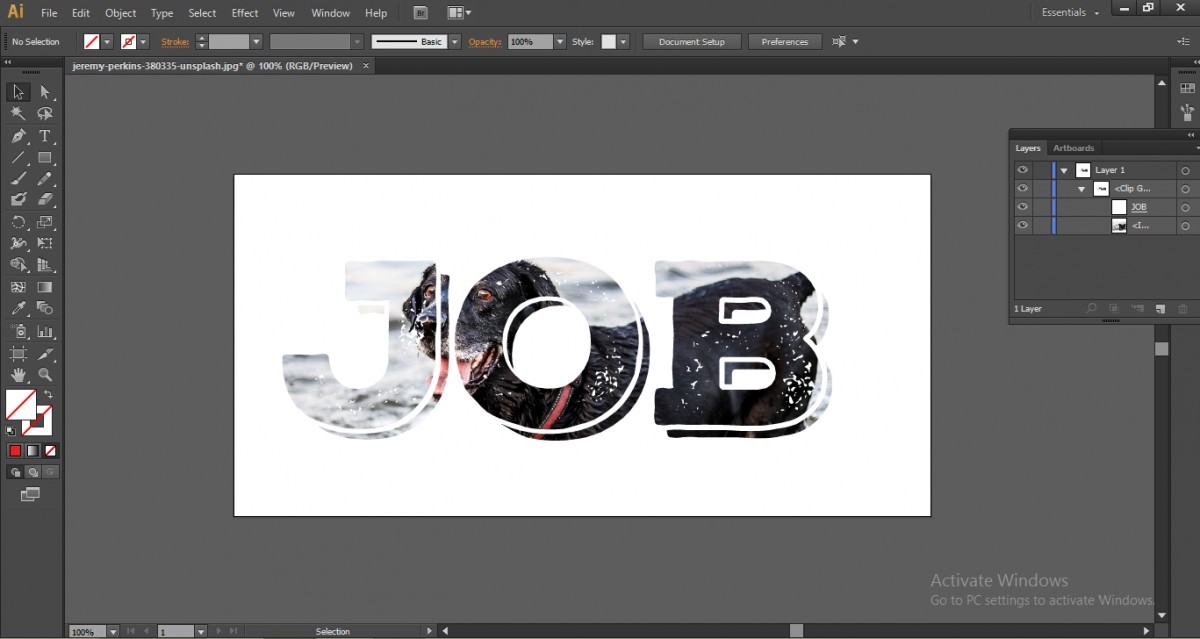
3.1 Change the position or size of the Clipping Mask
After creating a clipping mask, you can still change the position or size of objects. To do this:
- Select the Selection Tool (V).
- Drag and drop the mask object or the object inside to adjust the position.
- If you want to change the size, you can use the Transform tool to change the proportions of objects flexibly.
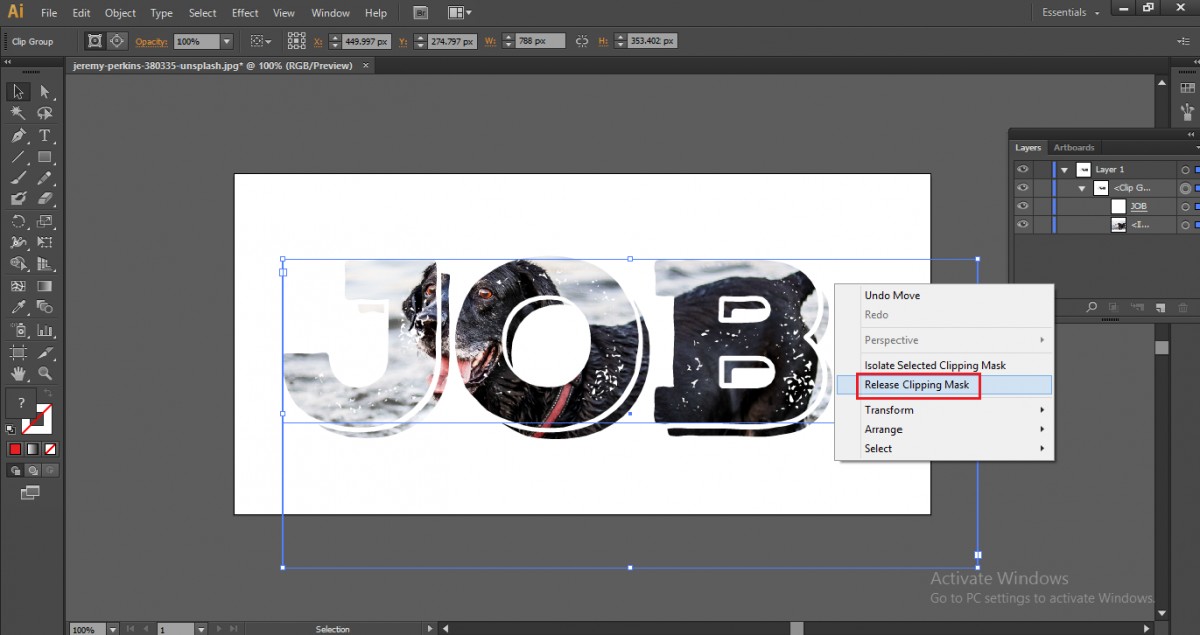
3.2 Split Clipping Mask
If you want to separate the clipping mask and the objects that have the mask applied, you can do the following:
- Select the object that created the clipping mask.
- Go to menu Object > Clipping Mask > Release to separate the objects.
- Then both objects will return to their original state, no longer cut or merged.
4. Notes When Using Clipping Mask
To get the most out of the clipping mask feature, users need to understand the basic principles and important notes when using it. Using clipping masks correctly not only helps enhance the aesthetics of the design but also ensures efficiency in the working process.
4.1 Pay attention to layer order
For clipping masks to work correctly, the mask object must be on the same layer. If you don't see the results you want, double-check the layer order of the objects in the Layers panel.
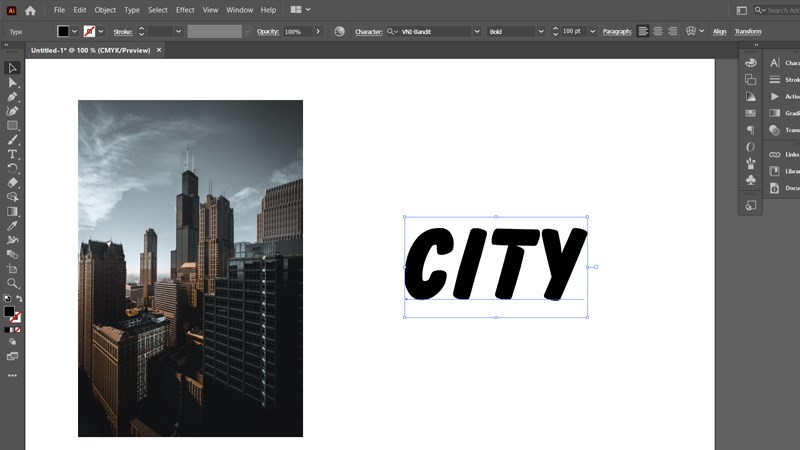
4.2 Clipping Mask cannot be applied to groups of objects
You can't create a clipping mask with a group of objects. If the object you want to mask is a group, you must separate the objects or replace the group with another object.
4.3 Clipping Mask cannot be applied to live text
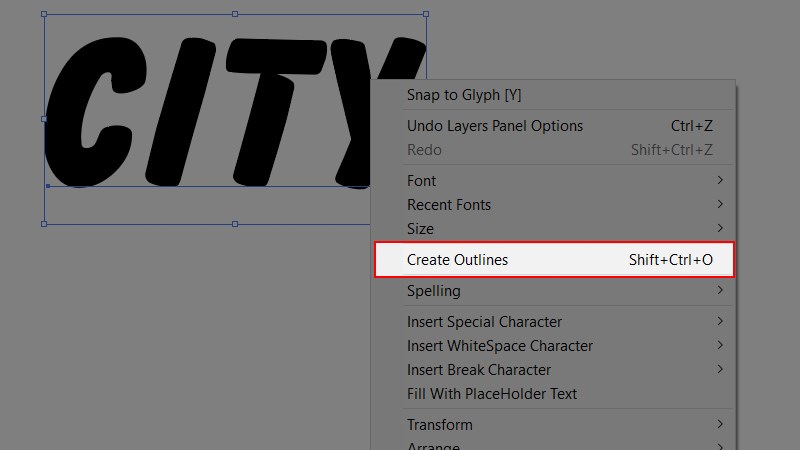
When you're working with text in Illustrator, you can't directly create clipping masks for text that hasn't been converted to an object. To work with text, you'll need to convert the text to outlines (by selecting Type > Create Outlines ) before applying a clipping mask.
4.4. Make sure the Mask Object is on Top
One common mistake when using Clipping Masks is not placing the mask object (clipping path) at the top of the layers palette. To ensure Clipping Masks work properly, you must make sure that the mask object is above all other objects. If the mask object is below other objects, the Clipping Mask will not work.
4.5. Use Simple Shapes
Clipping Masks work best when the masking objects are simple shapes. Complex shapes can be problematic when creating Clipping Masks, especially when you want to create a precise cutout. Therefore, use simple shapes to ensure Clipping Masks work correctly.
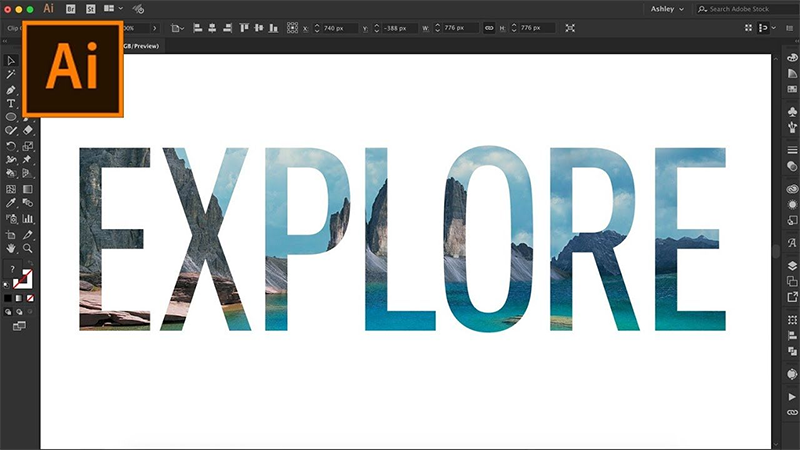
4.6. Be Careful With Grouped Objects
If your objects are already grouped, Clipping Masks may have difficulty working correctly. In this case, you should ungroup the objects before creating the Clipping Mask. To ungroup, simply select the objects and press Shift + Ctrl + G (Windows) or Shift + Cmd + G (Mac).
4.7. Check Opacity Settings
When using Clipping Masks, you may sometimes encounter problems with the opacity of objects inside the mask. If you want the object inside the Clipping Mask to have a specific opacity, you need to adjust the Opacity settings of the mask object. This way, you can create special effects for your designs.
To use the Clipping Mask tool effectively, you need to master the steps and note important points such as masking objects must be on top, using simple shapes, and being careful with grouped objects. By understanding these principles, you will easily create more professional and impressive designs in Illustrator.
5. Advanced Clipping Mask Tricks
Once you've mastered the basics of creating Clipping Masks, you can try some advanced tricks to optimize your design work.
5.1. Using Clipping Mask with Images
Clipping Masks are useful when working with images. For example, if you want to create a circle collage or a star cutout, you can simply create the required shape and apply the Clipping Mask to the image. This makes it easy to create precise cropping effects without editing the original image.
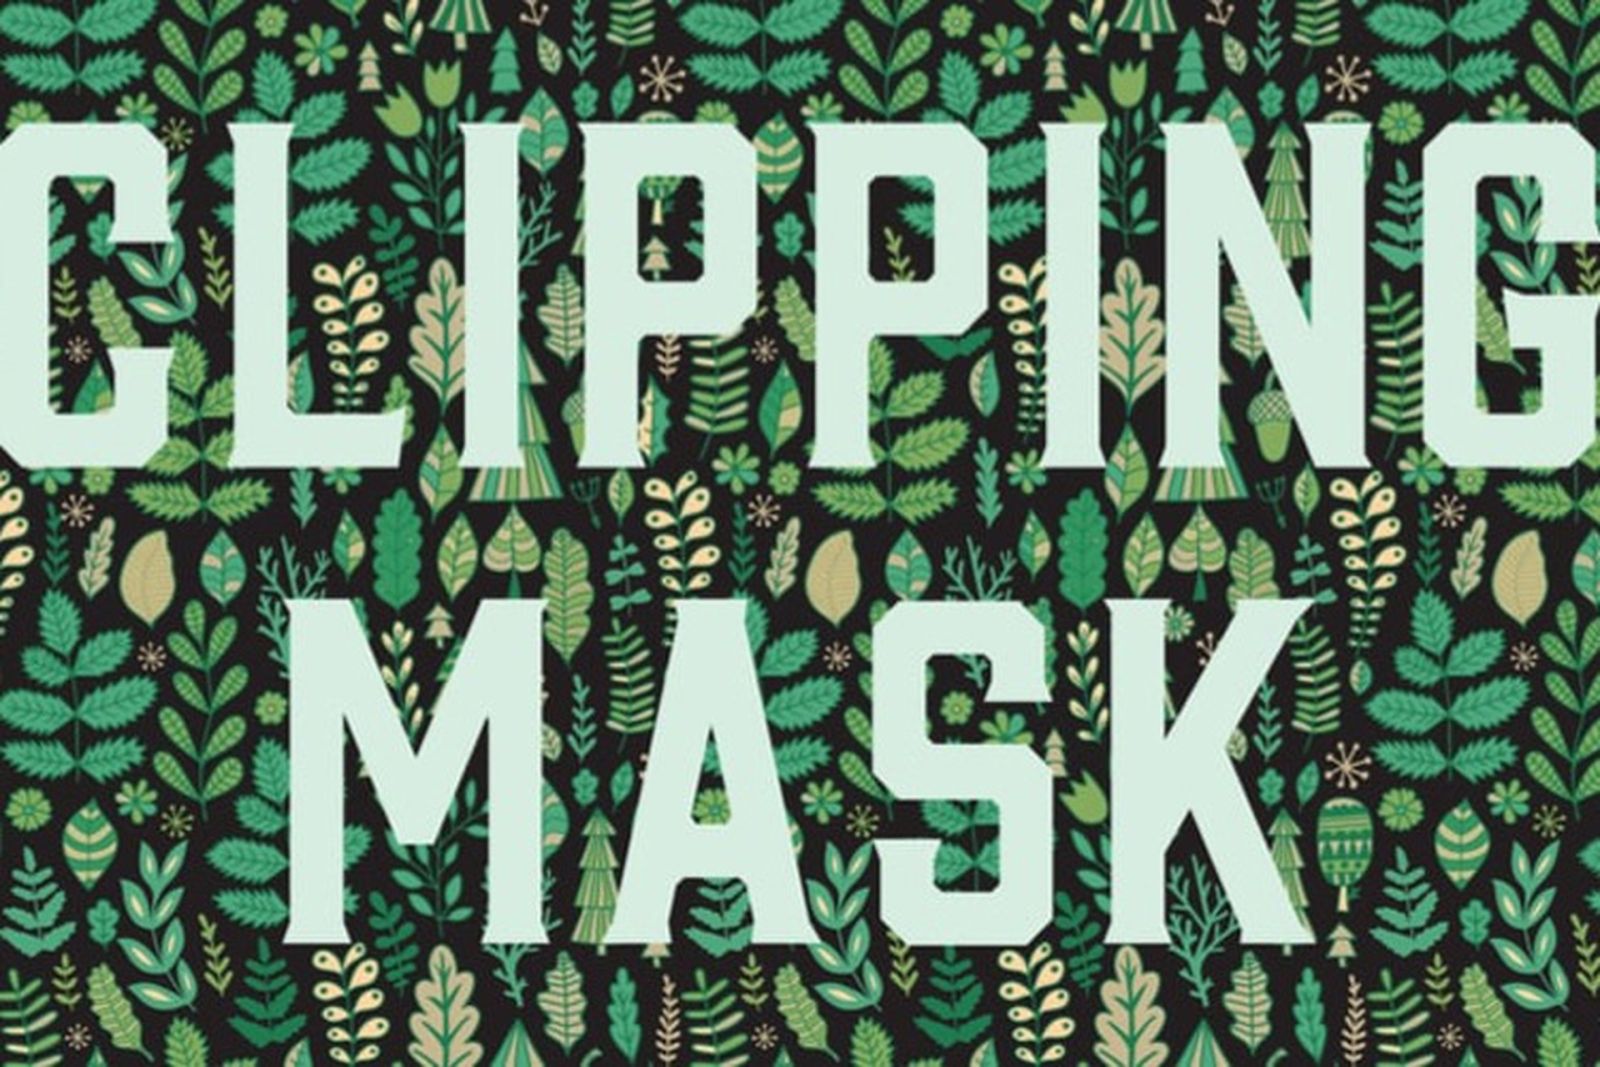
5.2. Combining Clipping Mask with Gradient
One of the creative uses of Clipping Mask is in combination with gradients. You can create smooth color transitions in your designs by applying Clipping Mask to gradients, bringing a strong visual effect to your design products.
5.3. Clipping Mask and Texture
Another popular technique is to use a Clipping Mask with a texture. You can apply textures to different shapes using a Clipping Mask. This helps create richer, more dynamic designs while maintaining clarity in the shapes.
6. Using Clipping Mask in Design Projects
Widely used in design software such as Adobe Photoshop and Illustrator, Clipping Mask allows combining images with other objects, creating unique and sophisticated effects. With the ability to manipulate simply but bring professional results, this tool has become an indispensable part of the workflow of many creative designers.
6.1 Create Logo with Clipping Mask
Clipping masks are an ideal tool for creating special effects for logos. You can create logos with hidden images or unique clipping details.
6.2 Create a Poster or Banner
In projects like posters or banners, clipping masks make it easy to combine images with other design elements. You can create unique animations, landscapes, or patterns right in Illustrator without using photo editing software.
6.3 Website or Application Design
Clipping masks can help you design website or application interfaces with creative effects, easy to change and edit. You can create key image areas or impressive design elements without affecting surrounding objects.
Conclude
Through this article, you will master how to create clipping masks in Adobe Illustrator and apply them to your design work. Experiment and explore many different applications of clipping masks to create beautiful and impressive design products. SaDesign always accompanies you on your journey of creativity and development of design skills.


