Best Selling Products

ChatGPT Plus Account (GPT-4)
16 USD

Adobe Photoshop Copyright - Full App
120 USD

Freepik Premium Account
59 USD

Genuine Adobe Illustrator account
99 USD

Copyright Adobe Lightroom Account
59 USD

Genuine Cheap Canva Pro
39 USD

Adobe Premiere Pro Account
99 USD

Upgrade genuine Capture One account
120 USD

Upgrade Duolingo Super
29 USD

Autodesk All App Account Copyright
120 USD

MidJourney Account
29 USD

Windows 10 & 11 Pro Key
36 USD

Upgrade Genuine Office 365
49 USD

Capcut Pro 1 Year
39 USD

Plugin Retouch4me
69 USD
How to Create a Neon Light Effect Photoshop
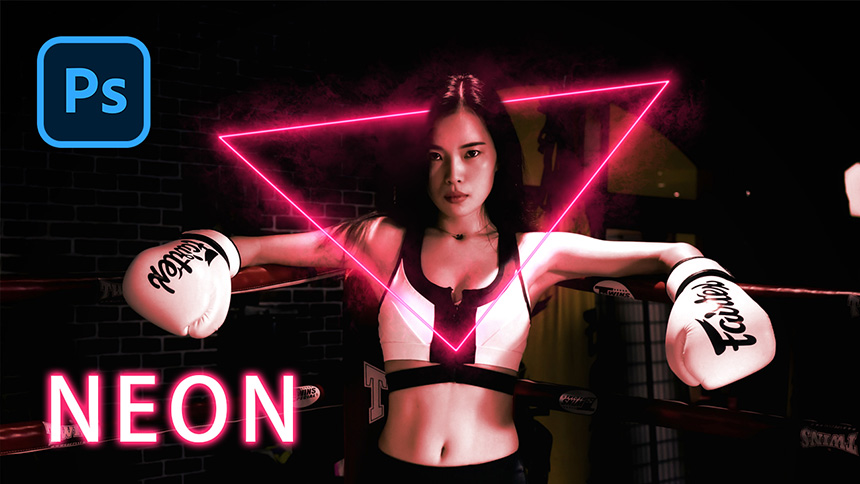
Hi there, welcome back to SaDesign channel, today I’ll show you how to create neon effect in Photoshop.
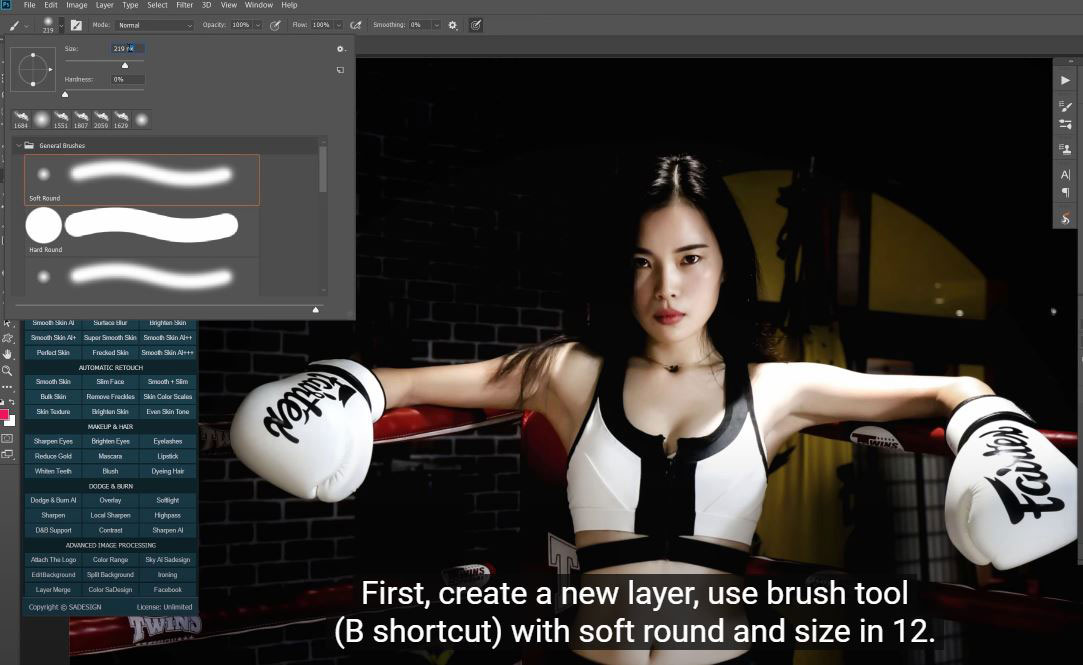
(1). First, create a new layer, use brush tool (B shortcut) with soft round and size in 12. Choose foreground color is pink, move to Pen tool and draw a rectangle in the middle of subject. Right click to the rectangle, choose “Stroke path”, select Brush in tool box and OK. Press CTRL or CMD + H, open Blending Options, check on “Inner Glow”, “Outer Glow” and “Drop Shadow” boxes, then OK.
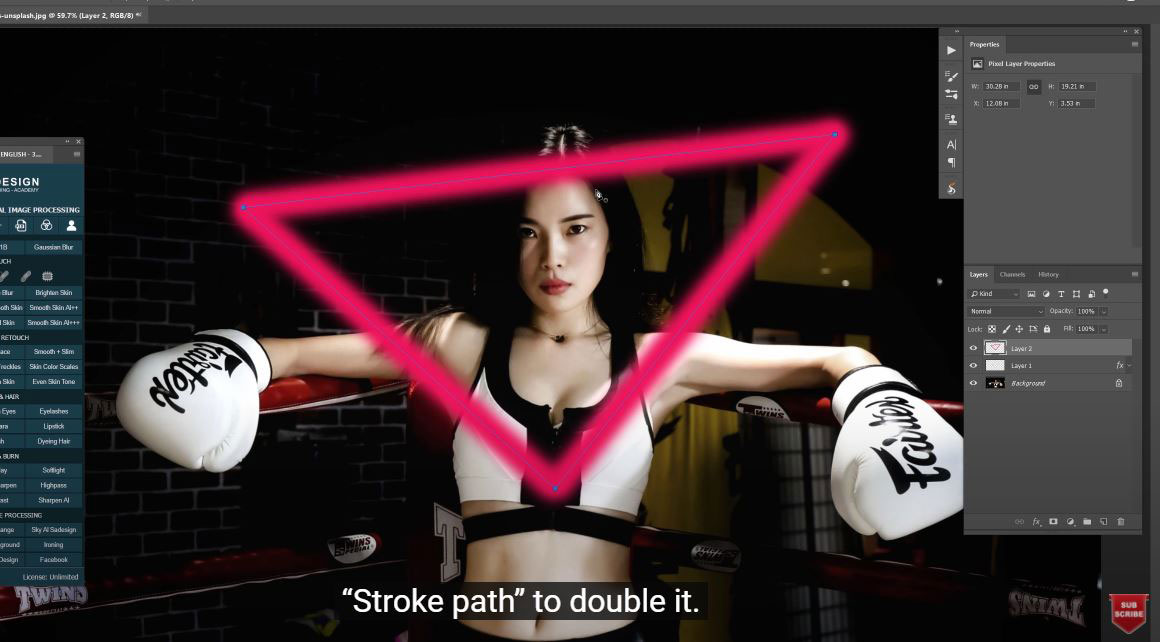
(2). Next, create another new layer, use brush with size around 130 pixels, Move again to pen tool and press CTRL or CMD + H, right lick to the corner of rectangle and select “Stroke path” to double it. Press CTRL + H again to deselect. Change blending mode from normal to Linear Dodge and reduce the fill to 40%.
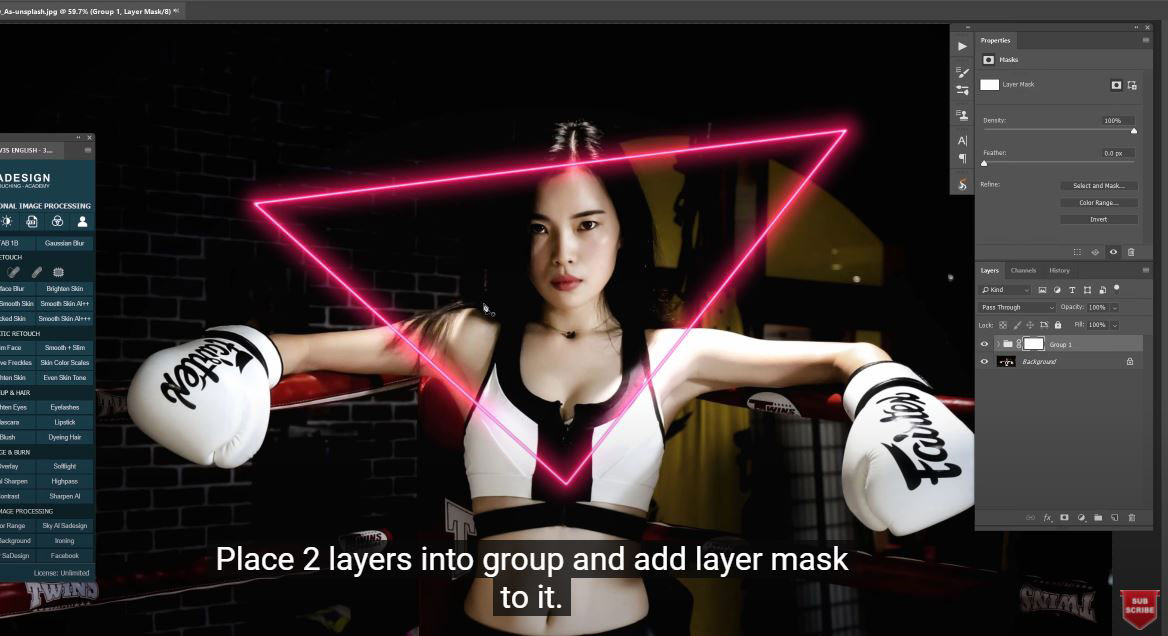
(3). Place 2 layers into group and add layer mask to it. Use brush tool with black in foreground and remove the neon light on her head just like the neon light is surrounding her.
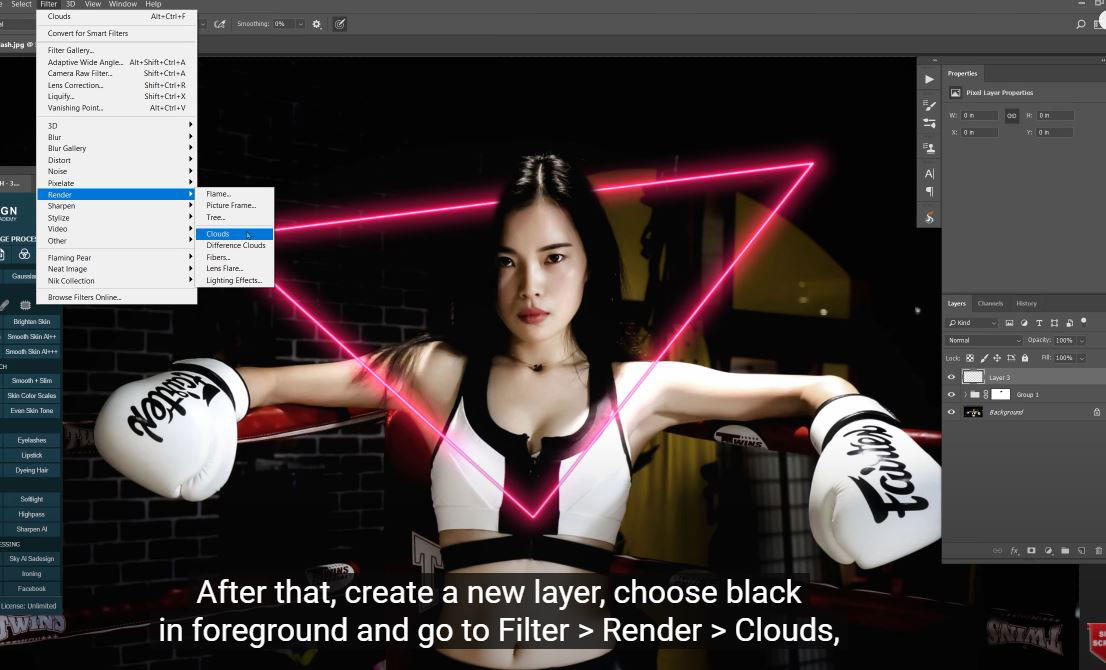
(4). After that, create a new layer, choose black in foreground and go to Filter > Render > Clouds, change blending mode to Linear Dodge and fill it with 40%. Put layer 3 into group and hold ALT or OPTION, left click to create a black layer mask. Use brush tool with big size, white in foreground, press CTRL or CMD + H to take the path of rectangle, choose “Stroke path” one more time and deselect the path with CTRL or CMD + H.
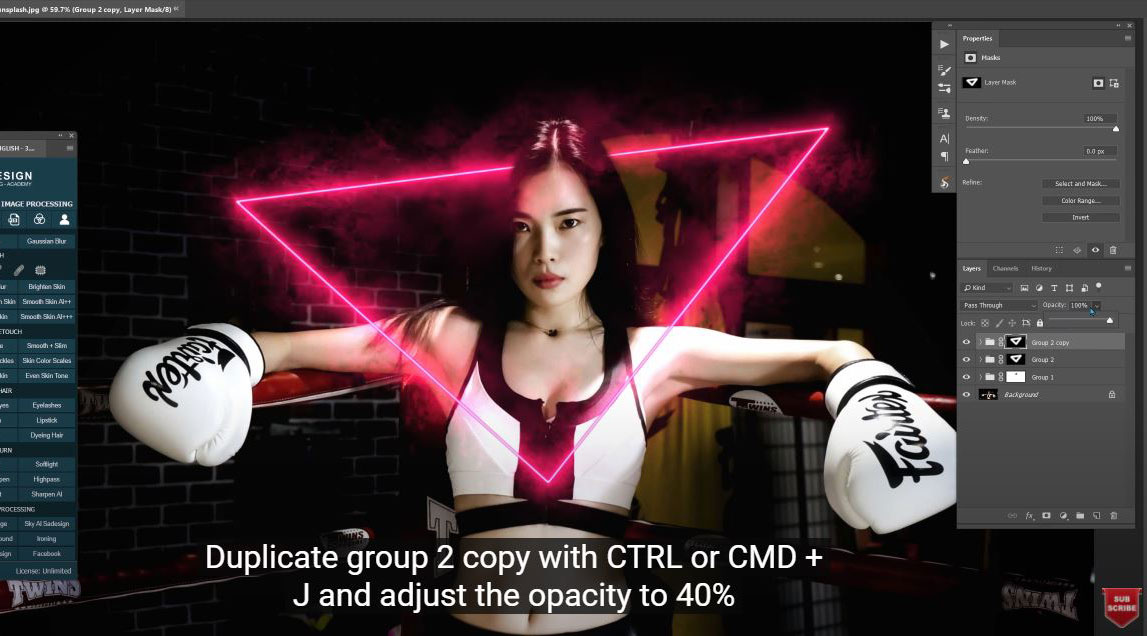
(5). Move to layer 3, hold ALT or OPTION to create black layer mask. Take brush tool, select the wheel icon and choose import brushes and take “Smoke brushes” file. I will put this brush in the description in case you need it. Open the Smoke brush folder and take “smoke 9”. Use this brush to paint on the edges of the shape. Duplicate group 2 copy with CTRL or CMD + J and adjust the opacity to 40%
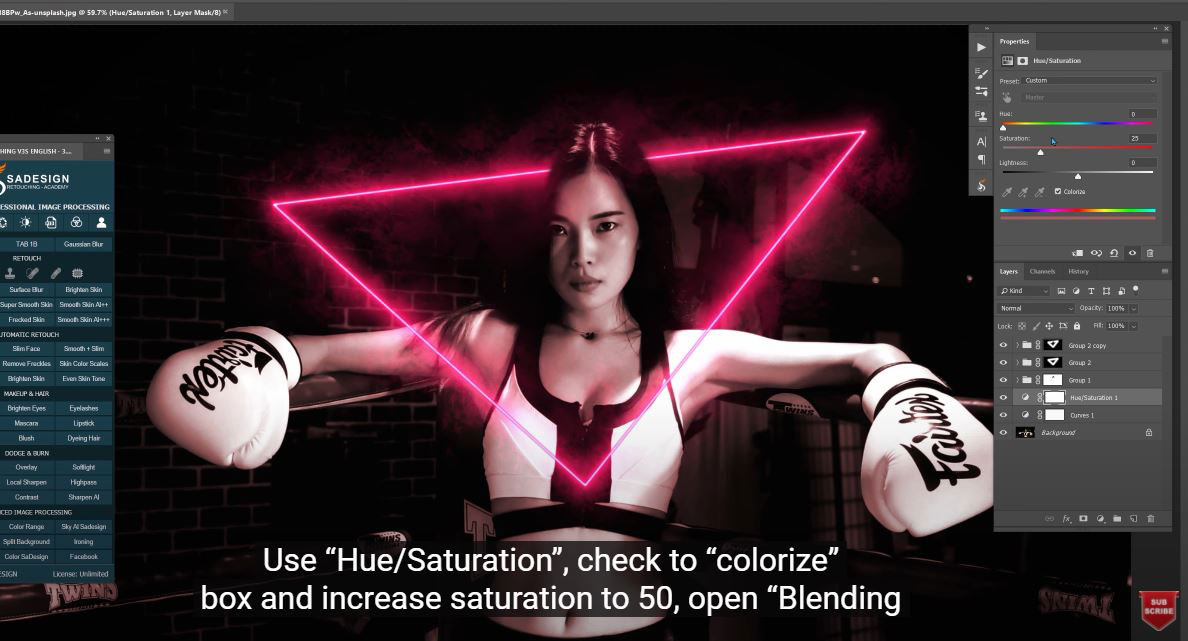
(6). Use “Curves” to darken the image so the neon light will pop out clearly.
Use “Hue/Saturation”, check to “colorize” box and increase saturation to 50, open “Blending options’ and increase the half of black triangle in “This layer” to 136. That’s all, enjoy the result!
If you think this video is helpful, hit like, subscribe and ring the bell for any guide videos later on. See ya!
Watch the video here:
REGISTER FOR FREE PHOTOSHOP LEARNING
============================
The most powerful Retouch tool processor
DOWNLOAD:
✅ SADESIGN PANEL ENGLISH: https://sadesign.ai/retouching/
✅ SADESIGN PANEL VIETNAM: https://www.retouching.vn/


VIP Products


Best Selling Products
ChatGPT Plus Account (GPT-4)
16 USD
Adobe Photoshop Copyright - Full App
120 USD
Freepik Premium Account
59 USD
Genuine Adobe Illustrator account
99 USD
Copyright Adobe Lightroom Account
59 USD
Genuine Cheap Canva Pro
39 USD
Adobe Premiere Pro Account
99 USD
Upgrade genuine Capture One account
120 USD
Upgrade Duolingo Super
29 USD
Autodesk All App Account Copyright
120 USD
MidJourney Account
29 USD
Windows 10 & 11 Pro Key
36 USD
Upgrade Genuine Office 365
49 USD
Capcut Pro 1 Year
39 USD
Plugin Retouch4me
69 USD