Best Selling Products
How to Create a Satin Effect for Text in Photoshop
Nội dung
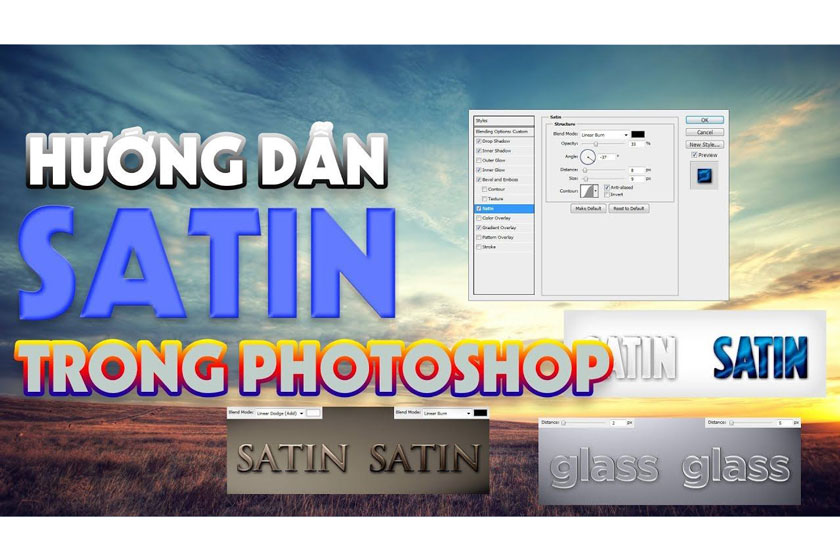
In the process of designing and editing professional images with Photoshop, mastering the techniques of creating text effects is very basic to make the publication more beautiful and impressive. In particular, how to create a Satin effect for text in Photoshop is an issue that many people are interested in.

Knowing how to create a Satin effect for text in Photoshop image editing software gives you many advantages in your work and is a technique that designers cannot ignore. And to help you understand more about this issue, let's go into the article below.
What is the Satin Effect in Photoshop?
Satin is one of the optional effects that is rarely used in Photoshop Layer Styles, but if you know how to use it, you can create a few different effects to help your publication become more professional, eye-catching and impressive to viewers.
(1).jpg)
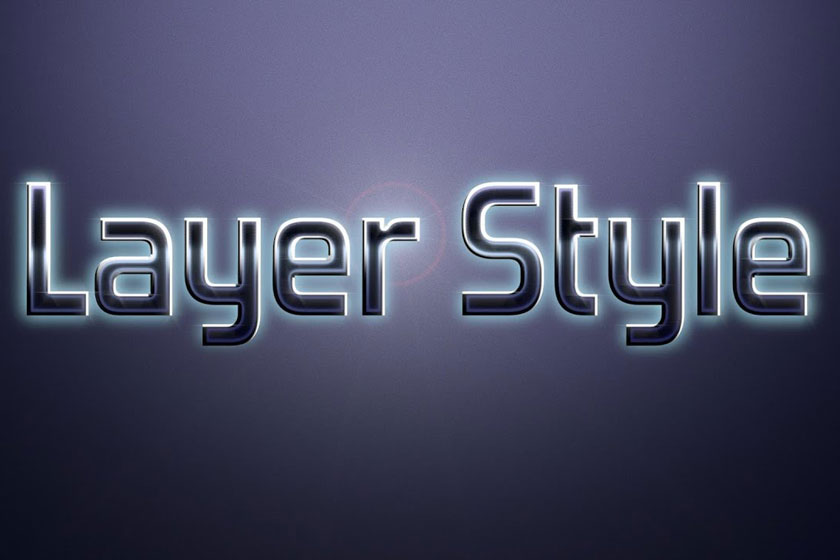
In addition to creating a highly unique, objective look, it can also be used to add depth and more realistic details to glass and metal effects. The Satin effect for text helps to highlight the text or message that the designer wants to convey. See more: Learn basic photoshop
Tutorial on how to create a Satin effect for text in Photoshop
How to create a Statin effect for text in Photoshop is not too complicated. Please follow the instructions below.
Satin Styles Layer Dialog Box
Satin makes it easy to create two copies of the layer, then offset and blur them to quickly create the final result. You probably can't visualize it, but it's easier to understand when you see it in action.
(1).jpg)
The Satin dialog doesn't have much detail, and you've probably seen most of these settings before. All that's left to understand is how they interact with each other.
Blend Mode
Blending Mode allows users to easily set the blending mode for their Satin, while the color box and expected will allow you to choose the color of your choice to satisfy your creativity. The best Blending Mode options are considered to be Linear Burn using black or Linear Dodge (Add) using white. This will allow you to see how the Satin works, while also being able to apply the most realistic looking effect. In the following example, you can also use white with Linear Dodge (Add) as the blending mode to lighten your text while using black with Linear Burn as the blending mode darkens it.
(2).jpg)
Opacity
Opacity controls the transparency of the effect. In the following example, you can see that a lower Opacity has a more subtle than expected effect on the final effects when creating a Satin effect.
(1).jpg)
Angle
The Angle spinner sets the angle at which your Satin effect is offset from the original shape. You can easily enter a number in the box or drag the line with your mouse. The example isn’t the prettiest, but it clearly shows how adjusting the Angle can change the look of the Satin. Used in conjunction with other effects, changing the Angle can help users quickly achieve more realistic looking lighting.
(1).jpg)
Distance
The Distance slider changes the distance that the Satin is offset from the original shape. This is very useful when you are trying to create a reflection. In the following example, you can easily see how slightly increasing the Distance of the Satin effect gives you a larger reflection on the text.
(1).jpg)
Size
The Size slider is used to set the Satin opacity. The larger the value, the higher the opacity. A moderate Size value will usually give the most realistic results. See more How to use Blending Mode in Photoshop With the above sharing, we hope to help you better understand how to create a Satin effect for text in Photoshop


