Best Selling Products

Windows 10 & 11 Pro Key
36 USD

Upgrade genuine Capture One account
120 USD

Adobe Photoshop Copyright - Full App
120 USD

ChatGPT Plus Account (GPT-4)
16 USD

Capcut Pro 1 Year
39 USD

Upgrade Duolingo Super
29 USD

Upgrade Genuine Office 365
49 USD

Autodesk All App Account Copyright
120 USD

MidJourney Account
29 USD

Genuine Cheap Canva Pro
39 USD

Adobe Premiere Pro Account
99 USD

Genuine Adobe Illustrator account
99 USD

Plugin Retouch4me
69 USD

Freepik Premium Account
59 USD

Copyright Adobe Lightroom Account
59 USD
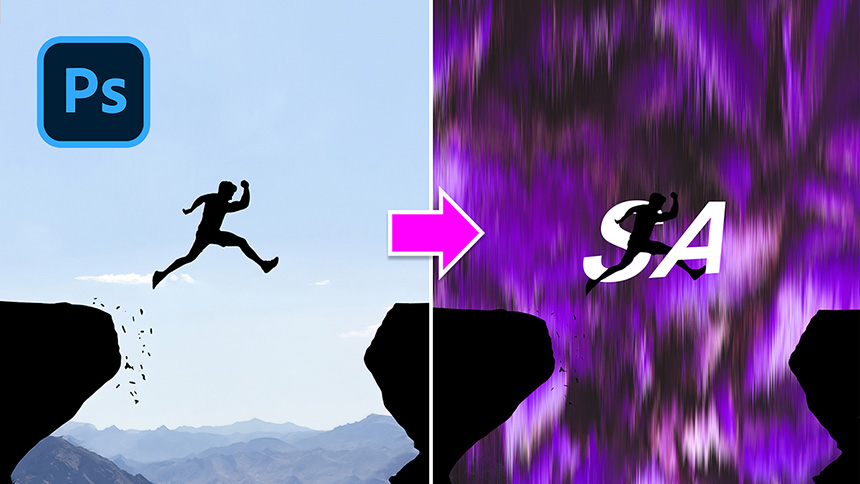
How to Create a Text Application in The Rain Window
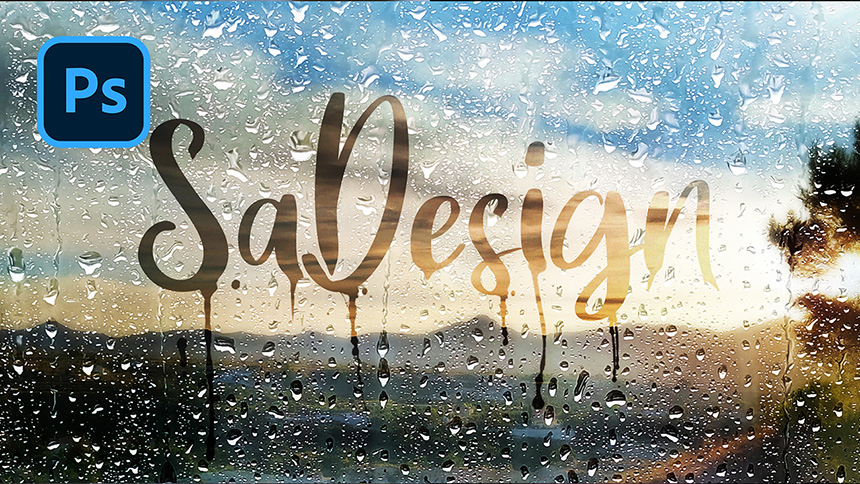
Hi guys, I’m going to show you the way to create a fake rain window in your photo.
As usual, feel free to download these stocks in the description. Here I have an amazing landscape photo and a rain mirror.
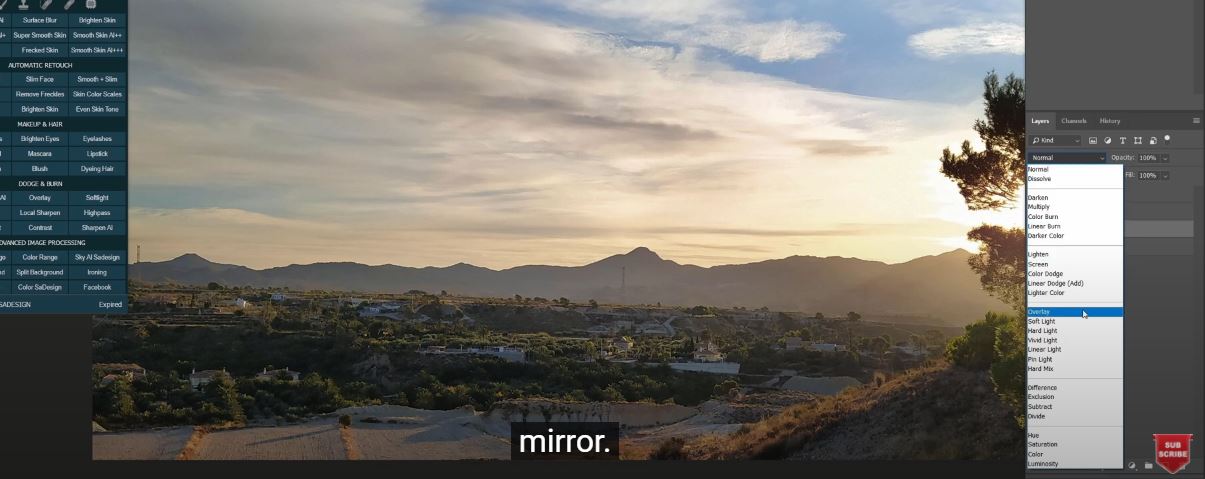
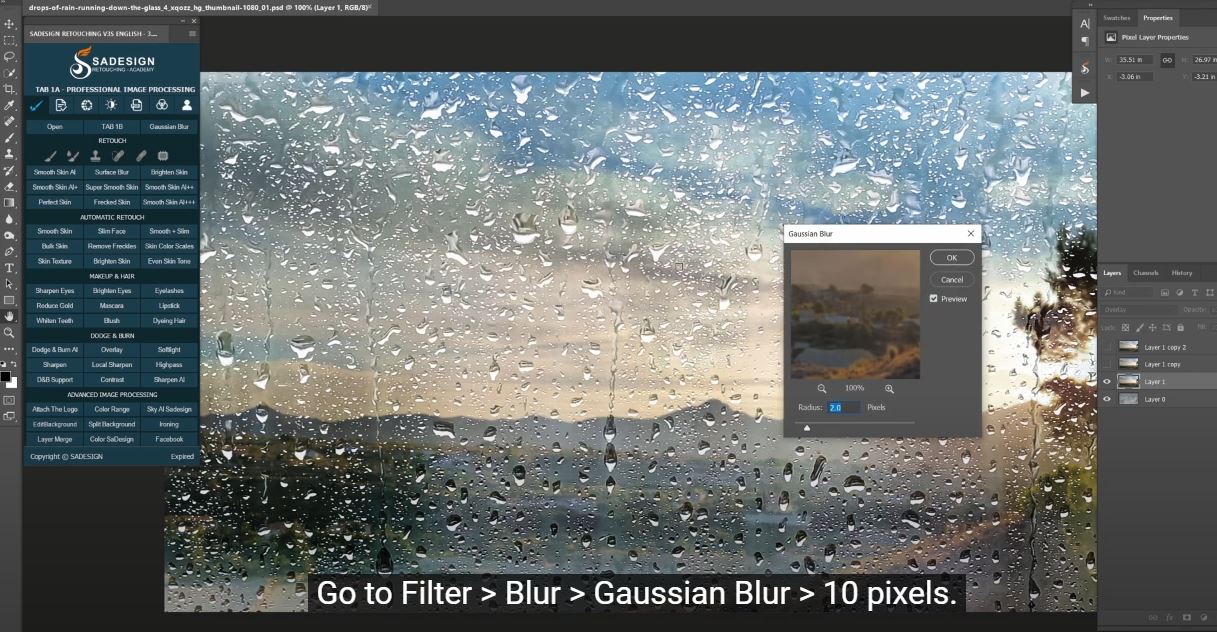
First, duplicate layer 1 twice by pressing CTRL or CMD + J 2 times. Turn off both copy layers, in layer 1, change blend mode to Overlay so we can see the below mirror. We will blur the landscape because the mirror will be in focus. Go to Filter > Blur > Gaussian Blur > 10 pixels.
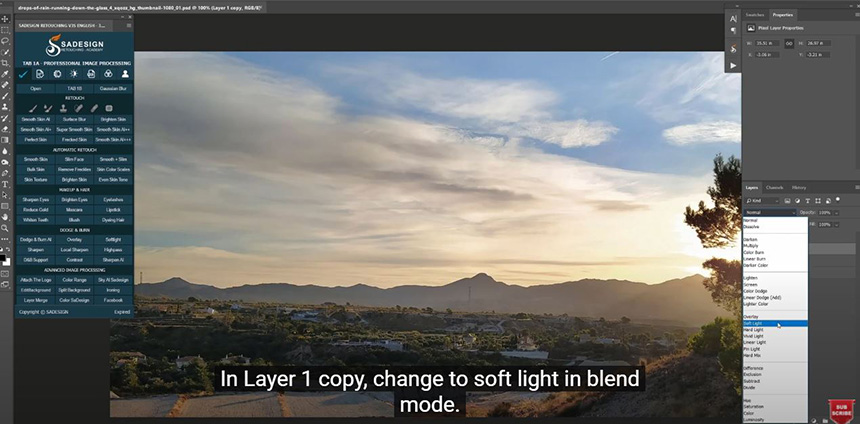
In Layer 1 copy, change to soft light in blend mode.
Pick up Text tool and type out the text that you like.
CTRL+T to expand the size, then move it to the center of the canvas.
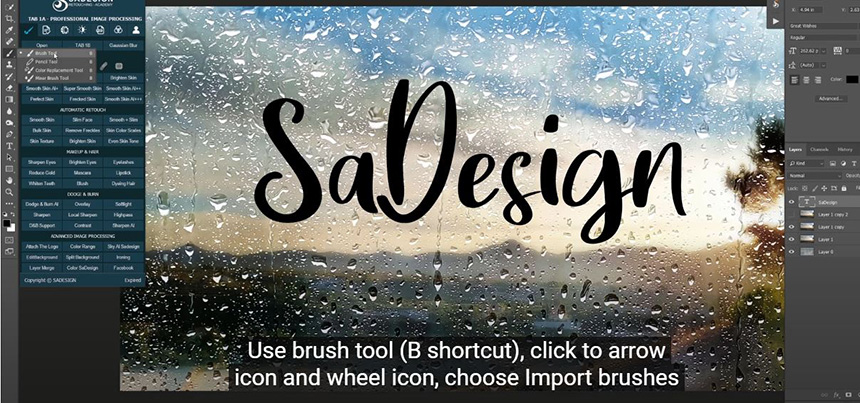
Use brush tool (B shortcut), click to arrow icon and wheel icon, choose Import brushes Load Water brushes Create a new layer with the icon in the lower right corner, make sure the foreground color is black.
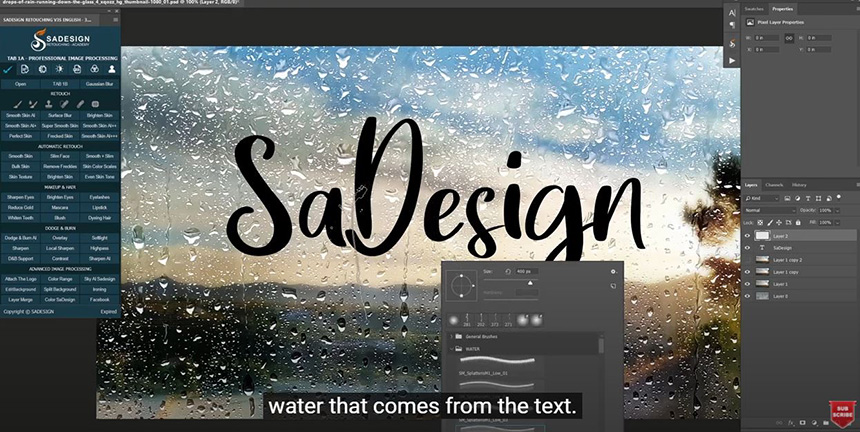
Right click to the canvas, open water brushes folder and select this brush to create the water that comes from the text.
Just dab to the areas that you want to add the water effect. No need to keep the same brush at all, just change to whatever that you see fit to your photo.
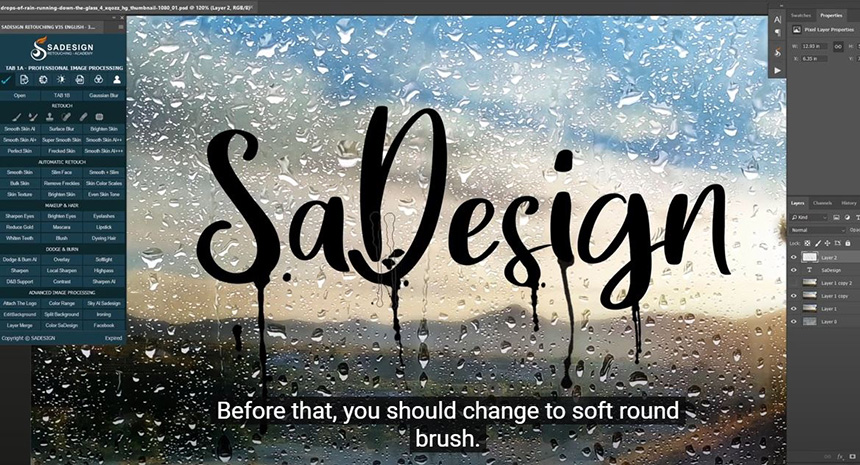
Create your own unique texture. Tip: use bracket [ ] on the keyboard to increase or decrease the brush size to boost up your workflow. Use eraser tool to remove some places that you want. Before that, you should change to soft round brush.
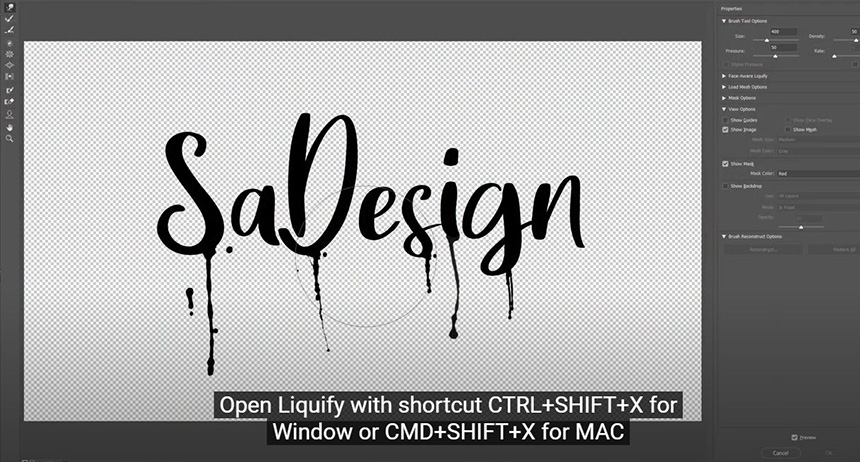
When you are done with adding water brush effect to the text. In text layer, right click to it and select “Rasterize layer”. Now, merge 2 top layers with CTRL or CMD + E Open Liquify with shortcut CTRL+SHIFT+X for Window or CMD+SHIFT+X for MAC
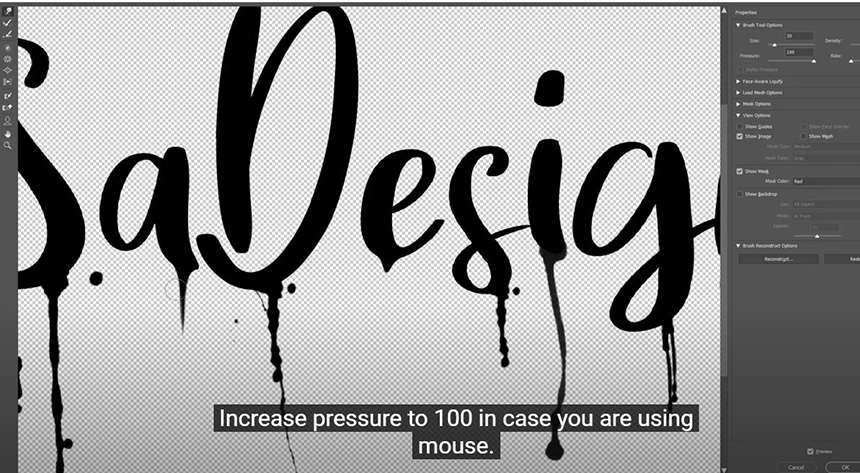
In here, use forward warp tool which is the default tool that Photoshop will choose after opening Liquify, warp your text just like this. Increase pressure to 100 in case you are using mouse. Then, hit OK.
In second layer, press CTRL or CMD + G to create a group. Hold CTRL and click to top layer to take the selection of the text.
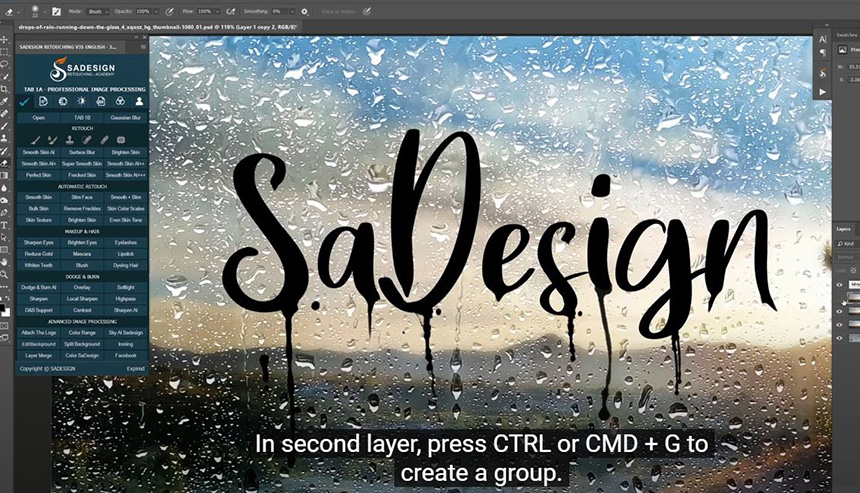
Then, in group layer, click to layer mask to add the text to layer mask.
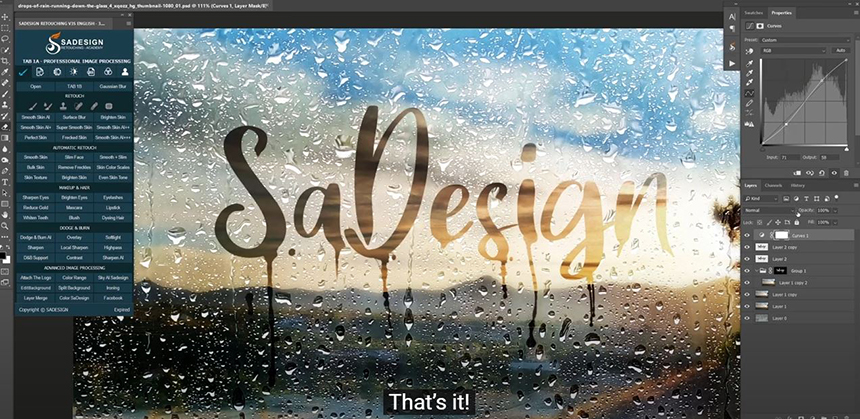
In text layer, change blend mode to soft light Make it look clearly by pressing CTRL+J. Decrease opacity to 50% Final step, add a bit of contrast to the image with Curves adjustment layer.
REGISTER FOR FREE PHOTOSHOP LEARNING
============================
The most powerful Retouch tool processor
DOWNLOAD:
✅ SADESIGN PANEL ENGLISH: https://sadesign.ai/retouching/
✅ SADESIGN PANEL VIETNAM: https://www.retouching.vn/


VIP Products


Best Selling Products
Windows 10 & 11 Pro Key
36 USD
Upgrade genuine Capture One account
120 USD
Adobe Photoshop Copyright - Full App
120 USD
ChatGPT Plus Account (GPT-4)
16 USD
Capcut Pro 1 Year
39 USD
Upgrade Duolingo Super
29 USD
Upgrade Genuine Office 365
49 USD
Autodesk All App Account Copyright
120 USD
MidJourney Account
29 USD
Genuine Cheap Canva Pro
39 USD
Adobe Premiere Pro Account
99 USD
Genuine Adobe Illustrator account
99 USD
Plugin Retouch4me
69 USD
Freepik Premium Account
59 USD
Copyright Adobe Lightroom Account
59 USD