Best Selling Products
How to Create Professional 3D with Autodesk Maya
Nội dung
- 1. Why choose Autodesk Maya for 3D animation?
- 2. Preparation steps before creating 3D animation
- 2.1. Maya installation and configuration:
- 2.2. Understand the Maya interface:
- 3. 3D animation process in Autodesk Maya
- 4. Tips and Tricks for Creating Impressive 3D Animations
- 4.1. Take advantage of plugins and support tools
- 4.2. Effective project management
- 5. Learning resources and community support
- 5.1. Online Course
- 5.2. Join the Maya community
- 6. Conclusion
Have you ever dreamed of creating stunning 3D animations like those in Hollywood blockbusters? With Autodesk Maya, that is no longer a distant dream! Autodesk Maya is the leading 3D animation software, favored by professionals in the entertainment and graphic design industries. This article will guide you through how to use Maya so you can create professional 3D products, from basic start to finished results. Let's explore to turn your ideas into reality!
When you step into the world of 3D animation, you need powerful tools to bring your ideas to life. Autodesk Maya is the perfect choice for anyone looking to develop their design skills and create impressive work. Whether you are a beginner or an experienced artist, mastering the Maya workflow will help you elevate your projects and capture the attention of your audience. Let’s explore the basic yet important steps to creating a world-class 3D animation!
1. Why choose Autodesk Maya for 3D animation?
Powerful and flexible tools: Autodesk Maya offers a comprehensive set of modeling, simulation, and rendering tools that allow you to easily create high-quality animations. From detailed modeling to complex motion correction, Maya offers maximum flexibility in the design process.
Complex effects capabilities: Maya excels at simulating dynamics, liquids, smoke, and other special effects, creating lifelike, lifelike images and scenes. This is especially important in the production of films and commercials that require high realism.
Trusted by professionals: Maya is the go-to tool for the world's top filmmakers, animators, and 3D designers. From major studios to small studios, Maya is the go-to tool for reliability and the ability to handle simple to complex creative needs.
2. Preparation steps before creating 3D animation
2.1. Maya installation and configuration:
To start creating 3D animations, you need to install Autodesk Maya and configure the software to ensure smooth operation on your computer. First, download the software from the Autodesk homepage and follow the installation steps. After installation, you need to adjust the system configuration so that Maya can run most effectively. Updating graphics drivers and optimizing hardware (CPU, RAM) will help the software run quickly and without lag during work.
2.2. Understand the Maya interface:
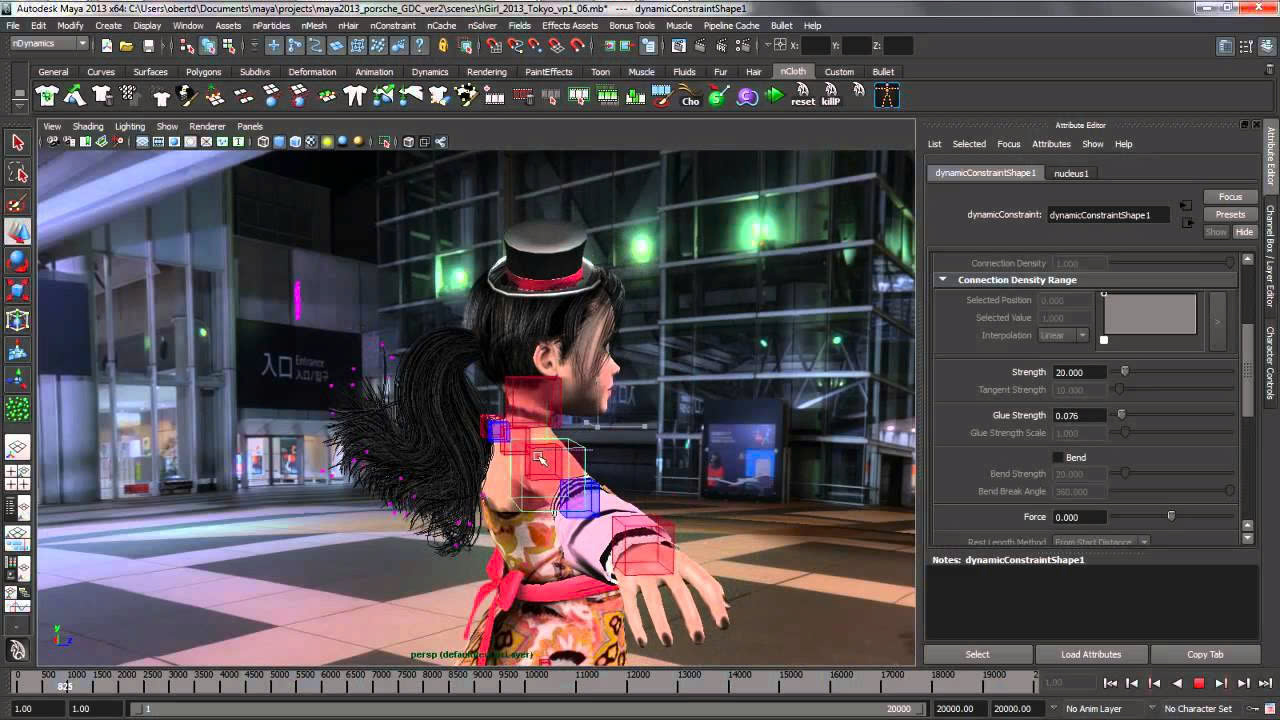
Maya's interface can be daunting for beginners, but familiarizing yourself with the main components will help you get up and running quickly and efficiently.
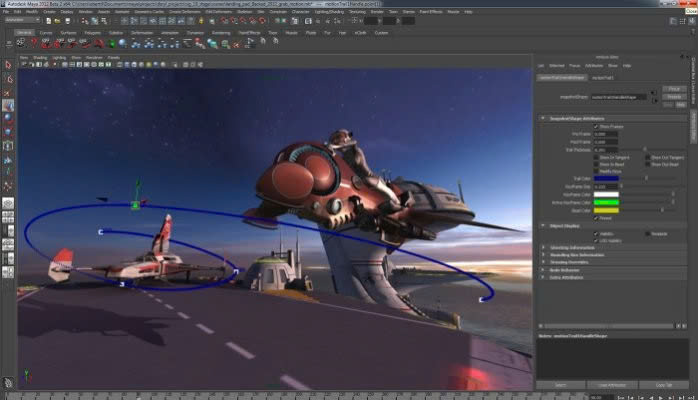
Viewport: This is the main area for viewing and manipulating the 3D model. You can move, zoom in, zoom out, and change the perspective of the model here.
Outliner: Outliner is a tool that helps you manage all the objects in your scene. It displays all the components and objects in your model, making it easy to find and edit them.
Attribute Editor: This is where you can edit the attributes of objects and models in the scene. From changing shapes and colors, to detailed settings like materials and lighting, the Attribute Editor gives you complete control over every aspect of your 3D model.
Getting familiar with these tools from the start will help you optimize your work time and create better quality 3D animation products.
3. 3D animation process in Autodesk Maya
Step 1: Create 3D model
Before you start animating, you need to build a 3D model of your character or object. Autodesk Maya provides powerful modeling tools that help you build detailed models. You can start with simple shapes and gradually add detail, using tools like Extrude, Scale, and Rotate to create complex shapes. Make sure your model has the correct proportions and a clear 3D space for easier rigging and animation later.
Step 2: Rigging the character
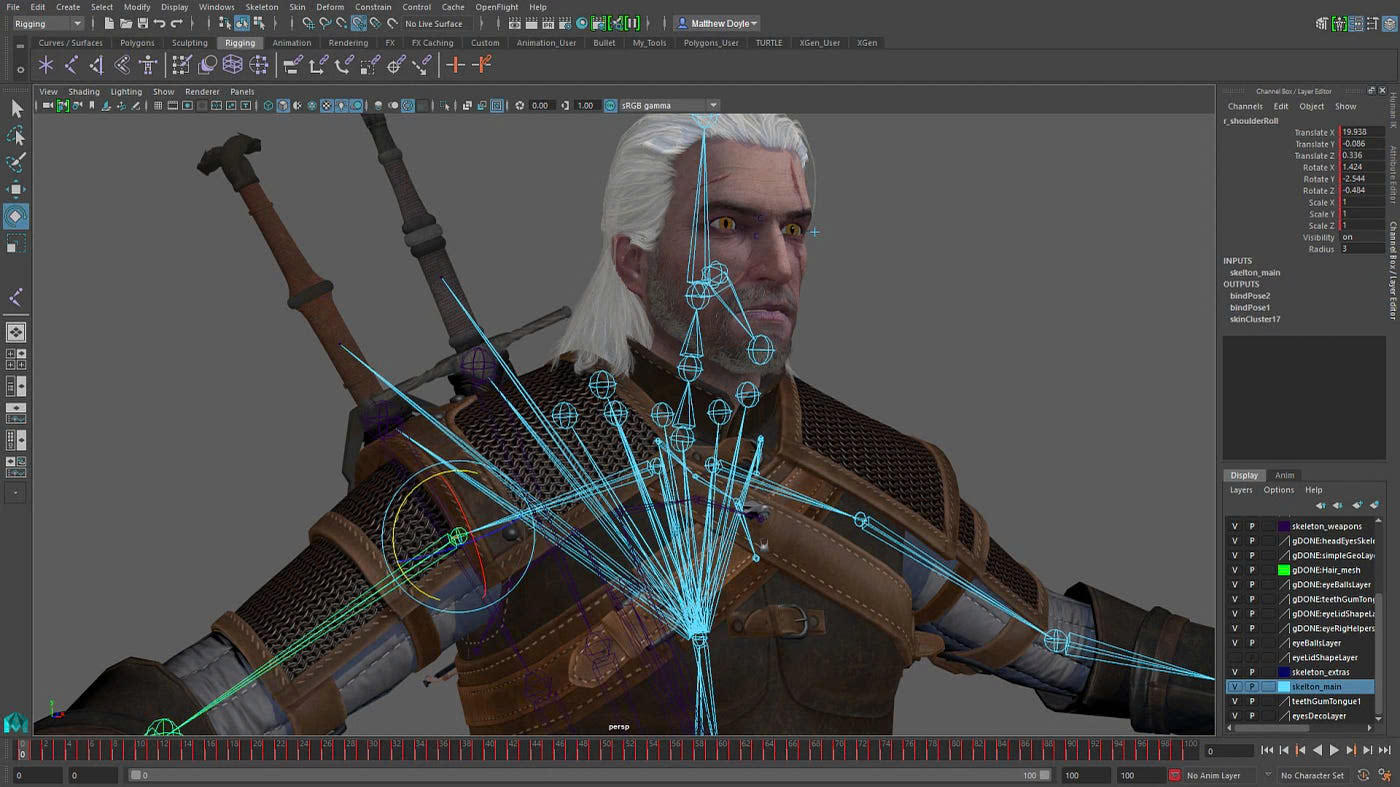
Rigging is the process of creating a skeleton for a character, allowing them to move flexibly in animation. You will use the Joint Tool in Maya to create bones for the character. These bones create the motion control system for parts such as the arms, legs, and head. After creating the skeleton, you need to bind the model to the skeleton through Skinning, to ensure that when you move the bones, the model changes in a natural way.
Step 3: Create animation
Once your character is rigged, you can start animating it. Maya supports a variety of animation techniques, including keyframe animation, where you set keyframes for objects at certain times and the software automatically creates movement between keyframes. You can also use motion paths to move your character along a specific curve. For more precise motion control, the Graph Editor lets you adjust the speed and smoothness of each part.
Step 4: Add special effects
Adding special effects like fire, smoke, and liquids is an important part of 3D animation to make a scene more vivid and realistic. Maya Dynamics provides tools to simulate these effects. You can create liquid streams, smoke plumes, or fire explosions, and adjust them to match the background and movement of the character or scene in the animation.
Step 5: Rendering and Publishing
After you have completed modeling, rigging, animation, and adding effects, the final step is rendering. Rendering is the process of converting 3D models and animations into 2D images or videos. Maya provides rendering tools like Arnold Renderer to create high-quality images with realistic lighting, shadows, and textures. During rendering, you can adjust parameters like resolution, lighting, and detail to optimize image quality and render speed. Once rendering is complete, you can publish the final product as a video or image.
Through the above steps, Autodesk Maya will help you create professional and impressive 3D animations, from simple models to vivid and special effect-filled scenes.
4. Tips and Tricks for Creating Impressive 3D Animations
4.1. Take advantage of plugins and support tools
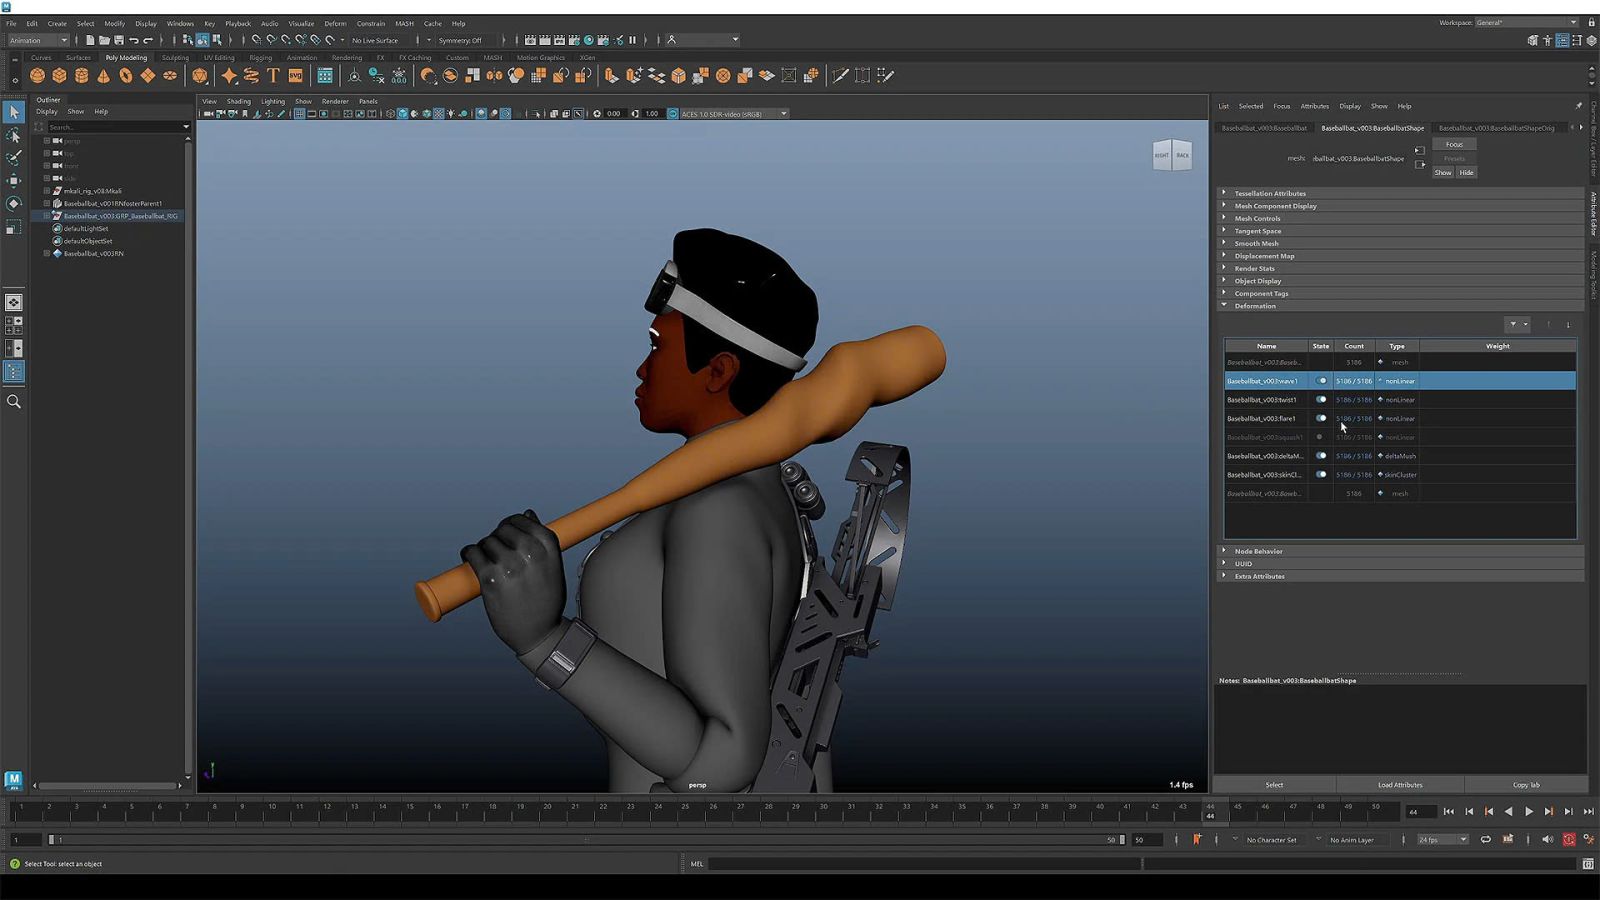
Autodesk Maya offers powerful extensibility through plugins and supporting tools. Using popular plugins will save you time and optimize your workflow. Some useful plugins include:
Redshift: High-speed rendering plugin that optimizes image quality during rendering without sacrificing performance.
Maya Fluids: For fluid simulation, helps create more realistic water, smoke, and fire effects.
Tension: Plugin that makes it easy to create simulation effects and edit motion in complex scenes.
Anima: Crowd animation plugins that help you create scenes with multiple characters without simulating each one individually. These plugins not only speed up your workflow but also improve the quality of your final product, helping you create professional and impressive 3D scenes and effects.
4.2. Effective project management
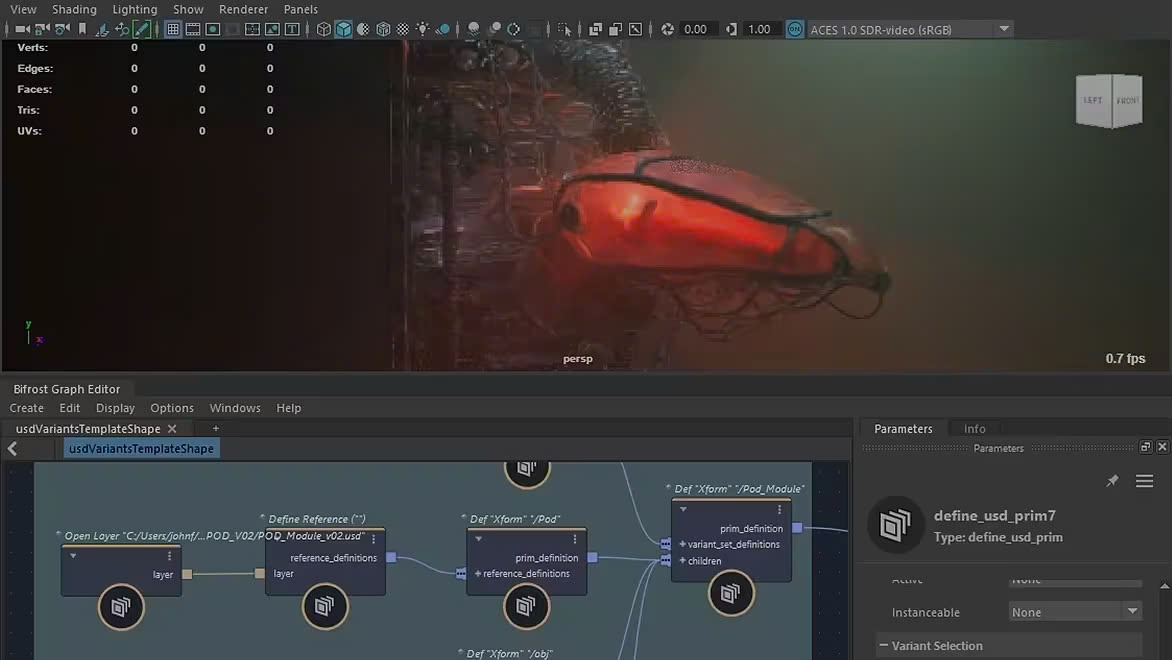
Organizing and storing files properly is important when working with Maya, especially when you are working on large projects with many files and assets. Here are some tips to help you manage your projects effectively:
Organize project folders: Create a clear folder system to categorize model, texture, animation, and rendering files. This makes it easy to access and find assets when needed.
Use version control: Using version control tools like Git or Maya's resource management software helps track changes in your project, avoid data loss, and easily revert to previous versions.
Optimize file size: When working on complex projects, file sizes can become very large. Always clean up unnecessary data, such as temporary files or duplicates, and regularly back up your data to avoid data loss.
Cloud Storage: To easily share projects and collaborate with team members, use cloud storage services like Google Drive, Dropbox, or Autodesk BIM 360 to store and access projects from anywhere.
With these tips and tricks, you will be able to work more efficiently, optimize your creative workflow, and easily manage your 3D animation projects, ensuring product quality and minimizing risks when working with big data.
5. Learning resources and community support
5.1. Online Course
To improve your Autodesk Maya skills, taking online courses is a great option. Here are some reputable courses for both beginners and advanced learners:
Udemy – Maya for Beginners: A basic course that introduces beginners to the basic tools of Maya. This course includes lessons on 3D modeling, rendering, and animation.
LinkedIn Learning – Autodesk Maya Essential Training: This course provides an overview of Maya's key features, from the basics to advanced knowledge, helping you use the software effectively in real-world projects.
Pluralsight – Advanced Maya Techniques: For those with experience using Maya, this course focuses on advanced techniques such as creating special effects, physics simulation, and optimizing workflows.
CGMA – Maya for Character Animation: This is an in-depth course on character animation in Maya, helping you master keyframe techniques, motion capture and creating natural character movements.
5.2. Join the Maya community
Joining Maya communities not only helps you learn from experienced people, but also provides a place to exchange ideas, solve problems, and get support when you run into difficulties. Here are some notable communities:
Autodesk Community Forums: This is the perfect place to connect with other Maya users, ask technical questions, share experiences, and get support from the community and Autodesk experts.
CGSociety: A popular community for 3D artists and animators. You can join discussions, learn from tutorials and articles, and share your work for feedback.
Reddit – r/Maya: This Reddit forum is where Maya users from all over the world share tips, tutorials, and solve problems they encounter while using the software.
Facebook Groups – Maya 3D Artist: Facebook groups like Maya 3D Artist are where Maya artists hang out, learn, and discuss real-world projects. They’re also where you can find free courses and helpful resources.
ArtStation: This is an online community for artists where you can share your work, enter competitions, and connect with Maya experts from all over.
Participating in these communities and courses will help you improve your skills, solve problems quickly, and improve your creativity in using Autodesk Maya to create amazing 3D animation products.
6. Conclusion
Autodesk Maya is a powerful tool that helps you create professional 3D animations with outstanding features. Follow the instructions to achieve impressive results and don't forget to choose SaDesign to own the copyrighted software at the best price, ensuring you have all the tools to realize your creative ideas.
Contact SaDesign now for advice and dedicated support, start your journey to create amazing 3D animations!
---------------------------
Installation and support contact information:
🏡 SADESIGN Software Company Limited
📨 Email: phamvansa@gmail.com
🌍 Website: https://sadesign.ai


