Best Selling Products

Genuine Adobe Illustrator account
99 USD

Freepik Premium Account
59 USD

Upgrade genuine Capture One account
120 USD

Autodesk All App Account Copyright
120 USD

Adobe Premiere Pro Account
99 USD

Genuine Cheap Canva Pro
39 USD

Plugin Retouch4me
69 USD

Windows 10 & 11 Pro Key
36 USD

Upgrade Duolingo Super
29 USD

Copyright Adobe Lightroom Account
59 USD

Adobe Photoshop Copyright - Full App
120 USD

Capcut Pro 1 Year
39 USD

Upgrade Genuine Office 365
49 USD

ChatGPT Plus Account (GPT-4)
16 USD

MidJourney Account
29 USD
How to download Gemini for MacBook quickly and easily, from A to Z.
Nội dung
- 1. What are the benefits of downloading Gemini for MacBook?
- 2. Which MacBooks can install Gemini?
- 3. How to download Gemini for MacBook from the official website
- 4. Detailed instructions on installing Gemini on MacBook
- 4.1. Open the Gemini installation file.
- 4.2. Drag Gemini into Applications
- 4.3. Opening Gemini for the first time
- 5. Log in and set up Gemini on your MacBook.
- 6. Tips for using Gemini more effectively on your MacBook
- 7. Some common errors when downloading Gemini for MacBook
- 8. Conclusion
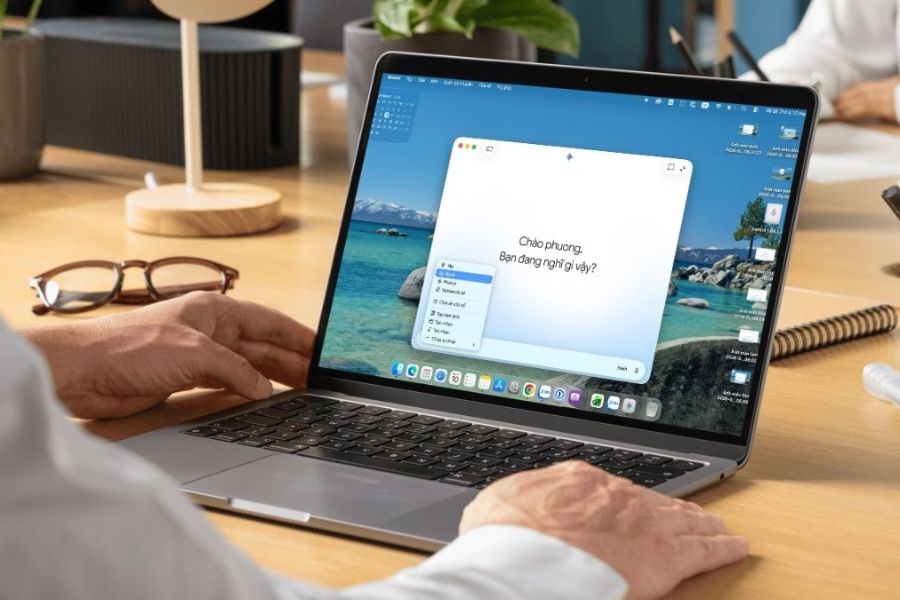
Gemini is gradually becoming a familiar AI assistant for those who frequently study, work, and create content on their computers. Instead of having to open a browser and search for Gemini among a multitude of tabs, MacBook users can now install the Gemini application directly on their machines for faster and more convenient operation. With the macOS version, Gemini is designed to function as a standalone application. You can open the AI tool directly from your Mac, query information, assist in writing content, or interact with what''s displayed on the screen. If you''re looking to download Gemini for your MacBook but don''t know where to start, the guide below will help you through the entire process from checking your configuration and downloading the application to logging in and using it. Let''s explore it with Sadesign!

1. What are the benefits of downloading Gemini for MacBook?
Installing Gemini directly on your MacBook offers a more seamless experience compared to using the tool through a browser. When you need to quickly ask a question, find ideas, or ask for AI assistance, you don't have to waste time opening multiple tabs and switching between windows. Gemini can be launched instantly, making your workflow more streamlined and less interrupted. In particular, the Gemini application on your computer is suitable for those who frequently multitask. You can open documents, design programs, presentations, or other applications while using AI to research and process information. Some notable points when installing Gemini on a MacBook include:
-
Access Gemini faster: No need to search the website every time you want to use AI.
-
Operates independently of the browser: Reduces the need to open multiple tabs in Safari or Chrome.
-
Multitasking support: Convenient for working on other applications while simultaneously communicating with Gemini.
-
Intuitive user interface: The application interface is optimized for operation on computers.
-
Save time: Opening and using Gemini is now quicker and easier.
-
Suitable for learning and work: AI can be used for brainstorming, content writing, explaining information, or assisting with document processing.
For those who are already used to using AI every day, bringing Gemini to MacBook is like having an extra assistant always ready by your side. You don't need to change your computer usage habits too much, but you can still significantly shorten the time it takes to complete familiar tasks.
2. Which MacBooks can install Gemini?
Before you begin downloading Gemini for your MacBook , you should check if your device meets the requirements. This is a crucial step because not all Mac models can install Gemini. According to the information in the reference, the application for Mac requires a machine using an Apple Silicon chip, such as M1, M2, M3, or newer generations. Besides the processor chip, the macOS version also needs to be checked. Your machine should be running macOS Sequoia 15.0 or later to ensure compatibility. This check only takes a few seconds but helps you avoid downloading the installation file only to discover that your device is incompatible.
You can check your MacBook's information by:
-
Tap the Apple icon in the upper left corner of the screen.
-
Select About This Mac .
-
Check the Chip section to determine if your device is using Apple Silicon.
-
Check your current macOS version.
-
If macOS is quite old, consider updating the operating system before installing.
If your MacBook uses an M1, M2, M3, or newer generation Apple Silicon chip and is running a compatible version of macOS, you can proceed to the application download step. If your machine is an older model using an Intel chip, you should check the latest support information before attempting to install.
@old
3. How to download Gemini for MacBook from the official website
After checking your device, the next step is to download the Gemini installer. You should prioritize the official Google source to minimize the risk of downloading unsafe files or incompatible versions. This is especially important for AI applications, as there are many fake websites on the internet using brand names to distribute software from unknown sources. To begin, open Safari , Chrome, or your preferred browser on your MacBook. Then, go to the Gemini page for macOS and find the application download option. Once the download is complete, the installer file will be saved to your computer's Downloads folder.
-
Step 1: Open Safari or Chrome on your MacBook.
-
Step 2: Access the official Gemini download page for macOS.
-
Step 3: Find the button to download the Gemini app for Mac.
-
Step 4: Press the download button and wait for the process to complete.
-
Step 5: Open Finder and access the Downloads folder .
-
Step 6: Find the Gemini file you just downloaded.
After seeing the installation file, you don't need to open Gemini immediately from the Dock or Launchpad. First, install the application into the correct folder on your MacBook. The subsequent steps are quite simple and similar to installing many other applications on macOS.

4. Detailed instructions on installing Gemini on MacBook
4.1. Open the Gemini installation file.
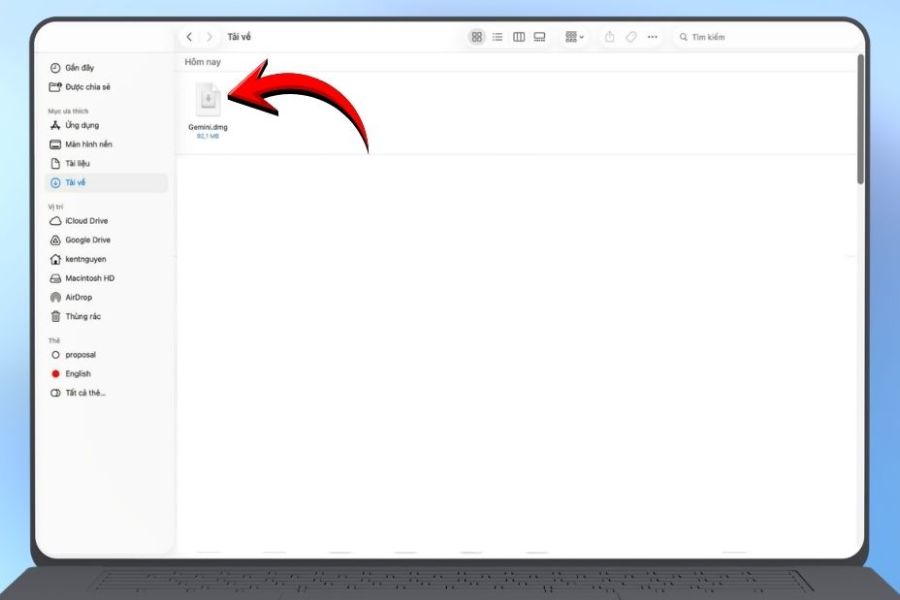
First, open Finder and select Downloads in the left sidebar. Locate the Gemini installation file you just downloaded. This file may be in DMG format, commonly used for distributing applications on macOS.
Double-click the file to open it. After a few seconds, macOS will display the installation window with the Gemini icon and the Applications folder. This is where you need to place the application to complete the installation process.
4.2. Drag Gemini into Applications
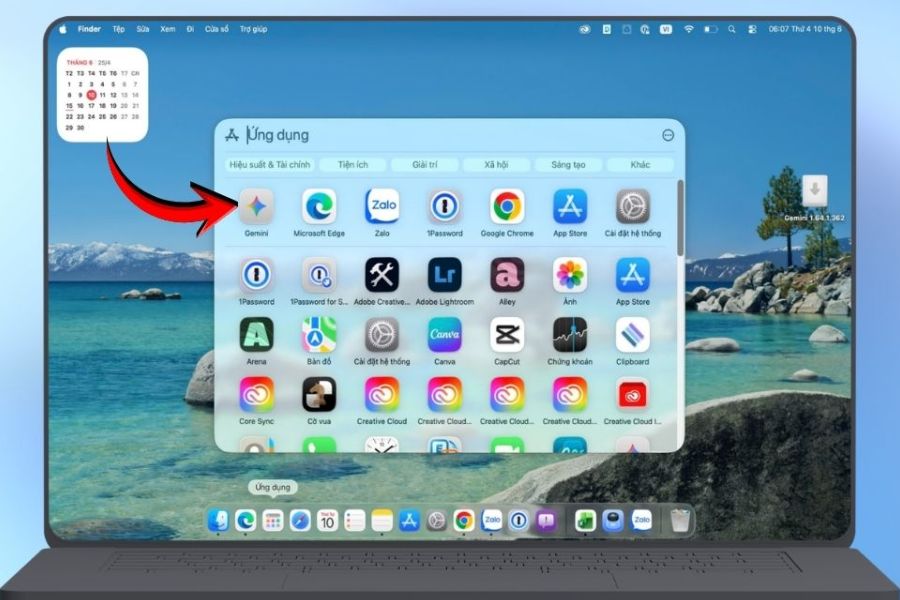
In the settings window, you will see the Gemini icon and the Applications folder . Drag and drop the Gemini icon into the Applications folder.
The copying process may take a short time. Once complete, Gemini will be saved to your system, and you can close the installation window. If desired, you can also delete the DMG file in Downloads to free up some storage space.
4.3. Opening Gemini for the first time
Next, open Finder and select Applications . Find the Gemini icon and double-click to launch it. This is the first time the application runs on a MacBook, so macOS may display additional security confirmation messages.
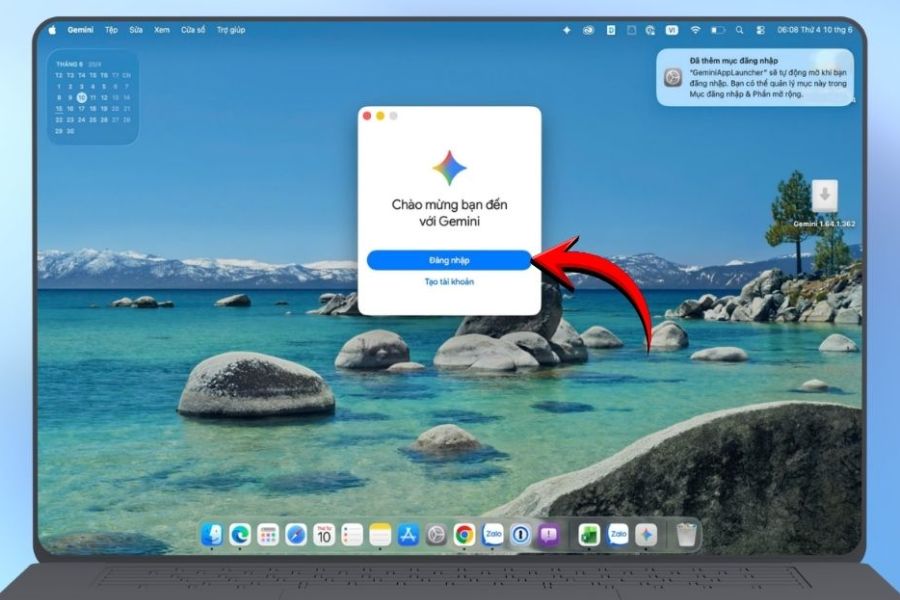
If a confirmation prompt appears asking you to open the app, double-check the app name before proceeding. Once Gemini is successfully launched, you will be taken to the login screen.
5. Log in and set up Gemini on your MacBook.
After opening Gemini for the first time, the app will ask you to sign in to begin using it. You can use your familiar Google account. If you frequently use Gmail, Google Drive, or other services in the Google ecosystem, using your primary account will make the process more convenient. On the welcome screen, select Sign in and follow the on-screen instructions. During the setup process, Google may ask you to confirm some information related to your account, terms of use, or privacy. The basic steps include:
-
Open the Gemini app on your MacBook.
-
Select Log in .
-
Enter the Google account you want to use.
-
Verify your account if the system prompts it.
-
Read the information regarding terms and privacy policy.
-
Select Use Gemini to complete the setup.
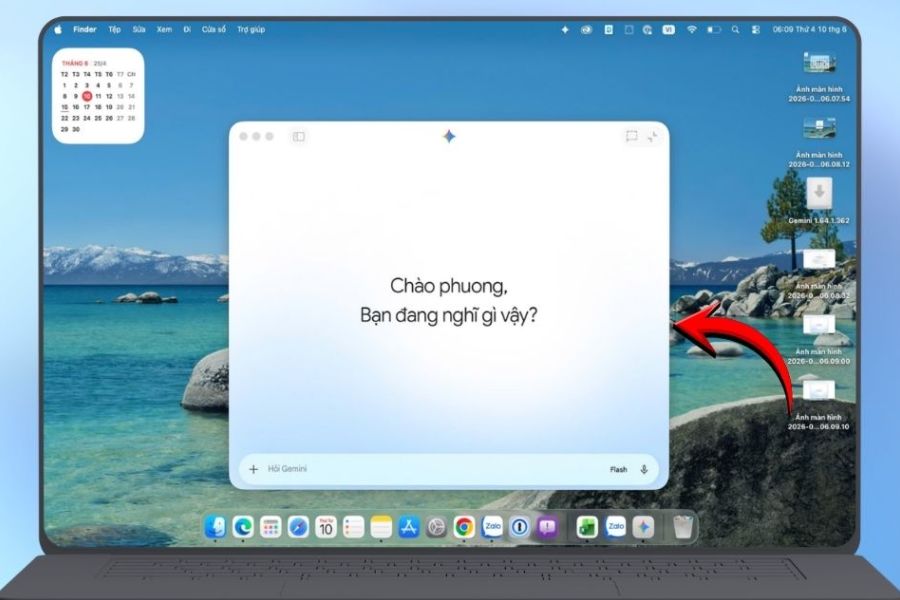
Once completed, the main Gemini interface will appear. From here, you can directly enter your question into the chat box and start using the AI. If you are already familiar with the web version of Gemini, you won't need much time to get used to the application interface.
@old
6. Tips for using Gemini more effectively on your MacBook
Successful setup is just the first step. To make Gemini a truly useful work assistant, you should build a usage pattern that suits your daily needs. Instead of asking overly general questions, provide Gemini with context, goals, and specific requirements. The clearer the command, the closer the results will be to what you want. You should also take advantage of Gemini's multitasking capabilities when working on your MacBook. For example, when writing documents, studying, or preparing presentations, you can ask the AI to suggest structure, explain concepts, or provide guidance. Here are some simple tips you can apply right away:
-
Write a specific request: Clearly state what you want Gemini to do instead of just asking a short question.
-
Provide context: Inform the AI of the goal, target audience, or use case.
-
Break down the work: For long tasks, ask Gemini to handle them in parts.
-
Verify the information: Do not take every AI answer as the absolute correct answer.
-
Take advantage of multitasking: Gemini can be used alongside other applications you're currently working on.
-
Create template commands: Save frequently used prompts to save time.
-
Keep the app updated: New versions may bring performance and feature improvements.
In particular, if you're using Gemini for professional work, you should view AI as a support assistant rather than a complete replacement for human verification capabilities. Content involving important data, documents, or information requiring a high degree of accuracy should still be cross-checked before use.
7. Some common errors when downloading Gemini for MacBook
During the Gemini download process for MacBook , users may sometimes encounter errors such as the application not opening, files not being found after downloading, or inability to complete the login process. Most problems stem from the device not meeting the requirements, an outdated operating system, or an interrupted download process.
If you encounter a problem, you can check some basic factors one by one before looking for more complex solutions:
-
Installation file not found: Check your Downloads folder in Finder.
-
Unable to open the file: Check the format and try downloading the installer again from the official source.
-
Unable to install the app: Check your Apple Silicon chip and macOS version.
-
Gemini won't start: Try closing and reopening the application, or restarting your MacBook.
-
Unable to log in: Check your internet connection and Google account information.
-
The application is unstable: Check for macOS updates and the version of Gemini you are using.
If you've followed the basic steps but the app is still malfunctioning, you shouldn't try to download unofficial versions of Gemini just because you want to install it. An unofficial installer can pose many risks to your data and device.
8. Conclusion
Without going through too many complicated steps, you can easily install Gemini on your MacBook and start using it as a standalone application. From checking the chip and macOS, downloading the installer, adding Gemini to Applications, to logging in with your Google account, the entire process is quite intuitive if done in the right order. The most important thing is to check device compatibility before downloading and always prioritize official sources. Once Gemini is running smoothly, you can leverage AI for various needs such as learning, content writing, finding ideas, explaining information, or assisting with work tasks. Hopefully, with this quick and detailed A-to-Z guide on how to download Gemini for MacBook , you can complete the installation process at home without needing complicated technical procedures. With just a few simple steps, your familiar MacBook will have an AI assistant ready to help you whenever needed.





















VIP Products








Best Selling Products
Genuine Adobe Illustrator account
99 USD
Freepik Premium Account
59 USD
Upgrade genuine Capture One account
120 USD
Autodesk All App Account Copyright
120 USD
Adobe Premiere Pro Account
99 USD
Genuine Cheap Canva Pro
39 USD
Plugin Retouch4me
69 USD
Windows 10 & 11 Pro Key
36 USD
Upgrade Duolingo Super
29 USD
Copyright Adobe Lightroom Account
59 USD
Adobe Photoshop Copyright - Full App
120 USD
Capcut Pro 1 Year
39 USD
Upgrade Genuine Office 365
49 USD
ChatGPT Plus Account (GPT-4)
16 USD
MidJourney Account
29 USD