Best Selling Products

Plugin Retouch4me
69 USD

ChatGPT Plus Account (GPT-4)
16 USD

Windows 10 & 11 Pro Key
36 USD

Freepik Premium Account
59 USD

Copyright Adobe Lightroom Account
59 USD

Adobe Photoshop Copyright - Full App
120 USD

Upgrade Genuine Office 365
49 USD

Upgrade genuine Capture One account
120 USD

Genuine Cheap Canva Pro
39 USD

Autodesk All App Account Copyright
120 USD

Capcut Pro 1 Year
39 USD

Upgrade Duolingo Super
29 USD

Adobe Premiere Pro Account
99 USD

Genuine Adobe Illustrator account
99 USD

MidJourney Account
29 USD
How to professionally edit wedding photos using Lightroom: Secrets to creating artistic colors.
Nội dung
- 1. THE IMPORTANCE OF ESTABLISHING A PROFESSIONAL POST-PRODUCTION PROCESS FOR WEDDING PHOTOGRAPHY
- 2. OUTSTANDING ADVANTAGES OF EDITING WEDDING PHOTOS USING LIGHTROOM
- 2.1. Efficiently managing a massive image library
- 2.2. Ability to synchronize editing parameters
- 2.3. Using Smart Previews for Flexible Work
- 3. BASIC STEPS FOR SETTING UP WEDDING PHOTOS IN LIGHTROOM
- 3.1. Adjusting White Balance
- 3.2. Controlling Highlights and Shadows
- 4. ADVANCED COLOR COMBINATION TECHNIQUES FOR WEDDING ALBUMS
- 4.1. Using the HSL chart to refine skin tone
- 4.2. Creating a classic wedding photo style with Tone Curve
- 5. ACCESS APPVIP.AI TO OPTIMIZE POST-PRODUCTION TOOLS
- 6. USING PRESETS – THE SECRET TO BUILDING A PERSONAL BRAND
- 6.1. How to choose a preset that suits the context
- 6.2. Fine-tuning after applying the Preset
- 7. OPTIMIZE SHARPNESS AND REDUCE NOISE FOR PARTY PHOTOS
- 7.1. Using the Detail and Noise Reduction features
- 7.2. Lens Corrections
- 8. PROCESS FOR EXPORTING WEDDING PHOTO FILES FOR PRINTING
- 8.1. Setting up the sRGB color space
- 8.2. Resolution and File Format
- 9. CONCLUSION
This guide provides a detailed, step-by-step tutorial on editing wedding photos using Lightroom, from basic to advanced techniques. Discover techniques for adjusting brightness, color matching with presets, and optimizing RAW files for stunning wedding photos.
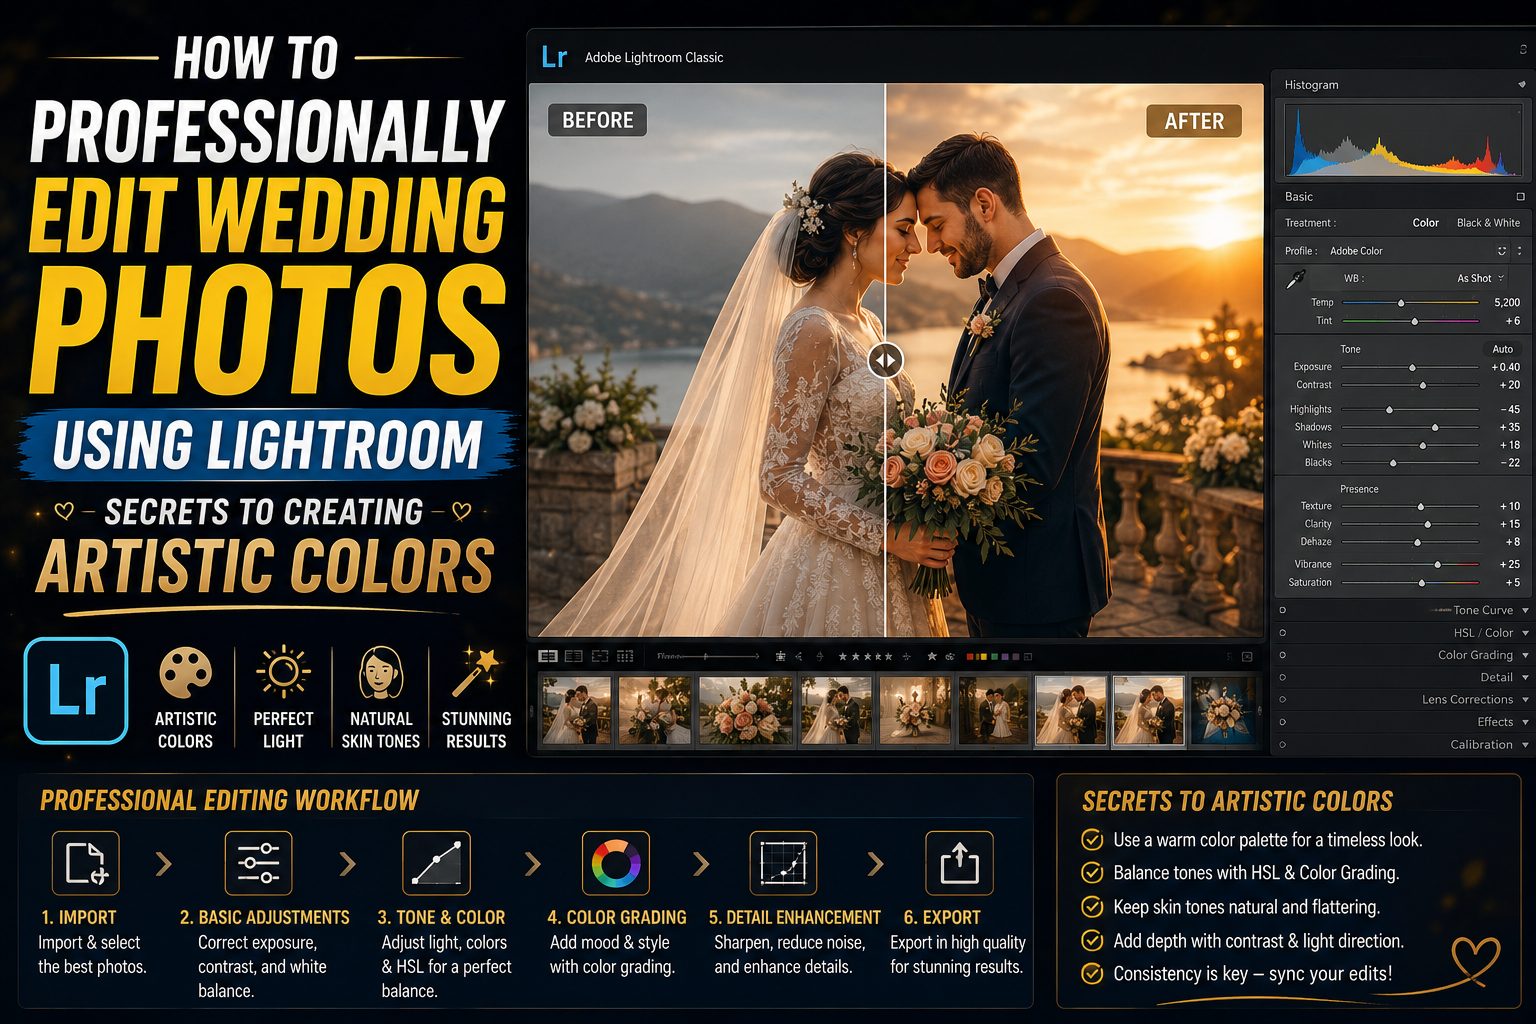
1. THE IMPORTANCE OF ESTABLISHING A PROFESSIONAL POST-PRODUCTION PROCESS FOR WEDDING PHOTOGRAPHY
In commercial photography, especially wedding photography, speed and consistency are two crucial factors determining a studio's reputation. Editing wedding photos using Lightroom isn't simply about applying pre-set color filters; it's a process that involves thoughtful consideration of light and emotion. A well-structured post-processing process allows the photographer to control image quality from the initial raw file to the final printed product. Without a clear roadmap, you can easily get overwhelmed by thousands of photos, resulting in color discrepancies between the first and last images in the album, negatively impacting client satisfaction.
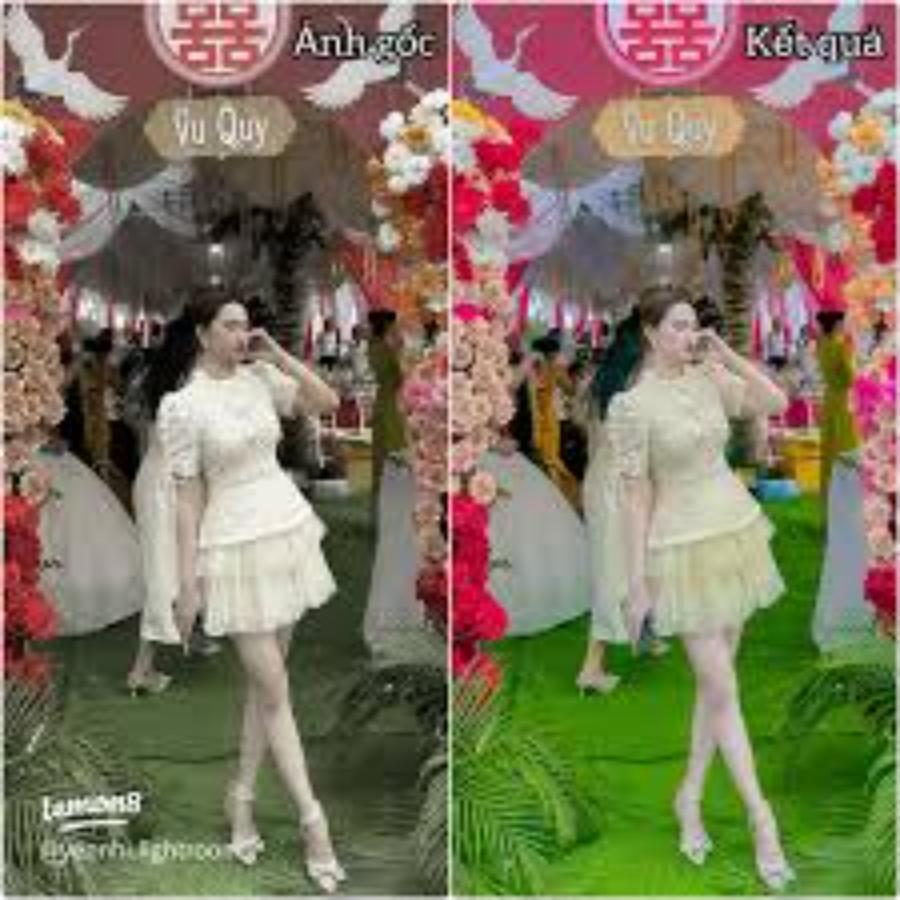
Establishing a standardized process helps photographers define their personal style – or "unique color palette." Once you understand how the control panels work, post-processing becomes a creative journey rather than a time-constrained task. Consistency in handling skin tones, contrast, and background not only creates a professional album but also builds absolute trust with couples.
2. OUTSTANDING ADVANTAGES OF EDITING WEDDING PHOTOS USING LIGHTROOM
The reason most wedding photographers choose Lightroom over other software lies in its flexibility and batch processing capabilities.
2.1. Efficiently managing a massive image library
A wedding photo album can contain thousands of images, and categorizing them is a major challenge. Lightroom allows users to flag, rate, and filter photos by camera settings in a highly organized manner. This makes it easy to select the best moments to begin the editing process without getting lost in a mountain of files.
2.2. Ability to synchronize editing parameters
In the same wedding venue or outdoor photoshoot, photos often have similar lighting conditions. Lightroom allows you to edit a sample photo completely, then synchronize all those settings across hundreds of other photos with just one click. This is the secret to maintaining color consistency throughout your entire wedding album.
2.3. Using Smart Previews for Flexible Work
A useful tip for copywriters and designers who frequently travel is the Smart Previews feature . When you select this feature during import, Lightroom creates ultra-lightweight compressed files, allowing you to edit images without directly connecting to the original hard drive. This is incredibly helpful when you want to do post-processing on your laptop while at a coffee shop or traveling. Any changes to parameters will be saved and automatically synchronized when you reconnect to the original hard drive to export the files, ensuring a continuous workflow that isn't interrupted by hardware limitations.
3. BASIC STEPS FOR SETTING UP WEDDING PHOTOS IN LIGHTROOM
Before proceeding with artistic color grading, you need to ensure that the photograph meets technical standards in terms of lighting and sharpness.
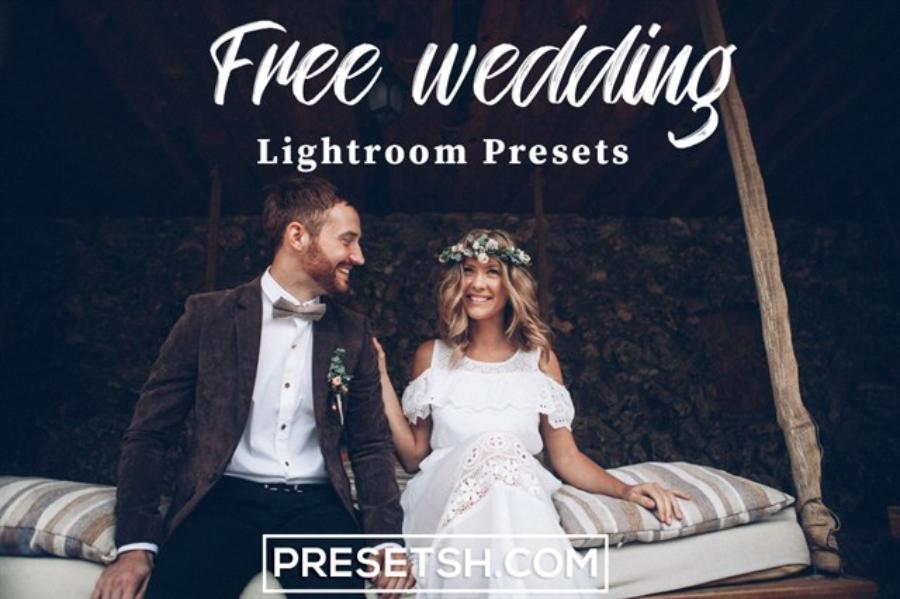
3.1. Adjusting White Balance
This is the most important step in editing wedding photos using Lightroom. The bride and groom's skin tones must be reproduced as accurately as possible. You can use the Eyedropper tool to add dots to neutral white areas on the wedding dress or the groom's shirt. Setting the correct White Balance will eliminate yellow tints from the party lights or blue tints from the outdoor environment, creating a good foundation for color correction later.
3.2. Controlling Highlights and Shadows
A white wedding dress can easily lose detail if the brightness is too high, while the groom's black suit tends to blend into the shadows. You should lower the Highlights slider to bring back the lace details on the wedding dress and increase the Shadows slider to highlight the cuts on the suit. This balance creates depth and dimension for the main subjects.
4. ADVANCED COLOR COMBINATION TECHNIQUES FOR WEDDING ALBUMS
Color is the soul of a photograph; it determines the viewer's emotions as they turn each page of the album.
4.1. Using the HSL chart to refine skin tone
Skin tone in wedding photos typically falls within the red, orange, and yellow color ranges. You need to slightly increase the luminance of the orange color to make the skin appear brighter, smoother, and more rosy. Note that you shouldn't increase it too much, as this can make the skin look flat and distort the natural structure of the pores.
4.2. Creating a classic wedding photo style with Tone Curve
The Tone Curve palette is a powerful tool for creating cinematic or vintage tones. By gently raising the black points and lowering the white points, you can create a soft, matte effect, giving a nostalgic and romantic feel to photos taken at old buildings or in pine forests.
5. ACCESS APPVIP.AI TO OPTIMIZE POST-PRODUCTION TOOLS
In today's technological era, using smart tools is key to enhancing the productivity of photographers. The website appvip.ai provides a diverse ecosystem of resources and solutions to support professional graphic design. At appvip.ai , you can find the most up-to-date knowledge about image processing software, making wedding photo editing with Lightroom simpler, faster, and more aesthetically pleasing. Combining personal skills with the resources from appvip.ai will help designers and photographers save maximum time in post-production, allowing them to focus more on creating unique angles for their clients.
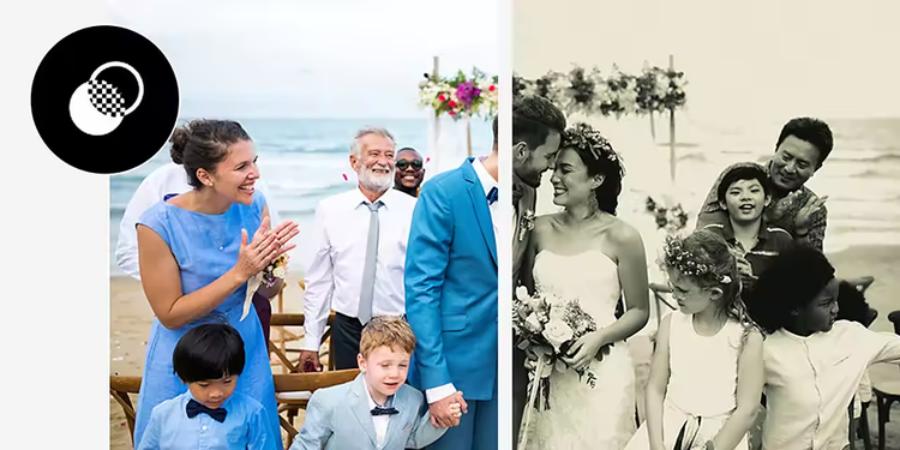
6. USING PRESETS – THE SECRET TO BUILDING A PERSONAL BRAND
Every renowned photographer has their own unique and unmistakable "color signature," and presets are how they preserve that formula.
6.1. How to choose a preset that suits the context
No single preset is universally suitable for all photos. You should create separate presets for documentary-style wedding photos (snapshots), outdoor wedding photos (pre-wedding), and restaurant reception photos. Presets for outdoor photos usually focus on processing green colors and the sky, while restaurant reception presets focus on noise reduction and balancing complex lighting.
6.2. Fine-tuning after applying the Preset
Presets are just a starting point, not the final result. After applying them, you need to adjust the Exposure and Contrast according to the brightness of each original image file. This manual adjustment helps the photo maintain its realism and avoids a "mechanical" feel caused by overuse of automatic effects.
7. OPTIMIZE SHARPNESS AND REDUCE NOISE FOR PARTY PHOTOS
Wedding photos taken in restaurants often require high ISO settings, leading to noise.
7.1. Using the Detail and Noise Reduction features
Lightroom offers a highly effective Luminance Noise Reduction slider. Zoom in on the image to 100% to observe and drag this slider until the noise disappears without blurring important details like eyes and lips. Combine this with the Masking slider in the Sharpening section (hold down Alt while dragging) to sharpen only the edges, making the image look clearer and more professional.
7.2. Lens Corrections
Wide-angle lenses often distort images at the edges, causing subjects' legs to appear elongated or pillars to look bent. Selecting "Enable Profile Corrections" in the Lens Corrections panel will allow Lightroom to automatically recognize your device and adjust the image to its correct proportions, resulting in a more stable and balanced wedding photo composition.
8. PROCESS FOR EXPORTING WEDDING PHOTO FILES FOR PRINTING
All the editing effort will be wasted if you export the file with incorrect specifications, resulting in blurry or color-inaccurate images when printing the album.
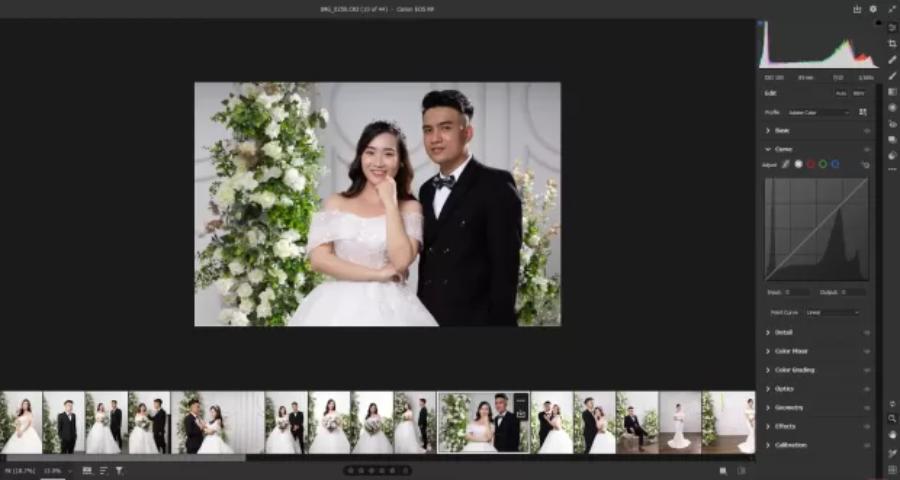
8.1. Setting up the sRGB color space
Although Adobe RGB has a wider color gamut, sRGB is the standard for most wedding album printing studios today. Exporting files in the sRGB color system ensures that the colors in the actual photos are as close as possible to what you see on your color-calibrated computer screen.
8.2. Resolution and File Format
Always set the Resolution to 300 Pixels/Inch to ensure sufficient pixel density for large-format printing. Regarding format, JPEG at 100% quality is the most common choice. However, if clients require extremely high quality for long-term storage, you might consider exporting in uncompressed TIFF format as well.
9. CONCLUSION
The journey of editing wedding photos in Lightroom is a fusion of software technology and the artist's sensibility. By mastering everything from basic steps like exposure control to complex color grading techniques using HSL and Tone Curve, you'll create captivating wedding photos that reflect your unique personality. Remember, the tools are just instruments; it's the dedication and meticulousness in every click that truly creates precious memories for couples.





















VIP Products








Best Selling Products
Plugin Retouch4me
69 USD
ChatGPT Plus Account (GPT-4)
16 USD
Windows 10 & 11 Pro Key
36 USD
Freepik Premium Account
59 USD
Copyright Adobe Lightroom Account
59 USD
Adobe Photoshop Copyright - Full App
120 USD
Upgrade Genuine Office 365
49 USD
Upgrade genuine Capture One account
120 USD
Genuine Cheap Canva Pro
39 USD
Autodesk All App Account Copyright
120 USD
Capcut Pro 1 Year
39 USD
Upgrade Duolingo Super
29 USD
Adobe Premiere Pro Account
99 USD
Genuine Adobe Illustrator account
99 USD
MidJourney Account
29 USD