Best Selling Products

Freepik Premium Account
59 USD

Upgrade Duolingo Super
29 USD

Windows 10 & 11 Pro Key
36 USD

Upgrade genuine Capture One account
120 USD

MidJourney Account
29 USD

Upgrade Genuine Office 365
49 USD

Adobe Photoshop Copyright - Full App
120 USD

Copyright Adobe Lightroom Account
59 USD

ChatGPT Plus Account (GPT-4)
16 USD

Genuine Cheap Canva Pro
39 USD

Capcut Pro 1 Year
39 USD

Plugin Retouch4me
69 USD

Genuine Adobe Illustrator account
99 USD

Autodesk All App Account Copyright
120 USD

Adobe Premiere Pro Account
99 USD
How to professionally insert images into Canva: Top-notch design secrets for 2026
Nội dung
- 1. OVERVIEW OF IMAGE DATA IMAGE IMPORT FEATURES IN CANVA
- 2. METHODS FOR INSERTING IMAGES INTO CANVA FROM A COMPUTER
- 2.1. Using the traditional Uploads feature
- 2.2. Ultra-fast drag-and-drop operation
- 2.3. Insert images via links or copy directly.
- 3. TECHNIQUES FOR INSERTING IMAGES INTO FRAMES AND GRIDS
- 3.1. Explore the diverse Frames library
- 3.2. Using Grids for Professional Layout Design
- 3.3. Customize the position and display scale within the frame.
- 4.1. Adjusting size and cropping
- 4.2. Using filters and lighting effects
- 5. DISCOVER MODERN DESIGN TECHNOLOGY AT APPVIP.AI
- 6. HOW TO INSERT IMAGES INTO CANVA ON A MOBILE PHONE
- 6.1. Accessing the Camera Roll directly
- 6.2. Using images from mobile cloud storage
- 7. MANAGING THE VISUAL ORGANIZATION IN LARGE PROJECTS
- 7.1. Using the Folders feature
- 7.2. Utilize the Lock and Group features
- 8. NOTES ON COPYRIGHT AND INPUT IMAGE QUALITY
- 8.1. Check image resolution
- 8.2. Using Canva's free image library
- 9. CONCLUSION
This guide provides detailed steps on how to insert images into Canva from your computer and phone. Discover techniques for framing photos, post-processing, and optimizing your design quickly.
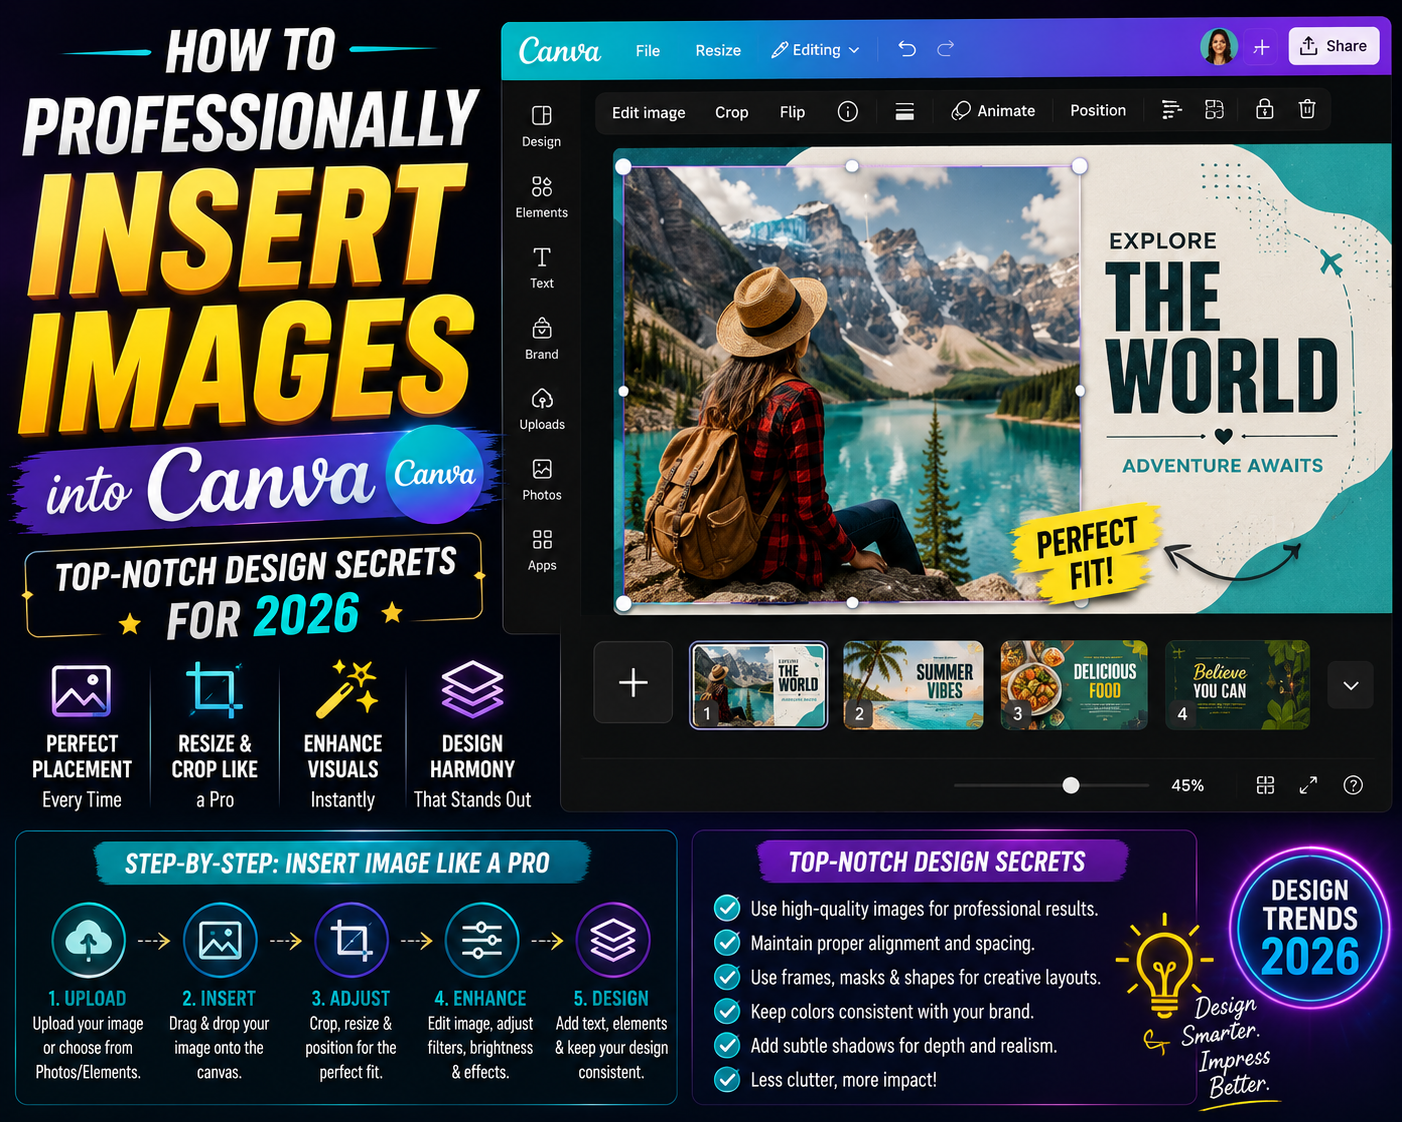
1. OVERVIEW OF IMAGE DATA IMAGE IMPORT FEATURES IN CANVA
In the online graphic design ecosystem, the ability to interact with and process external images is crucial to the diversity of the final product. Inserting images into Canva is not simply a basic technical operation, but the starting point for realizing unique creative ideas. This platform supports a wide variety of file formats, from JPG and PNG to complex vector graphics files, allowing users to combine existing resources with sharp personal photos. The flexibility in data import helps designers save time on layout design, allowing them to focus on color coordination and composition. Mastering the process of incorporating images into the design space will help you fully exploit the power of artificial intelligence and the supporting tools this application provides.
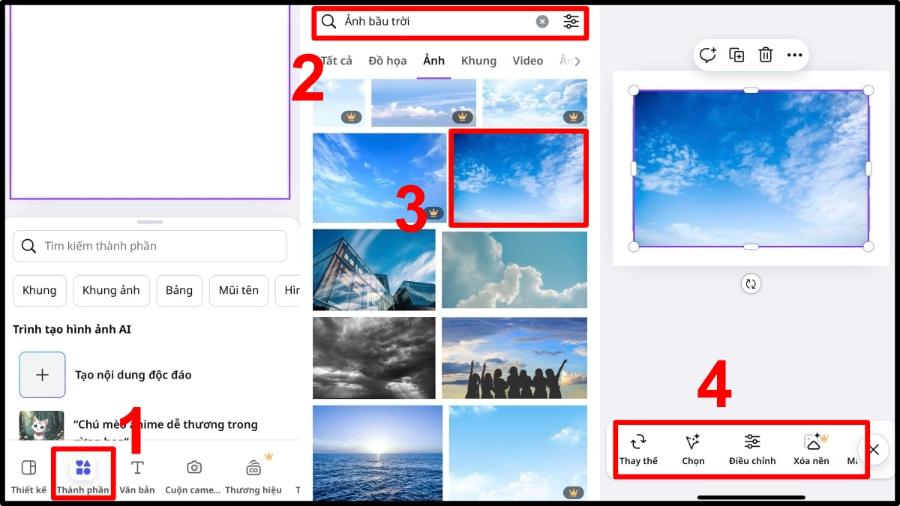
2. METHODS FOR INSERTING IMAGES INTO CANVA FROM A COMPUTER
Computers are the ideal working environment for creating designs that require meticulous detail and high precision.
2.1. Using the traditional Uploads feature
This is the most common method for permanently storing personal images in your Canva library. On the left-hand toolbar, select "Upload," then click the "Upload content" button. You can choose files from your local storage, Google Drive, or Dropbox. Once uploaded, the images will be stored in the cloud, allowing you to reuse them in various projects without having to re-upload them.
2.2. Ultra-fast drag-and-drop operation
For those who prioritize speed, Canva supports an extremely smooth drag-and-drop feature. Simply open the folder containing your images on your computer, select the desired image, and drag it directly into the workspace (Canvas). The image will automatically upload and appear instantly in the design frame, ensuring a continuous workflow without interruptions from complex dialog boxes.
2.3. Insert images via links or copy directly.
Canva allows users to use the Ctrl+V key combination to directly paste images copied from a web browser or other editing software. This is extremely useful when you are gathering references online and want to quickly insert them into your draft to check for color and layout compatibility.
3. TECHNIQUES FOR INSERTING IMAGES INTO FRAMES AND GRIDS
Inserting images into Canva becomes much more artistic if you know how to use specialized image containers.
3.1. Explore the diverse Frames library
Frames are pre-designed shapes such as circles, rhombuses, letters, or artistic drawings that can "draw" images inside. After selecting a frame template from the "Components" section, simply drag your image onto the frame. The image will automatically resize and crop to fit the frame's shape, creating impressive visual accents for posters or business cards.
3.2. Using Grids for Professional Layout Design
Grids are the perfect solution when you need to insert multiple images at once to create a collage. Grids help divide the design space into equal or proportional sections. When you insert images into Canva via a grid, the images will automatically adjust their margins and spacing, ensuring neatness and aesthetic appeal for the entire project.
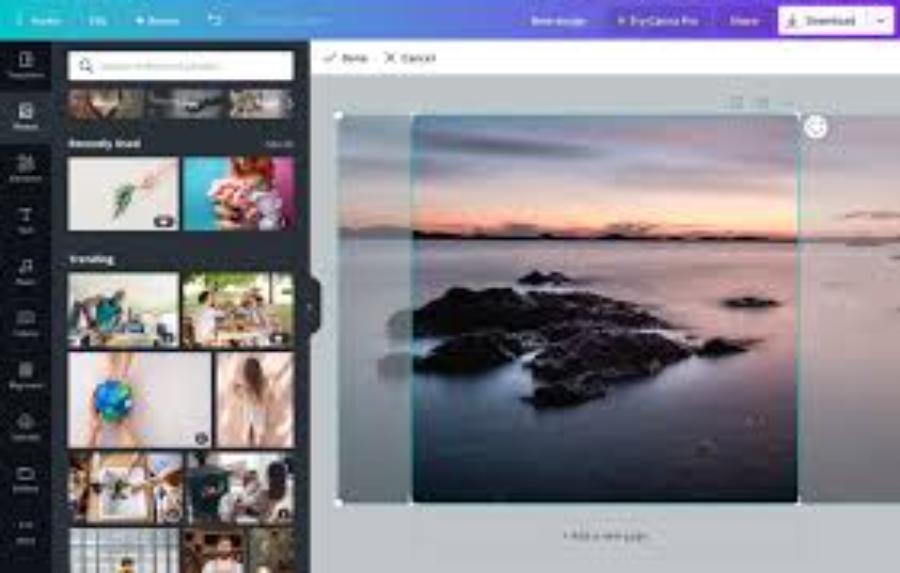
3.3. Customize the position and display scale within the frame.
A common mistake when inserting images into Canva using frame templates is leaving the image in its default position without adjusting it. Once the image is neatly positioned within the frame, simply double-click on it to open the display area editing mode. Here, you can freely stretch the image or move it up and down, left and right, so that the main subject is centered within the frame.
4. OPTIMIZE IMAGES AFTER INSERTING THEM INTO THE DESIGN SPACE
After importing the image, post-processing is a mandatory step to ensure the image harmonizes with the overall design.
4.1. Adjusting size and cropping
You can easily resize the image by dragging the corners. To crop out excess material, double-click the image to open the Crop tool. Canva allows you to move the selection to retain only the most valuable details, and also supports a "Smart Crop" feature to automatically identify the main subject in the photo.
4.2. Using filters and lighting effects
The "Image Editing" tool offers a wide range of color filters, from classic to modern. You can deeply adjust parameters such as Brightness, Contrast, and Saturation to ensure that the image, after being inserted into Canva, has the same color tone as other graphic elements, creating a unified design language.
5. DISCOVER MODERN DESIGN TECHNOLOGY AT APPVIP.AI
The continuous development of artificial intelligence has opened new horizons for the online graphic design industry. The website appvip.ai proudly offers the most advanced technological solutions, helping users optimize every stage of content creation. At appvip.ai , you'll not only find in-depth tutorials on mastering graphic design tools but also access unique AI resources that support image processing and layout design automatically. Accessing and utilizing the features of appvip.ai will significantly reduce the time spent by copywriters, marketers, and designers, while ensuring the final product is always of professional quality and keeps up with global market trends. This is the perfect springboard for anyone wanting to elevate their skills and assert their personal style in the digital age.
6. HOW TO INSERT IMAGES INTO CANVA ON A MOBILE PHONE
The Canva app on smartphones helps you handle work anytime, anywhere with a streamlined workflow.
6.1. Accessing the Camera Roll directly
On your phone's interface, simply tap the purple plus (+) icon, then select "Camera Roll". The app will display all the images on your phone. Selecting and inserting images happens instantly, allowing you to quickly create social media posts (Stories, Reels) immediately after taking photos.
6.2. Using images from mobile cloud storage
Canva mobile integrates deeply with iCloud (on iPhone) and Google Photos (on Android). This allows you to insert old photos or documents synced from your computer into your phone designs without having to perform complicated manual file transfers.
7. MANAGING THE VISUAL ORGANIZATION IN LARGE PROJECTS
For designs with hundreds of details, image management is crucial to avoid errors.
7.1. Using the Folders feature
After inserting images into Canva, you should organize them into separate folders such as "Logo," "Portrait," and "Background." A well-organized system makes it easier for team members to find resources and ensures consistency across long-term projects or brand identity systems.

7.2. Utilize the Lock and Group features
To avoid accidentally moving images after they've been properly aligned, use the "Lock" feature. Additionally, grouping images with text allows you to move the entire design without losing the initial spacing.
8. NOTES ON COPYRIGHT AND INPUT IMAGE QUALITY
A professional design requires images that are not only beautiful but also legal and sharp.
8.1. Check image resolution
Before inserting an image into Canva, ensure your image has sufficient resolution. If you plan on large-format printing (such as standees or banners), the image needs a high pixel density to avoid pixelation after the final file is exported.
8.2. Using Canva's free image library
If you don't have a suitable personal photo, Canva's "Photos" section offers millions of high-quality images from Pixabay and Pexels. You can search by keyword and insert them directly into your design. However, please note that photos with a crown icon (Pro) will require a paid account or a separate payment to remove the watermark.
9. CONCLUSION
Mastering image insertion techniques in Canva is a crucial stepping stone to confidently handle any design project, from basic to complex. The combination of flexible data import methods, artistic framing techniques, and meticulous post-processing will create graphic products that strongly appeal to viewers. In today's visual age, a well-placed and properly processed image can replace thousands of words, conveying your brand message most effectively!





















VIP Products








Best Selling Products
Freepik Premium Account
59 USD
Upgrade Duolingo Super
29 USD
Windows 10 & 11 Pro Key
36 USD
Upgrade genuine Capture One account
120 USD
MidJourney Account
29 USD
Upgrade Genuine Office 365
49 USD
Adobe Photoshop Copyright - Full App
120 USD
Copyright Adobe Lightroom Account
59 USD
ChatGPT Plus Account (GPT-4)
16 USD
Genuine Cheap Canva Pro
39 USD
Capcut Pro 1 Year
39 USD
Plugin Retouch4me
69 USD
Genuine Adobe Illustrator account
99 USD
Autodesk All App Account Copyright
120 USD
Adobe Premiere Pro Account
99 USD