Best Selling Products
Autodesk All App Account Copyright
120 USD
Genuine Cheap Canva Pro
39 USD

Copyright Adobe Lightroom Account
59 USD

Capcut Pro 1 Year
39 USD
Upgrade Duolingo Super
29 USD

ChatGPT Plus Account (GPT-4)
16 USD
Genuine Adobe Illustrator account
99 USD

Freepik Premium Account
59 USD

MidJourney Account
29 USD
Upgrade genuine Capture One account
120 USD
Adobe Photoshop Copyright - Full App
120 USD
Plugin Retouch4me
69 USD

Windows 10 & 11 Pro Key
36 USD
Adobe Premiere Pro Account
99 USD
Upgrade Genuine Office 365
49 USD
How to quickly and easily insert links into Canva, even for beginners.
Nội dung
- 1. How to insert links into text content in Canva
- 2. How to add links to images and icons in Canva
- 3. Instructions on how to edit and delete embedded links in Canva
- 3.1. How to edit a created link
- 3.2. How to completely remove inserted links
- 4. Important notes when inserting links in Canva
- 5. Conclusion
When designing CVs, personal profiles, portfolios, or online presentations, inserting links is a crucial step that makes the content more professional and convenient. Instead of copying each link individually, viewers can simply click on the linked text, image, or icon to access the relevant website, social media, or document. This feature is especially useful for those who frequently use Canva for job applications, advertising banners, or service introductions, as it allows for quick information sharing and a convenient user experience. In this article, let''s explore how to insert, edit, and delete links in Canva with simple steps, even for beginners.
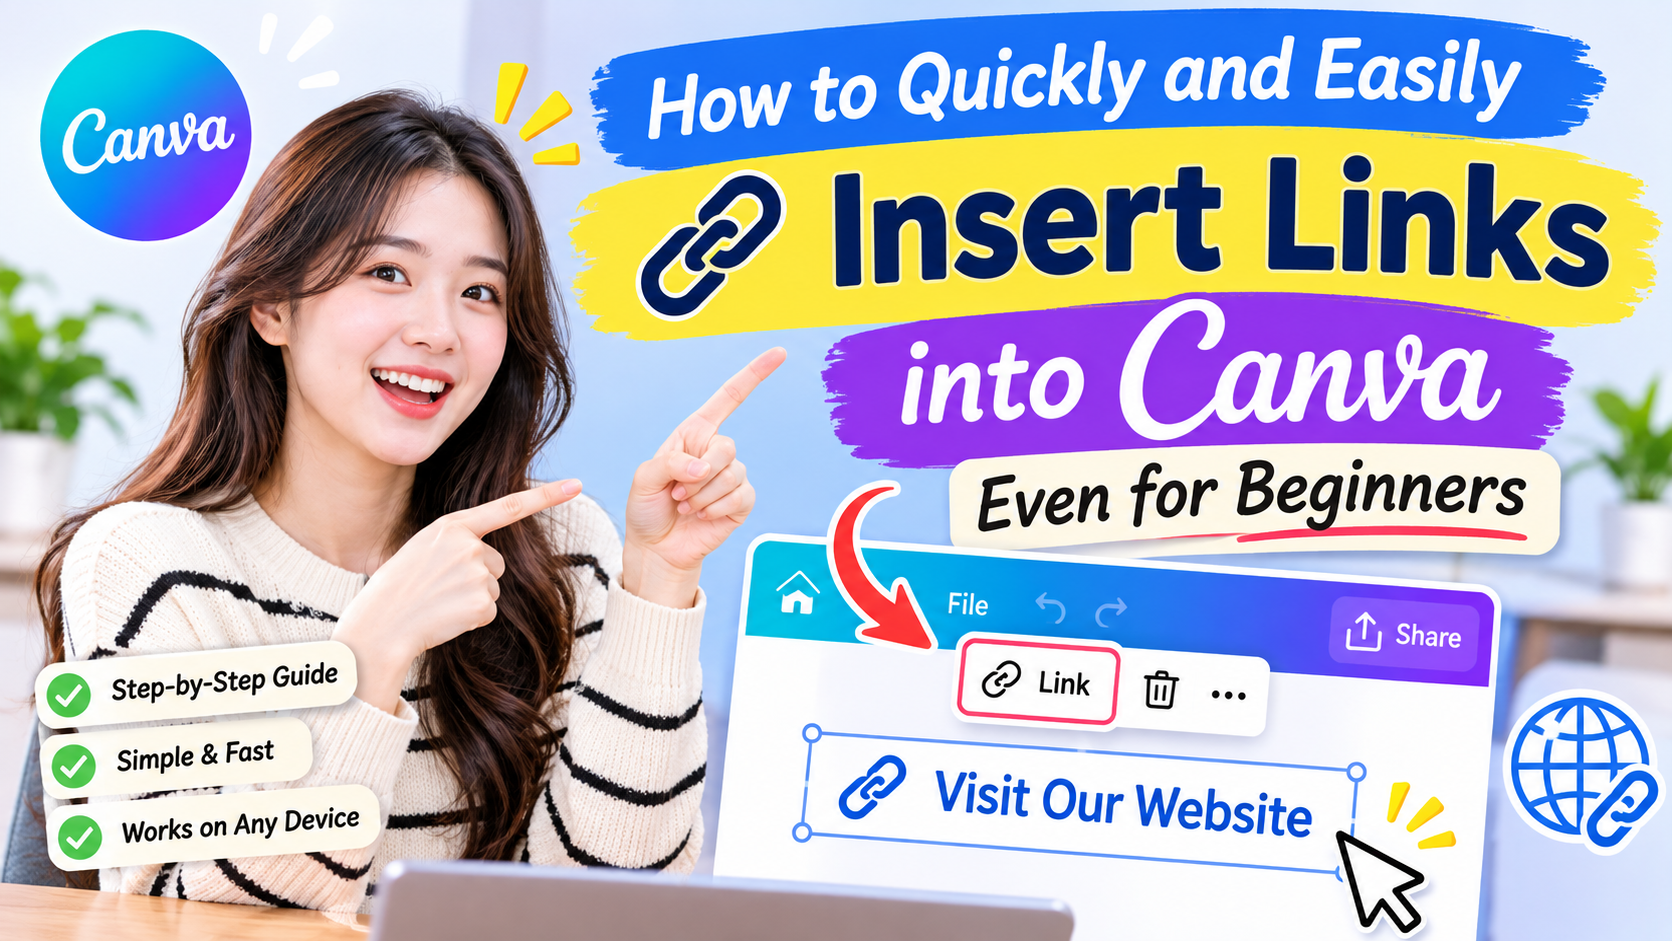
1. How to insert links into text content in Canva
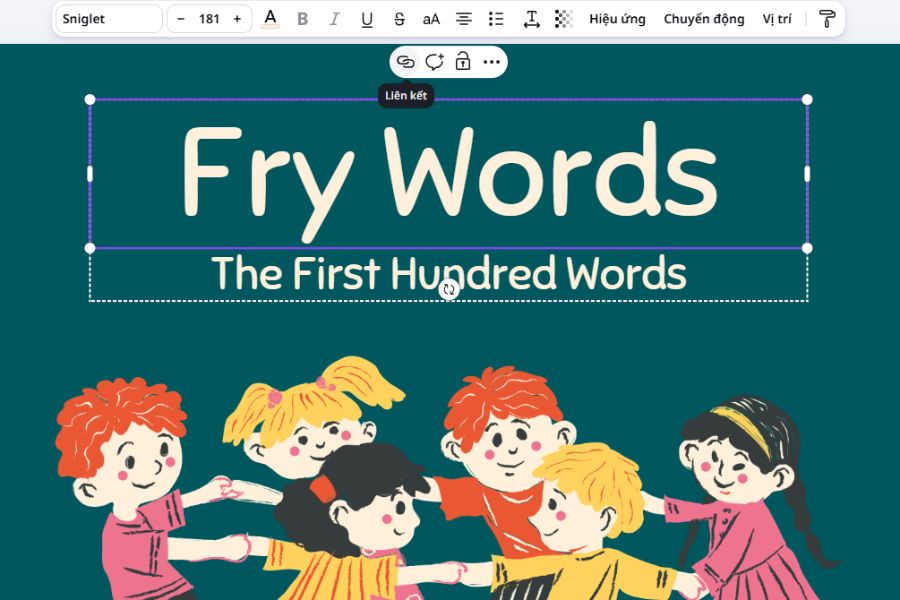
Step 1: Select the text you want to insert the link into.
First, open your design in Canva and find the text you want to link to. Click on the text box to select the object. If you only want to link to a specific phrase, such as "View portfolio" or "Visit website," double-click on the text box and highlight that specific text. This ensures the link is attached to the desired content instead of the entire paragraph. You should choose short, easy-to-understand phrases so viewers can immediately identify where to click.
Step 2: Open the Linking tool in Canva.
After selecting the text, you can use the keyboard shortcut Ctrl + K on Windows or Cmd + K on Mac to quickly open the link insertion feature. Alternatively, you can find the chain link icon on the Canva toolbar or right-click to see the Link option if it appears. This is a significant time-saving feature, especially when you need to attach multiple links within the same document. If you can't find the tool, check that you have selected the correct text box or section you want to link.
Step 3: Enter the URL you want to use.
When the link input field appears, copy the website or online page address you want viewers to access, then paste it into the URL field. For example, if you want to direct readers to a job page, you can use a link to your personal portfolio. If designing a promotional document, you can insert a link to a sales website or service registration page. Before saving, double-check the address to avoid missing characters, incorrect links, or using a URL that is no longer working. An accurate link will help viewers access information quickly and avoid unwanted experiences.
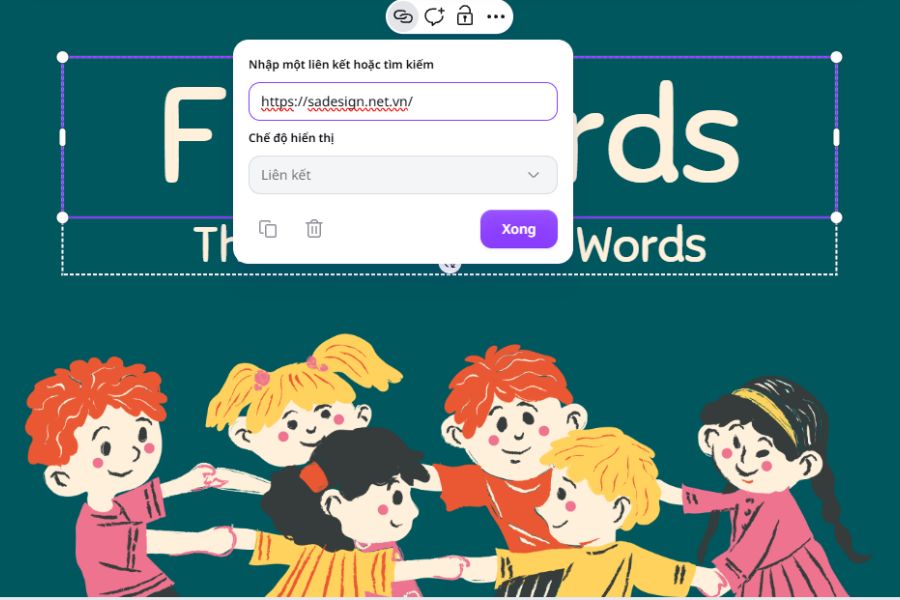
Step 4: Save the link and check the results.
After entering the URL, press Enter or select Done to complete the process. Depending on Canva's interface and display, the linked text may appear underlined or have a link icon for easy identification. However, seeing this indicator alone is not enough to guarantee the link is working correctly. You should open the preview or export the design in a suitable format to verify. If the link leads to the correct page, you can continue refining the design and prepare to share it with viewers.
2. How to add links to images and icons in Canva
Step 1: Select the image or icon you want to link to.
Open Canva Design and click directly on the image, logo, icon, or graphic element you want to link to. If the design page has multiple overlapping objects, double-check to select the correct element to manipulate. For example, when designing an online business card, you might choose a phone icon to link to a contact form or a logo to direct users to the company's homepage. Identifying the correct object from the start will help you avoid linking to the wrong element and prevent having to redo the process multiple times.
Step 2: Enable the Links feature.
After selecting the image or icon, press Ctrl + K on Windows or Cmd + K on Mac. You can also find the chain link icon on the toolbar or open the right-click menu if there is a Link option. If you don't see this tool, check that the element is correctly selected. If the image is inside a group of objects, you may need to select that element separately before performing the operation. The same method applies to many different types of images and icons in Canva.
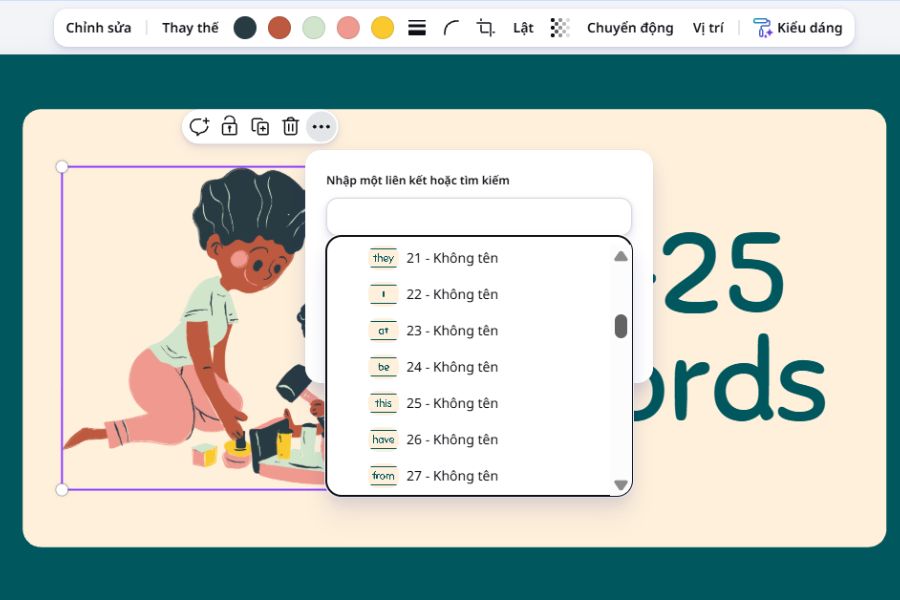
Step 3: Paste the destination link into the link box.
When the URL input field appears, paste the link you want to associate with the image. For example, if you choose an Instagram icon, you should enter the link to the specific Instagram page you want to promote. If you choose an image representing a service, you can direct viewers to the details page or registration website. The link should be directly related to the image's content so viewers don't feel unexpectedly redirected. For designs serving business purposes, you should also prioritize using the official website or a trustworthy landing page.
Step 4: Confirm and test the link.
Press Enter or select Done to save the link. After completion, double-check the image or icon that has been linked. You should publish the design in a format that supports linking, such as PDF, or share it online in a suitable format. Next, open the file or shared link and try clicking on the image to confirm the result. Note that embedding a link in an image does not mean the link will work when the image is exported as PNG or JPG. Therefore, choose the sharing method that suits your purpose.
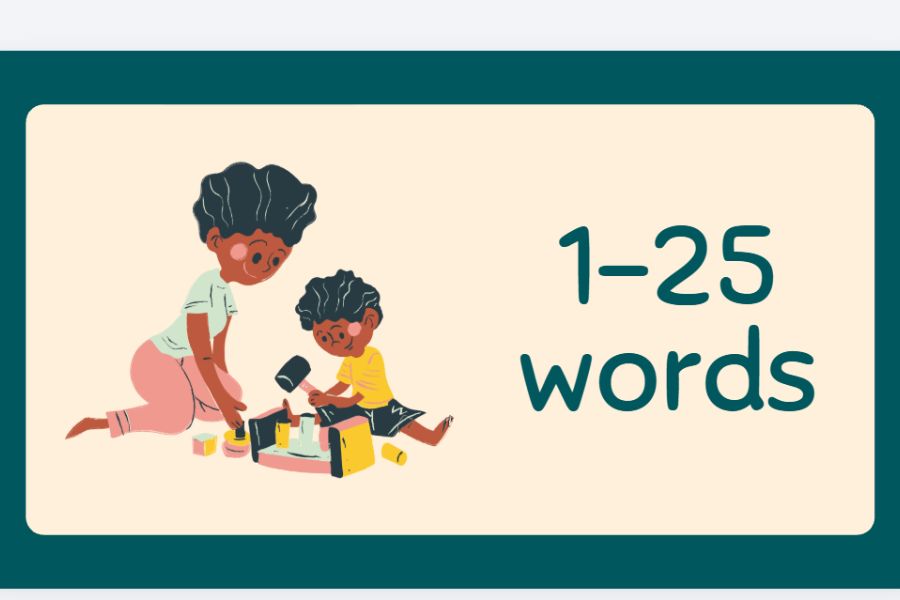
3. Instructions on how to edit and delete embedded links in Canva
During the design process, you may need to change the URL due to website updates, changes in social media addresses, or outdated links. Instead of deleting all the text and images and starting over, you can edit or remove the links directly in Canva. This saves time while preserving the layout and formatting of your design.
3.1. How to edit a created link
-
Step 1: Select the text, image, or icon containing the link you want to change. If the link is only attached to a phrase within the paragraph, select that specific phrase.
-
Step 2: Open the Links tool using the keyboard shortcut Ctrl + K on Windows or Cmd + K on Mac. You can also use the chain link icon on the toolbar if this option appears.
-
Step 3: Select the current URL in the link box, replace it with the new link, and then press Enter or Done to save the changes.
-
Step 4: Open the preview or check the exported file to ensure the new link leads to the correct page. If the path is incorrect, return to the Links tool and adjust it.
3.2. How to completely remove inserted links
-
Step 1: Select the object or text containing the link you want to remove. For text, be sure to select the specific text being linked.
-
Step 2: Open the Links feature using Ctrl + K or Cmd + K, or find the link tool on the toolbar.
-
Step 3: Click the trash can icon or select the delete link option if the interface displays it. This will remove the URL from the object but will not delete the design content.
-
Step 4: Double-check the text or image to ensure the link has been removed. If necessary, you can continue editing the colors, fonts, or layout as usual.

4. Important notes when inserting links in Canva
To ensure your links function correctly and are easily accessible to viewers, you should check several factors before finalizing the design. By paying attention to file format, URL quality, and link placement, you can avoid many common errors when sharing CVs, portfolios, or documents online.
-
Choose the appropriate file export format: If you want to retain clickable links, prioritize exporting the design as a PDF or using an interactive online sharing format. Static image formats like PNG, JPG, and video MP4 typically do not retain clickable links embedded in the design.
-
Verify the link before sharing: Open the URL to ensure the landing page is working and displaying the correct content. If using a link to an online document, also check access permissions so recipients don't receive a permission request message.
-
Place links in easily recognizable locations: For text, prioritize concise phrases such as "View portfolio," "Visit website," or "Contact us now." For images, choose icons with clear meaning so viewers can easily understand the link's function.
-
Avoid including too many links: A design with too many links will make it difficult for viewers to focus on the main information. You should only include links in necessary places, such as the contact section, references, or important navigation buttons.
-
Check the design after downloading: Don't just check it in the Canva editing interface. Open the PDF file after downloading or access the online share to try clicking on each link. This is a simple way to detect broken links early before sending it to clients, partners, or employers.
-
Distinguish between links within a design and links for sharing a design: Links embedded in text or images take viewers to a chosen landing page. Meanwhile, Canva sharing links open your design itself. These two types of links serve different purposes, so clearly define your needs before sending them to others.
5. Conclusion
Inserting links into Canva isn't complicated, even for beginners. Simply select the correct text or image, open the Link tool, enter the URL, and save to complete the process. Additionally, editing and deleting links is very convenient, allowing you to update your design without starting over. Whether creating a CV, portfolio, company profile, or presentation, you should choose appropriate links, check the content before sharing, and use file formats that support linking. When applied correctly, this feature will make your Canva designs more intuitive, professional, and convenient for viewers. Hopefully, this guide will help you confidently use Canva and create beautiful and useful publications for your studies and work.










VIP Products



Best Selling Products
Autodesk All App Account Copyright
120 USD
Genuine Cheap Canva Pro
39 USD
Copyright Adobe Lightroom Account
59 USD
Capcut Pro 1 Year
39 USD
Upgrade Duolingo Super
29 USD
ChatGPT Plus Account (GPT-4)
16 USD
Genuine Adobe Illustrator account
99 USD
Freepik Premium Account
59 USD
MidJourney Account
29 USD
Upgrade genuine Capture One account
120 USD
Adobe Photoshop Copyright - Full App
120 USD
Plugin Retouch4me
69 USD
Windows 10 & 11 Pro Key
36 USD
Adobe Premiere Pro Account
99 USD
Upgrade Genuine Office 365
49 USD