Best Selling Products

Adobe Premiere Pro Account
99 USD

Autodesk All App Account Copyright
120 USD

Genuine Cheap Canva Pro
39 USD

Windows 10 & 11 Pro Key
36 USD

Upgrade Duolingo Super
29 USD

Upgrade genuine Capture One account
120 USD

Copyright Adobe Lightroom Account
59 USD

Genuine Adobe Illustrator account
99 USD

Adobe Photoshop Copyright - Full App
120 USD

ChatGPT Plus Account (GPT-4)
16 USD

Capcut Pro 1 Year
39 USD

MidJourney Account
29 USD

Plugin Retouch4me
69 USD

Upgrade Genuine Office 365
49 USD

Freepik Premium Account
59 USD
How to recover deleted photos from a memory card and effective preventative measures.
Nội dung
- 1. Do deleted photos really disappear forever?
- 2. Two ways to recover photos from a memory card.
- 2.1 Self-recovery using specialized software
- 2.2 Utilize professional data recovery services.
- 3. Develop habits to avoid losing photos again.
- 3.1 Arrange memory cards in a clear order.
- 3.2 Planning for backup and recovery
- 3.3 Check carefully before deleting or formatting
- 3.4 Choose memory cards from reputable brands.
- 3.5 Avoid buying cheap memory card readers.
- 4. Conclusion
Anyone who has accidentally deleted a photo folder or formatted a memory card without backing it up knows the feeling: your heart races, your hands go cold, and your mind races trying to salvage the situation. The good news is that it''s not always hopeless. In many cases, photos you thought were lost are still safely stored on your memory card, waiting to be recovered. This article will help you understand why this happens, what to do right now, and how to build a workflow to avoid experiencing that panic again.
1. Do deleted photos really disappear forever?
Many people believe that when you delete a photo from a memory card, it's gone forever. The reality is more complex. Memory cards operate based on a file allocation table, often called the File Allocation Table, or FAT. This table is like the table of contents of a book, telling the system where each image file is located on the card. When you delete photos or format the card, what's usually deleted is only the table of contents; the data for each individual photo remains until it's overwritten by new data.
That's why a memory card might appear completely blank when you plug it into a computer via a card reader, but the information is actually still there, hidden underneath. As long as the data hasn't been overwritten, recovery is still very realistic. Even if you accidentally format the card in the camera, the chances of recovering your photos are still quite good, provided you haven't taken any more pictures with that card.

However, it's important to acknowledge that not all cases are recoverable. If the data has been overwritten, or the file was deleted a long time ago and the card has been used continuously since then, the chances are very slim. Other situations, such as a damaged card, corrupted file structure, or physical damage to the card, are more difficult to handle, but sometimes it's still possible to recover some or all of the data. The most important principle is to act quickly and stop all write operations to the card as soon as you realize the problem.
2. Two ways to recover photos from a memory card.
The chances of recovery depend on how the photos were lost and what has happened to the memory card since then. Basically, you have two options. The first is to use data recovery software, which is the simplest and most cost-effective option, suitable for misformatted cards, accidentally deleted photos, and some common card errors. The second is to send the card to a professional data recovery service, which is much more expensive but sometimes the only chance, especially if the card is physically damaged.
2.1 Self-recovery using specialized software
This method consists of four steps, and the order in which they are performed largely determines the outcome.
1. Stop using the memory card immediately.
Do not take any more photos with this card, and do not plug the card into a computer until you are ready to begin the recovery process. Each additional data entry increases the risk of old photos being permanently overwritten. If the card has a write lock switch on the side, flip it to the lock position to prevent any unintended writing.
2. Choose photo recovery software.
There are dozens of programs with varying prices and features. Start by checking if your memory card manufacturer offers a dedicated tool. These tools are often free and optimized for the specific card type, such as Lexar's Lexar Recovery Tool. If your manufacturer doesn't offer one, you still have many reliable options. EaseUS Data Recovery Wizard supports both Windows and Mac, its free version allows you to recover about 2 GB of data, and it can handle formatted, faulty, or partitioned cards. Stellar Photo Recovery is easy to use, handles both deleted and corrupted files, and offers a free trial scan to see if anything can be recovered before deciding to pay. Wise Data Recovery is a budget-friendly option, also offering 2 GB of free recovery and supporting various file types such as documents, videos, and audio. IObit Undelete is completely free; its success rate is lower than paid software, but it has a useful deep scan mode for data that has been lost for a long time. Additionally, PhotoRec is a very powerful, free, open-source tool, although its command-line interface makes it somewhat difficult to get used to.
3. Install the software and scan the card.
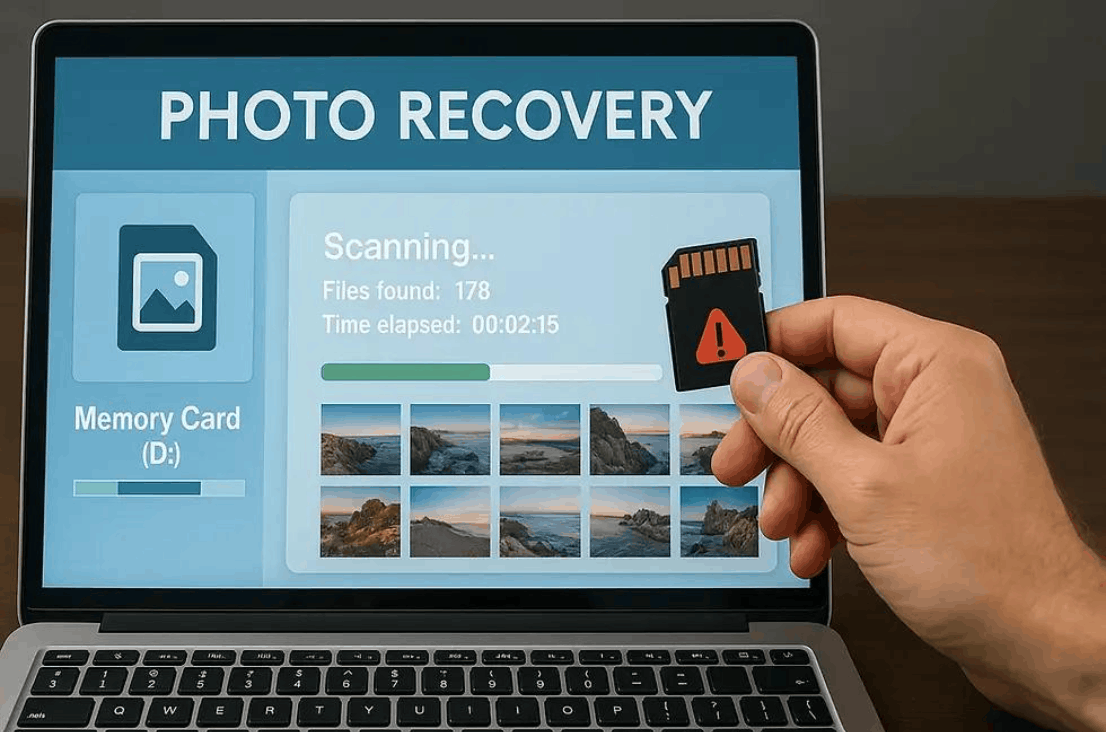
Download and install the software on your computer, insert the card into the card reader, select the file type you want to search, select the correct drive (the memory card), and follow the on-screen instructions to start scanning. If the folders on the card are still intact, select the specific folder that previously contained the photos instead of scanning the entire drive, as this will be faster and easier to find.
4. Save the recovered files.
The scanning process can take quite a while. Once complete, you can preview, select individual images, or restore the entire set. It is extremely important to save the recovered images to a different drive; absolutely do not save them back to the same card being restored. Afterwards, immediately back up these files to at least one other location to avoid having to repeat the process.
2.2 Utilize professional data recovery services.
Software is the simplest and cheapest method, but it's not always sufficient. If the software finds nothing, or the memory card is physically damaged such as broken, cracked, bent, or severely water-damaged, then professional service may be the only option. Even if the internal memory chip is intact, damage can prevent a standard card reader from recognizing the card. Professional services have specialized equipment to read directly from the chip and overcome errors that a standard computer cannot handle.
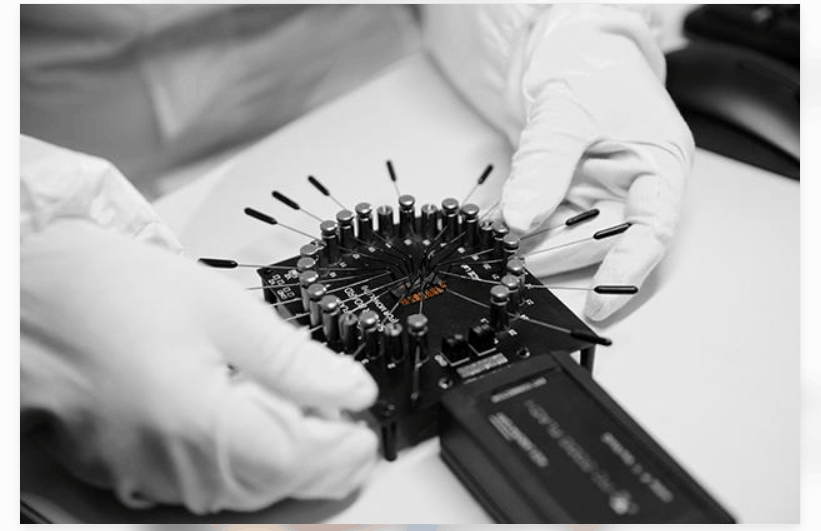
The process usually involves sending the memory card to a recovery center, receiving a quote after they assess the condition, and only proceeding with the recovery after you agree, then sending the data back to you. The cost is often quite high, sometimes in the three-digit range in US dollars, so consider the value of the photos you need to recover. Some electronics stores also offer this service; some process it in-store, while others require you to send the card elsewhere. When choosing a service provider, you should ask about their pricing policy, processing time, and whether there are any fees for data recovery. While waiting, do not attempt to open the card casing or try unproven methods, as this could cause further damage .
3. Develop habits to avoid losing photos again.
Data loss is a nuisance, time-consuming, and sometimes expensive. Some accidents are unavoidable, but most are preventable by carefully maintaining your memory card and keeping a regular backup routine. Here are five principles that should be incorporated into your workflow.
3.1 Arrange memory cards in a clear order.
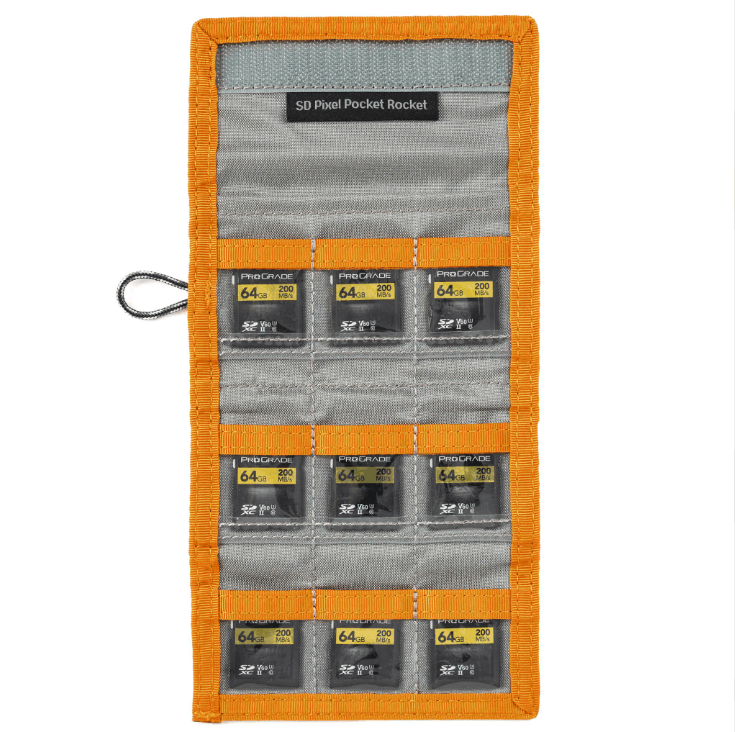
Most photo loss incidents stem from mistakes: misformatting a memory card containing unbacked photos, or losing the entire card. You can't completely eliminate human error, but you can minimize it with a simple system. Designate a separate place for blank cards and another for cards with photos taken. This separation ensures you never have to wonder if the card you have is backed up.
A sturdy memory card case, or a camera bag with dedicated card compartments, will greatly support this system. The case also protects the cards from bumps, dust, and moisture, and reduces the chances of losing them, a frustrating experience. Every photographer working in the field should have at least one such case.
3.2 Planning for backup and recovery
Back up your photos as soon as possible and make it a natural reflex in your workflow so you never skip this step. The fundamental principle is to always keep photos in at least two places at the same time. You can combine cloud storage with an external hard drive, or use two different external hard drives. Professional photographers often follow the rule of three copies, on two different storage devices, with one copy located in a different location, to protect against risks such as fire, theft, or equipment failure.
If your camera has two memory card slots, you can start backing up your footage the moment you press the shutter button. Set it to record the same file to both cards simultaneously, or have one card record RAW and the other JPEG. If one card fails, you'll still have a complete backup.
3.3 Check carefully before deleting or formatting
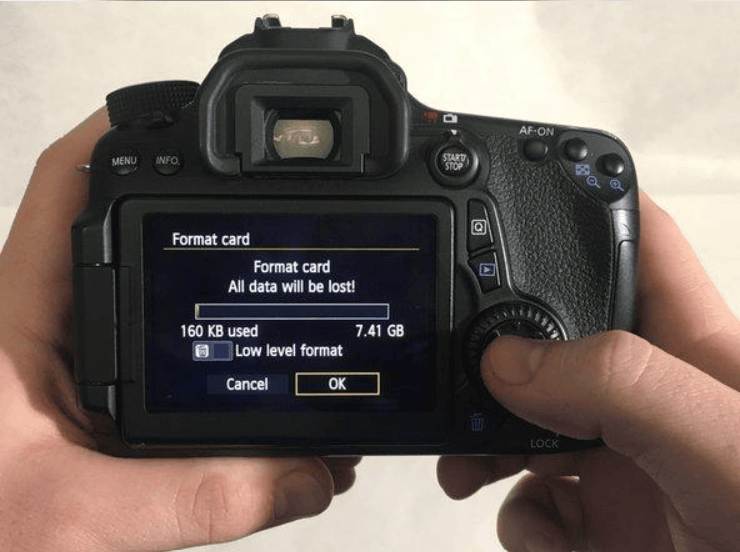
Never format a memory card before you're absolutely sure everything is safe. Before deleting or formatting, confirm that all photos have been transferred to your computer and a second backup location. A reliable way to check is to compare the number of files between the card and the destination folder, open a few random photos to ensure they aren't corrupted, and only format the card once both copies have been confirmed. It's best to format the card directly on the camera rather than on your computer, as this creates the most suitable folder structure for your device. However, always treat formatting as a last resort, not something to rush through.
3.4 Choose memory cards from reputable brands.
Don't be tempted by cheap, no-name memory cards. Besides being slow, they increase the risk of file and card errors. Stick with major brands, which are faster, more stable, and less prone to data loss. Major brands also have a higher success rate for data recovery when using recovery software. Buy from an official distributor to avoid counterfeit products, and choose a card with a speed that suits your shooting needs.
Even within the same manufacturer, different card lines are not the same. Lines like SanDisk Extreme or Sony Tough are designed to withstand impacts, dust, and moisture, making them ideal for waterproof cameras or shooting in harsh conditions. The extra cost for a durable card is often far less than the expense and worry of losing photos.
3.5 Avoid buying cheap memory card readers.
The card reader is just as important as the card itself. Cheap, unbranded products can damage the card and easily lead to file loss when you remove it from the computer. This is not a worthwhile trade-off. Choose a reader from a reputable manufacturer and always use the secure eject function before removing the card. Spending a little extra at this step will save you a lot of time, effort, and money later on.
4. Conclusion
Data recovery software is often the simplest and most cost-effective way to retrieve deleted photos from a memory card, costing significantly less than professional services and with a relatively easy process. Difficult cases, such as physically damaged cards or serious errors, should be handled by a professional, even though you will have to send the card for repair and incur higher costs.
The most important thing to remember are two principles when an incident occurs: stop using the card immediately and do not save recovery data to the card itself. However, prevention is always better than cure. A disciplined backup system, a clear card management system, and high-quality memory cards and card readers won't help you recover lost photos, but they will certainly protect future photos.


















VIP Products








Best Selling Products
Adobe Premiere Pro Account
99 USD
Autodesk All App Account Copyright
120 USD
Genuine Cheap Canva Pro
39 USD
Windows 10 & 11 Pro Key
36 USD
Upgrade Duolingo Super
29 USD
Upgrade genuine Capture One account
120 USD
Copyright Adobe Lightroom Account
59 USD
Genuine Adobe Illustrator account
99 USD
Adobe Photoshop Copyright - Full App
120 USD
ChatGPT Plus Account (GPT-4)
16 USD
Capcut Pro 1 Year
39 USD
MidJourney Account
29 USD
Plugin Retouch4me
69 USD
Upgrade Genuine Office 365
49 USD
Freepik Premium Account
59 USD
Articles on the same topic