Best Selling Products
How to separate background using Channel in Photoshop
Nội dung
- 1. Instructions for separating background using Channel in Photoshop
- 2. Besides Channel, what other ways can you separate the background in Photoshop?
- 2.1. Separate the background with Magic Eraser Tool
- 2.2. Separate the background with Lasso Tool
- 3. Frequently Asked Questions
- 3.1. Is it possible to separate complex object backgrounds using Channels in Photoshop?
- 3.2. What are some online background removal tools?
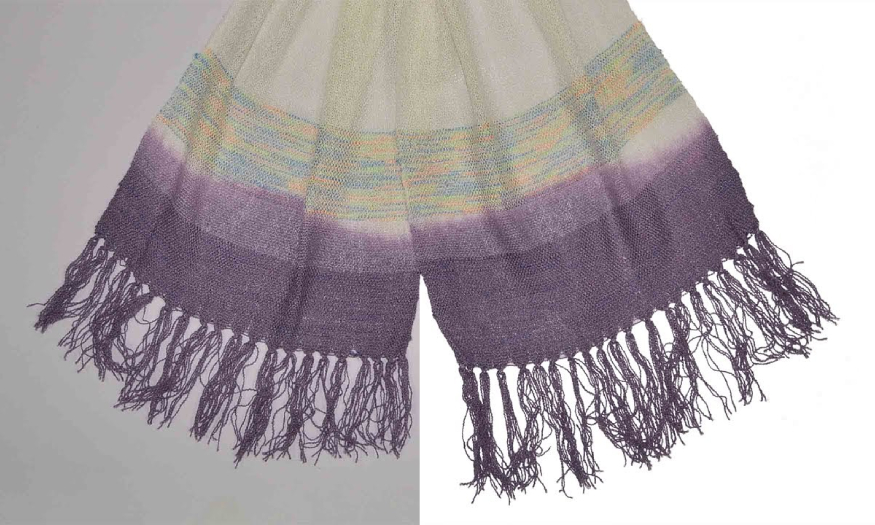
Separating the background using Channel in Photoshop is one of the most popular methods, used by many designers. It gives great separation effect, simple operation. Let's refer to the detailed steps below with SaDesign.
1. Instructions for separating background using Channel in Photoshop
To separate the background for objects with many fringes using channels, we can follow these steps:
Step 1: Upload the photo whose background you want to remove using Channel in Photoshop.
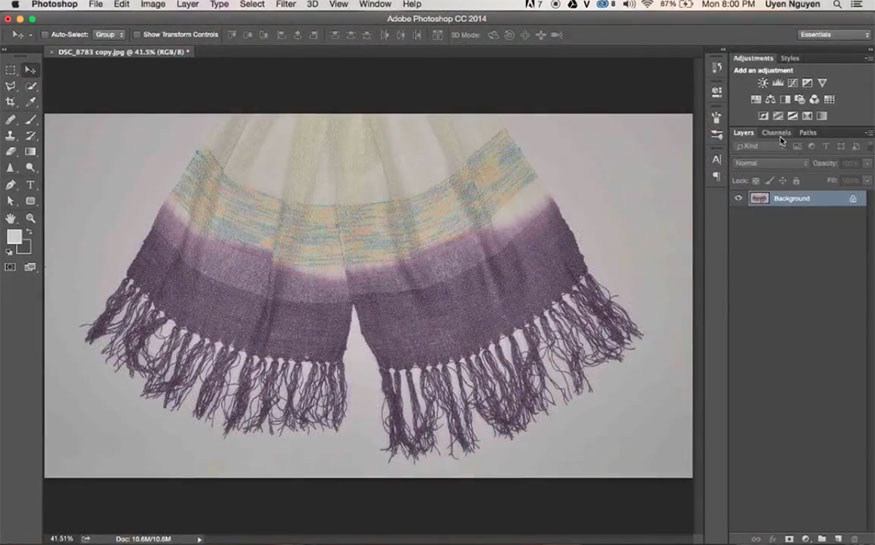
Step 2: Open the Channel panel right next to the Layer panel. Now we will see 4 different color channels: RGB, Red, Green and Blue composite channels.
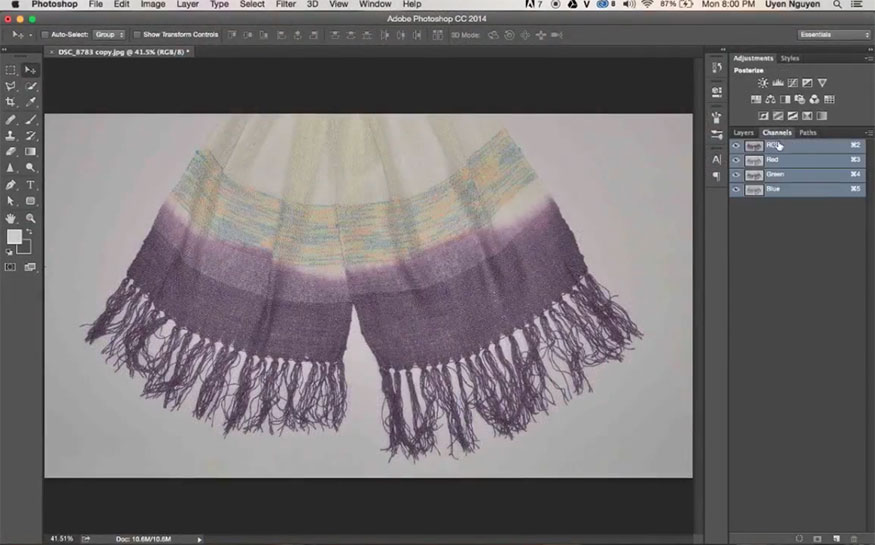
Step 3: Hide and show the channels to see the contrast of the product channel with the background most clearly. Here, I find the Red and Green channels are not suitable because the contrast is not high, when separating, it will be missed. Only the Blue channel is suitable.
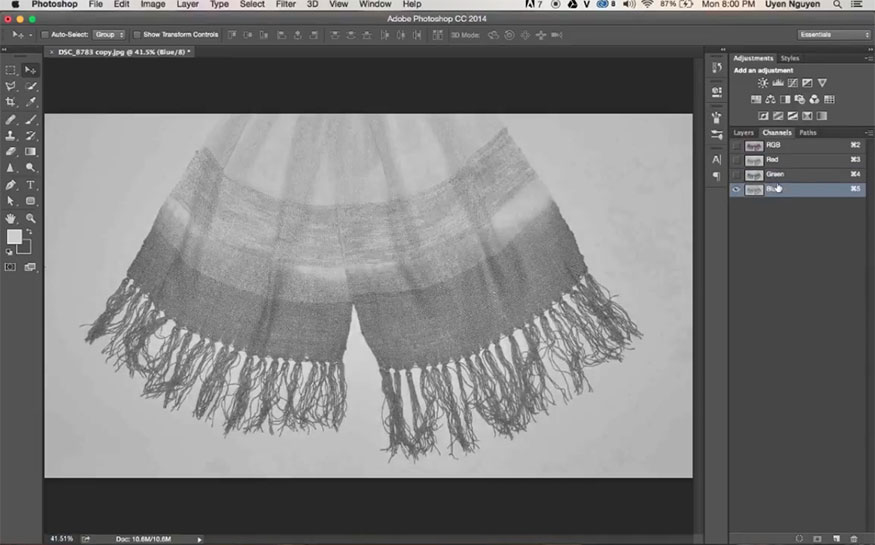
Note, depending on the type of image you choose the channel with the appropriate contrast.
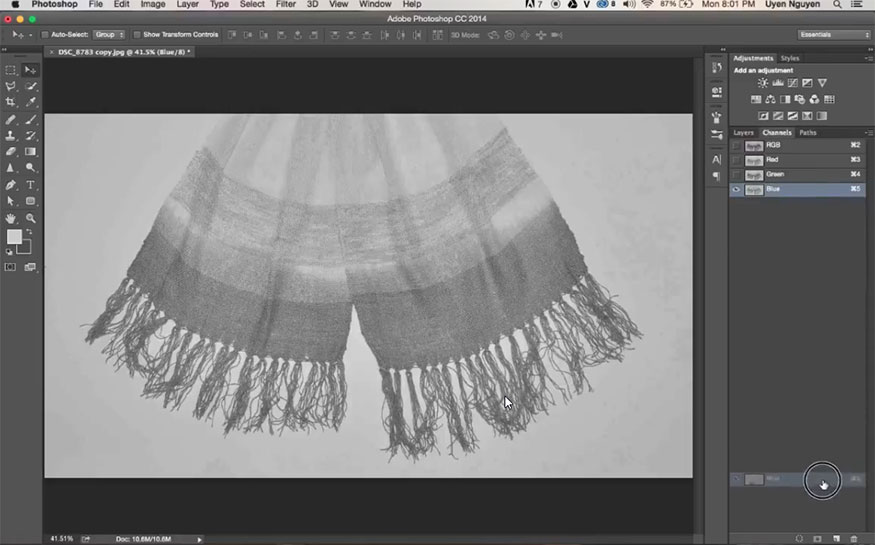
Step 4: Drag the Blue channel down below the Create new channel icon to create a copy Blue channel.
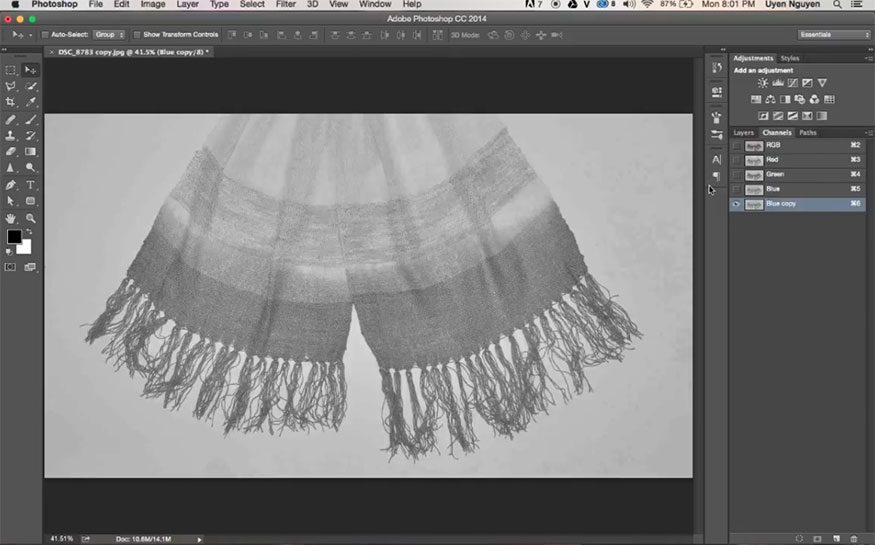
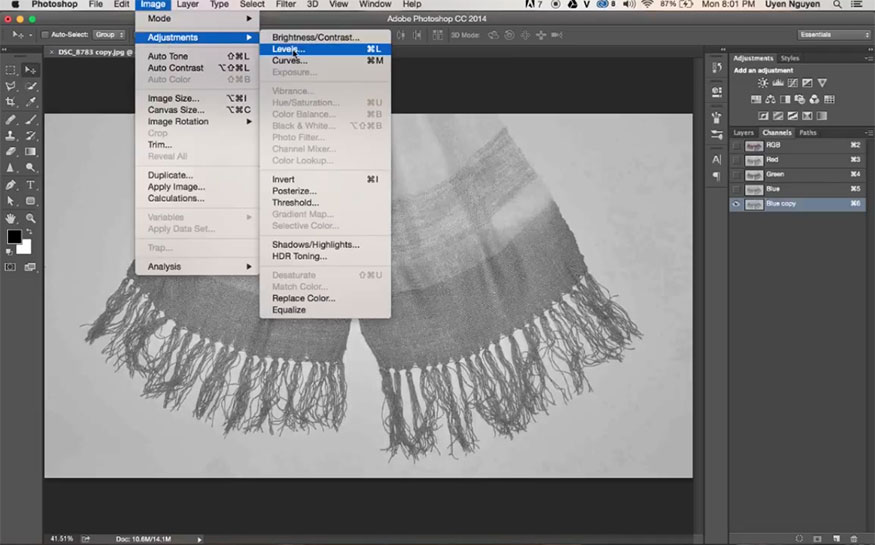
Step 5: Now on the toolbar, select Image => Adjustment => Level. Or you can use the key combination Ctrl + L to open the Level dialog box.
Step 6: In the Levels dialog box, increase the contrast between the product and the background. The arrow on the right will help you increase the bright areas to become brighter. The left will help increase the dark areas to become darker.
Adjust both sides to make the image clear, with a clear border with the background.
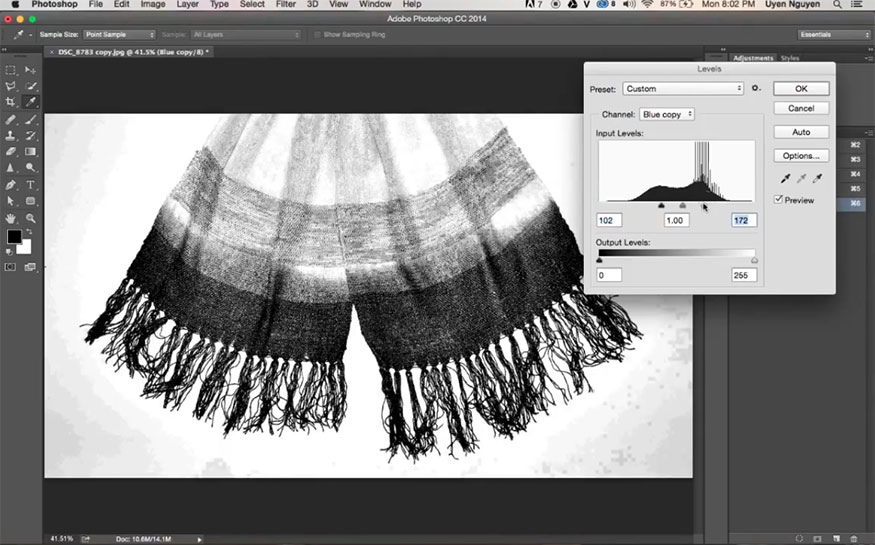
Step 7: Now on the toolbar, select Brush with the foreground color set to white and the background color set to black.
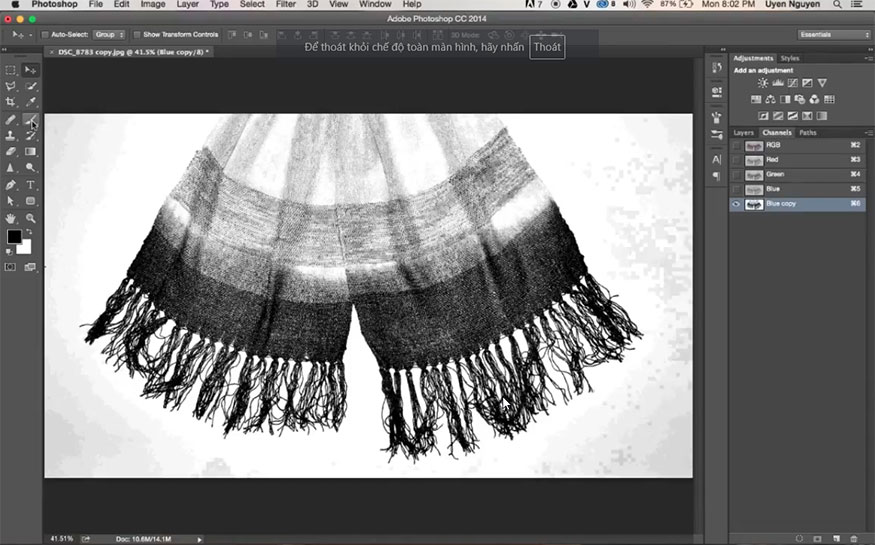
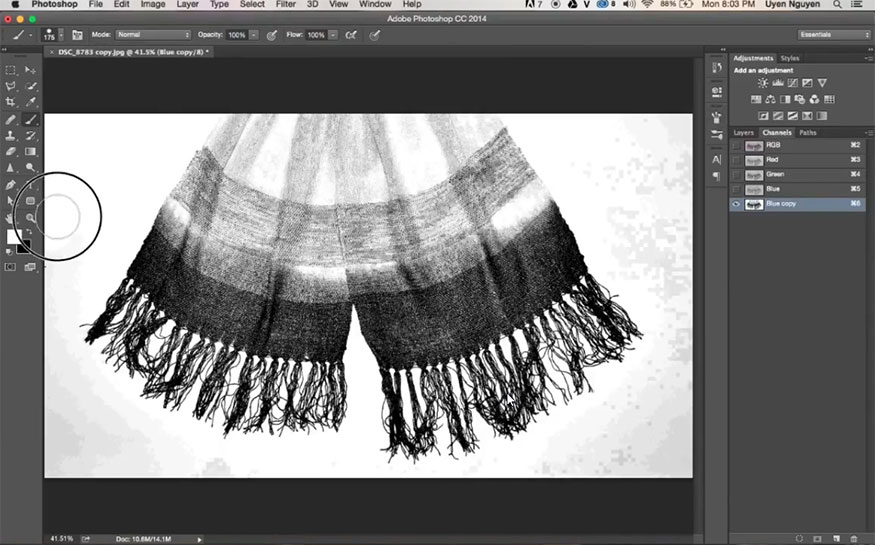
Step 8: Use a white brush to fill in the light background.
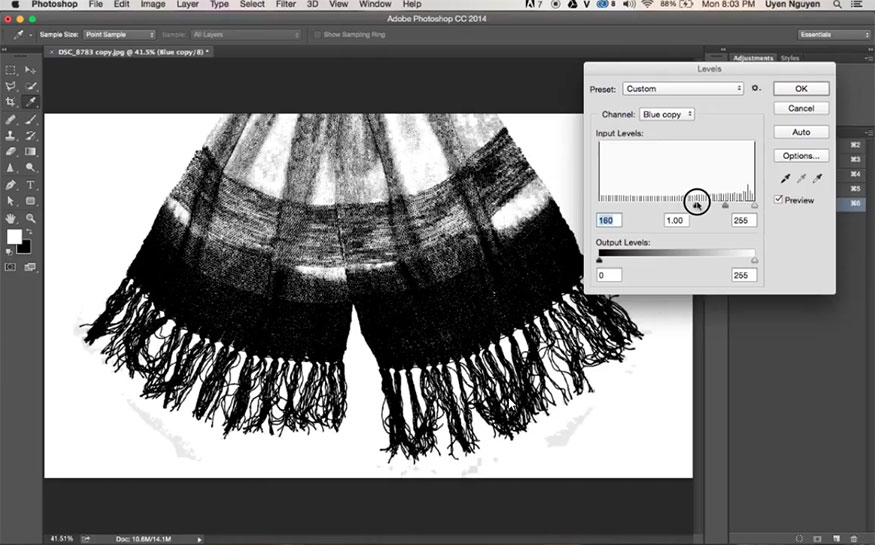
Now you can turn on Level again (Ctrl+L), drag the black color to see if there is anything left on the background, then continue painting until it is all gone.
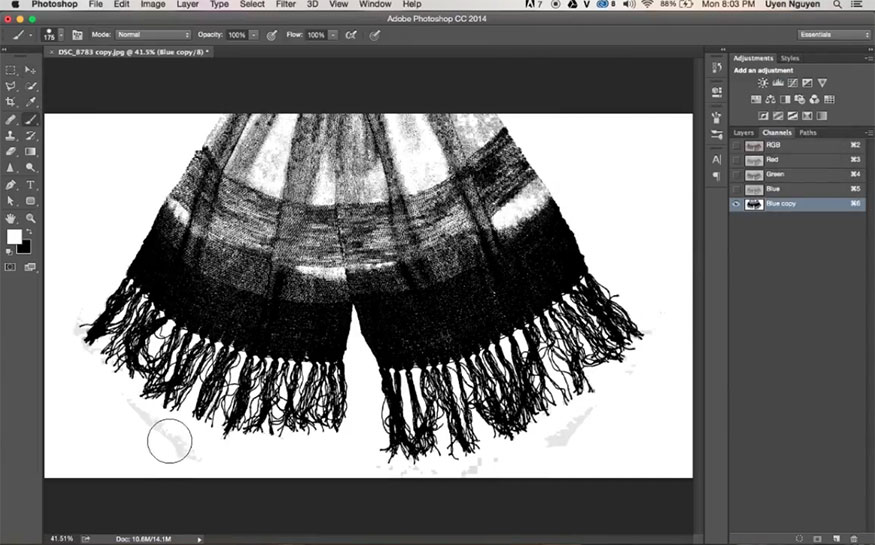
Step 9: Press the X key to invert the color of the Brush, now we will use black to paint over the product area which is the scarf until finished.
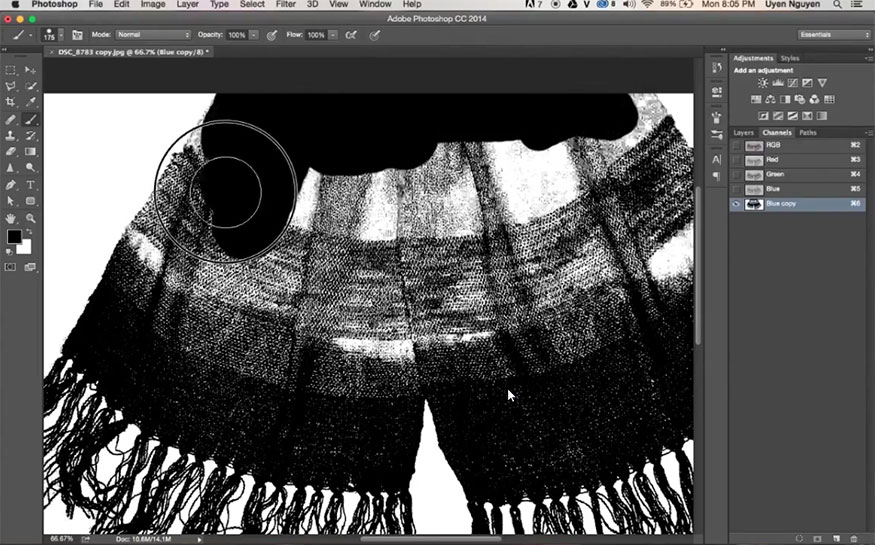
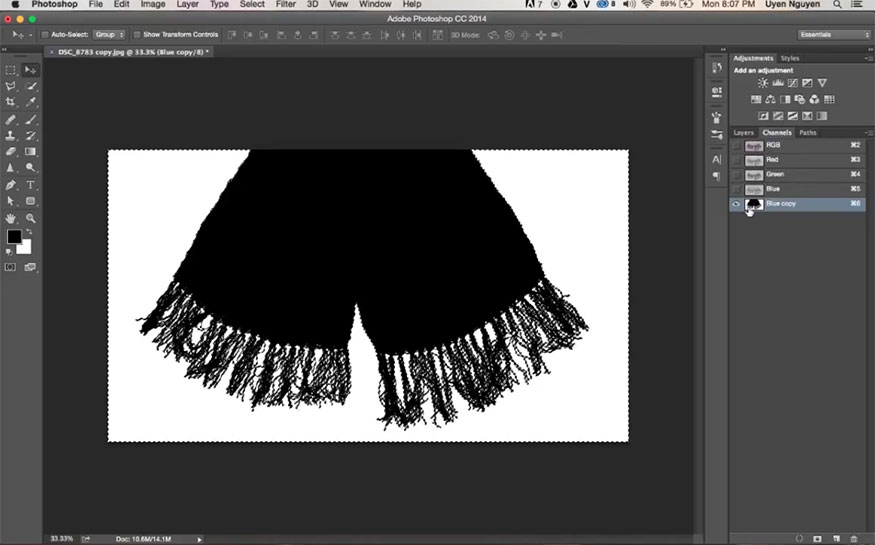
Step 10: After you have finished painting with the Brush, press Ctrl + click on the thumbnail of the Blue channel to create a selection for the product.
Step 11: Now turn on all color channels, then return to the Layer panel. Now we can see the scarf is selected.
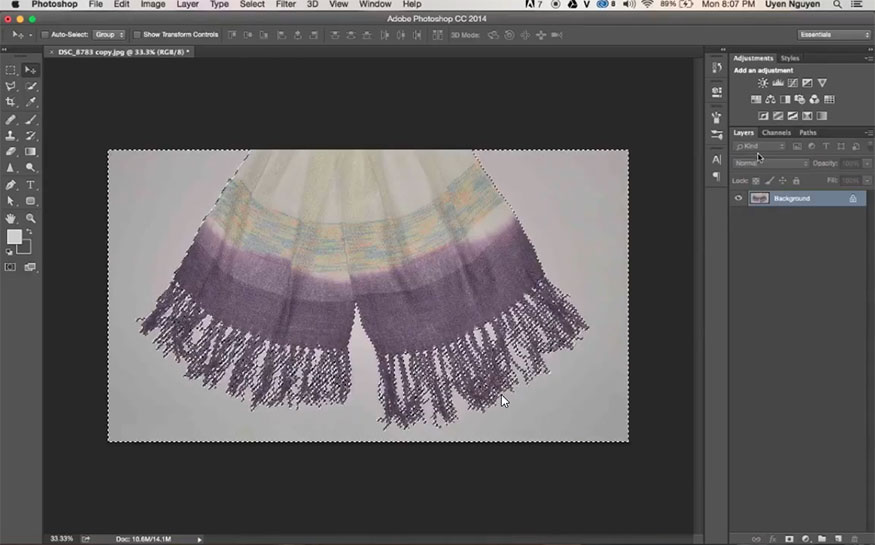
Step 12: Click on the split circle icon at the bottom (Create new fill or the adjustment layer? then select Level.
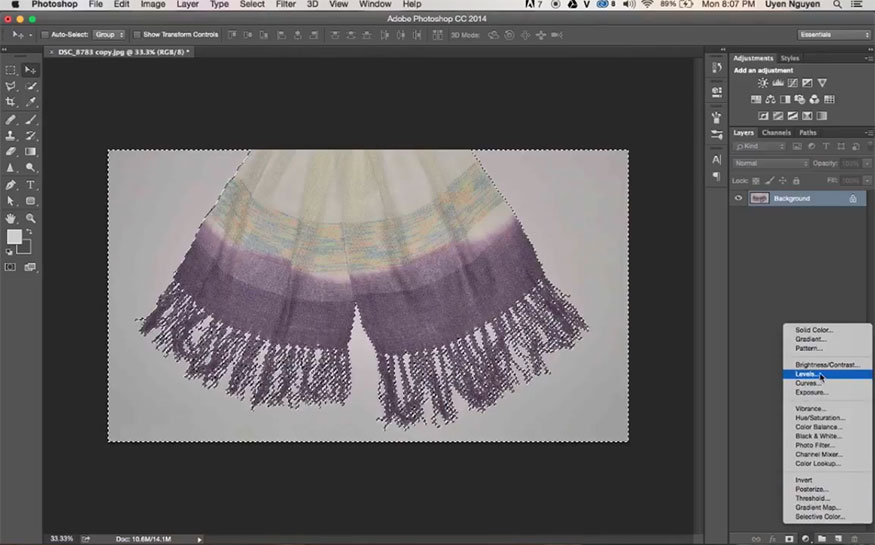
Step 13: At this point, Level will receive the product area you selected and leave the background. Adjust the slider from right to left to make the background brighter. You can see the background is brighter without affecting the quality of the product.
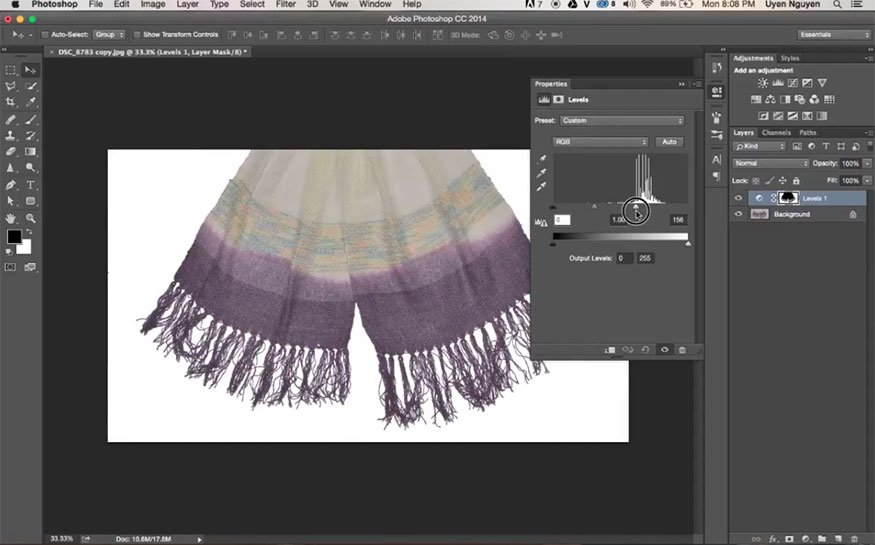
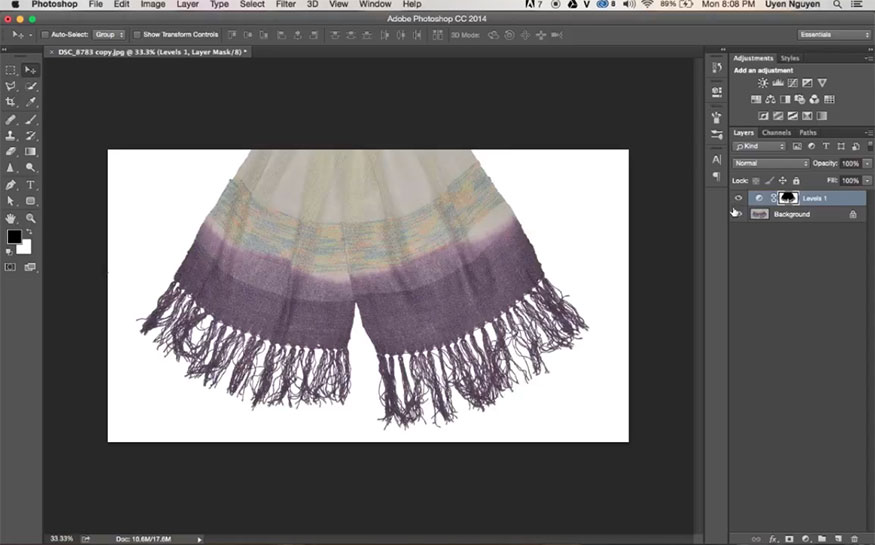
So you have been able to separate the product from the background using the channel. Now you can completely use this product to combine suitable images.
2. Besides Channel, what other ways can you separate the background in Photoshop?
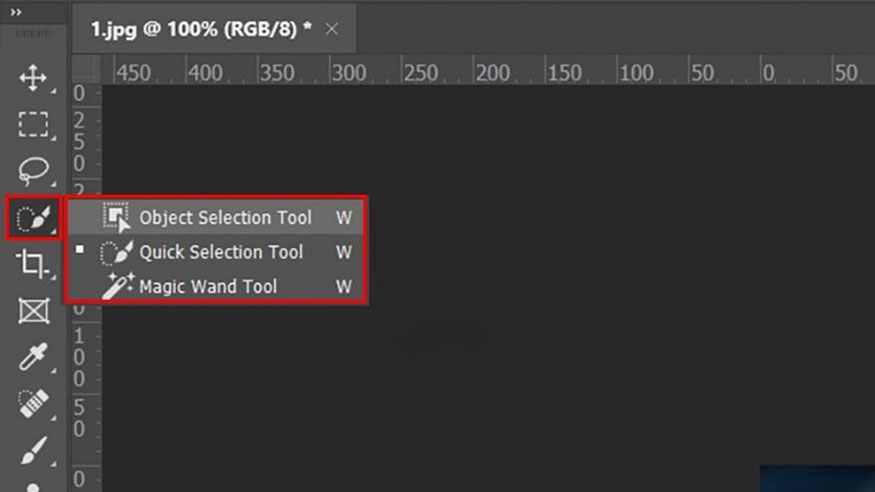
In addition to channels, you can also separate the background in Photoshop in many different ways, the most typical and simplest is using the Magic Eraser Tool and Lasso tool.
2.1. Separate the background with Magic Eraser Tool
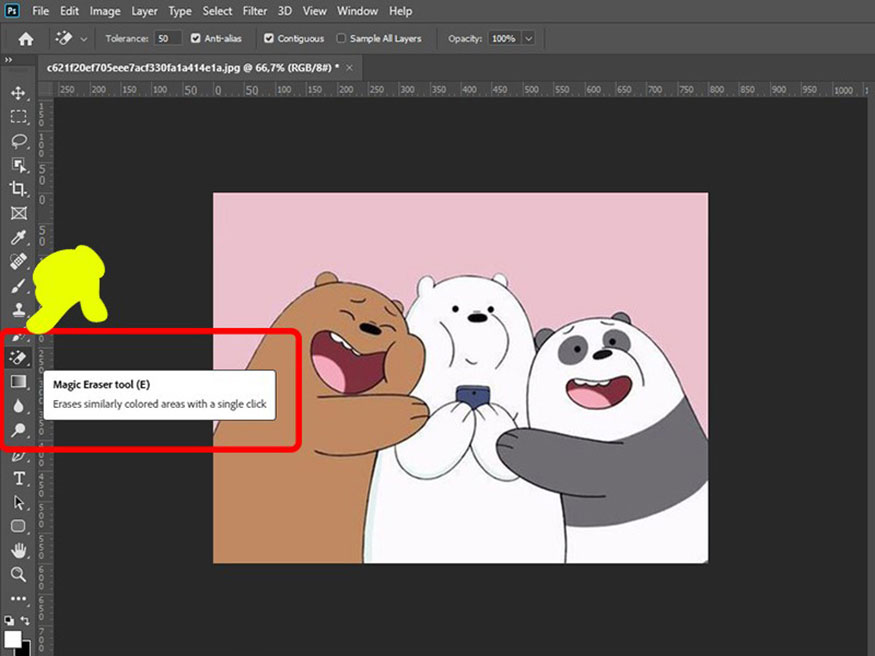
You just need to open the photo you want to remove the background from, select the Magic Eraser Tool, adjust the erase intensity, then click on the area you want to remove to remove the background. However, this method is only used for images with simple backgrounds.
2.2. Separate the background with Lasso Tool
Open the image you want to separate the background from => Select the area you want to separate with Lasso Tool => Select Add a mask at the bottom of the Layers panel => Double click on the mask image on the Layers panel.
Now the new tool panel appears, customize the Radius parameter on the slider => This tool removes unnecessary details on the image.
Adjust the parameters using the slider => Click Ok below to save the options => Go to File and select Save to save the image to your computer.
3. Frequently Asked Questions
3.1. Is it possible to separate complex object backgrounds using Channels in Photoshop?
With the channel method, you can completely separate the background for complex objects. Do it carefully to get the most satisfactory results.
3.2. What are some online background removal tools?
Besides Photoshop, you can also separate images on online websites, the effect is stable and the implementation is quick and simple.
You can refer to websites and applications such as Canva, Remove, Removal.ai, Socialbook, Depositphotos, Unscreen,...
Above is a summary of the steps to separate the background using Channel in Photoshop. Try it now to experience the great effect.
Installation and support contact information:
🏡 SADESIGN Software Company Limited
📨 Email: phamvansa@gmail.com
🌍 Website: https://sadesign.ai


.png)


