Best Selling Products
Interesting things about Light Painting technique in photography
Nội dung
Creating beautiful and impressive photos is not difficult. You just need to have a certain understanding of photography and use some shooting techniques such as Bokeh or Light Painting. If you spend some time to learn and observe, learning how to take photos using Light Painting techniques will be very simple.
Interesting things about Light Painting technique in photography
Creating beautiful and impressive photos is not difficult. You just need to have a certain understanding of photography and use some shooting techniques such as Bokeh or Light Painting. If you spend some time to learn and observe, learning how to take photos using Light Painting techniques will be very simple.
Content
A brief introduction to Light Painting techniquesTools needed to take Light Painting photosHow to set up the camera when taking Light PaintingHow to take a beautiful photo using Light Painting technique
Interesting things about Light Painting technique in photography
Creating beautiful and impressive photos is not difficult. Just have a certain understanding of photography and use some shooting techniques such as Bokeh or Light Painting. If you spend some time to learn and observe, learning how to take photos using Light Painting technique will be very simple. Let's learn with SaDesign about some basic knowledge of Light Painting technique in the article below.
A brief introduction to Light Painting techniques
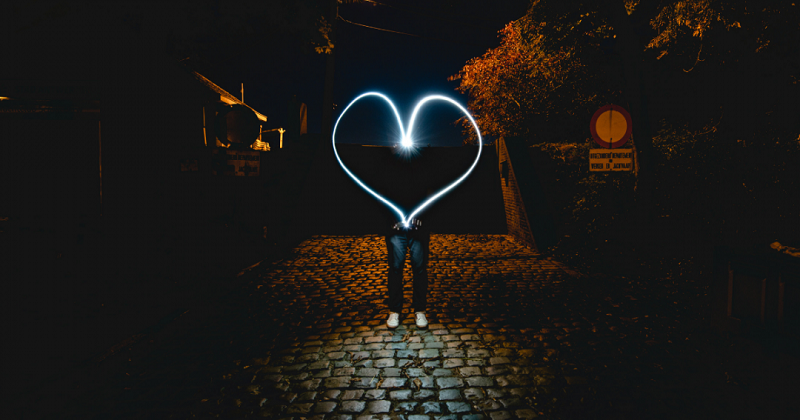
Light Painting is known as a visual technique in photography. By using this technique, an external light source can be added to the photo to make the photo brighter and more beautiful. This technique is applied to photos with long exposure times. A dark photo, or objects that are not illuminated by light in the photo will be highlighted by a supporting light source. In fact, Light painting often takes a lot of time to practice and learn to be able to produce beautiful photos. If you are new to the profession or simply love photography, you can understand this as a way to improve the quality of the image. This work requires the support of a moving light source from the outside.
.jpg)
What is Light painting photography technique?What is Light painting photography technique?
Tools needed to take Light Painting photos
To take beautiful photos, you need to have full and specific preparation. When you want to apply Light Painting Technique to a photo, you need the following tools:
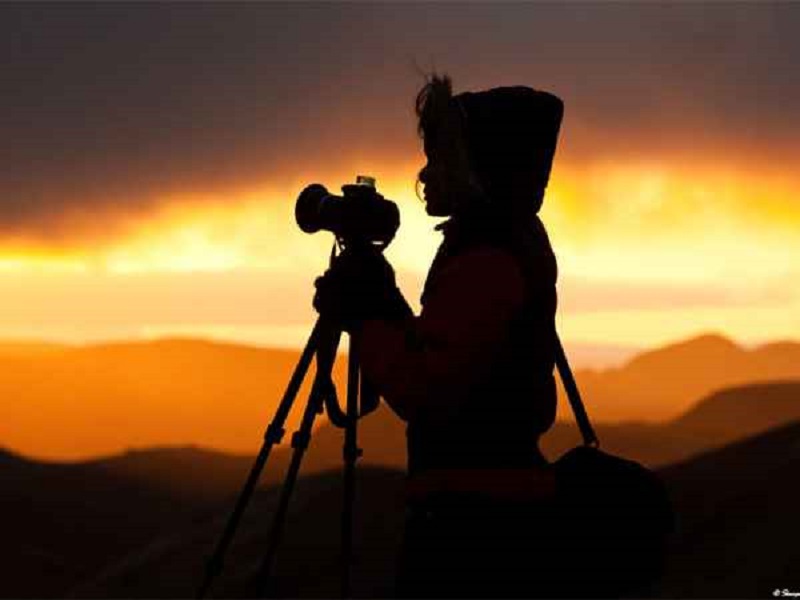
Camera: any digital camera with manual settings (Bulb mode) can be used.
Tripod: This is one of the simplest tools to take good pictures. A strong tripod is indispensable. Many people do not like to use tripods, however in most cases, the shutter is left open for a few minutes and the camera is not moved/shaken during the exposure.
Shutter release cable: This helps to minimize the slightest movement that can shake the camera. You can use a cable or a remote control to press the shutter. One way to save money without using a shutter release cable is to use the camera's timer function.
Stopwatch: has the function of controlling exposure time.
Light source: used to “paint” a beautiful picture. There are many different types of light that can be used to perform Light Painting. For example: flashlights, torches, lasers, glow sticks, flash or strobe lights, cell phones, or even candles. However, each different light source will have different colors. The simplest, light from LED lights will be blue and cold, halogen lights will be warmer (orange).
Color gel: changes the color of light and adds color to the photo.
Essential tools when taking Light PaintingEssential tools when taking Light Painting
How to set up the camera when taking Light Painting
Before taking a photo, start by setting up your camera. Here are the steps:
Shooting mode: select Manual (M) mode, allowing you to set shutter speed and aperture.
Image quality: Set the image quality to RAW mode, which helps to record as much information about the image as possible. Raw images help the post-processing process to be faster and more beautiful. However, this is not required, just a small advice.
White balance: choose Incandescent or Tungsten setting to balance the light source with the external support light. However, other effects can also be used. For example, Daylight white balance if you want to use the color tones of the light source. Do not use automatic white balance.
ISO: Set a low ISO, around 100 or less
F-stop or Aperture: Choose a setting to achieve better depth of field, allowing for longer shutter speeds when used. Setting it to f/8 or f/10 is a good idea.
Shutter speed: select Bulb mode. The actual shutter speed will then be determined by the amount of ambient light in the scene.
LCD screen brightness: remember to reduce the brightness of the LCD screen. Because the normal setting will be too bright at night. This affects the image quality, making it feel bright while it is actually underexposed.
Histogram: use the histogram to check exposure. The image will be dark if the histogram has more signal columns to the left
Blinkies: to adjust exposure time turn on blinkies. Review your images to get warnings about overexposed areas in your photos.
Image Stabilization: Select Off mode. Do not select image stabilization mode when placing the camera on a tripod, this may cause blurry photos.
Long exposure noise reduction: set to Off. On is also available, but this will double the exposure time. If you have selected a low ISO, the noise level will be small and will not need to be reset. However, for best image quality, it is still advisable to check the noise carefully. Note that some older cameras require this setting to be set to On to achieve acceptable noise levels.
Set up your camera to take a great photoSet up your camera to take a great photo
How to take a beautiful photo using Light Painting technique
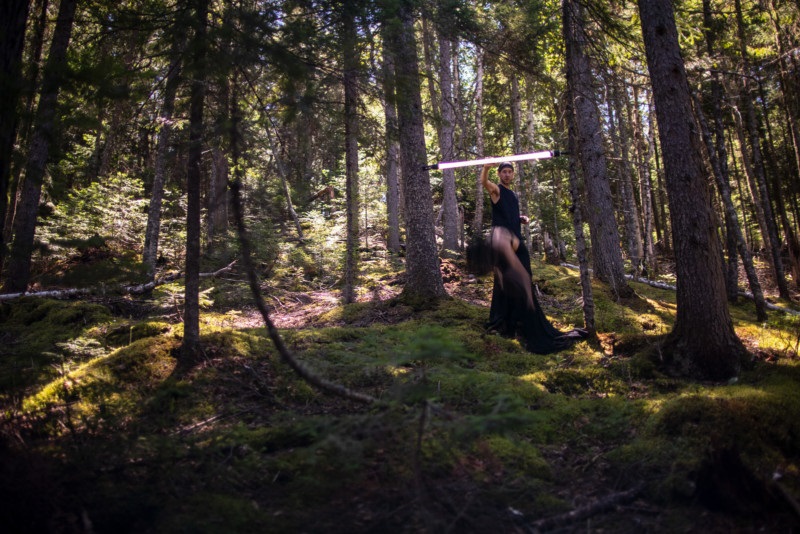
Before taking a photo, the equipment is prepared and the next step is to determine the ambient light in the scene. Next, determine the exposure time needed to get a good photo. You can experiment with the exposure beforehand. In addition, you can also use the following tips to speed up this process.
Set your ISO to six stops higher than the ISO you plan to use. For example, if you are planning to shoot at ISO 100, set it to ISO 6400. With your camera set to ISO 6400, you can find out how long it will take to capture ambient light. (1 second exposure at ISO 6400 = 1 minute at ISO 1000.
Next, set the ISO back to 100 and prepare to start exposing for minutes instead of seconds. For cameras with a lowest ISO of 200, six stops higher would be 12800. For cameras with a lowest ISO of 50, six stops higher would be 3200.
Focus: One of the most important steps to creating a good photo. You can shine a light source on a certain position in the scene that needs to be in focus, which is the simplest way. Or use autofocus, set the focus point where the light is and make sure the camera focuses on that point. Then, change from autofocus to manual focus and the focus point will not change. However, when moving the camera, remember to turn autofocus back on and refocus.
.png)
Be creative to get beautiful photosBe creative to get beautiful photos
Exposure: Once you have determined the exposure time and focus, you can use additional tricks to “paint” your photo. Typically, the exposure time setting of cameras will be around 30 seconds. Set the shutter speed to Bulb mode, use a soft release cable or remote control to trigger the shutter button.
Next, take another shot with the shutter still open. Use a stopwatch to time the exposure accurately.
If you are an art lover and passionate about photography, be more creative with your photos by "drawing". With each person's creativity, you will create beautiful photos, your own memories. Wish you have great moments with Light Painting


