Best Selling Products
Basic knowledge of light and shadow
Nội dung
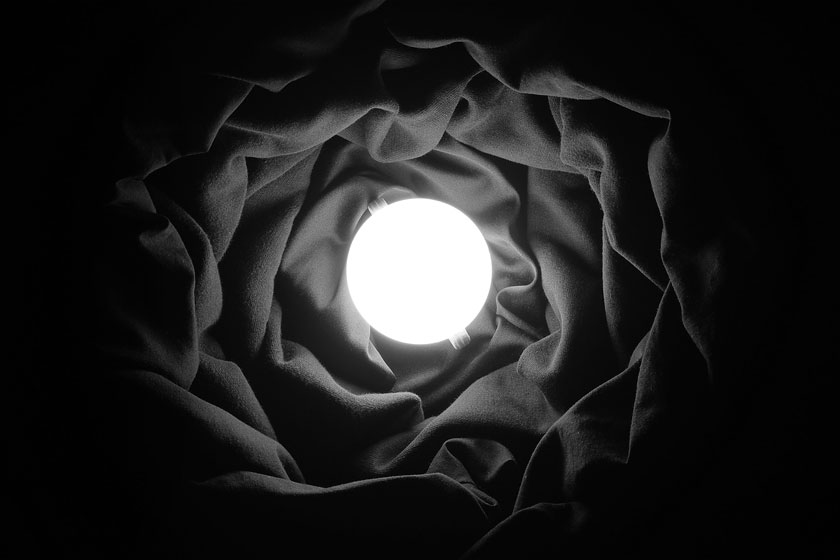
For photo editors as well as for photographers, it is extremely essential to grasp the basics of light and shadow. Here, SaDesign Retouching will share with you the basics of initial photography. If a photo is taken correctly in a camera, you will not spend a lot of time in post-production adjustments and generally better image quality.
 light and shadow in photography
THE TRUE OF LIGHT THAT PHOTOGRAPHER SHOULD KNOW
Direct light produces hard angled shadows. The smaller the light source (relative to the size of the subject) or the further away from the subject, the sharper and darker the shadows will be. The sharpest light is produced by a point source, a light that is small enough or far enough away.
The diffused light is scattered, creating a very bright (or not) shadow. The closer or larger the light source (relative to the size of the subject), the softer and brighter the shadow will be.
 THE TRUE OF LIGHT
Reflected and filled light can be used to soften shadows. Primary light plus reflective coating is the simplest way to arrange light that enhances features without sharp or harsh shadows.
The side lighting further emphasizes facial features and reveals textures. You should take care to avoid this when shooting portraits of women or if the model's skin is aging or uneven color. That is unless it is the effect you desire.
Light shaping tools - light regulators, diffusers, reflectors, boom levers, heavy holders, color gels - differ in effect. You need to know the basic principles of transmitted and diffused light.
If you understand these principles, you do not need to spend a lot of effort on the complements. For example, you can use colored cellophane instead of colored gels or white paper to diffuse light from a bright window.
TRANSACTION AND LIGHT ADJUSTER
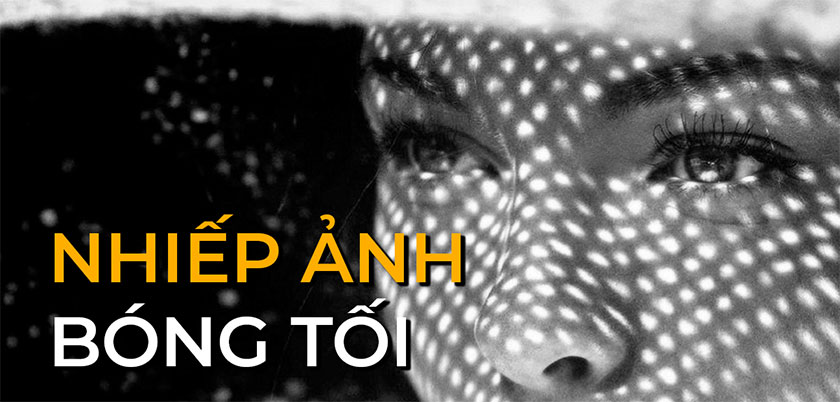
Dynamic range is the ratio between the lightest tones and the darkest areas of an image. Most exposure problems arise due to dynamic range. Digital cameras cannot capture as much shadows and highlights as the human eye can see, or even as much as film cameras can.
 TRANSACTION AND LIGHT ADJUSTER
That's another reason why shoot in RAW (we can record maximum light and color information and retrieve a few different exposures from one RAW file).
YOU NEED TO KNOW WHAT YOU WANT
Ask yourself what look you want to achieve, then start researching reference images to find your potential lighting, composition, and poses. Learn how to read light in other photographers' images online, in magazines and on billboards. When you can read light, you can recreate effects you like.
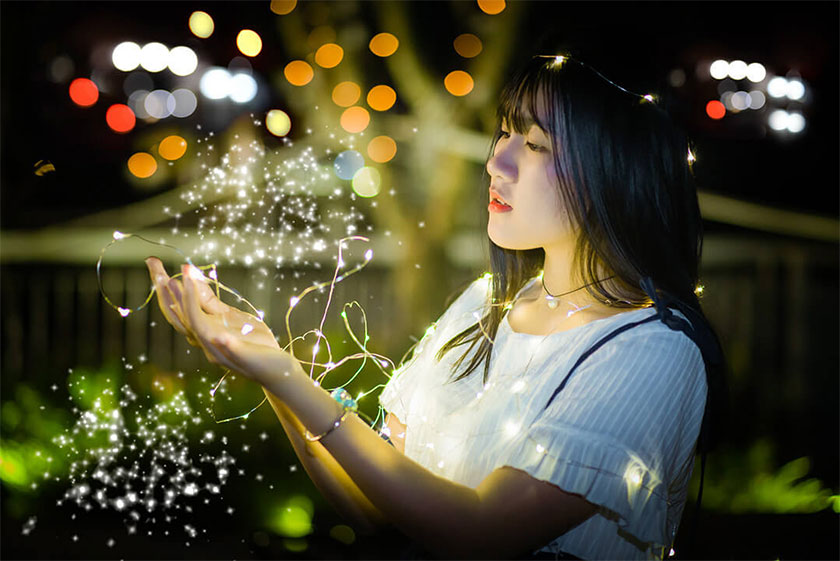
Do you like softer photos with blurred backgrounds? Shoot with faster glasses (smaller f-stop number on the lens), continuous lighting, and extended aperture (lower f-stop).
Sharp and clear image with more images in focus. Shoot with a small aperture (higher f-stop), a combination of quick blinking lights and light controls.
 photographic aperture
How do you choose an aperture? This is based on how wide or narrow you need the depth of field. Do you want a lot of bokeh (soft, blurry foreground / background) or do you want it to be a shaping tool, with multiple image planes clearly in focus?
How do you choose the shutter speed? The slowest shutter speed for handheld cameras is 1/80. You will experience internal camera shake, which results in blurred or shaky images. Shooting in the studio 1/125 - 1/160 is a good base for medium light (high sync speed lamps are much more expensive than slower ones).
Master the basic lighting settings, then move on to experimenting with new techniques. You may want to start with photography techniques such as:
- Shoot outdoors on a sunny day
- Shoot outdoors on a cloudy day
- Studio - portrait
- Studio close-up shooting.
With the above basic knowledge of light and shadow, SaDesign Retouching hopes it to be useful for readers.
See more How to take photographs creative toys and focused stacking


