Best Selling Products

Upgrade Duolingo Super
29 USD

Freepik Premium Account
59 USD

Autodesk All App Account Copyright
120 USD

Genuine Adobe Illustrator account
99 USD

Adobe Photoshop Copyright - Full App
120 USD

Genuine Cheap Canva Pro
39 USD

Upgrade genuine Capture One account
120 USD

Windows 10 & 11 Pro Key
36 USD

MidJourney Account
29 USD

ChatGPT Plus Account (GPT-4)
16 USD

Adobe Premiere Pro Account
99 USD

Capcut Pro 1 Year
39 USD

Copyright Adobe Lightroom Account
59 USD

Upgrade Genuine Office 365
49 USD

Plugin Retouch4me
69 USD
Professional Logo Development Process Guide
Nội dung
- 1. Stage I: Analysis, research
- 1.1 Thoroughly understanding the business
- 1.2 Researching businesses in the same industry
- 2. Stage II: Logo design
- 2.1 Step 1: Receive the design brief
- 2.2 Step 2: Conduct research
- 2.3 Step 3: Start sketching
- 2.4 Step 4: Digitize the design sample
- 2.5 Step 5: Present to the customer
- 2.7 Step 7: Complete the logo guideline and hand over all files to the customer
- 3. Professional logo design tools
- 3.1 Adobe Photoshop professional design software
- 3.2 Where should Photoshop be upgraded?
- 4. Conclusion
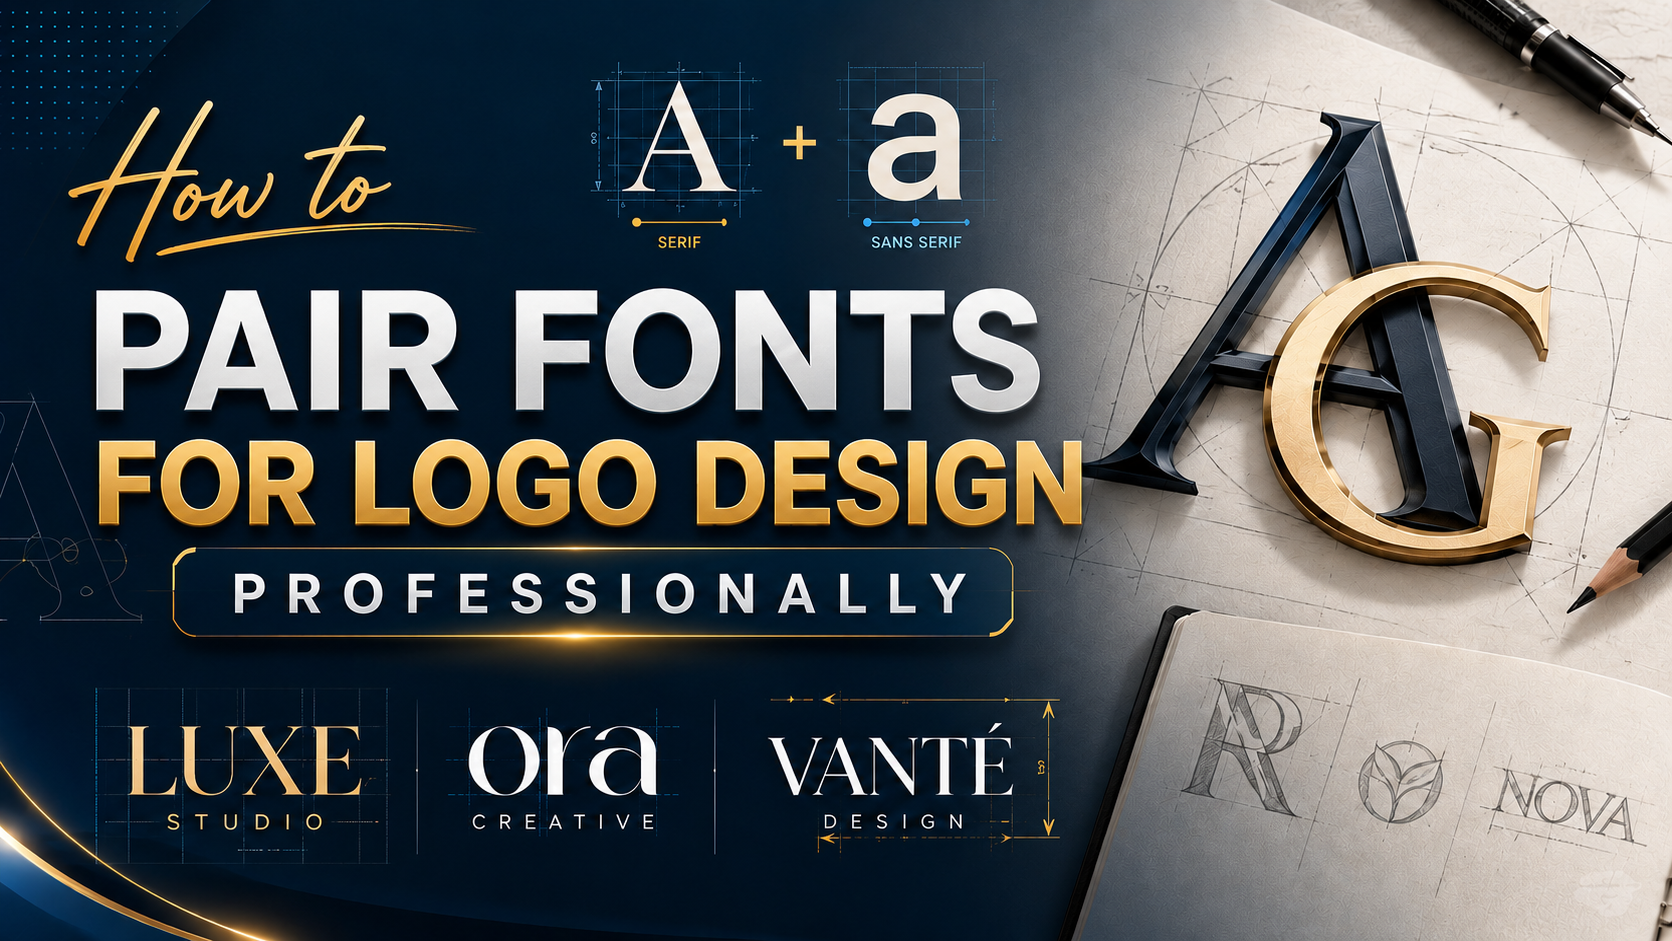
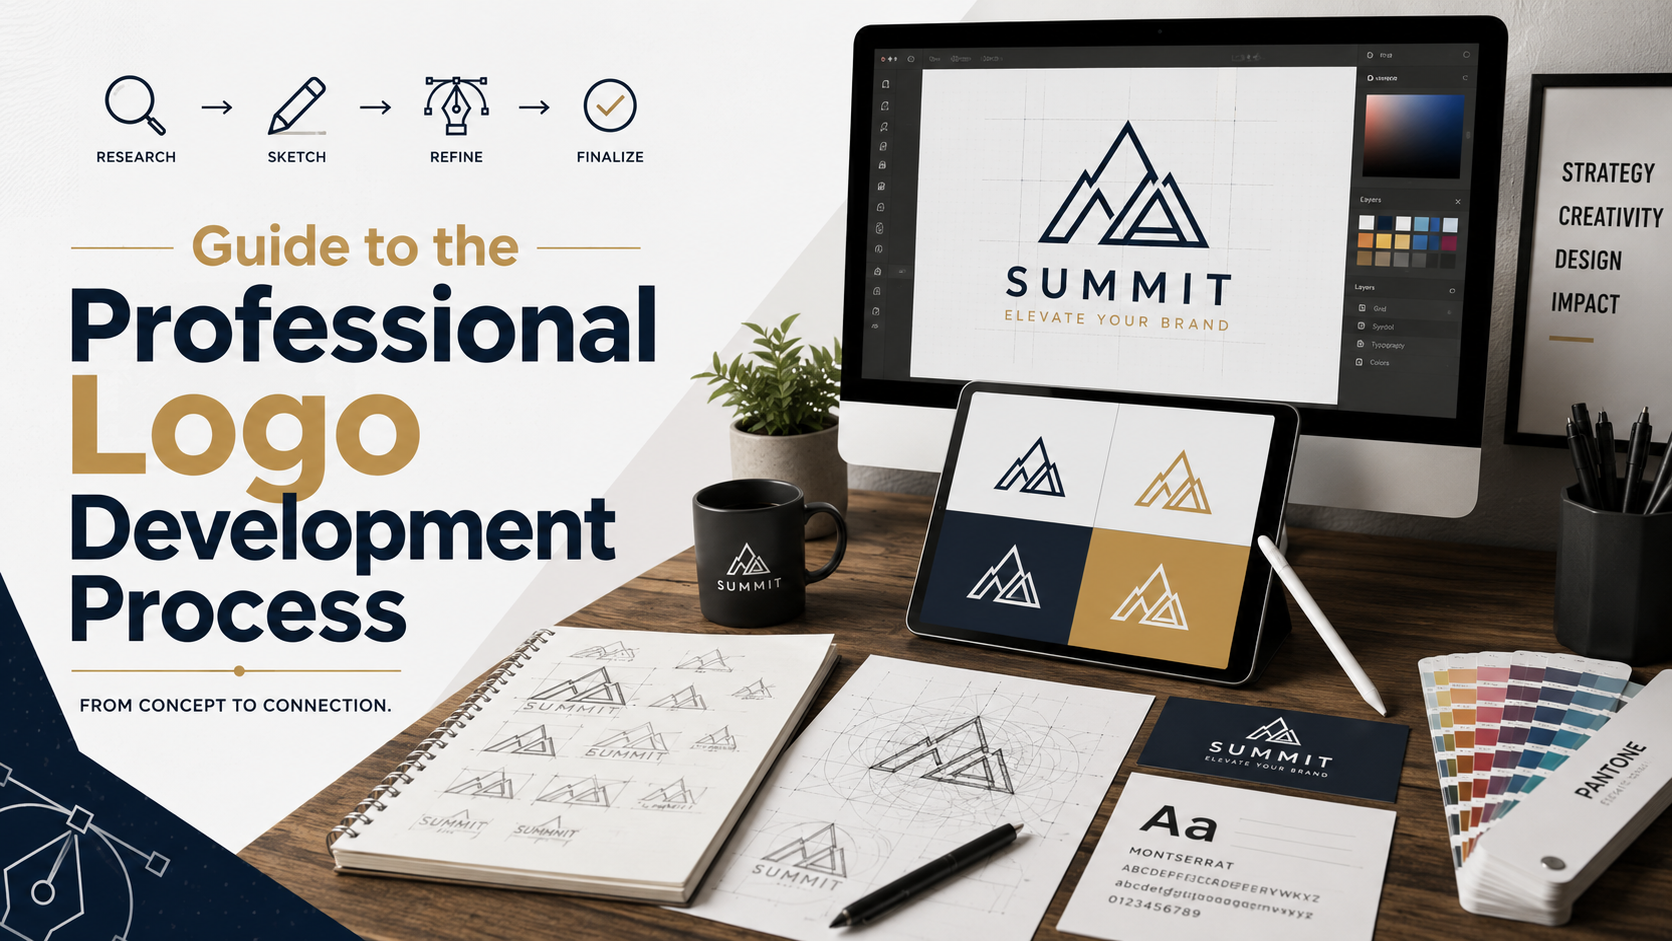
In the modern business world, a logo is not simply a symbol, it is also the soul of the brand, the factor that determines customer recognition and memorability. A professional logo not only needs to be visually appealing but also has to convey the right message and core values of the business. The professional logo development process includes many important steps, from market research, defining the design style, to completion and implementation. In this article, Appvip will guide you in detail through each step in the logo development process, helping you create a symbol that correctly reflects your brand identity.
1. Stage I: Analysis, research
1.1 Thoroughly understanding the business
To design a perfect logo, the first step is to search for information thoroughly. This is not only the beginning but also a solid foundation for the entire design process. The saying “Well begun is half done” is not simply a proverb; it reflects the truth that if the first steps are carried out smoothly, the following steps will become much easier. Understanding the business clearly will help designers not only grasp specific requirements but also feel the spirit and style that the brand wants to express.
In this stage, it is necessary to focus on collecting detailed information about the business’s services and products, thereby referring to the requirements and ideas provided by the customer. An important question that needs to be asked is: “What does the brand founder expect from this logo design?” This not only helps identify the design goal but also creates empathy with the brand, thereby bringing into the design the values that the brand wants to convey. The design team needs to clearly understand the personality, culture and values of the brand in order to reflect them in the logo in the most authentic way.
At the end of the brand understanding stage, the image-building team will form a creative direction document, serving as valuable material for the creative process. After this direction document is available, a meeting between the department working directly with the customer and the design team will be held to discuss and clarify the information provided. This not only helps confirm the accuracy of the information but also supplements missing details, creating a solid foundation for the next step.
1.2 Researching businesses in the same industry
Researching businesses in the same industry is an indispensable step in the logo development process, however, many designers often underestimate this stage. In the context of an always-changing market, visual trends and brand identity design trends change every day. Learning about competitors will be a valuable resource, helping to capture the latest trends in colors, fonts and design language.
It is not simply about finding out what businesses in the same industry are doing, it is necessary to analyze the mistakes they have made in their brand identity orientation. Lessons from previous well-known names will help avoid similar traps during the logo design process. This research not only helps identify outstanding trends but also points out things to avoid, thereby creating unique and distinctive designs.
Through researching businesses in the same industry, it is possible to gain deep insight into how competitors express their brand messages. It is necessary to consider factors such as shape, preferred industry colors, and the way these logos communicate with customers. From this information, there will be a solid basis for making the most creative and suitable design decisions for the brand.
.png)
2. Stage II: Logo design
2.1 Step 1: Receive the design brief
The logo design process begins with receiving the design idea summary from the customer, often called a brief. This is the “assignment” given by the customer, containing the requirements and expectations for the design. To create a product that meets expectations, the designer needs to listen and interpret very carefully from the customer’s side. Asking again about details when necessary is extremely important to ensure that all requirements have been understood correctly and fully.
To better understand the design requirements, the designer should prepare a specific list of questions, which can be sent by email or arranged through a direct meeting with the customer. This not only helps clarify unclear points but also shows professionalism and commitment in the work. Reading the creative brief systematically will help the designer have an overall view of the product and service provided by the customer, thereby shaping the direction for the logo design.
2.2 Step 2: Conduct research
After having the design brief, the next step is to conduct research. This stage includes analyzing the collected information in order to build a suitable and effective logo design. Design research does not stop at understanding the design structure but also includes selecting fonts, colors and shapes so that they are compatible with the message the brand wants to convey. Each element in design has its own power to create impressions and reflect the nature of the brand.
In addition to considering aspects such as colors and fonts, learning about competitors is also a part that cannot be ignored. This will help capture current trends in the industry, as well as the strengths and weaknesses in their designs. If the customer has brand guidelines, referring to elements such as colors, symbols and special images is especially necessary. Through that, the designer can make the most suitable creative choices, creating a logo with high recognition and appeal.(1).png)
2.3 Step 3: Start sketching
The sketching step is the stage where design ideas begin to be realized. Here, the designer should create a moodboard with sources of inspiration, then proceed to sketch feasible ideas on paper. Sketching not only helps visualize the product more clearly but also allows the identification of points that need adjustment and improvement. This is an important step in the process, because it helps solve problems before the product is completed.
When sketching, remember that there is no need to focus too much on artistic details right from the beginning. What matters is keeping creative ideas and developing them naturally. Besides that, referring to logo design samples from competitors or within the industry can help stimulate creativity, but it is necessary to note not to be influenced too much to the point of copying. Let your imagination fly freely, and do not forget to record every idea, no matter how spontaneous it may seem.
2.4 Step 4: Digitize the design sample
After completing the paper sketching stage, the next step is to transform those ideas into digital products through specialized graphic software. The digitization process is not simply the conversion of images from paper to computer; this is the moment when creative ideas begin to become more vivid and specific. When designing on a computer, the designer has the ability to experiment with many different shapes, styles and colors, helping to expand creativity and bring customers many rich options.
Creating many different variations not only helps customers have a clearer view of the logo direction but also allows the designer to adjust it so that it is most suitable for the brand identity. However, during this process, it is necessary to always maintain the identity and initial requirements that the customer has set out. If not careful, it is easy to make the design deviate from the original vision, so careful consideration is very necessary.
2.5 Step 5: Present to the customer
After completing the design on the computer, the next step is to present the logo idea to the customer. This is an opportunity for the designer not only to present the product but also to analyze and explain the messages that the logo wants to convey. It should be noted that every logo carries within it a story, a deep meaning, and the designer’s task is to communicate that clearly and convincingly.
The presenter needs to firmly grasp the design requirements from the customer’s side in order to reasonably analyze elements such as colors, fonts and layout. This is very important, because each field often has characteristic colors that help viewers easily recognize it. If the color selection is inappropriate, it can lead to unnecessary misunderstanding. Moreover, preparing at least two concepts for the customer to choose from will help create diversity and expand the opportunity for consensus.
2.6 Step 6: Receive feedback
After presenting the idea, the designer will receive feedback from the customer. This is an important stage, because these comments will help further improve the logo. Customers may give compliments, but they may also have points that need editing. What matters is that the designer needs to receive all opinions openly and selectively choose suitable feedback for adjustment.
During this process, it is necessary to avoid “changing direction halfway” – a common mistake is trying to change the design according to every opinion. This can lead to a final product that no longer maintains the original identity. However, if the requested change is significant, keep a friendly and professional attitude. Sometimes, these changes can lead to a better design, and presenting again may be necessary to ensure that all changes are clearly understood.
2.7 Step 7: Complete the logo guideline and hand over all files to the customer
Finally, after completing all necessary adjustments, the final step is to complete the logo guideline and hand over all design files to the customer. This is the time to summarize all details, ensuring that the logo is not only beautiful but also easy to apply in real situations. The logo usage guidebook will provide detailed information on how to use the logo correctly, from size, color, to different variations.
To ensure that the customer can use the logo accurately, store all original design files (vector) together with image files (raster) on a CD or USB. This not only helps customers easily access the documents but is also an important step in preserving the copyright and quality of the design in the future. The logo design journey does not stop at the final product; it is also a commitment to supporting customers in developing their brand sustainably.
(1).png)
3. Professional logo design tools
3.1 Adobe Photoshop professional design software
In the world of graphic design, Adobe Photoshop has become a familiar and indispensable name, especially in logo design. With powerful photo editing capabilities, Photoshop provides users with many tools and features to bring creative ideas to life. This software is not only suitable for professional designers but also easy to access for beginners.
Photoshop allows users to work with layers, a feature that helps organize and manage different elements in a project. This creates favorable conditions for editing and changing without affecting the entire design. In addition, the software also supports many file formats, helping export products with high quality and compatibility with many different platforms.
With such outstanding features, Photoshop has become a leading tool for logo design and many other graphic applications. Designers can easily create impressive products, expressing brand identity clearly and attractively.
.png)
3.2 Where should Photoshop be upgraded?
When deciding to upgrade Photoshop, choosing a reliable provider is very important. Appvip is one of the leading licensed software providers in Vietnam, specializing in providing quality software solutions at reasonable prices. Coming to Appvip, you will receive genuine products, ensuring that all features are used fully and safely.
One of the major benefits of upgrading at Appvip is dedicated support service. The professional technical team will guide you step by step through the software installation and use process. They are always ready to answer all questions, helping you quickly become familiar with new features. Moreover, Appvip also provides free installation service, helping you save time and effort.
Appvip not only provides Photoshop but also integrates many other useful applications in Adobe Creative Cloud. This allows you to expand your design capabilities, from photo editing to video making, all within a single ecosystem. This not only improves work efficiency but also helps you save costs and time.
.png)
4. Conclusion
In summary, developing a professional logo is a process that requires investment of time, effort and creativity. From deeply researching the brand to experimenting with design ideas, each step plays a decisive role in the success of the logo. A good logo not only helps you stand out from the crowd but also builds trust and connection with customers. Remember that a logo is not just an image, it is the story your brand wants to tell. Hopefully, the guidance steps in this article will help you gain a clear view and create an impressive and meaningful logo.





















VIP Products








Best Selling Products
Upgrade Duolingo Super
29 USD
Freepik Premium Account
59 USD
Autodesk All App Account Copyright
120 USD
Genuine Adobe Illustrator account
99 USD
Adobe Photoshop Copyright - Full App
120 USD
Genuine Cheap Canva Pro
39 USD
Upgrade genuine Capture One account
120 USD
Windows 10 & 11 Pro Key
36 USD
MidJourney Account
29 USD
ChatGPT Plus Account (GPT-4)
16 USD
Adobe Premiere Pro Account
99 USD
Capcut Pro 1 Year
39 USD
Copyright Adobe Lightroom Account
59 USD
Upgrade Genuine Office 365
49 USD
Plugin Retouch4me
69 USD