Best Selling Products

MidJourney Account
29 USD

Freepik Premium Account
59 USD

Upgrade genuine Capture One account
120 USD

Genuine Cheap Canva Pro
39 USD

Copyright Adobe Lightroom Account
59 USD

Upgrade Duolingo Super
29 USD

Adobe Photoshop Copyright - Full App
120 USD

Genuine Adobe Illustrator account
99 USD

Capcut Pro 1 Year
39 USD

Autodesk All App Account Copyright
120 USD

Windows 10 & 11 Pro Key
36 USD

ChatGPT Plus Account (GPT-4)
16 USD

Plugin Retouch4me
69 USD

Upgrade Genuine Office 365
49 USD

Adobe Premiere Pro Account
99 USD
Guide to making rainbow gradients in Photoshop with SaDesign
Nội dung
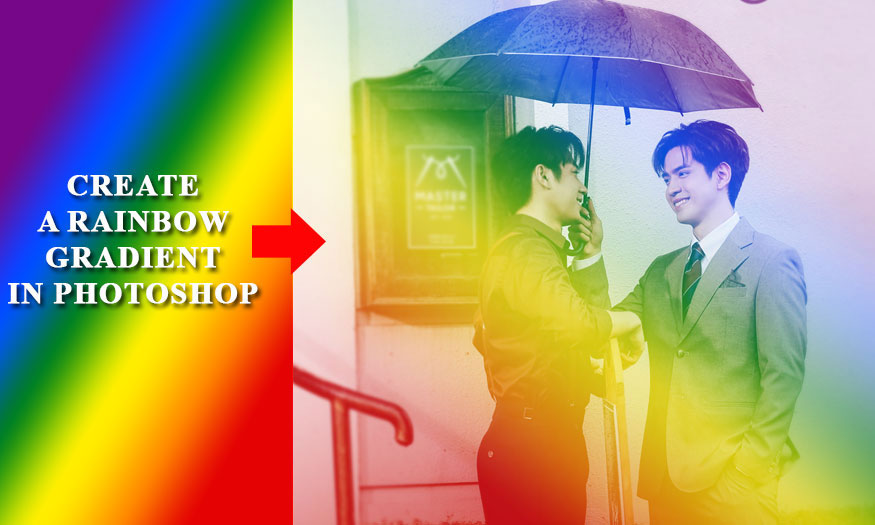
Colorful rainbow gradients will make your photos more unique. Especially with photos containing content about the LGBT community. Now, you can completely create a rainbow gradient in Photoshop very simply with just a few steps. Please refer to SaDesign below.
Colorful rainbow gradients will make your photos more unique. Especially with photos containing content about the LGBT community. Now, you can completely create a rainbow gradient in Photoshop very simply with just a few steps. Please refer to SaDesign below.

1. Create a rainbow gradient in Photoshop
To be able to create a rainbow gradient in Photoshop, let's follow the detailed steps as follows:
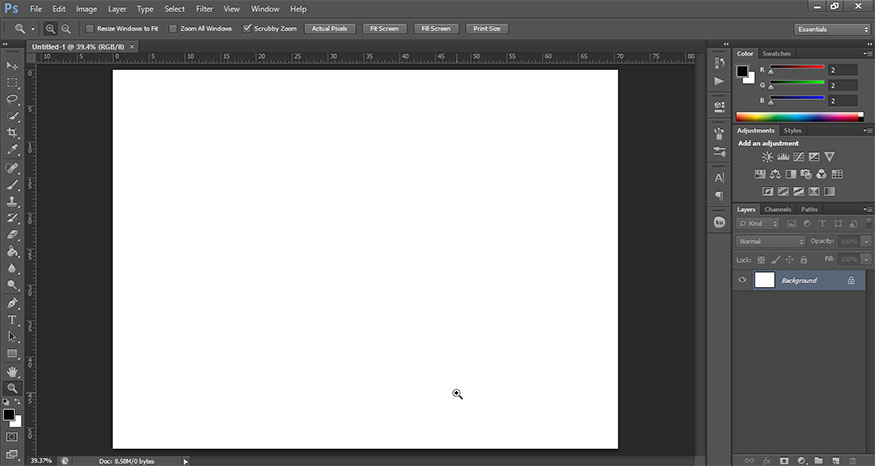
Step 1: First we need to create a blank document with arbitrary size.
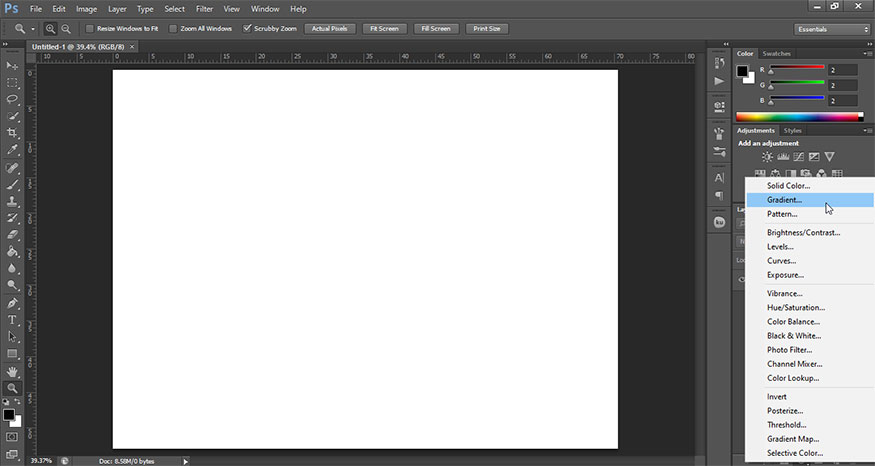
Step 2: At the bottom corner of the Layers panel, select Create new fill or adjustment layer (split circle icon). Then select Gradient… This will create a Gradient Fill layer.
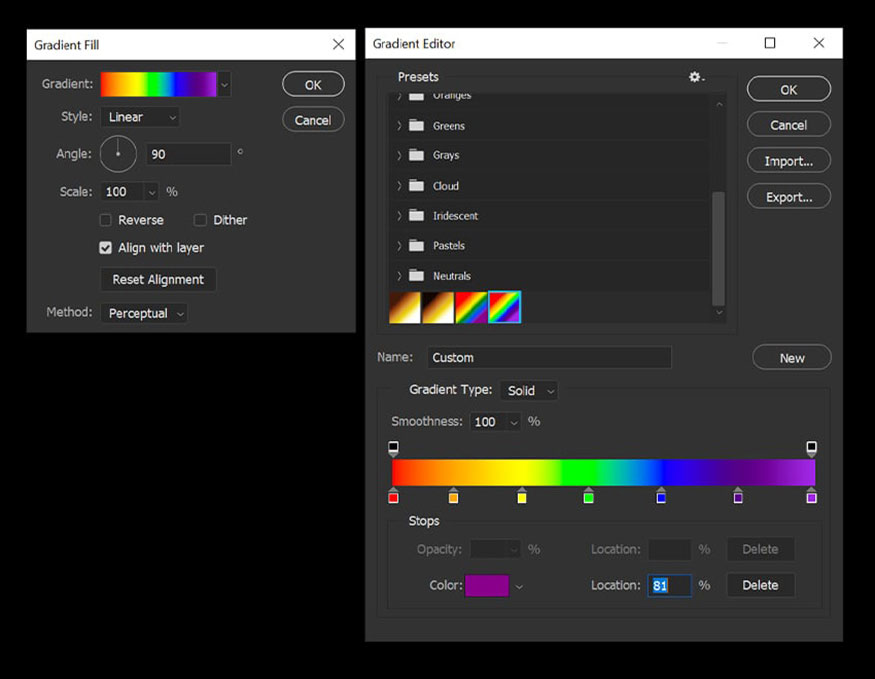
Step 3: Next, select Gradient in the window that appears to open the Gradient Editor. Several pre-made Gradients will appear.
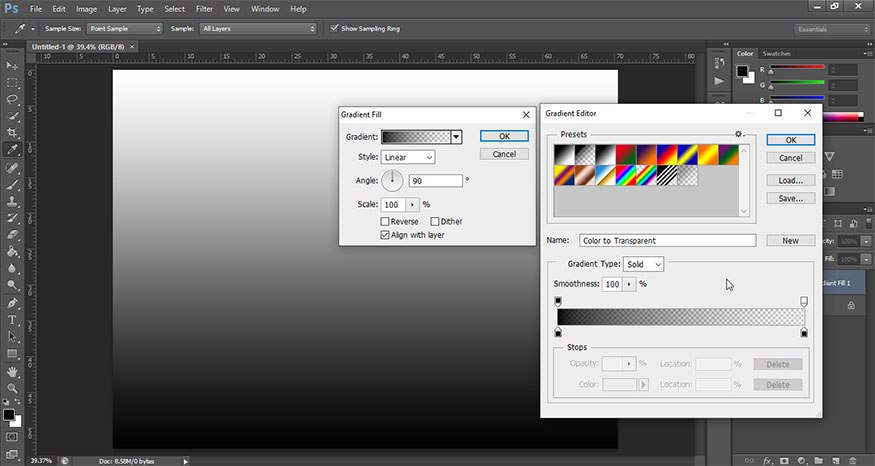
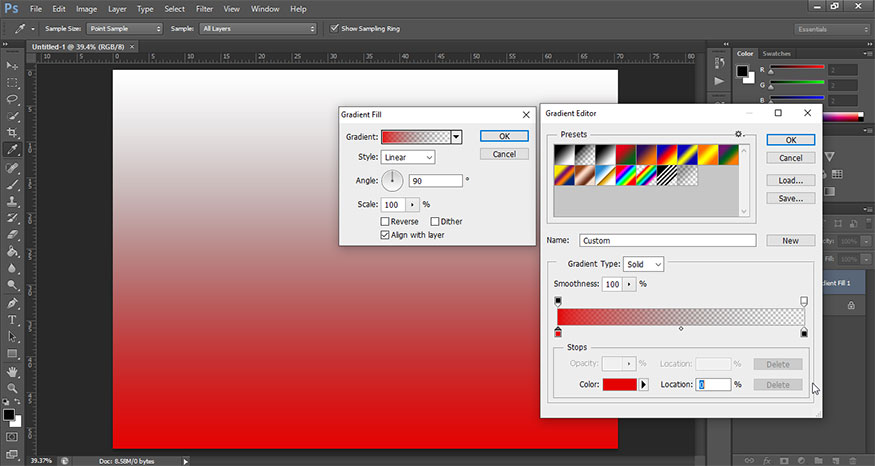
Step 4: In the Gradient Editor window, double-click the bottom and leftmost anchor points, also known as Stops, to open the Picker.
The colors of the rainbow gradient are:
-
Red #e40303
-
Orange #ff8c00
-
Yellow #ffed00
-
Green #008026
-
Blue #004dff
-
Purple #750787
The leftmost Stop is the start of the gradient, so set it to Red #e40303. Click OK.
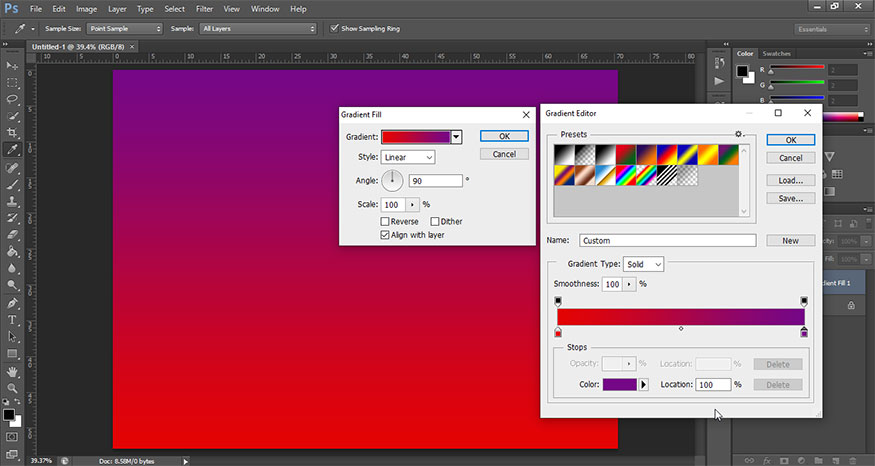
Step 5: Now, select the rightmost Stop, set it to Purple #750787. If the Stop is transparent, select the upper left Stop and set the Opacity to 100%.
Step 6: Click right below the Gradient box to create a new Stop. We want to create four new Stops between the two original stops. Try to make them evenly spaced by clicking Stop and dragging.
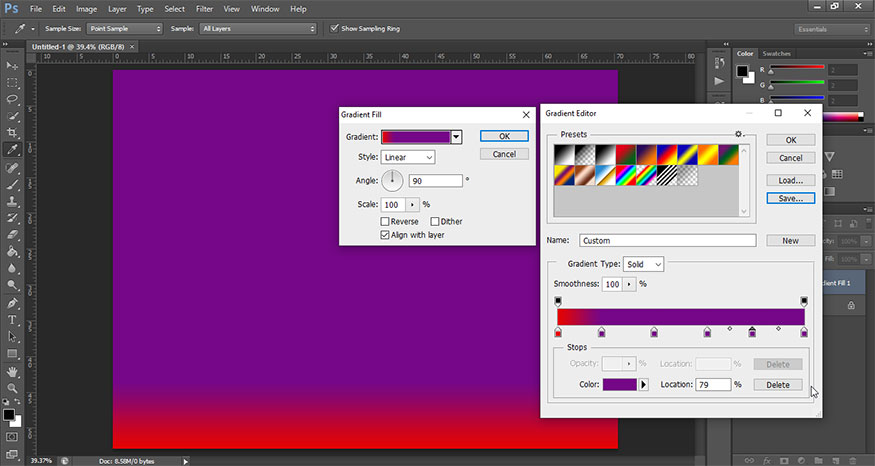
Step 7: Change the color of the Stop points in the middle from left to right one by one:
-
Orange #ff8c00
-
Yellow #ffed00
-
Green #008026
-
Blue #004dff
You can adjust the Stop to fine-tune your gradient. Click New to save your Gradient as a Photoshop preset.
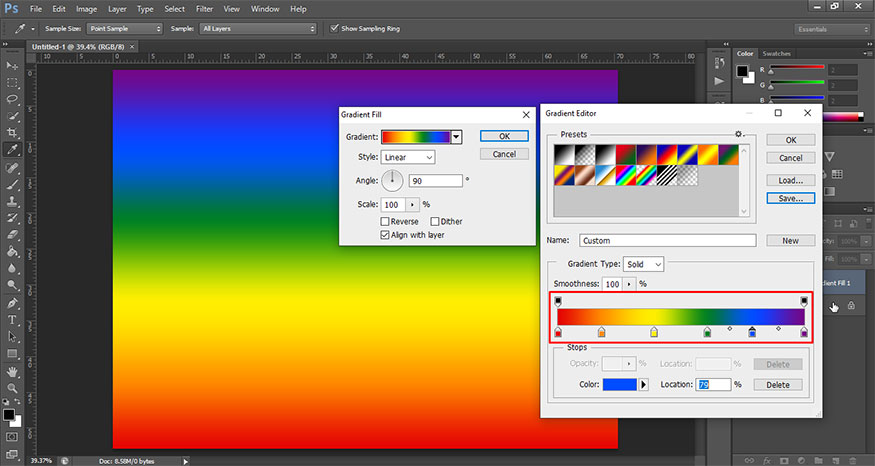
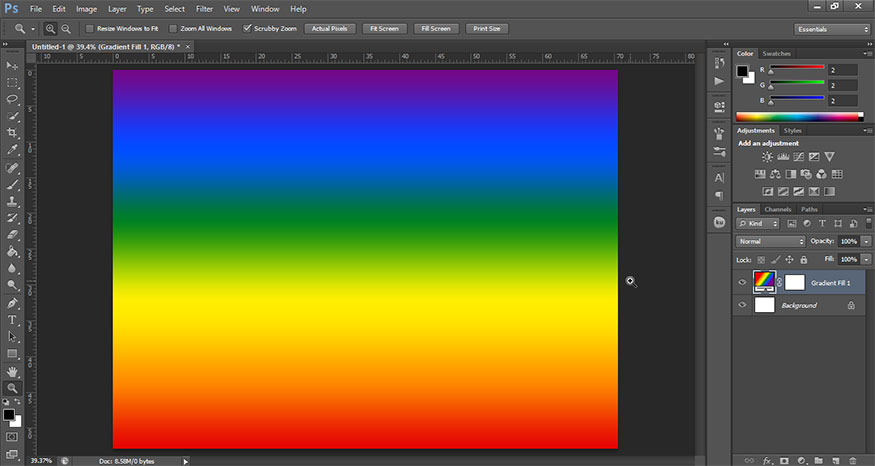
Now, we will have the rainbow color range typical of the LGBT community as shown:
Step 8: To create ROYGBIV rainbow gradient background - 7 colors (Red, Orange, Yellow, Green, Blue, Indigo, Violet). Select the Pride rainbow preset you just created or repeat the same steps using colors:
-
Orange #ffa500
-
Red #ff0000
-
Yellow #ffff00
-
Green #00ff00
-
Blue #0000ff
-
Indigo #4b0082
-
Violet #8a2be2
We will obtain a 7-color rainbow gradient as shown below:

So, we have finished creating a rainbow gradient in Photoshop. Now, you can apply this gradient to many of your designs.
2. Apply the rainbow gradient in Photoshop to your design
To be able to apply the rainbow gradient effect we just created to the photo, follow these steps:
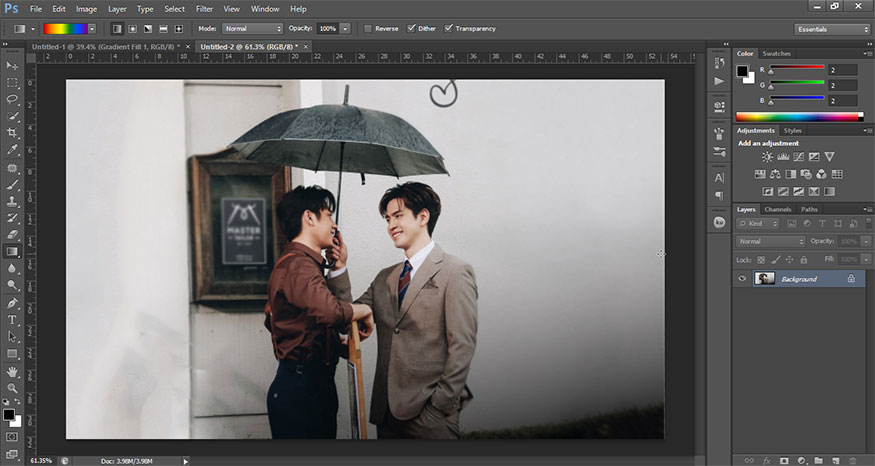
Step 1: Download the photo you want to apply the Rainbow effect.
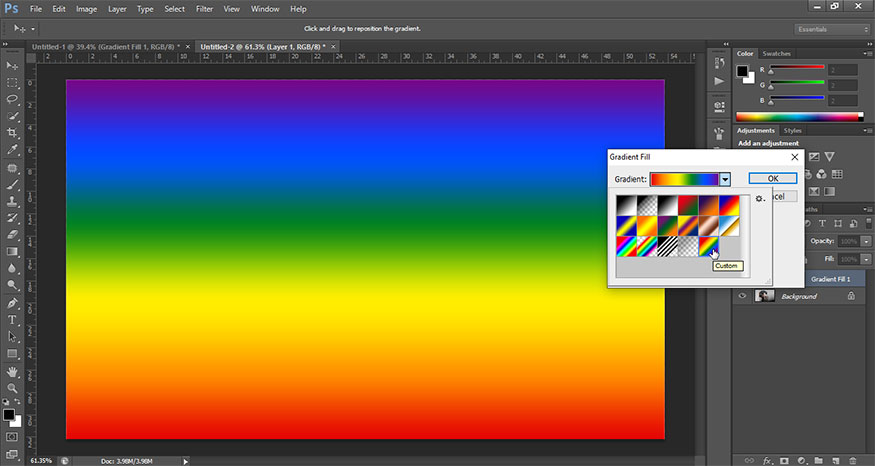
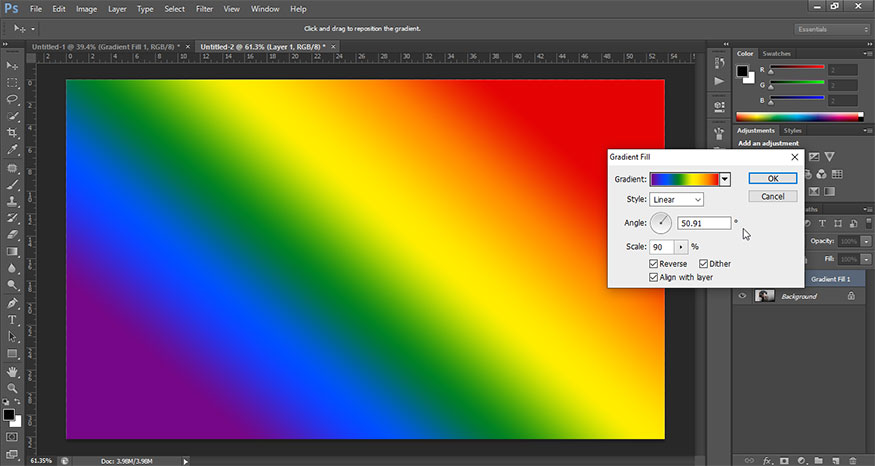
Step 2: Create a new layer, then select Create new fill or adjustment layer => Gradient... Because it is a photo related to the LGBT theme, we will choose the typical 5-color rainbow gradient pattern.
Step 3: Adjust Style, Angle and Scale to fit your photo. You can refer to my settings below, but they will depend on the image you are using and the colors you want to appear most prominent.
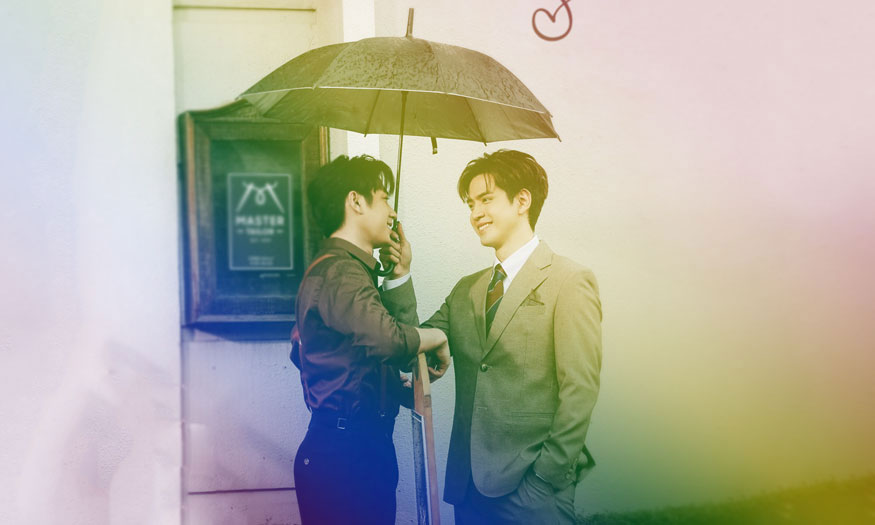
Step 4: Finally, set the Mode of the gradient layer to Screen and Opacity to 50%. This will create a beautiful rainbow overlay in Photoshop.
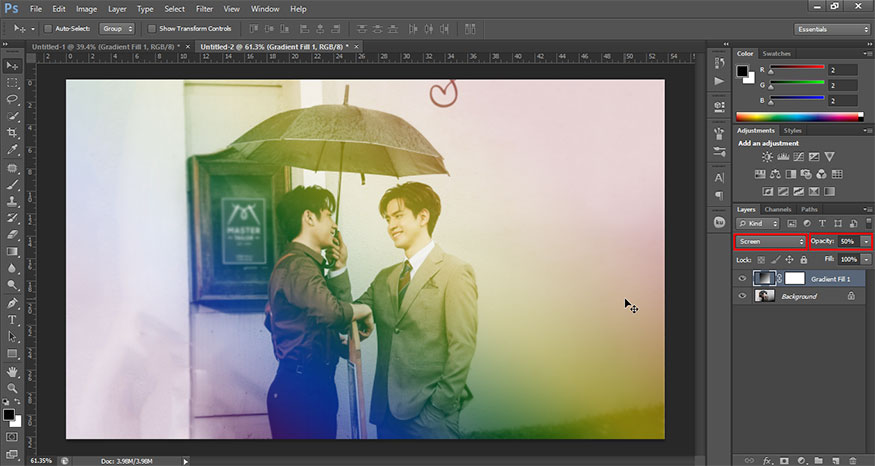
This is the result.
Above is a summary of the steps to create a rainbow gradient in Photoshop. Do it now to see the most impressive results. This way you can also create your own extremely unique color gradients. Hopefully the above sharing from SaDesign can help you.


VIP Products


Best Selling Products
MidJourney Account
29 USD
Freepik Premium Account
59 USD
Upgrade genuine Capture One account
120 USD
Genuine Cheap Canva Pro
39 USD
Copyright Adobe Lightroom Account
59 USD
Upgrade Duolingo Super
29 USD
Adobe Photoshop Copyright - Full App
120 USD
Genuine Adobe Illustrator account
99 USD
Capcut Pro 1 Year
39 USD
Autodesk All App Account Copyright
120 USD
Windows 10 & 11 Pro Key
36 USD
ChatGPT Plus Account (GPT-4)
16 USD
Plugin Retouch4me
69 USD
Upgrade Genuine Office 365
49 USD
Adobe Premiere Pro Account
99 USD