Best Selling Products

Capcut Pro 1 Year
39 USD

Upgrade genuine Capture One account
120 USD

Genuine Adobe Illustrator account
99 USD

MidJourney Account
29 USD

Genuine Cheap Canva Pro
39 USD

Freepik Premium Account
59 USD

Adobe Photoshop Copyright - Full App
120 USD

ChatGPT Plus Account (GPT-4)
16 USD

Autodesk All App Account Copyright
120 USD

Plugin Retouch4me
69 USD

Windows 10 & 11 Pro Key
36 USD

Upgrade Duolingo Super
29 USD

Adobe Premiere Pro Account
99 USD

Copyright Adobe Lightroom Account
59 USD

Upgrade Genuine Office 365
49 USD
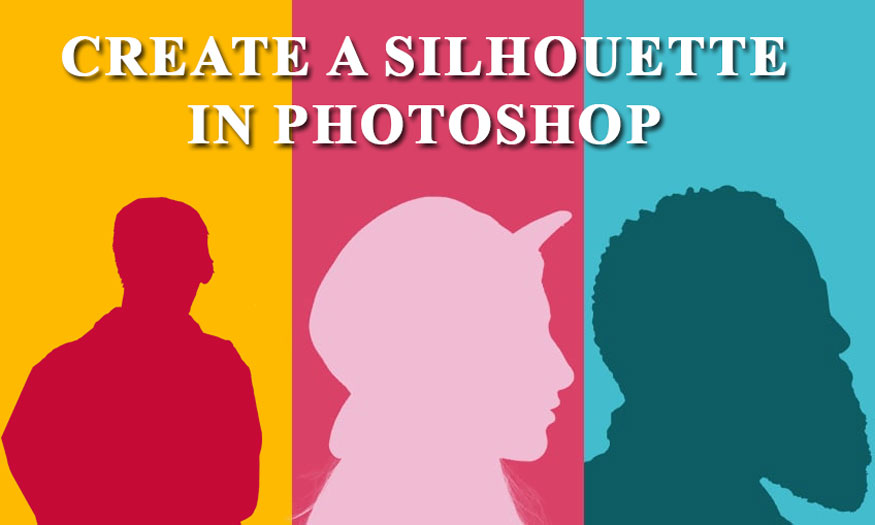
How to create a silhouette in Photoshop
Nội dung
The silhouettes of characters and objects will contribute to making your design more unique. You can actually create a silhouette in Photoshop, in many different ways. Each method has different difficulty points. Let's learn with SaDesign about 3 ways to create a silhouette in Photoshop.

The silhouettes of characters and objects will contribute to making your design more unique. You can actually create a silhouette in Photoshop, in many different ways. Each method has different difficulty points. Let's learn with SaDesign about 3 ways to create a silhouette in Photoshop.
1. Create a silhouette in Photoshop with the Pen Tool
The Pen Tool is one of the simplest, most popular ways to create a shadow. This works best with silhouettes that are not clearly defined.
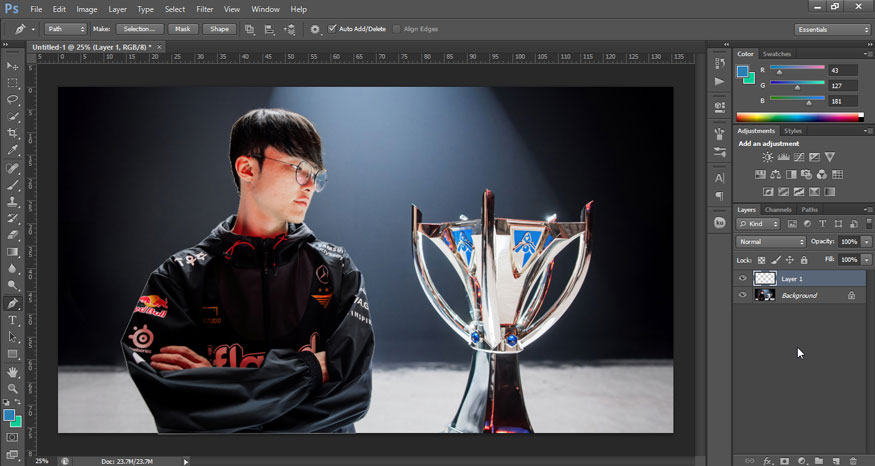
Step 1: Open the photo you want to create a silhouette in Photoshop.
On the menu bar, select File => Open => Select the appropriate photo then click OK.
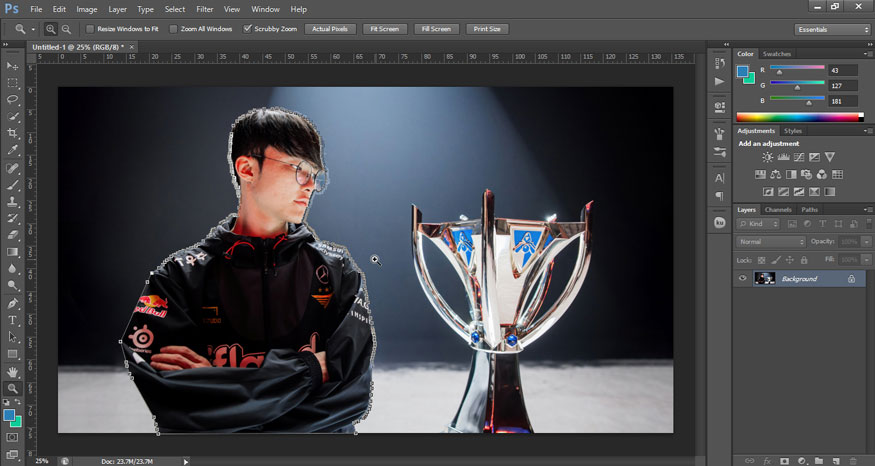
Or you can use the keyboard shortcut Ctrl+O and select the appropriate photo. Here I want to create the silhouette of the player Esport Faker.

Step 2: On the toolbar, select Zoom Tool to enlarge the portrait to make your outline as accurate as possible. On the toolbar, select the Pen Tool (P) and then click on the outline of the object to create a point. Create another point by clicking and dragging to create a curve.
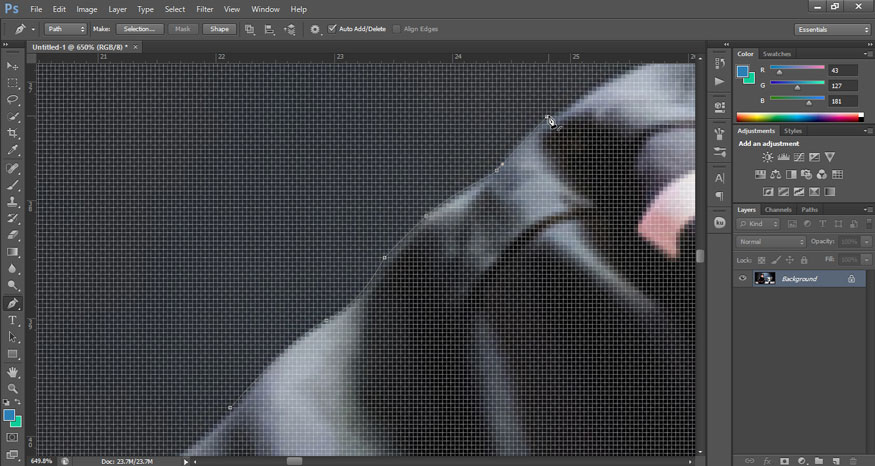
Step 3: Click around the object to the last point and connect to the first selected point so that the entire person is outlined with the Pen Tool.
Step 4: Create a new layer above the layer containing the girl.
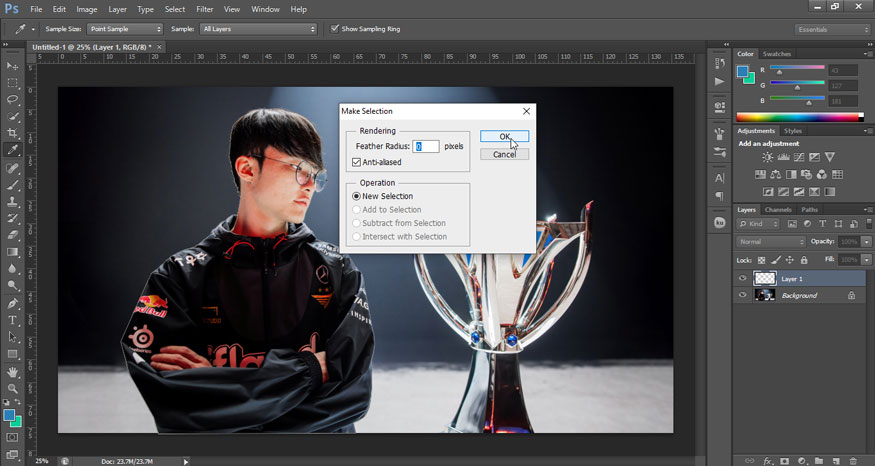
Step 5: With the Pen Tool selected, right-click and select Make Selection. Click OK. Now the character part has been selected.
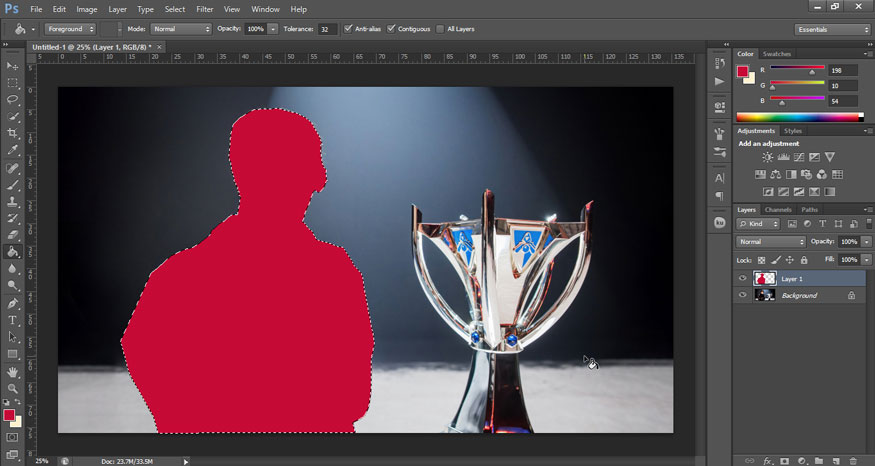
Step 6: On the toolbar, select the Paint Bucket Tool (G), change the foreground color to the color you want, and paint inside your silhouette by clicking anywhere inside the created selection.
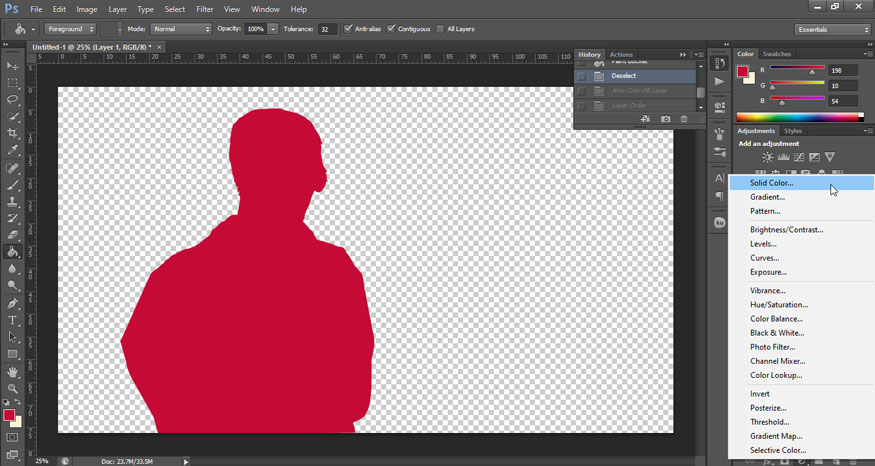
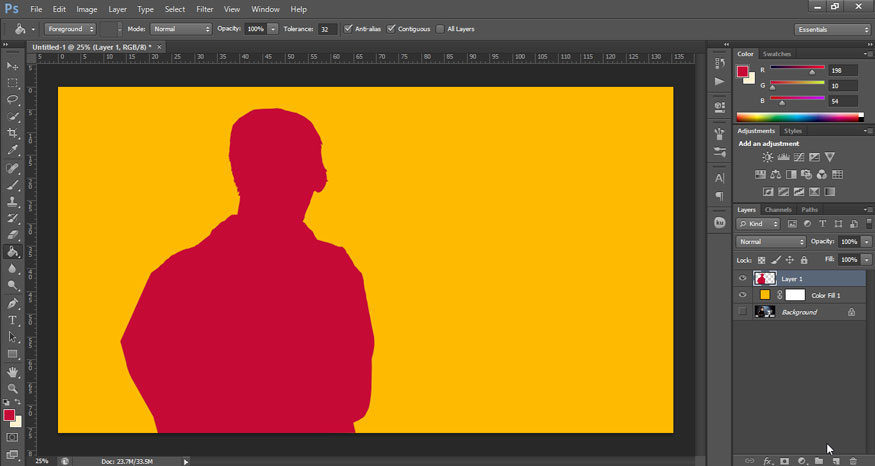
Step 7: To remove the selection, press Ctrl+D. Now, hide the original image by selecting the eye icon of the girl layer on the layers panel. This will make that layer invisible.
In the bottom corner of the layer panel, select Create new fill or adjustment layer => Solid Color, use any color to fill the background.
Then, drag it below the layer with the silhouette. At this point, we get the results as shown.
2. Create a silhouette in Photoshop using the Select tool
The Select => Subject technique is also very suitable for quickly creating silhouettes in Photoshop. This method is best suited for people with curly or straight hair or on images with complex backgrounds.
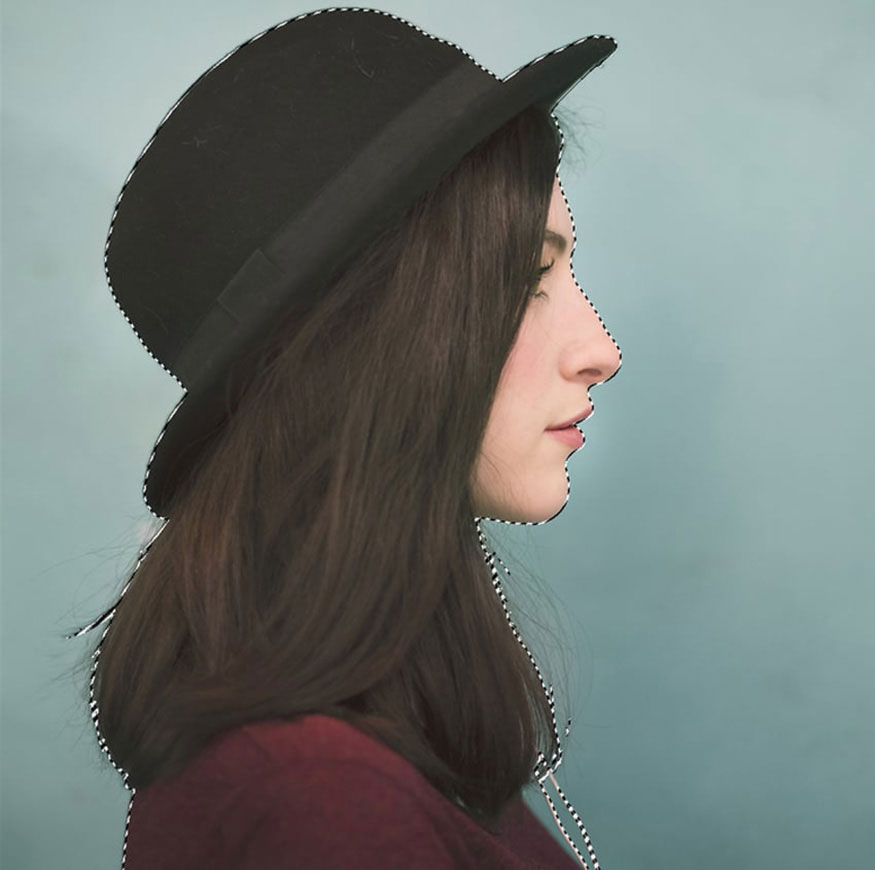
Step 1: Open the image you want to create a silhouette in Photoshop. At the selected portrait layer, go to the menu bar, select Select => Topic.
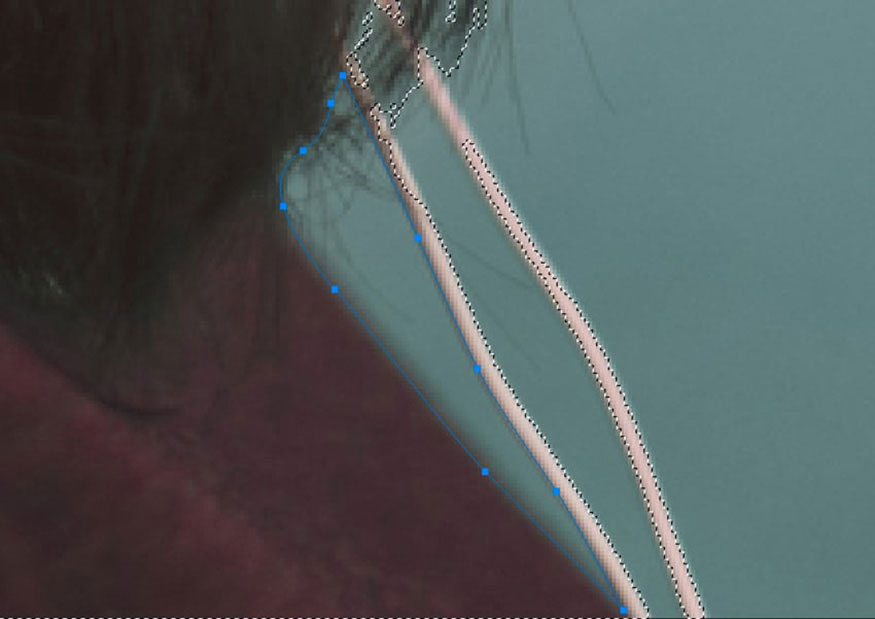
Step 2: Now, we need to remove the area around the two straps of the girl's shirt. Zoom in the image and select the Pen Tool (P), create a selection as shown below.
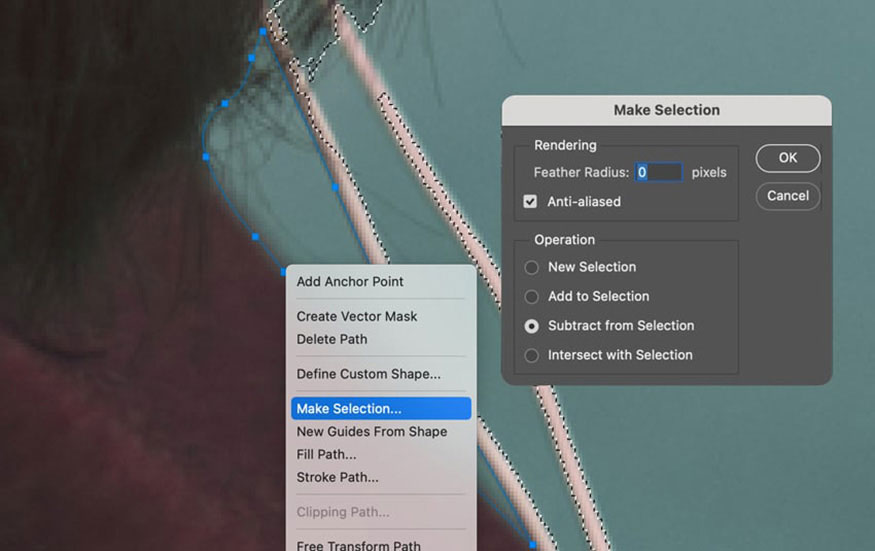
Step 3: With the Pen Tool, continue to right-click and select Make Selection. Make sure Subtract from Selection is checked. Click OK.
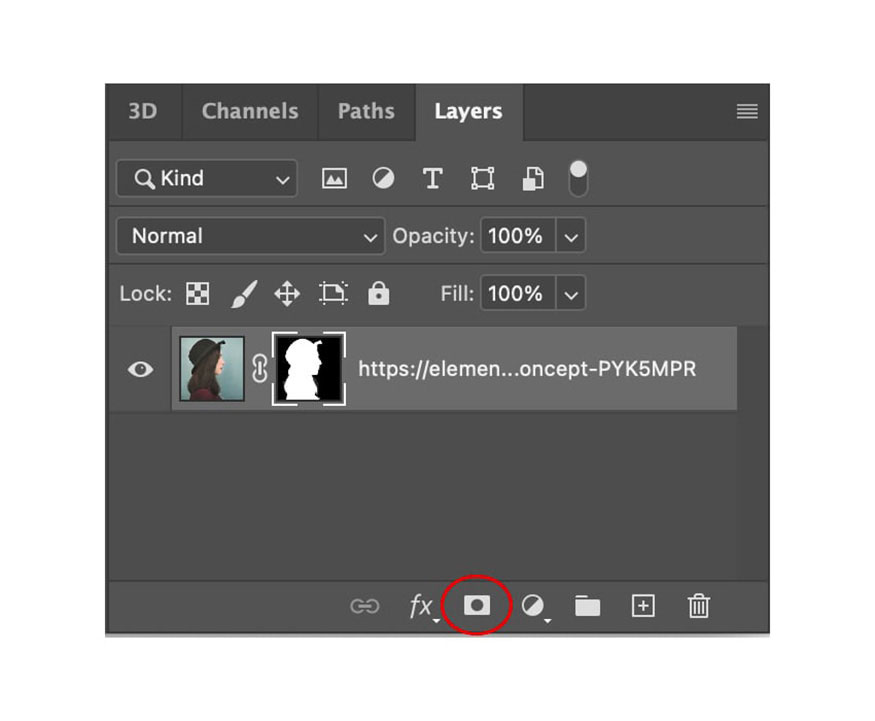
Step 4: Zoom out your image. Add a layer mask to your portrait layer.
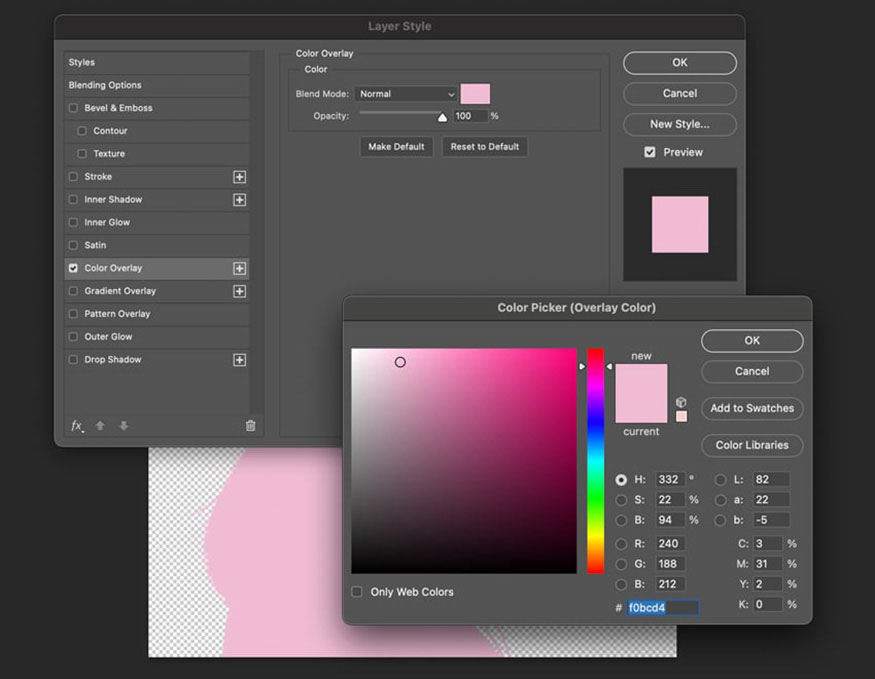
Step 5: Double click on the layer to open the Layer Style dialog box, select Color Overlay with color code #F0BCD4.
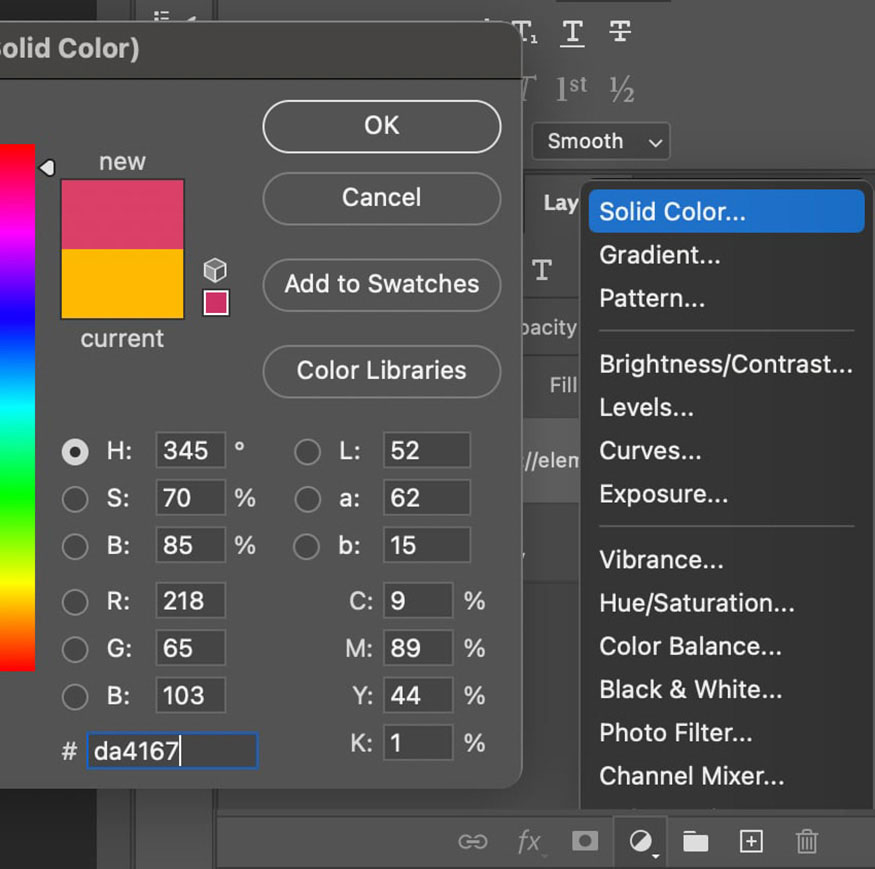
Step 6: On the bottom corner layer panel, select Create new fill or adjustment layer => Solid Color with color code #DA4167. Drag this layer below your silhouette.
So, you quickly finished creating shadows in Photoshop.

3. Create a silhouette in Photoshop with the Quick Selection Tool
To create a silhouette in Photoshop where the subject has complex hair, beard, etc. the Quick Selection Tool is a good choice.
Step 1: Open the photo you want to create a silhouette.
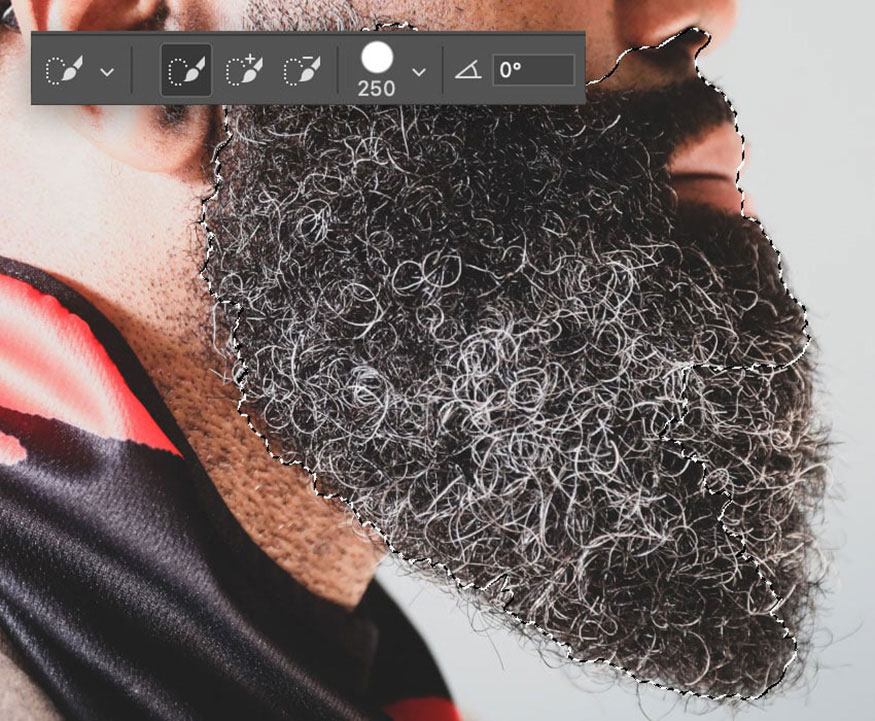
On the toolbar select Quick Selection Tool (W) then click and drag over the image. Let's start with the beard. Make sure your tool setup is like the image below.
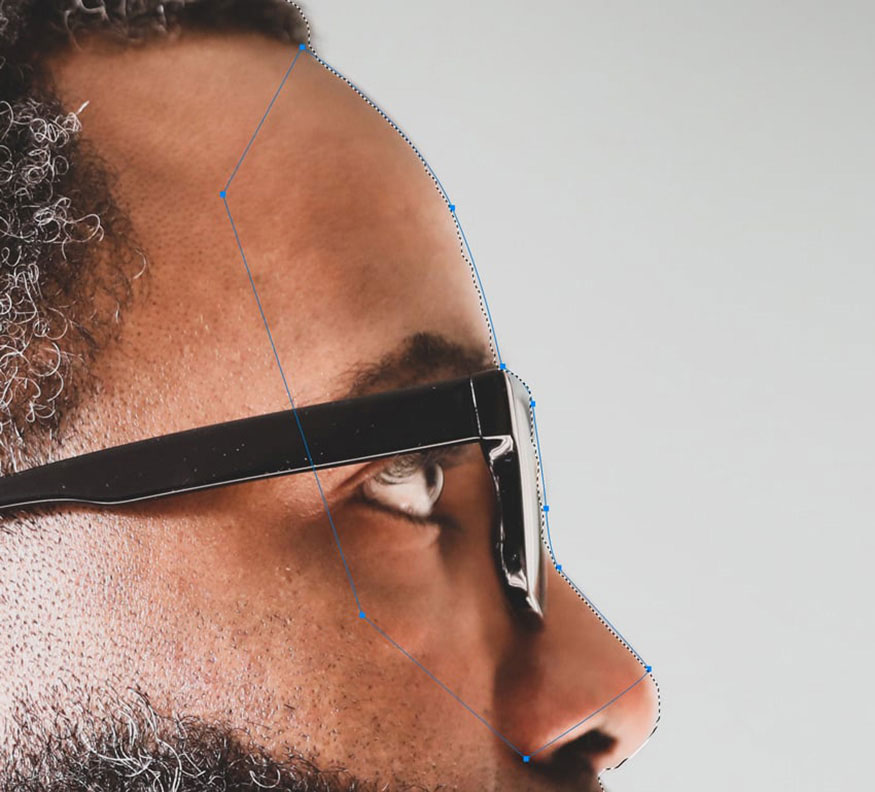
Step 2: Still using the Quick Selection Tool, do the rest of the image. In fact, the selection of Quick Selection Tool doesn't take all of it, so we'll add the unselected areas with the Pen Tool (P). Zoom in the photo and use the Pen Tool to create an outline on his forehead and glasses.
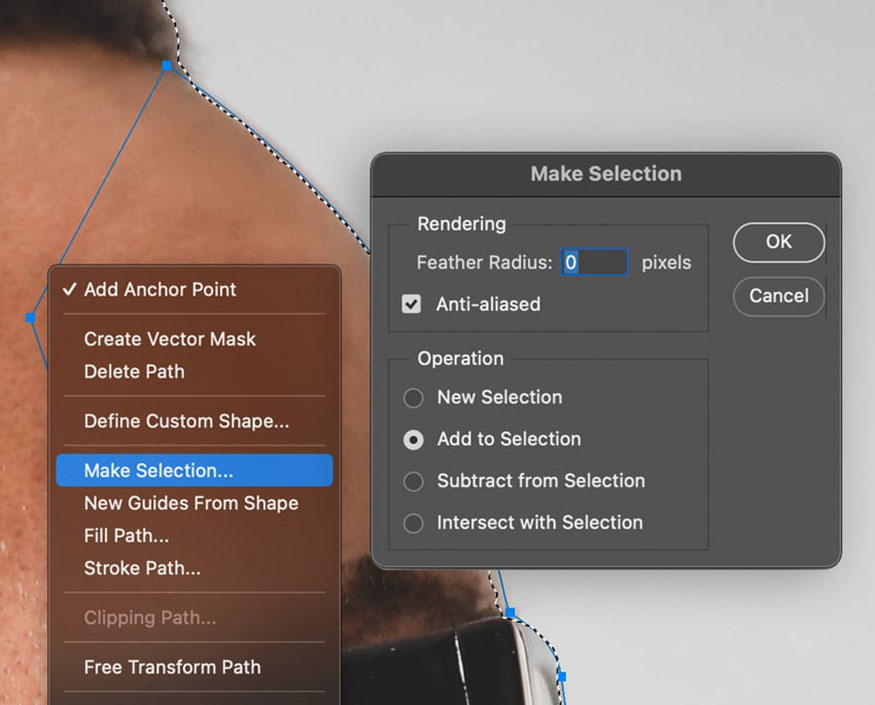
Step 3: Right click => Make Selection and tick Add to Selection. Then click OK.
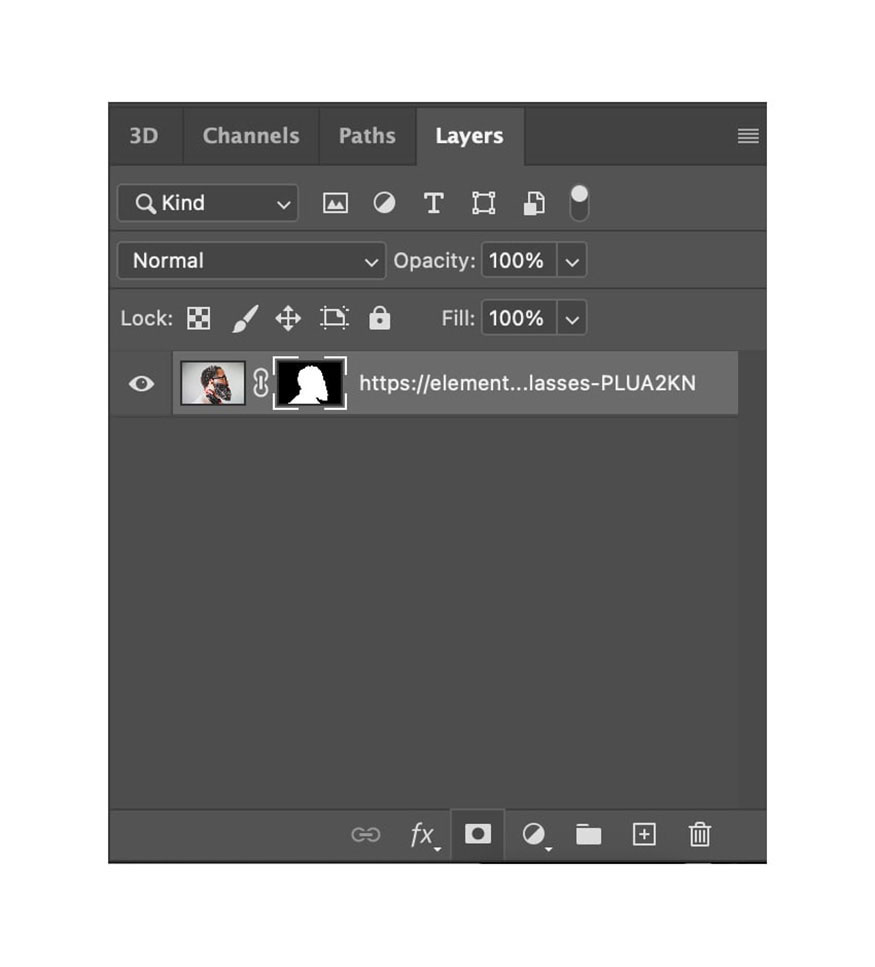
Step 4: Add layer mask for the layer.
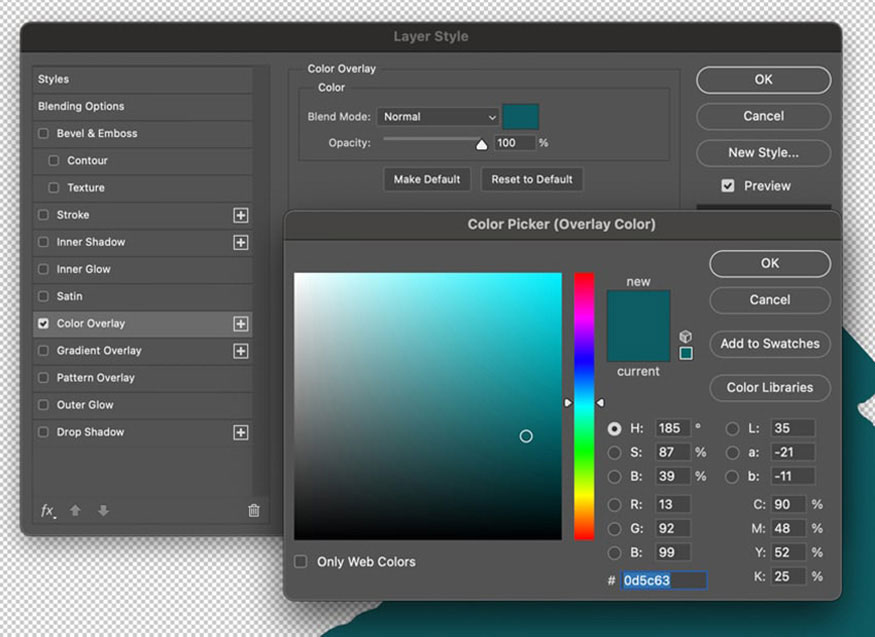
Step 5: Double click on the layer to open the Layer Style dialog box, select Color Overlay color code #0D5C63.
Step 6: Create a Solid Color layer with color code #43BCCD. Drag and place this layer below your silhouette.

This is the result.

Above is a summary of ways to create a silhouette in Photoshop. Depending on the type of image, choose the appropriate method.


VIP Products


Best Selling Products
Capcut Pro 1 Year
39 USD
Upgrade genuine Capture One account
120 USD
Genuine Adobe Illustrator account
99 USD
MidJourney Account
29 USD
Genuine Cheap Canva Pro
39 USD
Freepik Premium Account
59 USD
Adobe Photoshop Copyright - Full App
120 USD
ChatGPT Plus Account (GPT-4)
16 USD
Autodesk All App Account Copyright
120 USD
Plugin Retouch4me
69 USD
Windows 10 & 11 Pro Key
36 USD
Upgrade Duolingo Super
29 USD
Adobe Premiere Pro Account
99 USD
Copyright Adobe Lightroom Account
59 USD
Upgrade Genuine Office 365
49 USD