Best Selling Products

Capcut Pro 1 Year
39 USD

Plugin Retouch4me
69 USD

Adobe Premiere Pro Account
99 USD

Upgrade Duolingo Super
29 USD

Freepik Premium Account
59 USD

Autodesk All App Account Copyright
120 USD

Genuine Adobe Illustrator account
99 USD

Upgrade genuine Capture One account
120 USD

Windows 10 & 11 Pro Key
36 USD

MidJourney Account
29 USD

Genuine Cheap Canva Pro
39 USD

Upgrade Genuine Office 365
49 USD

Copyright Adobe Lightroom Account
59 USD

Adobe Photoshop Copyright - Full App
120 USD

ChatGPT Plus Account (GPT-4)
16 USD
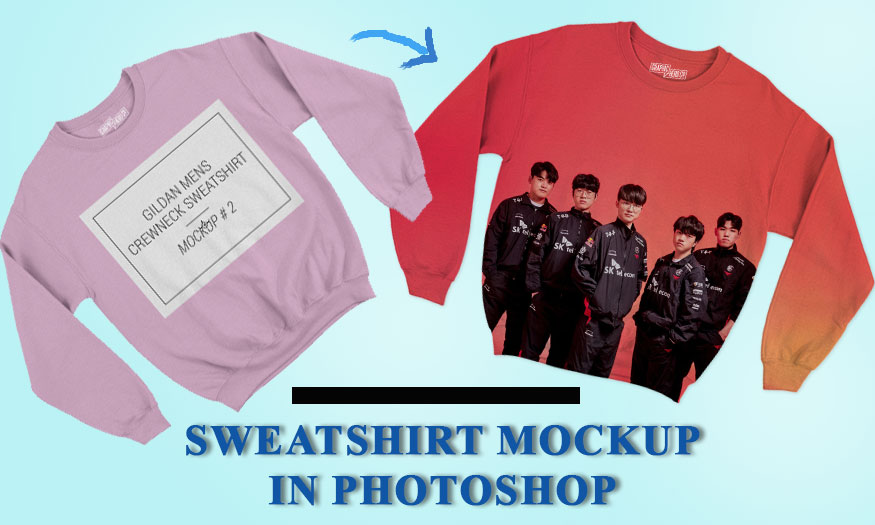
How to sharpen photos in Photoshop
If your photo is blurry, don't worry, we can completely sharpen the image in Photoshop. With the combination of many different tools, your photos will become much sharper and clearer. Please join SaDesign to see details on how to do this through the sharing below.

If your photo is blurry, don't worry, we can completely sharpen the image in Photoshop. With the combination of many different tools, your photos will become much sharper and clearer. Please join SaDesign to see details on how to do this through the sharing below.

To make a blurry photo sharper, you need to do the following steps:
Step 1: First we need to download the blurry photo that you want to sharpen in Photoshop it up.

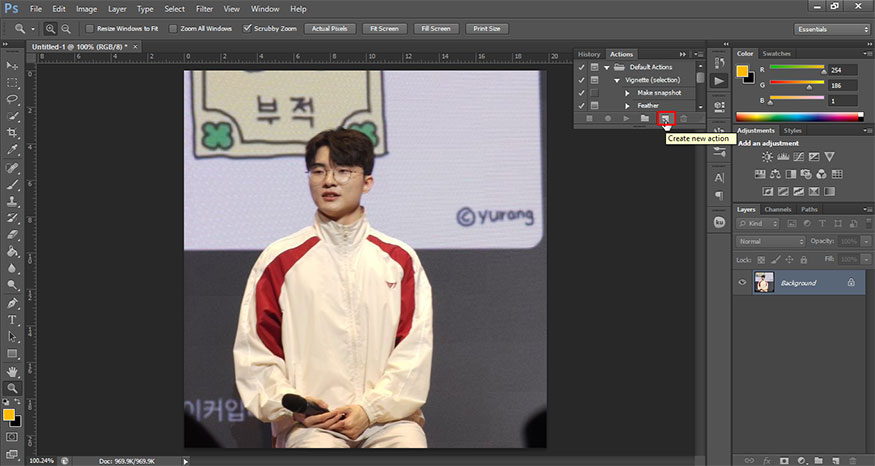
Step 2: On the menu bar, select Window => Action.
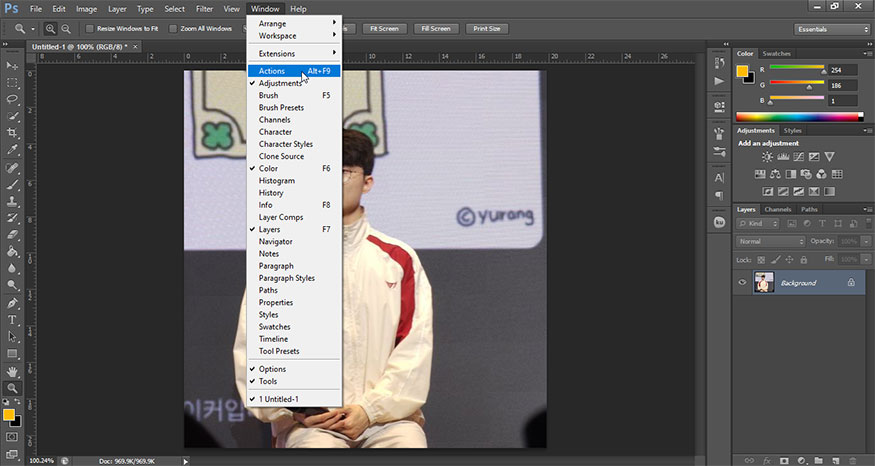
In the Actions panel, select Create a new action.
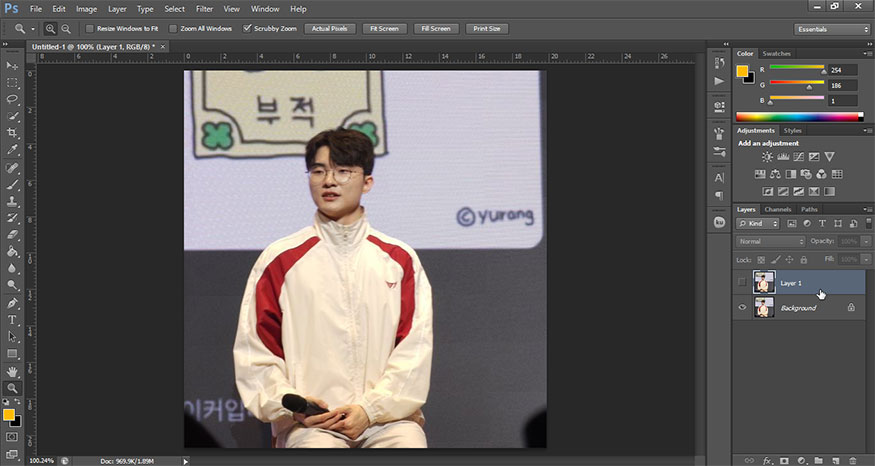
Step 3: Duplicate the background layer by pressing Ctrl+J and hide the copied layer. This copy will allow us to quickly compare versions.
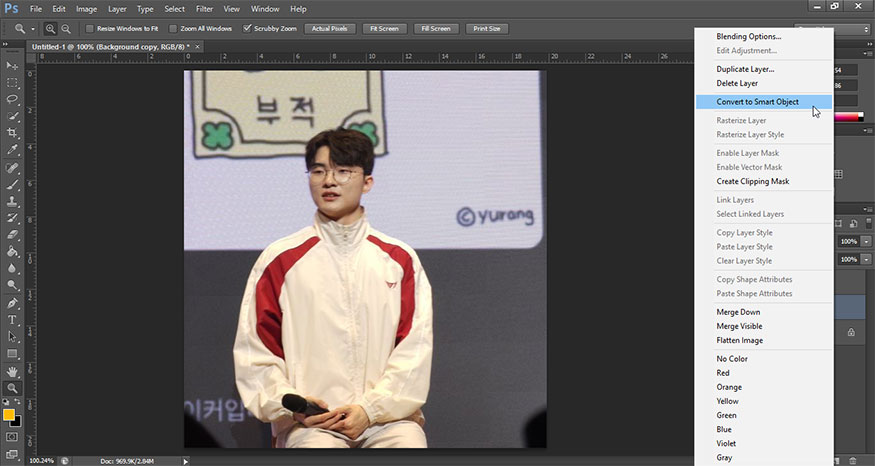
Step 4: Go back to the background layer and duplicate it again to have a copy background layer. Right click on this layer and select Convert to Smart Object. We will be able to adjust the filters after adding them.
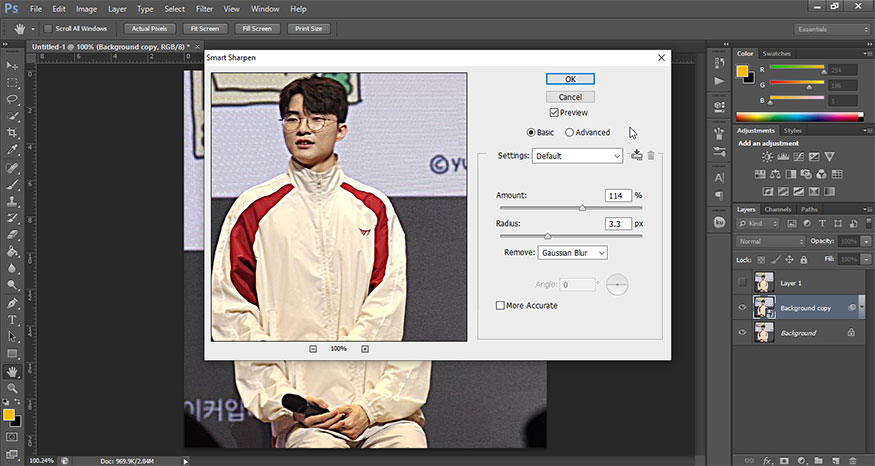
Step 5: Go to Filter => Sharpen => Smart Sharpen.
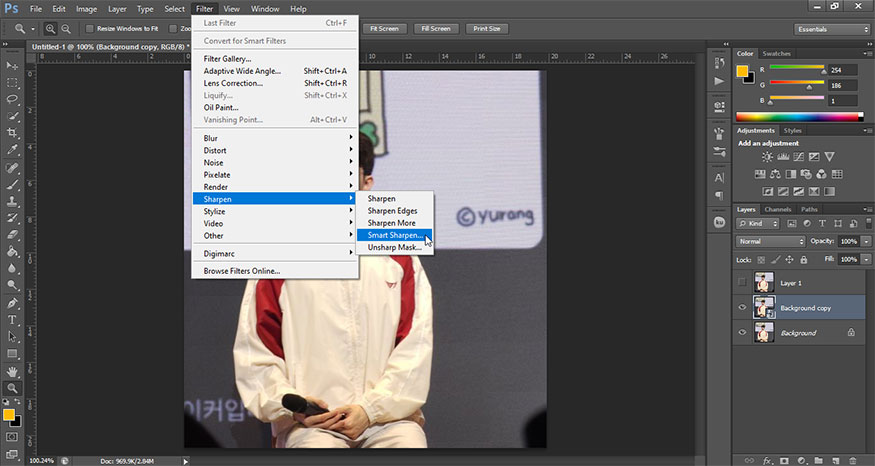
Drag the slider until the edges start to glow, then reduce the effect a bit to find the perfect spot.
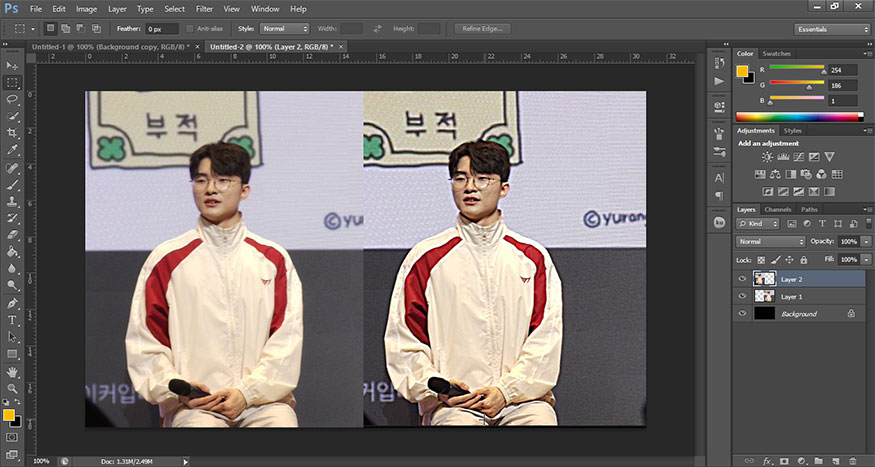
Step 6: Now you can pause the Action and compare the current result with the original result. The photo has obviously been sharpened already, but we can make it even sharper.
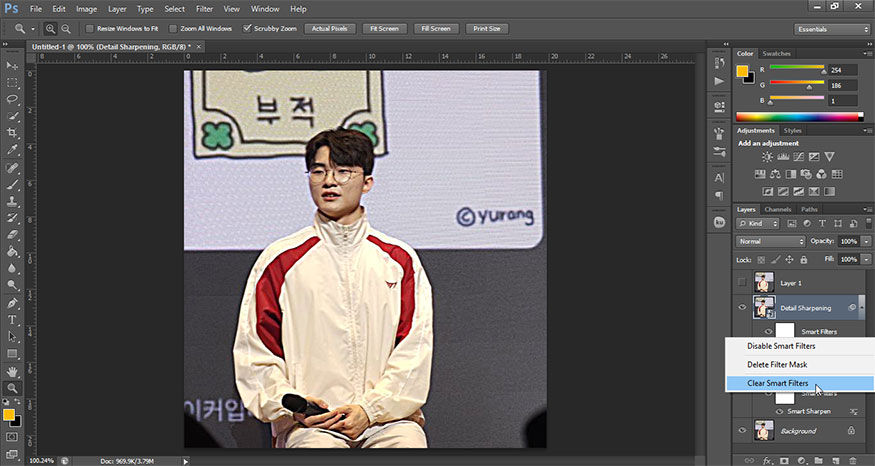
Continue recording the action and duplicate the background copy layer. Right click and select Clear Smart Filters. Name this layer “Detail Sharpening”.
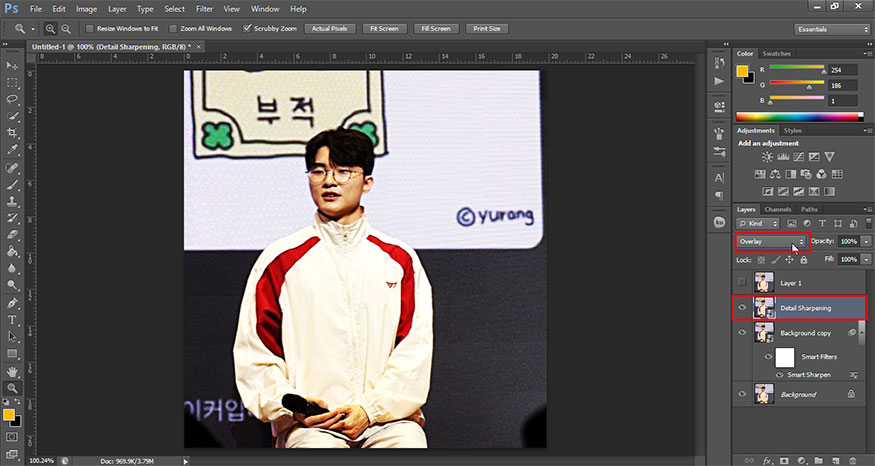
Step 7: Change this layer's Blend Mode to Overlay. The color will burn out, but this is only temporary.
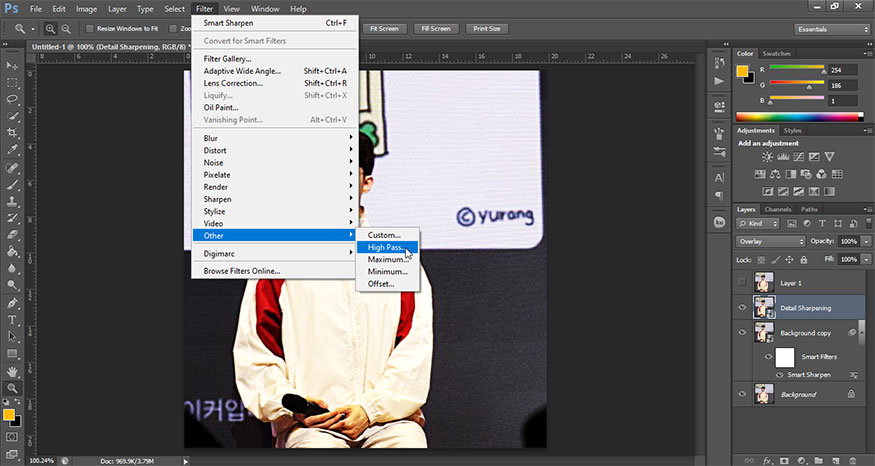
Step 8: On the menu bar, go to Filter => Other => High pass. Adjust the radius to only see the subtle white lines.
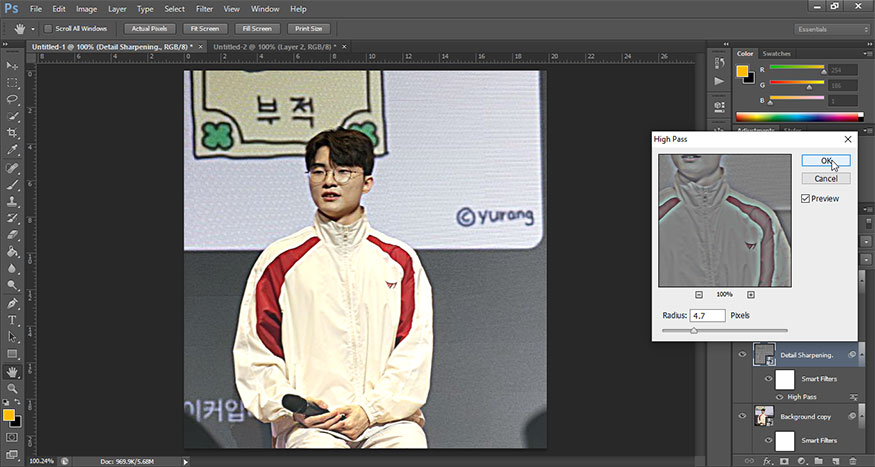
Step 9: Now if you compare the results of the before and after photos, the difference is quite obvious.
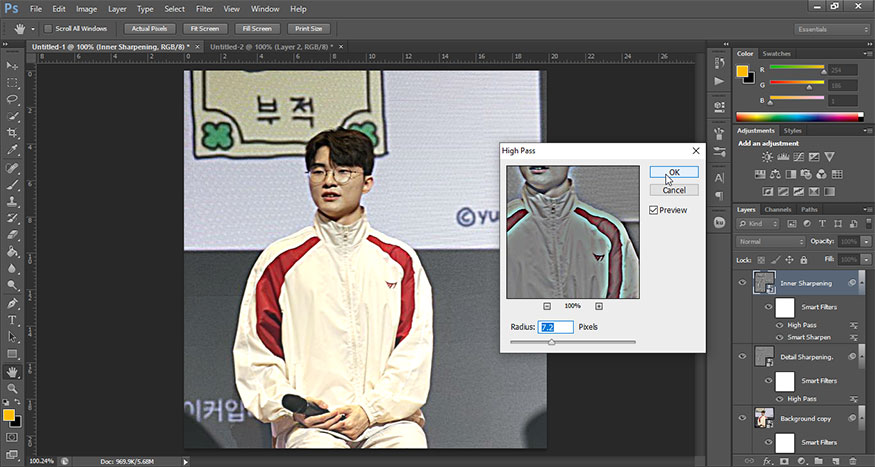
But we can make the photo even better. Duplicate this layer again and increase the High Pass to overexpose the effect a bit. Name this layer “Inner Sharpening”.
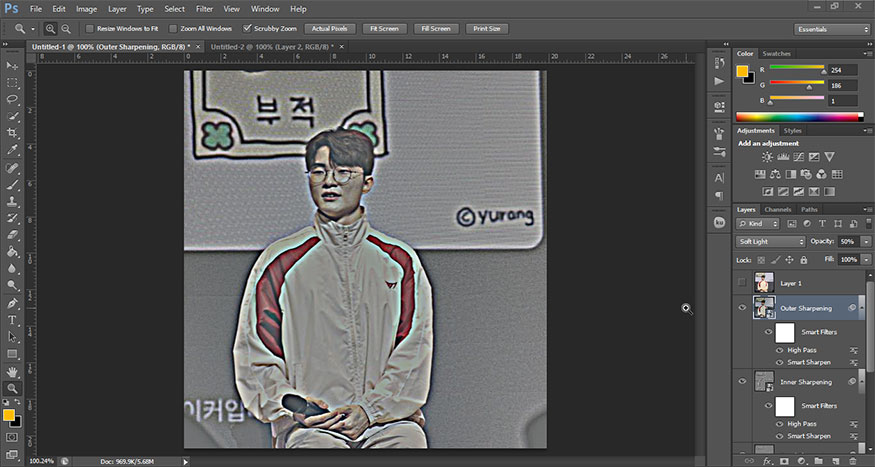
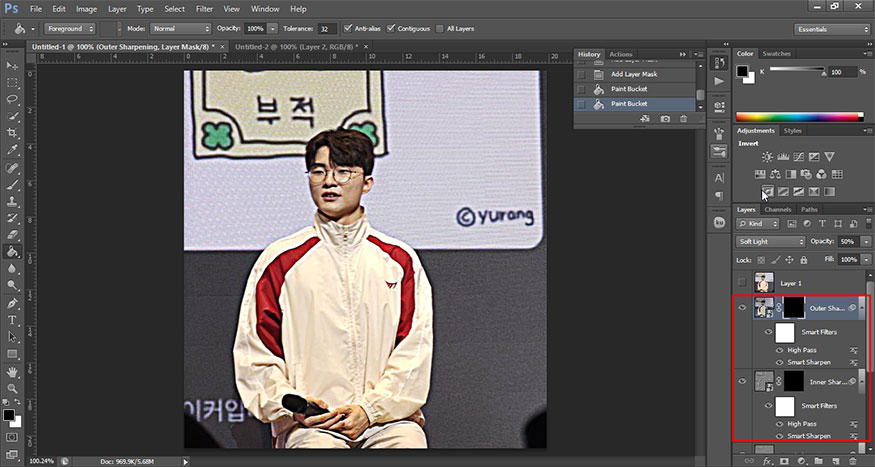
Step 10: Duplicate this layer again and increase the High Pass even more, focus on the out-of-focus areas and try to sharpen them this way. Name this layer “Outer Sharpening”, change the Blend Mode to Soft Light and reduce the Opacity to about 50%.

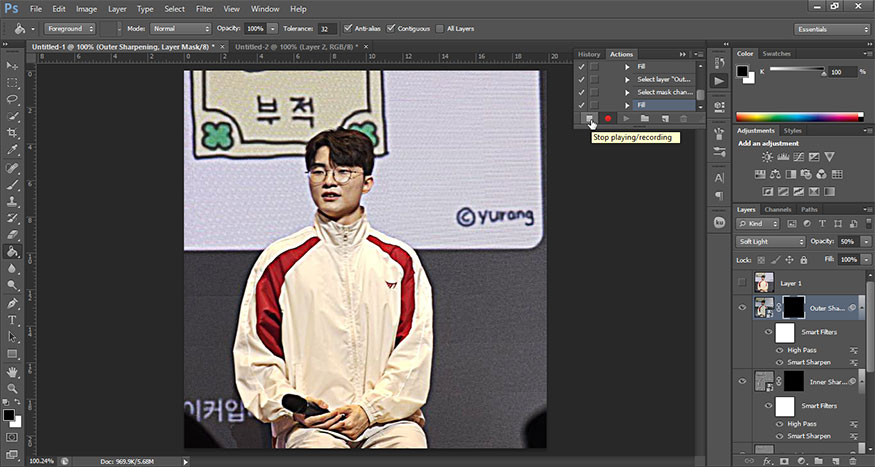
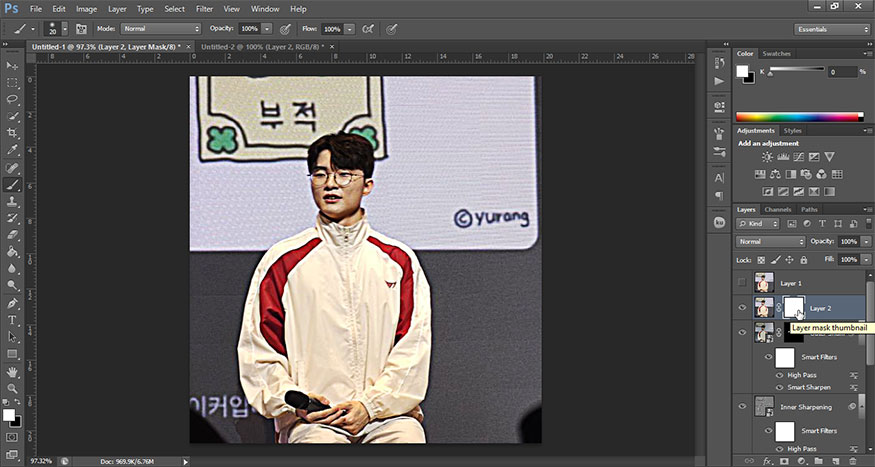
Step 11: Add a Layer Mask to both layers and fill them with black using the Paint Bucket Tool (G). This will make these layers invisible.
Step 12: Stop recording Action. This is the end of the automated process and the rest needs to be done manually.
First, select the layer mask of the Inner Sharpening layer and grab a Soft Round Brush. Paint white on the areas you want to sharpen.
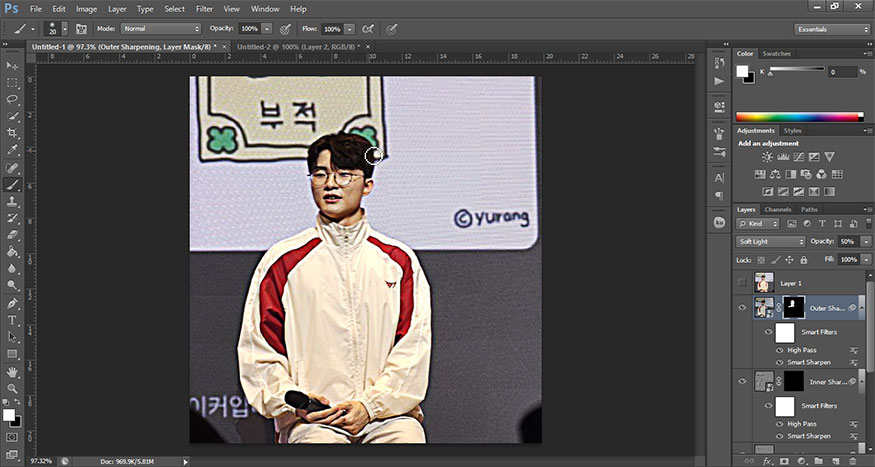
Step 13: Do the same with the Outer Sharpening layer, you paint over the unclear area to make it less blurry.

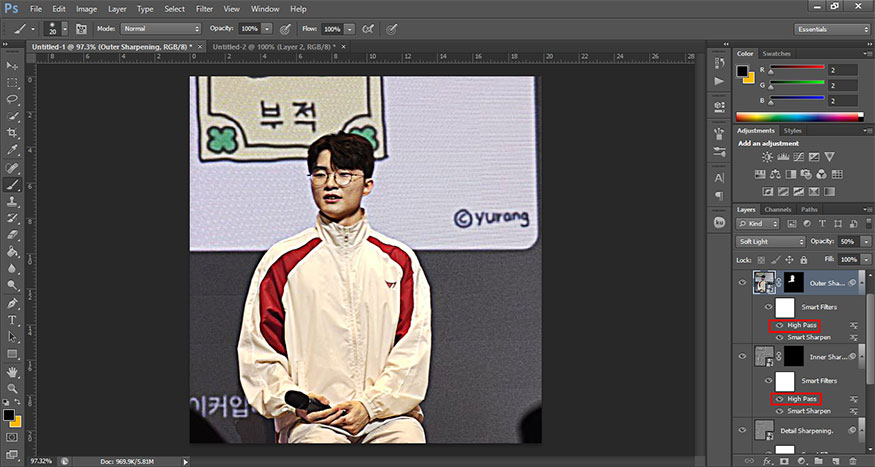
Step 14: Now, you can freely adjust the sliders of the previously applied filters to set the level of sharpening for blurry images. You can also change the Opacity to quickly make the effect weaker or duplicate a layer to make the effect stronger. You can experiment to create an effect that you like.
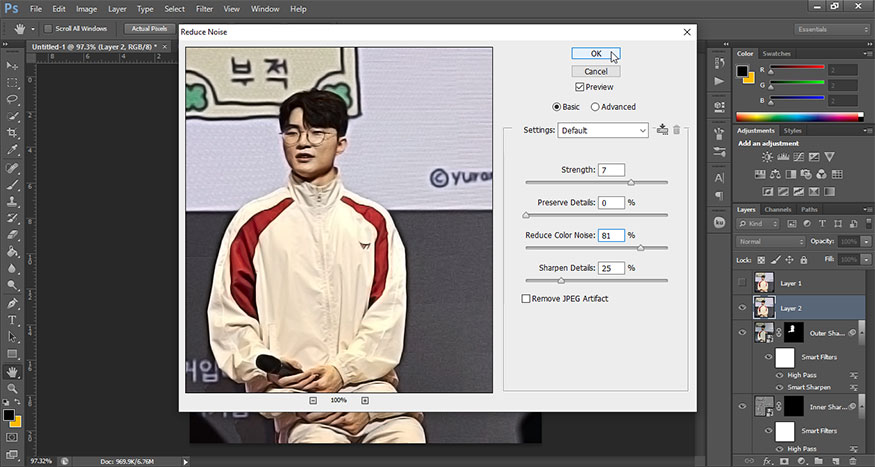
Step 15: Test your final result at various zoom levels. If you need your image to look good at the highest resolution, you can take it one step further. Select the top layer and press Ctrl+Shift+Alt+E to create a merged layer. Then go to Filter => Noise => Reduce Noise. Make customizations for best results.
Step 16: Hold down the Alt key and drag the mask from the Inner Sharpening layer to the current layer, then invert it with Ctrl+I, this will exclude the most important details from this effect.
So, you have finished sharpening the image in Photoshop, and the results are sharper.

Above is general information on how to sharpen images in Photoshop. Please customize the parameters to get the best results.
See more:


VIP Products


Best Selling Products
Capcut Pro 1 Year
39 USD
Plugin Retouch4me
69 USD
Adobe Premiere Pro Account
99 USD
Upgrade Duolingo Super
29 USD
Freepik Premium Account
59 USD
Autodesk All App Account Copyright
120 USD
Genuine Adobe Illustrator account
99 USD
Upgrade genuine Capture One account
120 USD
Windows 10 & 11 Pro Key
36 USD
MidJourney Account
29 USD
Genuine Cheap Canva Pro
39 USD
Upgrade Genuine Office 365
49 USD
Copyright Adobe Lightroom Account
59 USD
Adobe Photoshop Copyright - Full App
120 USD
ChatGPT Plus Account (GPT-4)
16 USD