Best Selling Products

Genuine Adobe Illustrator account
99 USD

Adobe Premiere Pro Account
99 USD

Plugin Retouch4me
69 USD

Upgrade Duolingo Super
29 USD

Upgrade genuine Capture One account
120 USD

Autodesk All App Account Copyright
120 USD

Genuine Cheap Canva Pro
39 USD

ChatGPT Plus Account (GPT-4)
16 USD

Copyright Adobe Lightroom Account
59 USD

Upgrade Genuine Office 365
49 USD

Windows 10 & 11 Pro Key
36 USD

MidJourney Account
29 USD

Capcut Pro 1 Year
39 USD

Freepik Premium Account
59 USD

Adobe Photoshop Copyright - Full App
120 USD
Develop a trifold brochure template in Photoshop with SaDesign
Nội dung
Brochure is a form of advertising leaflet designed and printed eye-catchingly with the purpose of providing core information about the products and services. If you are interested in how to create a trifold Brochure template in Photoshop, please refer to the content that SaDesign brings in the following article.

Brochure is a form of advertising leaflet designed and printed eye-catchingly with the purpose of providing core information about the products and services. If you are interested in how to create a trifold Brochure template in Photoshop, please refer to the content that SaDesign brings in the following article.

1. How to set up a tri-fold brochure
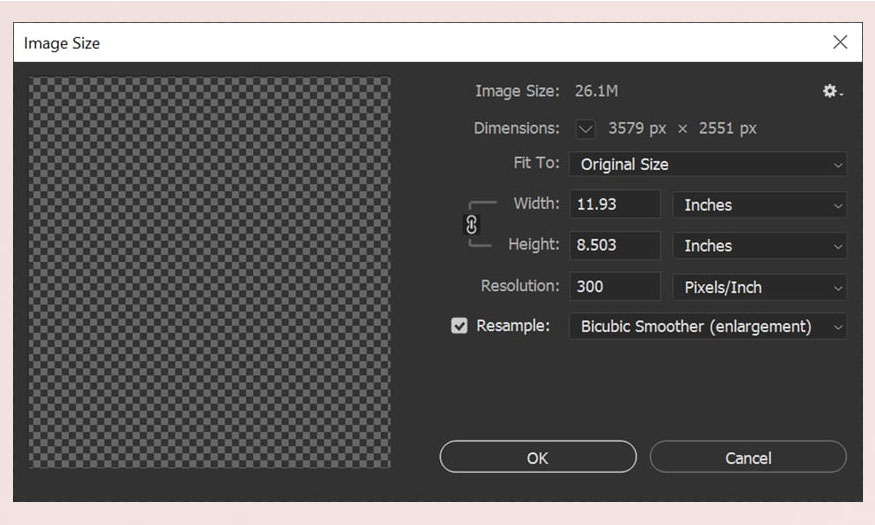
- Step 1: There are many options for tri-fold brochure sizes today, the most popular of which is 11.93 x 8.503 inches, so you can apply this size sample for your design.
Be sure to set the resolution to 300 so that the image after printing is clear and sharp.
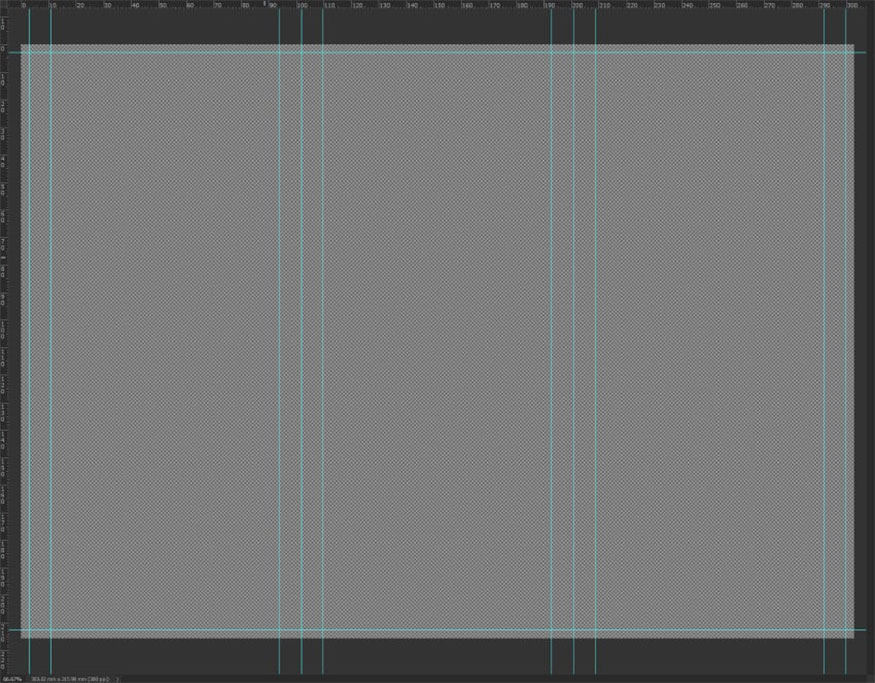
- Step 2: After designing the appropriate size, set up each specific item.
First of all, there will be a "bleed" guide as well as a "folding" guide so that we know where the tri-fold leaflet will be folded after printing.
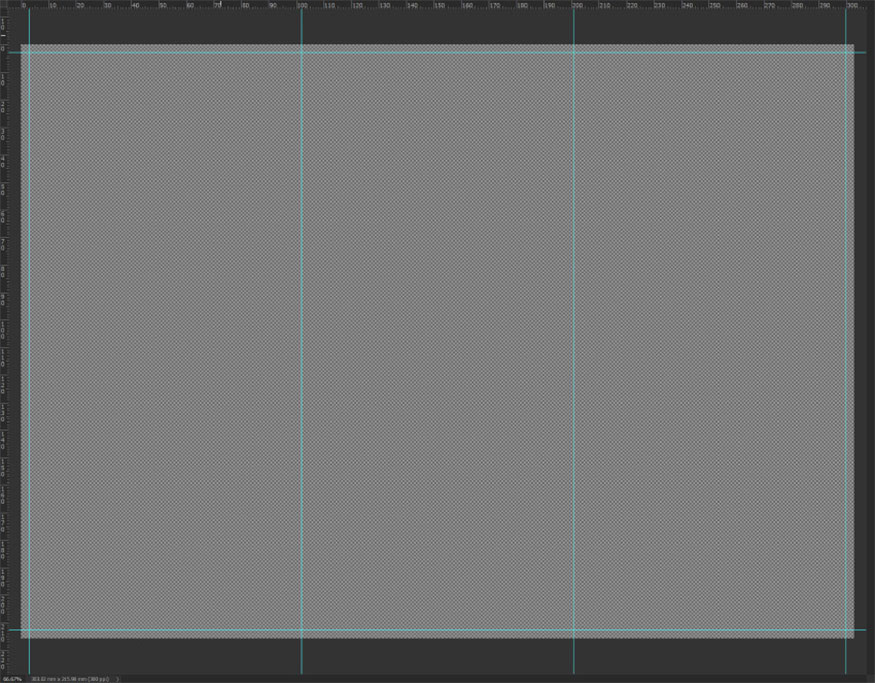
Press Ctrl-R to turn on the ruler in Photoshop, then right-click and select Millimeters.
Click and drag on the ruler to create guides. Use the “height” ruler on the left for vertical guides and the “length” ruler for horizontal guides.
Place 4 vertical guides at points 3, 102, 201 and 300 mm. For the example below we are creating three 99 mm columns.
- Step 3: Set 2 horizontal guides at 33 and 213 mm to limit the size of the Brochure document.
- Step 4: Create a content area in the Brochure document size, important content and text will be in these lines.
First place the vertical lines at 11, 94, 110, 193, 209 and 292 mm.
- Step 5: Complete the guides by placing two horizontal guides at 11 and 20 mm. This gives us three 83 x 194 mm panels three times the size. This number will vary depending on the Brochure model you choose.
If you're creating a Brochure with a front and a back, go ahead and save two versions of this document.
2. Design a background for a tri-fold flyer.
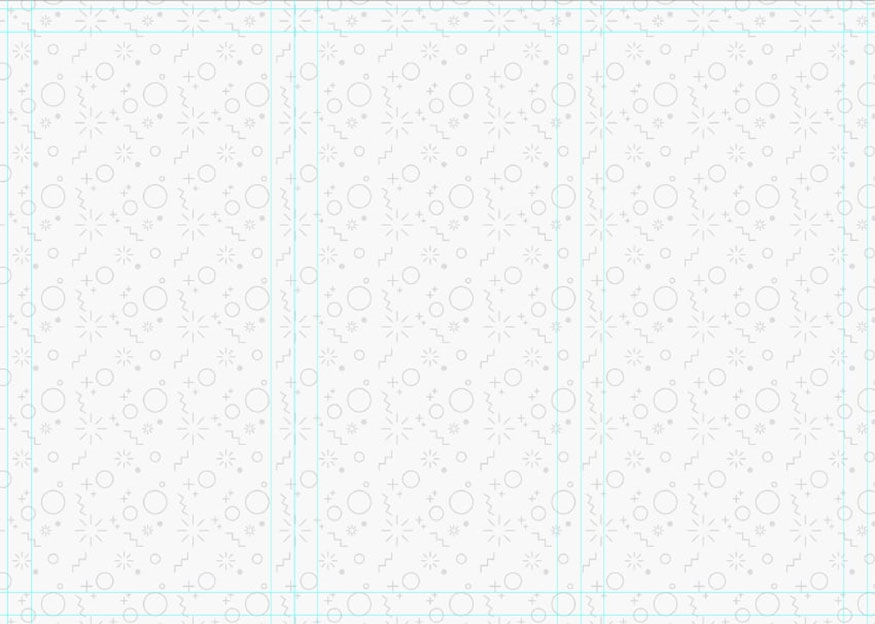
- Step 1: For the front document, use the Shape tool to create a white rectangle of the same size with canvas.
Add a Pattern Overlay effect to the shape, using the black and gray from this template.
Reduce the Opacity of the Pattern Overlay to 10%, set the Size to 25%.
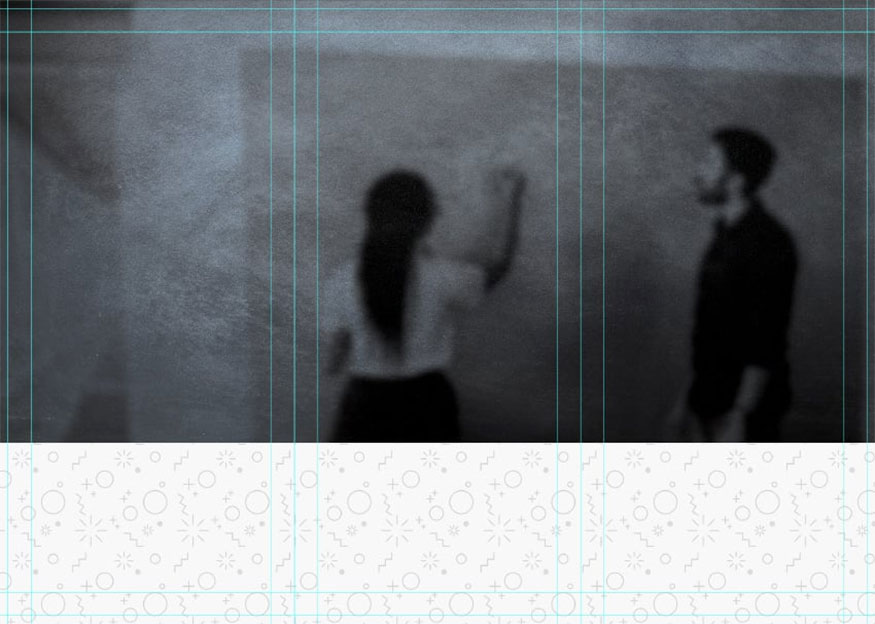
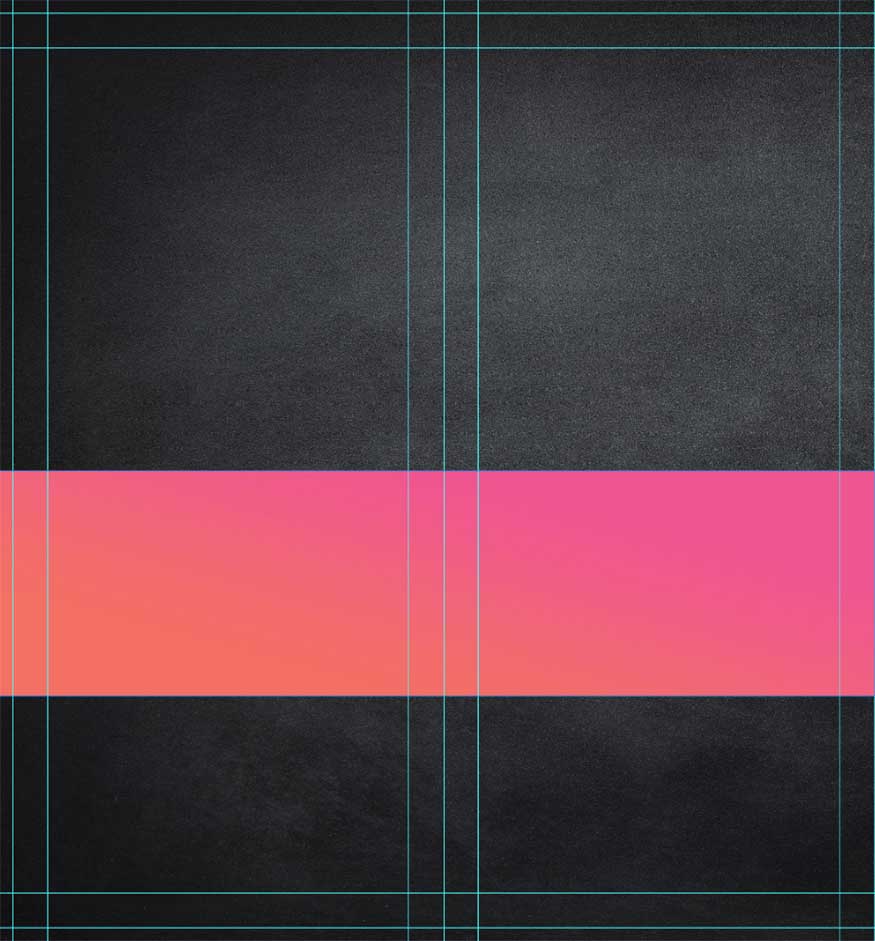
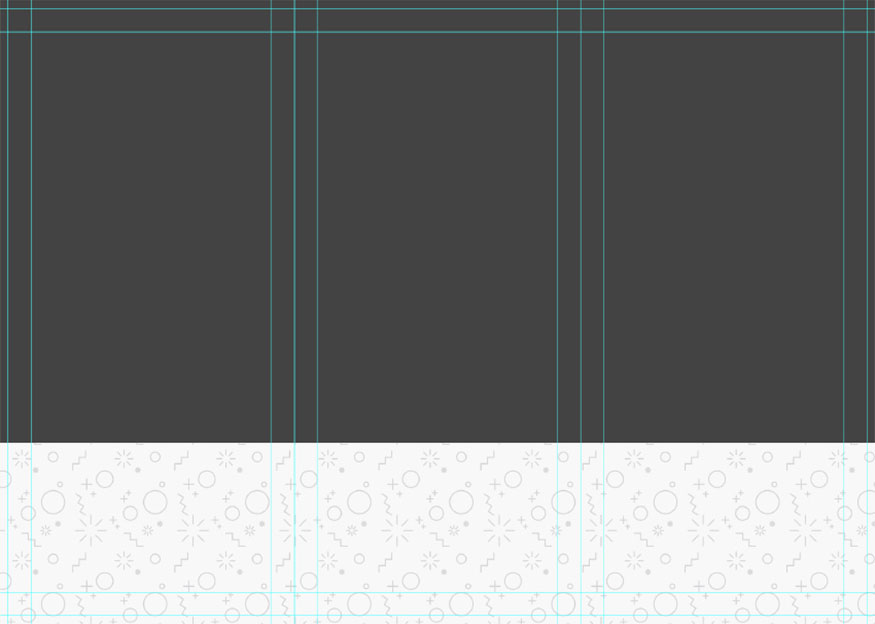
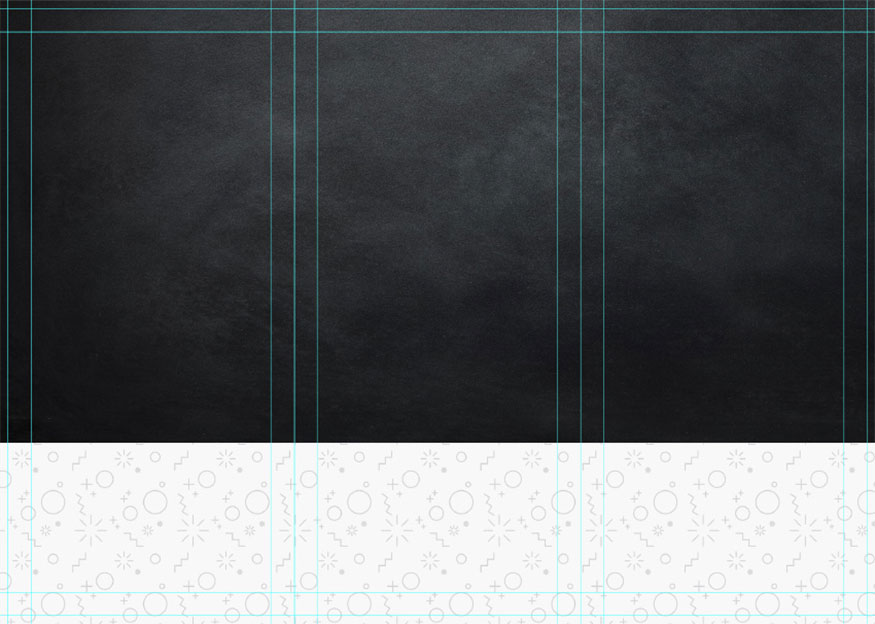
- Step 2: Still in the front document, create a rectangle measuring 303 x 153mm towards the top of the canvas and choose any color you want. Make sure they cover the entire Brochure leaflet size.
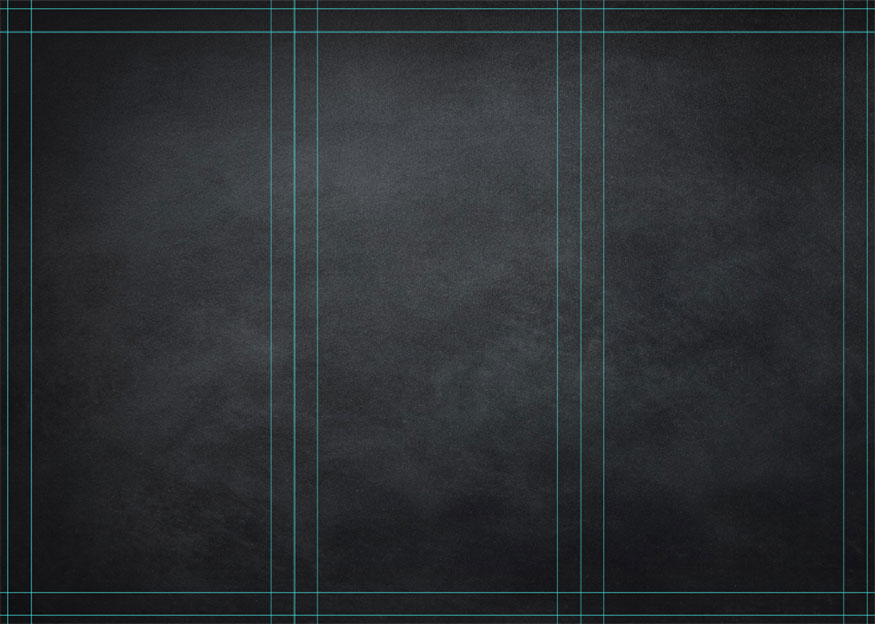
- Step 3: Cut the Blackboard or Chalkboard photo into a rectangle.
- Step 4: Switch to the back document and place the same blackboard texture to fill the entire canvas.
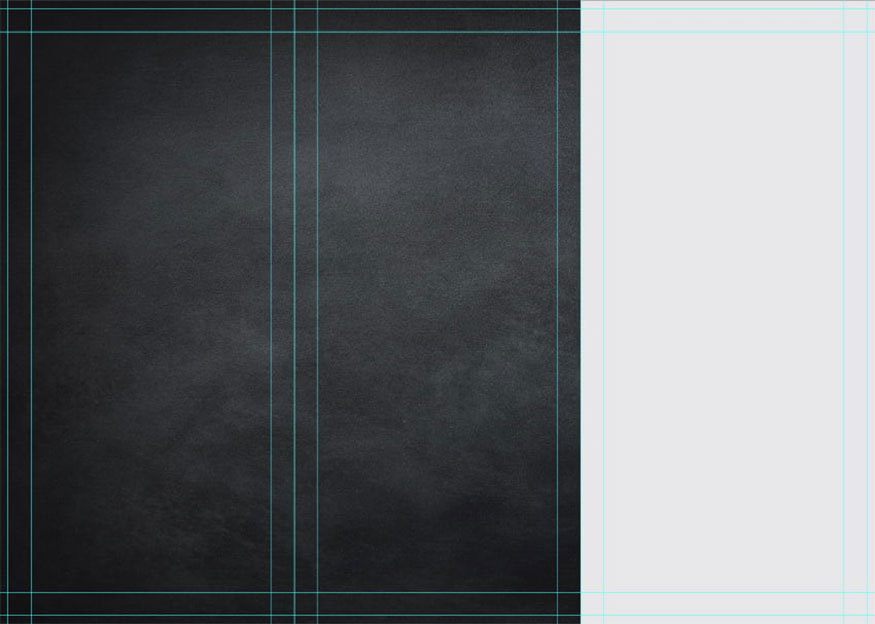
- Step 5: Place a 102 x 216 mm rectangle with color code #e6e7e8 light gray on the right side of the “Back” document. This rectangle must align with the rightmost "folding" guide.
- Step 6: Switch to the front-facing document, place and crop the image from above the blackboard texture. Set Layer Mode to Overlay.
Then go to Filter => Blur => Gaussian Blur. Then group these layers into a group named “Background”, do the same for the background layers of the document behind.
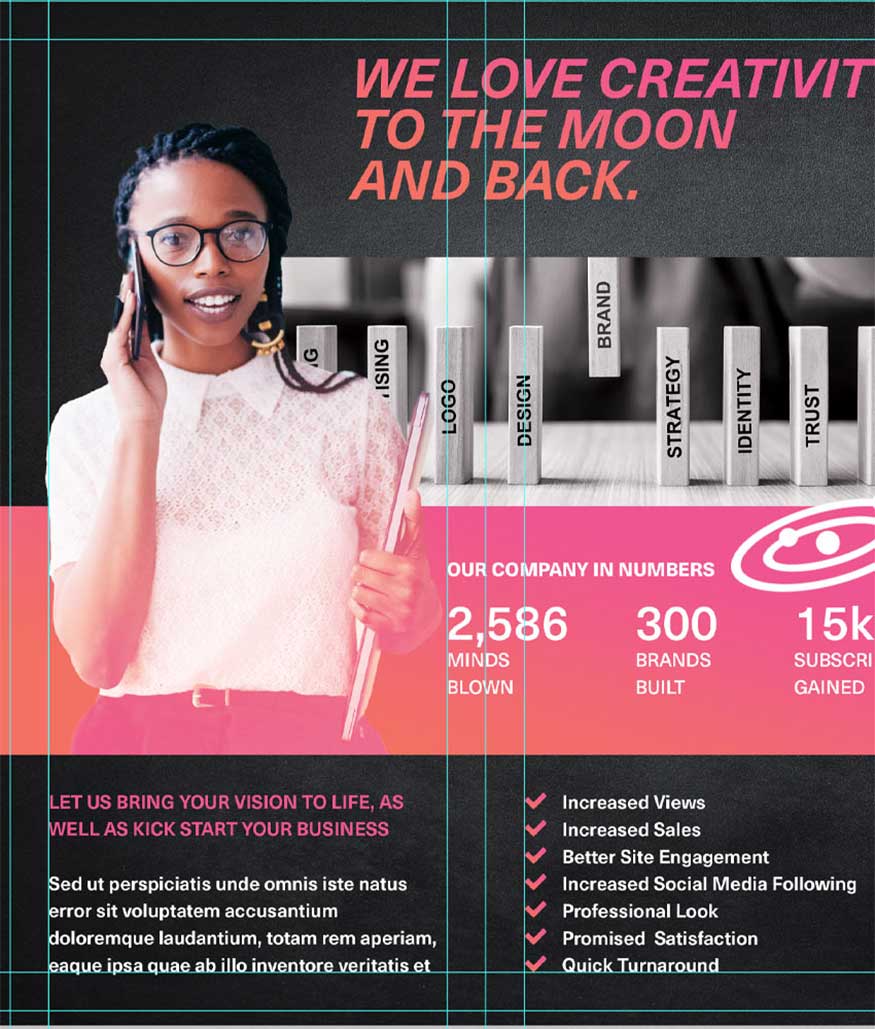
3. How to create the front of a Brochure design
First, we need to start with the front of the document template:
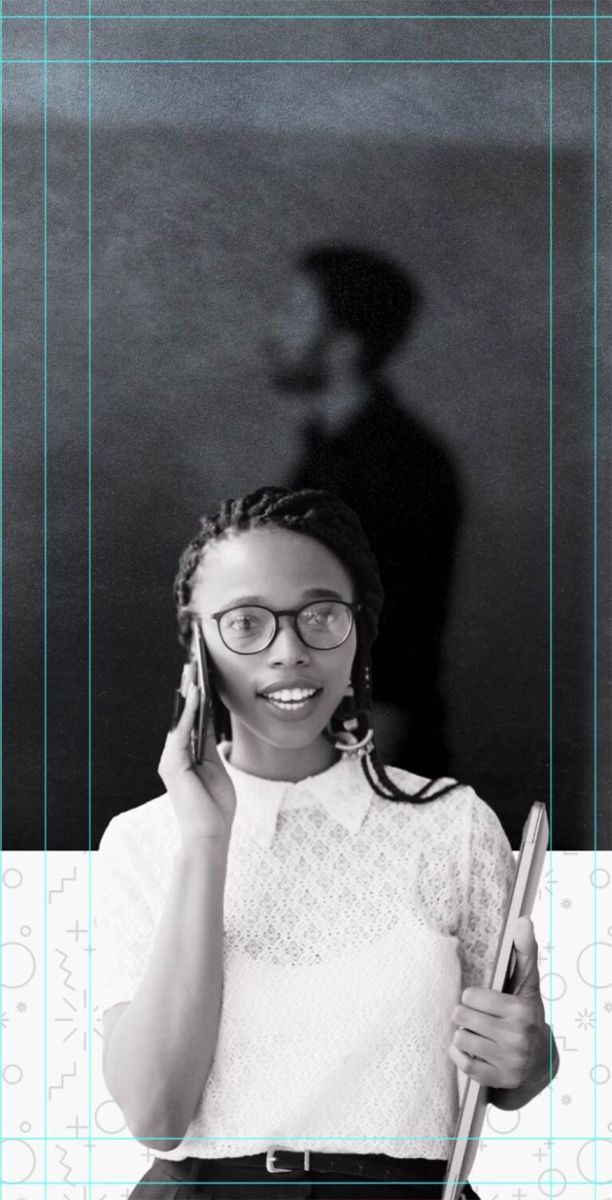
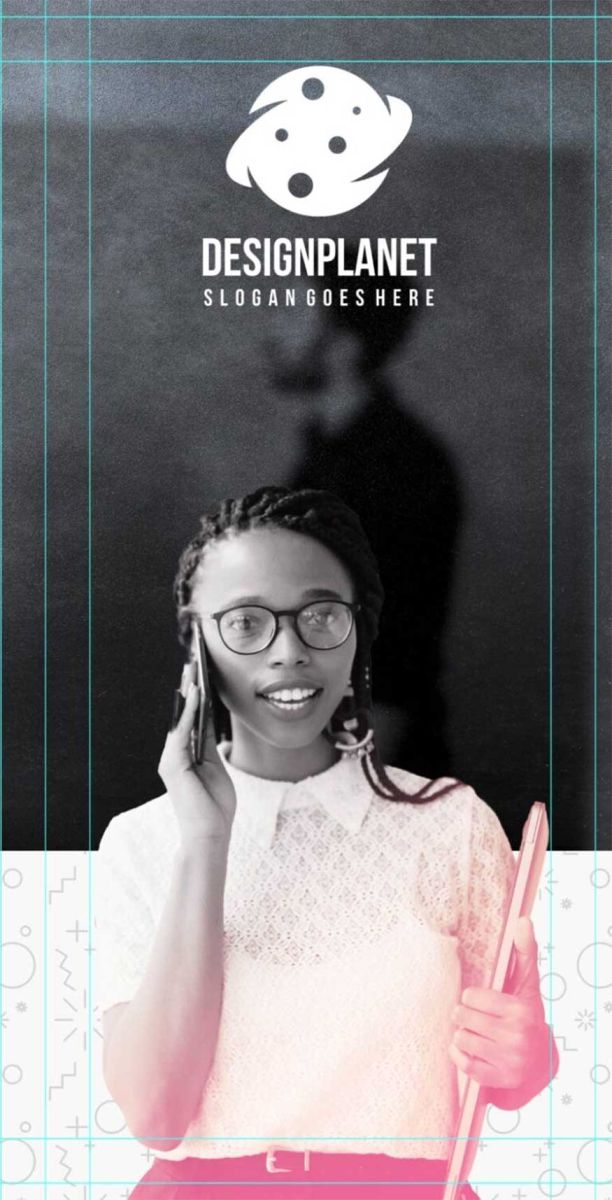
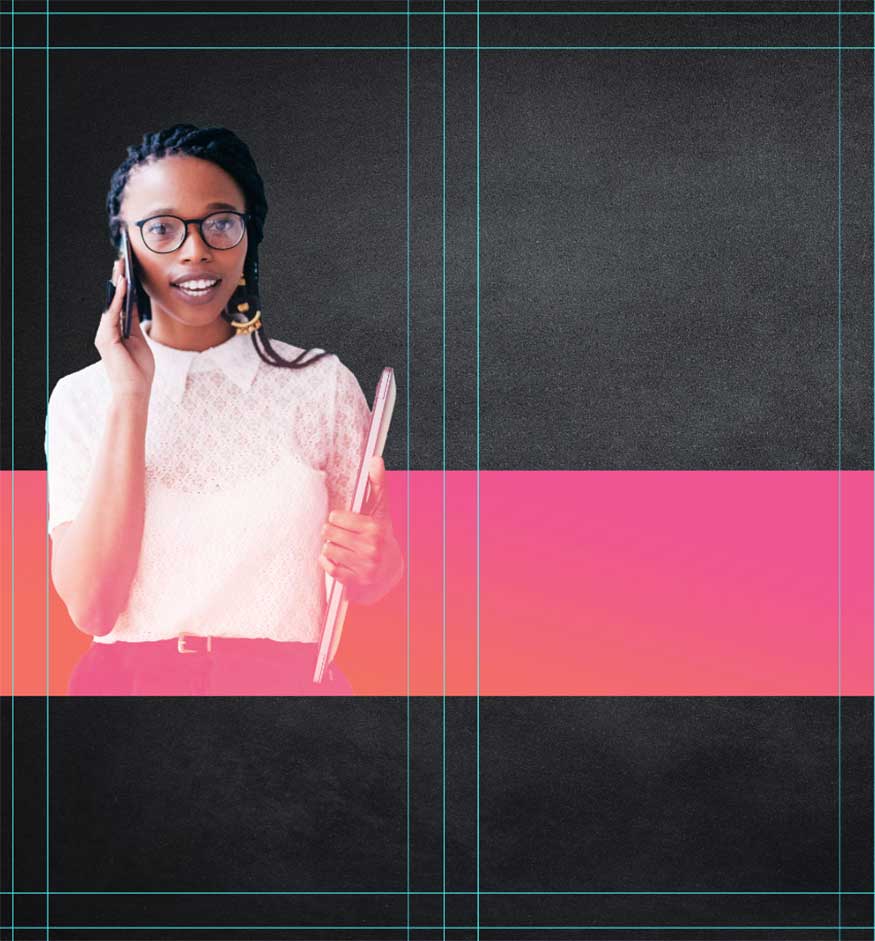
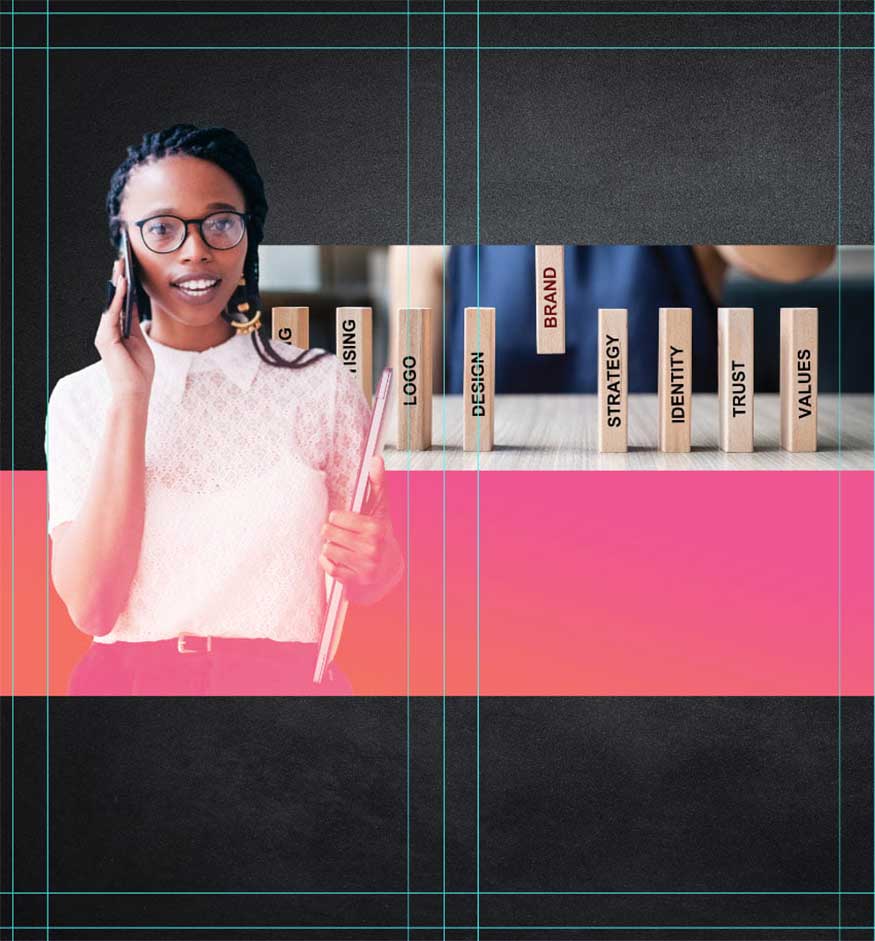
- Step 1: We will start with the rightmost panel, extracting and setting the theme.
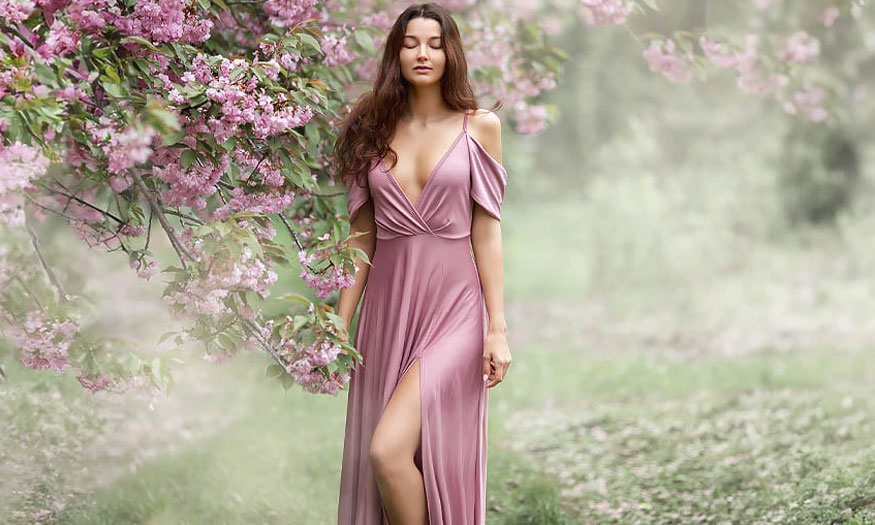
In the example below we will use a stock image with a businesswoman holding a phone. Perform model extraction with the Select Subject tool.
Next, make your object grayscale by going to Image => Adjustments => Hue/Saturation.
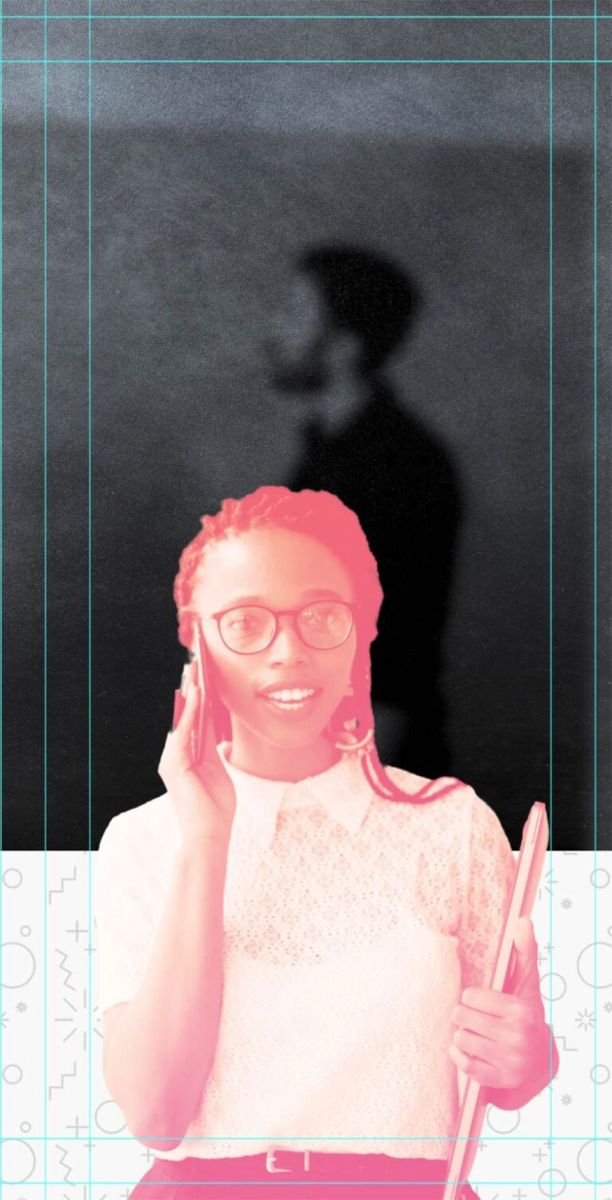
- Step 2: Create a gradient fill layer pink color (code #ef5591) to orange (code #f26f64).
Set Style: Linear and Angle: 90, then crop them to the subject.
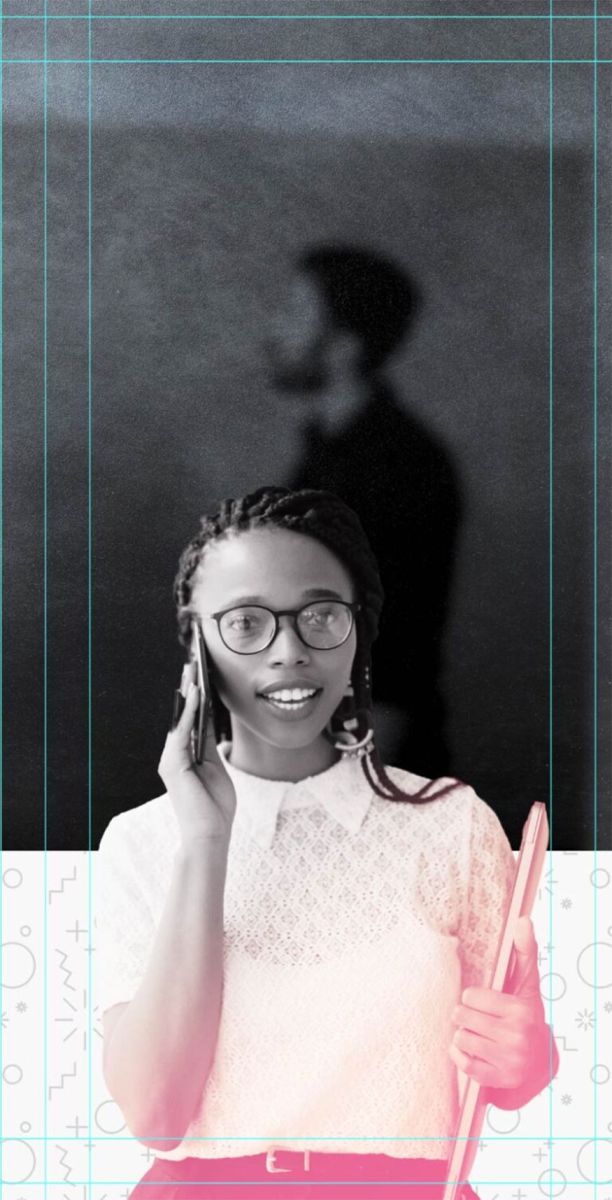
- Step 3: Use the soft black Brush tool to mask the color gradient covering the subject's face and upper body.
- Step 4: Finish by placing a white logo above the theme. Then group the theme, gradient, and logo layers together and name the group “Right Panel”.
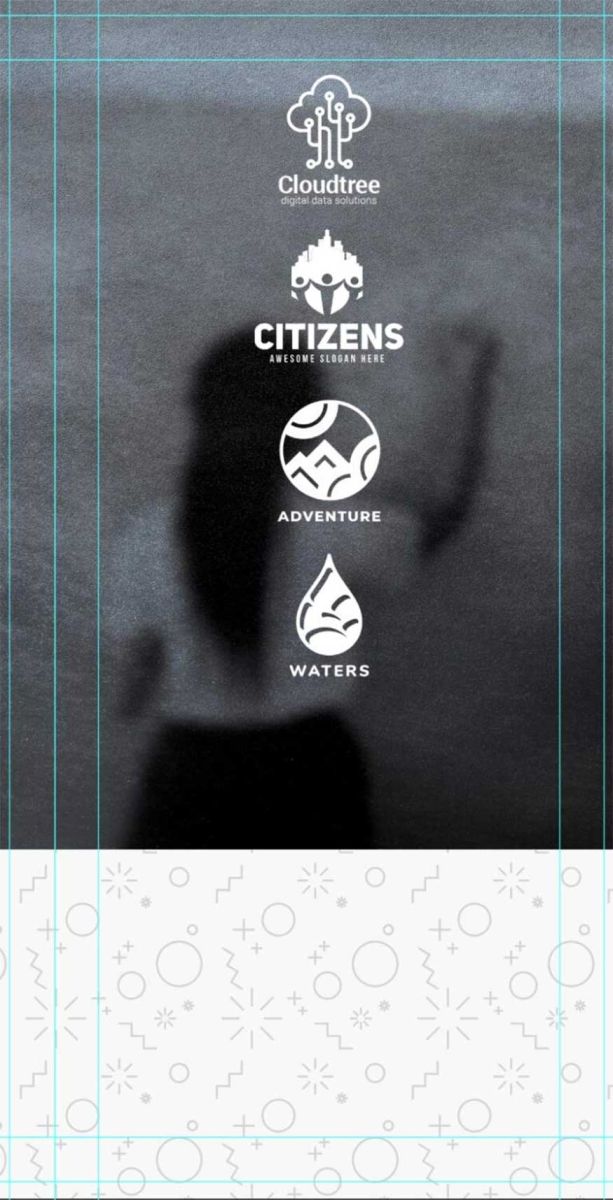
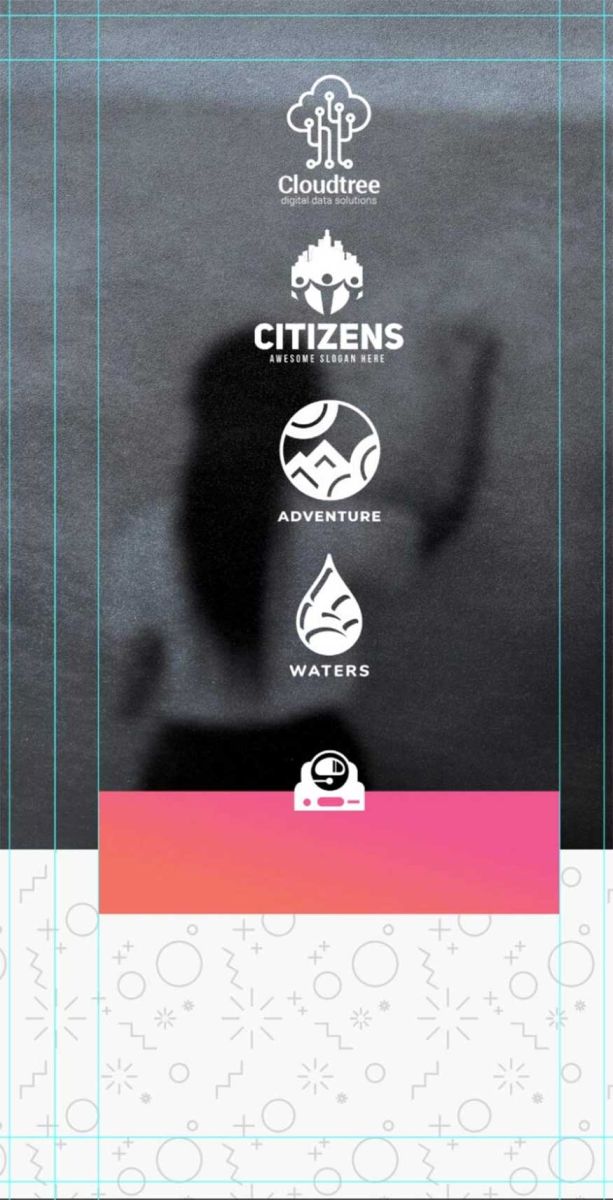
- Step 5: Go to the middle panel, start by creating a row of featured customers, sponsors or any other icons you want to make them stand out.
In this example, we used the same Color Overlay effect on all the logos as we did with the “Design Planet” logo, then turned them white. Group all the logos to keep things tidy.
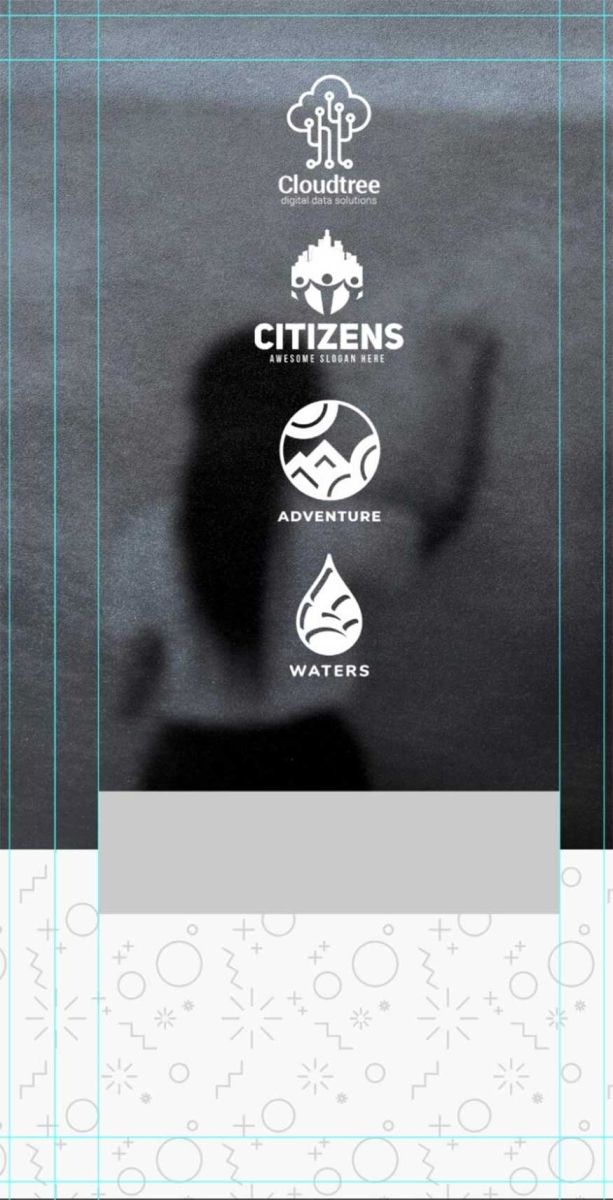
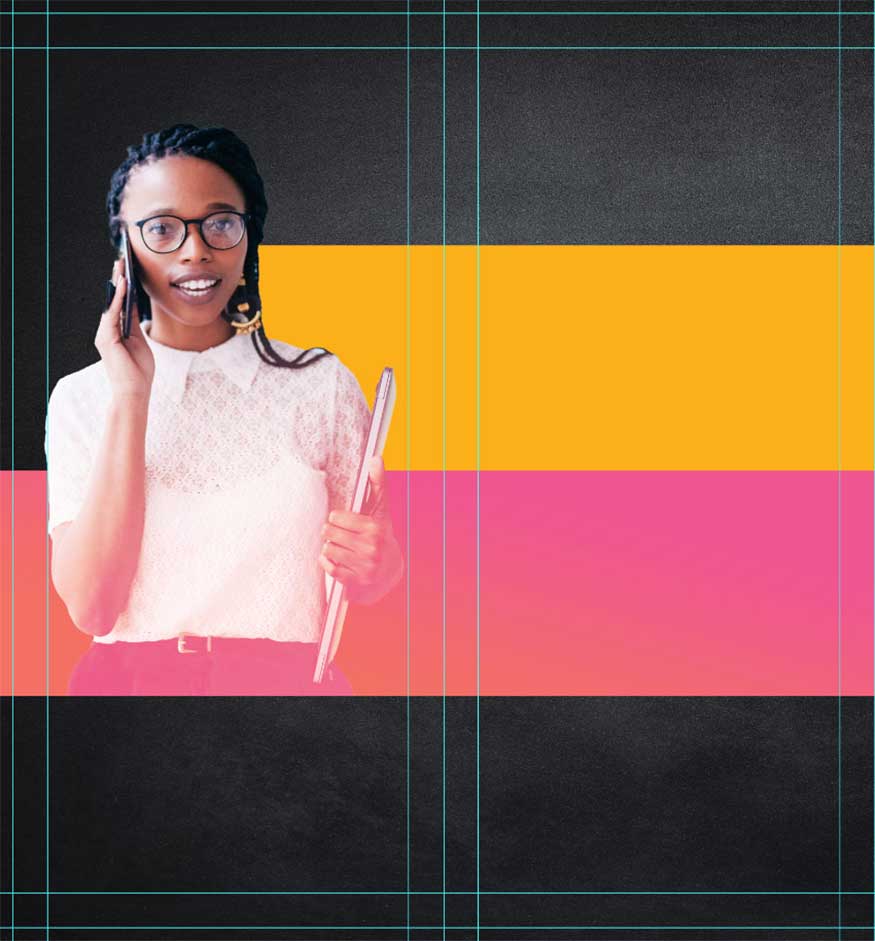
- Step 6: Create a rectangle with dimensions of 83.1 x 22.1 mm with the Shape tool, presenting the layout as you see in the image below.
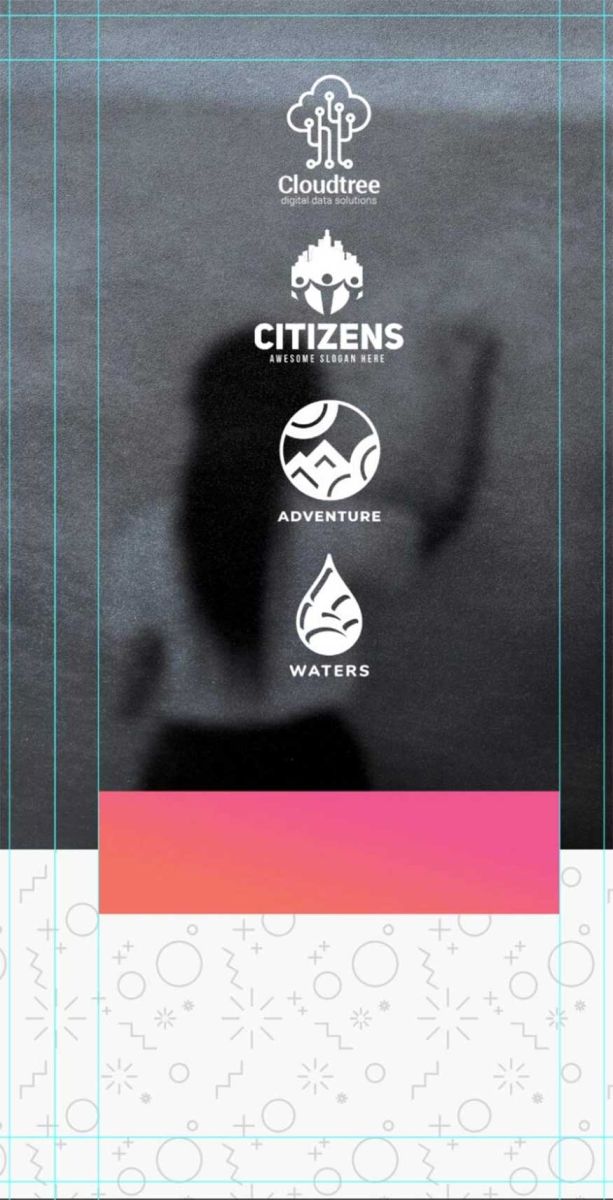
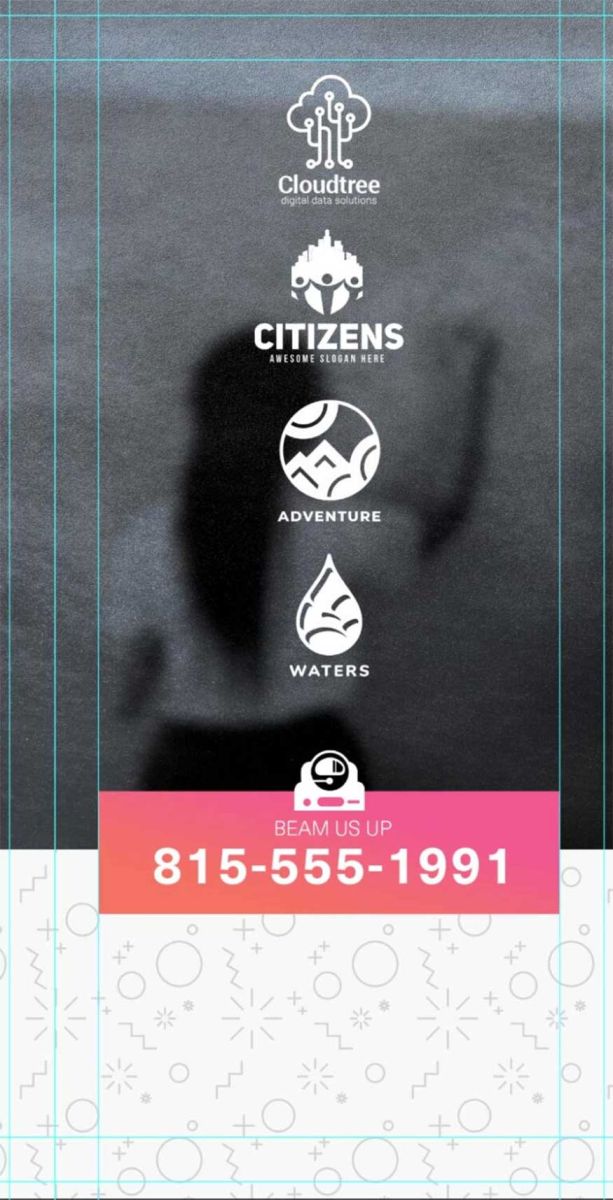
- Step 7: Add a Gradient Layer Effect to the rectangle from pink to orange, set Linear gradient with Angle -105.
- Step 8: Add icon “10” from the space and astronaut icon pack. Change the icon to white by copying the Color Overlay layer style from one of the previous logos onto the icon.
You can copy layer styles by holding Alt, then clicking and dragging the style from one layer to another.
- Step 9: Add a phone number, along with an appleal. Set the font Lightness to about 10 pt for the appeal and the phone number to 26 pt, bold.
Change the text size to suit your needs. Set the text to Center Text and white color.
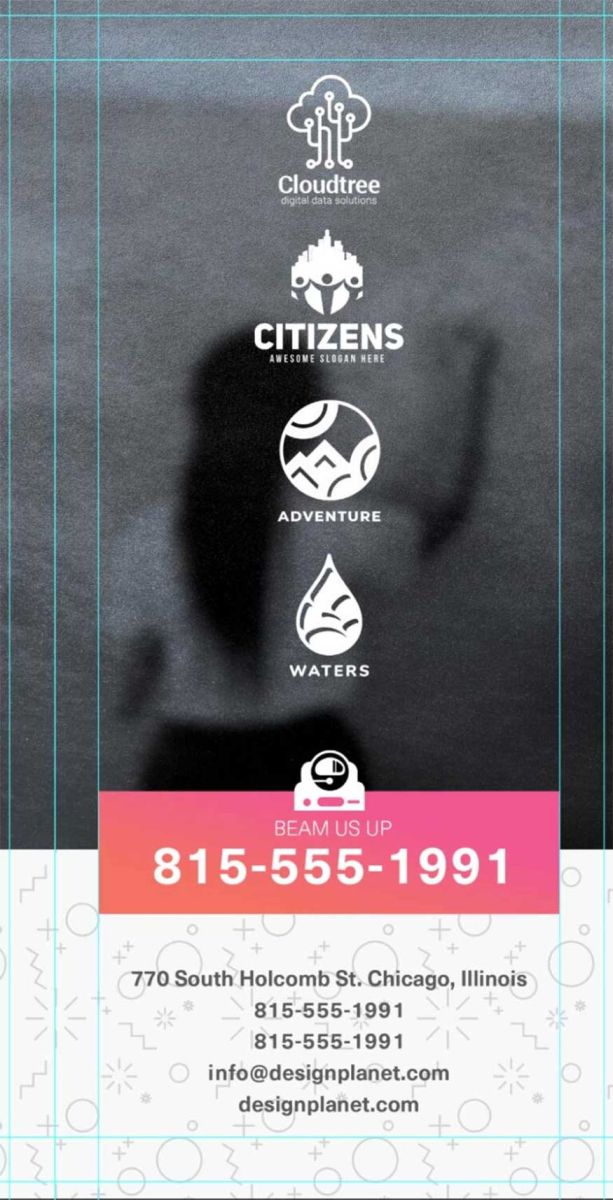
- Step 10: Complete the middle table by adding contact information such as address, phone number or website URL.
In this example, we use the font Neue Haas Unica in Bold 11 pt with light gray color code #58595b. Group these layers and name them “middle panel”.
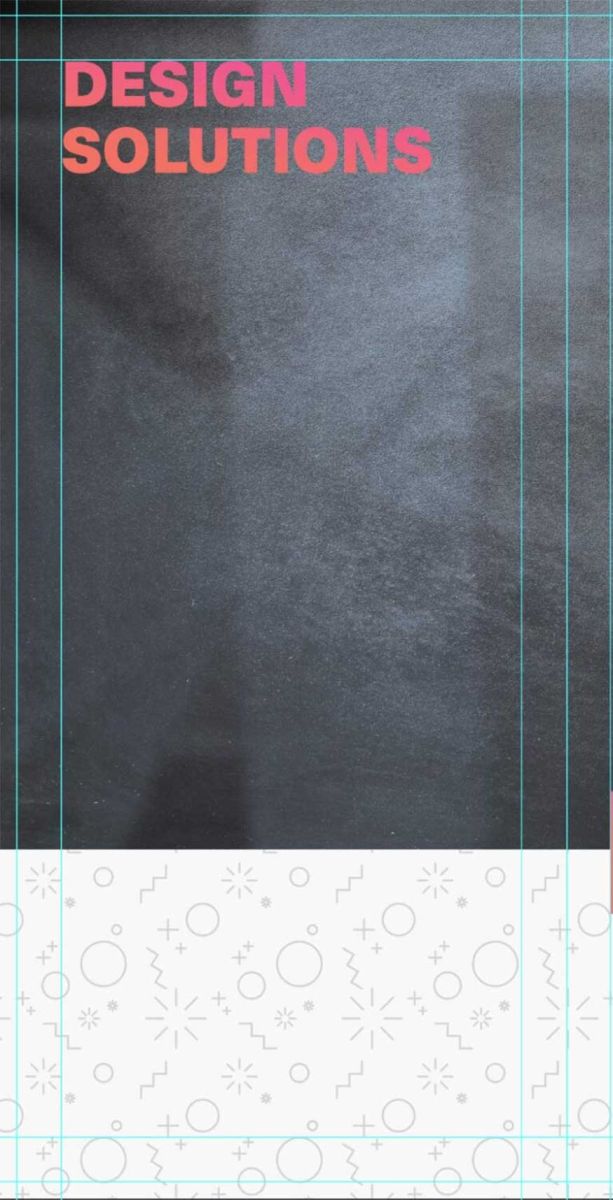
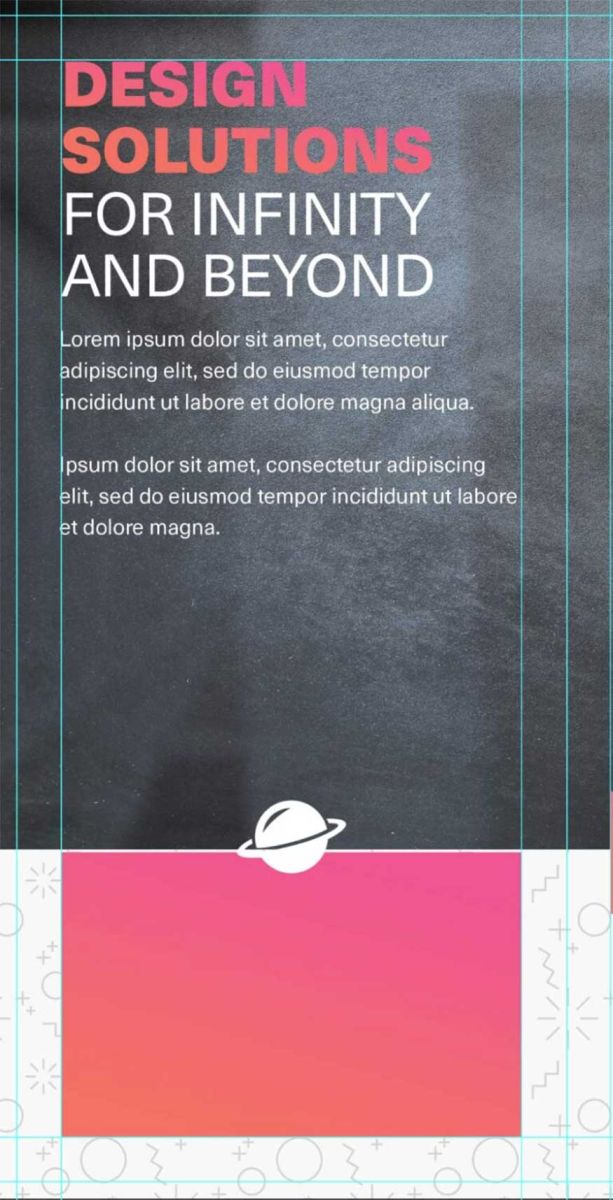
- Step 11: Finish by designing the left panel. Type the introduction in 32 pt Neue Haas Unica in Black font. Copy, drag, and drop the same orange-to-pink gradient layer style from the phone number rectangle into the first half of your tagline.

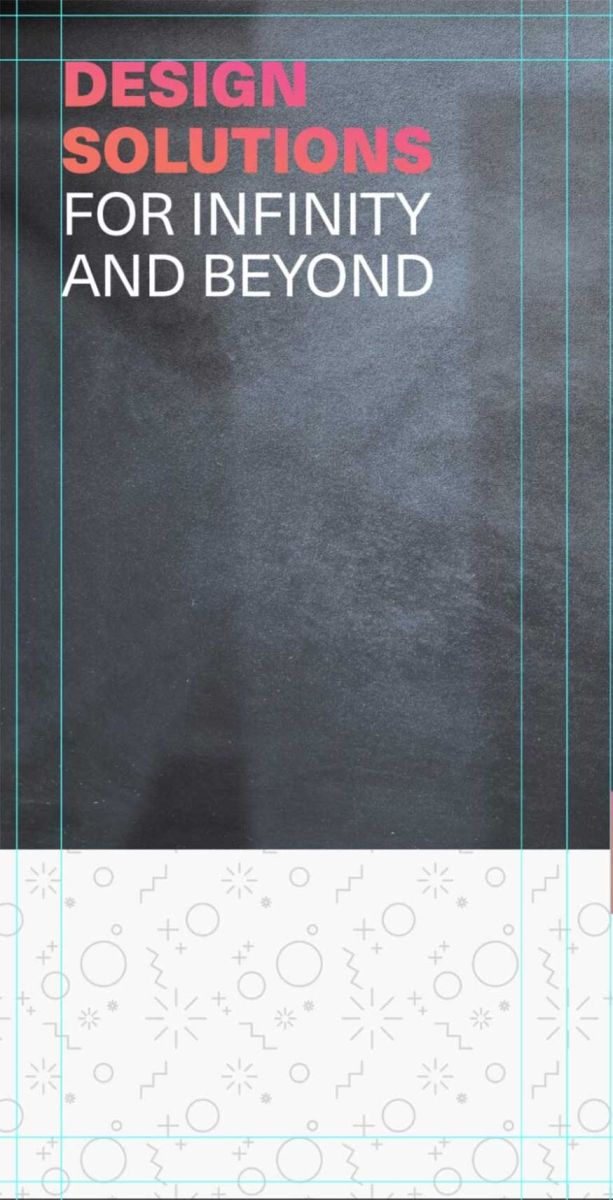
- Step 12: Enter the second part of the tagline by using Neue Haas Unica font in Regular with 30 pt white. Place them right below the first half of the tagline.
Both lines of text need to be pressed against the leftmost content guide.
Group two lines of text, name the group "tag line".
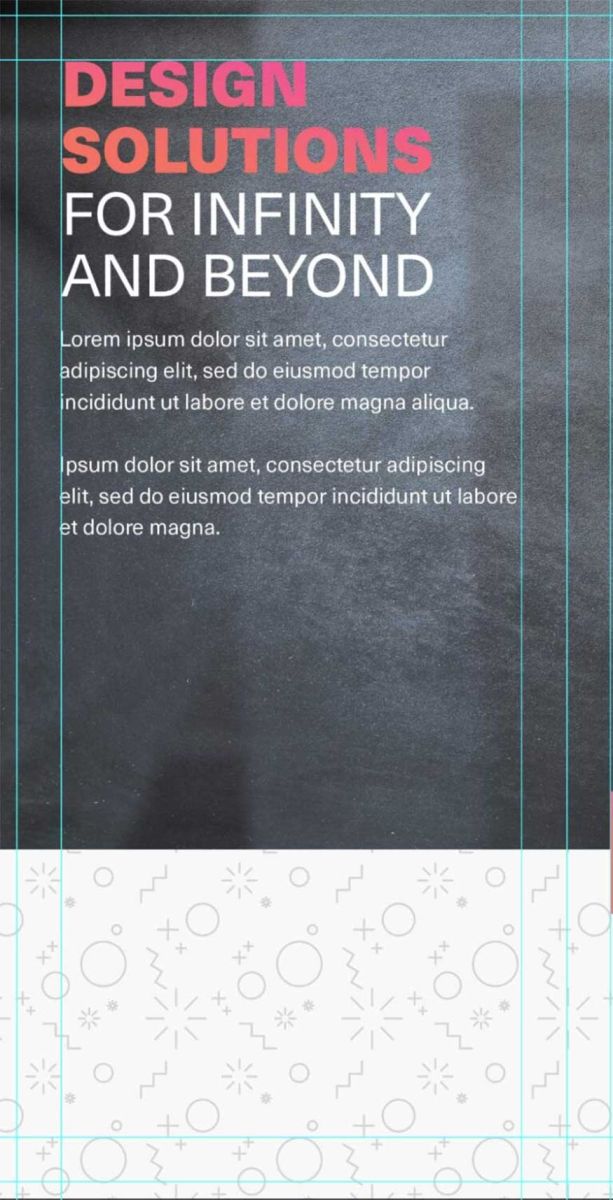
- Step 13: Place any additional text below the “tag line” group by using Neue Haas Unica in Regular at 11 pt white.
Be sure to leave the text between the two left panel content lines so that they don't fall into the fold of the document!
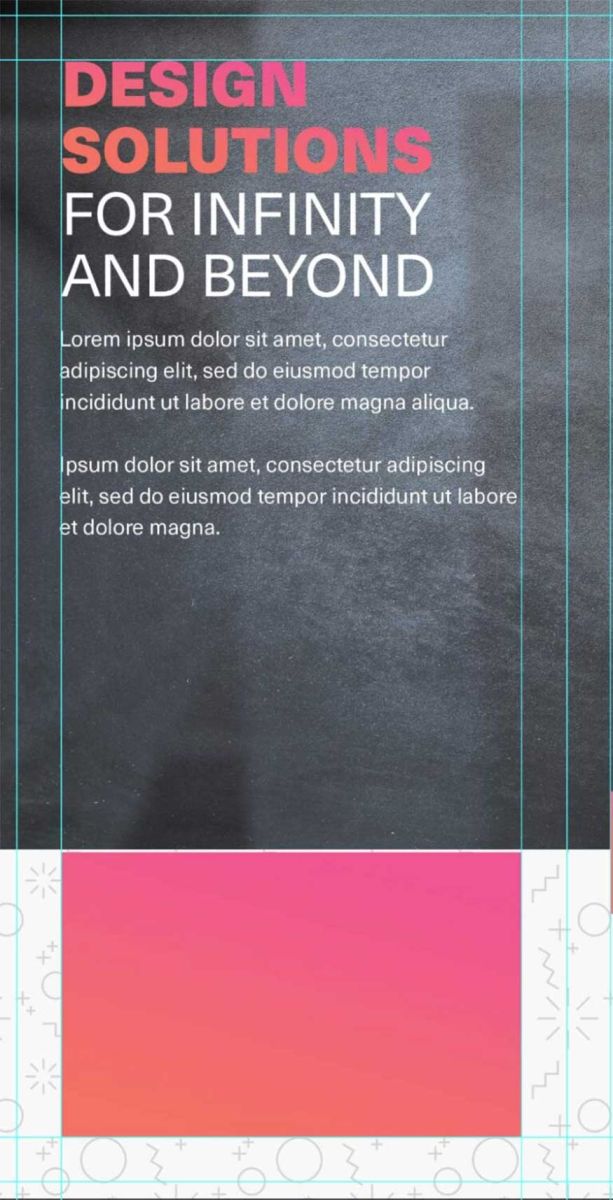
- Step 14: Create a second orange-to-pink gradient rectangle at the bottom of the left panel. To save time, you can first copy the smaller rectangles, then resize them to 83 x 53 mm.
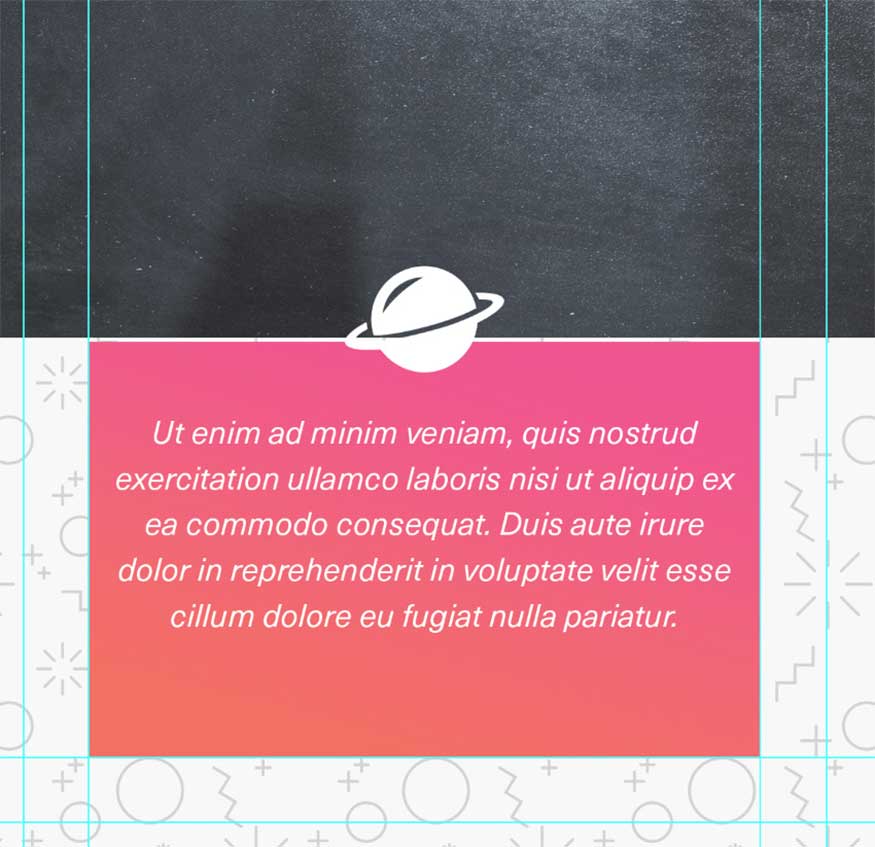
- Step 15: Add the “1” icon from the pack of 15 space and astronaut icons and place them in the top center of the rectangle.
Change to white like all other logos and icons.
.jpg)
- Step 16: Finally, place some centered quotes inside the rectangle. Below will use Neue Haas Unica italicized at 11 pt white.
Group all the left panel layers. We have completed the front of the design.
4. How to create the back of a Brochure design
With the back of the Brochure template we will use the same fonts, layer styles, as well as icons for the back as we did for the front. Do copy, then paste them from one to another to save time:
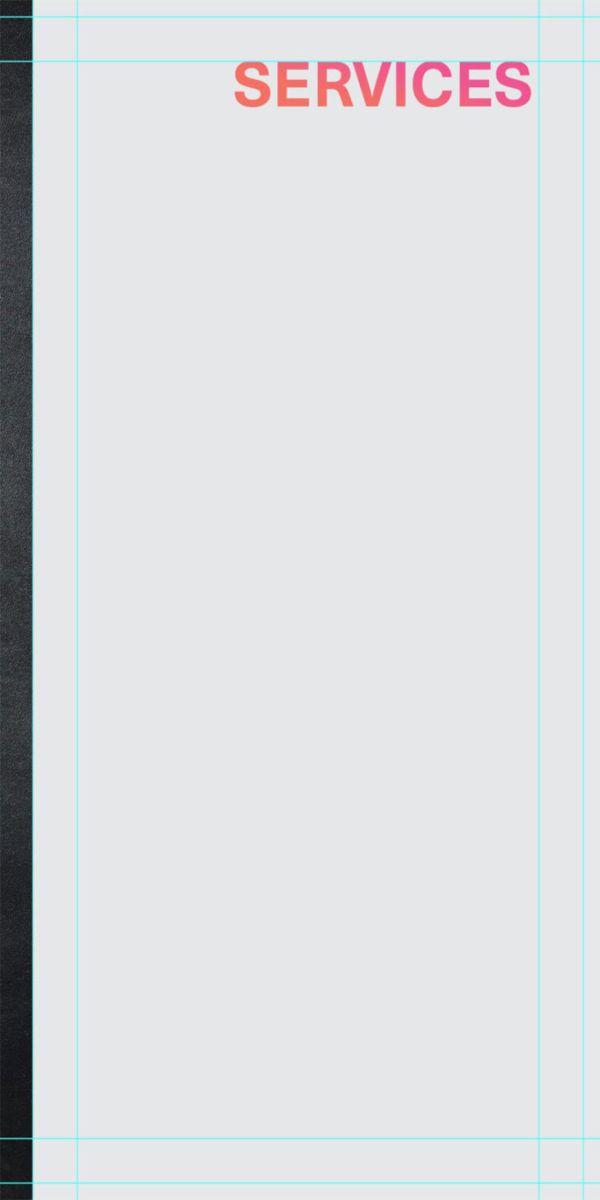
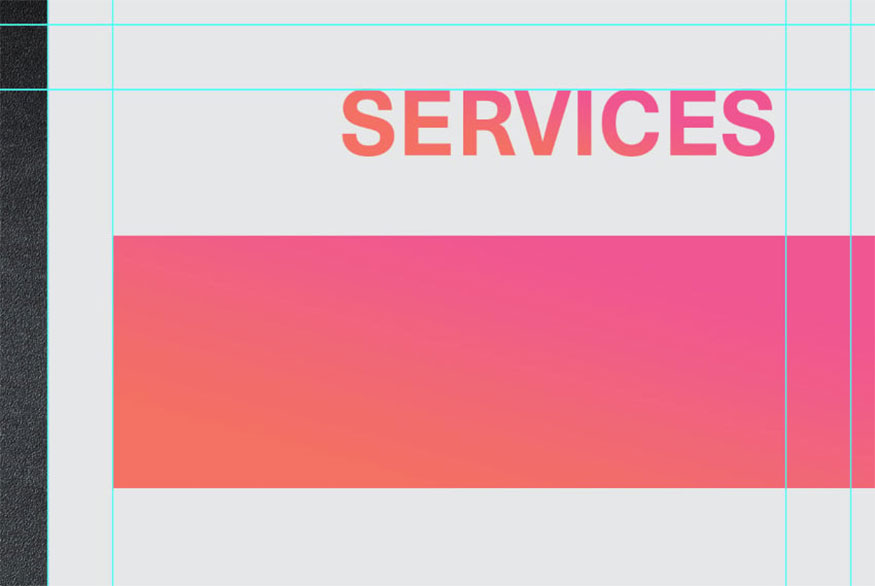
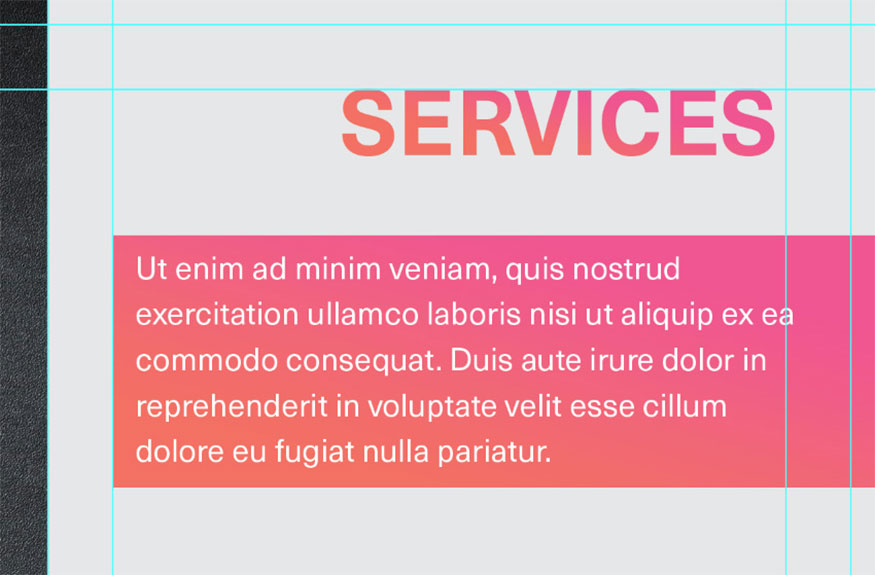
- Step 1: First of all you need to add some information to the right panel. Create a title labeled “Services” at the top of the gray rectangle using Neue Haas Unica bold at 32 pt.
You can add a Gradient Layer Effect to the text with the same color from pink to orange, Linear gradient with Angle -105.
- Step 2: Create an orange and pink gradient rectangle from the edge of the gray square with dimensions of 94 x 31 mm.

- Step 3: Add a brief description of your services using Neue Haas Unica in the Regular section at 11 pt white. Left align the text.
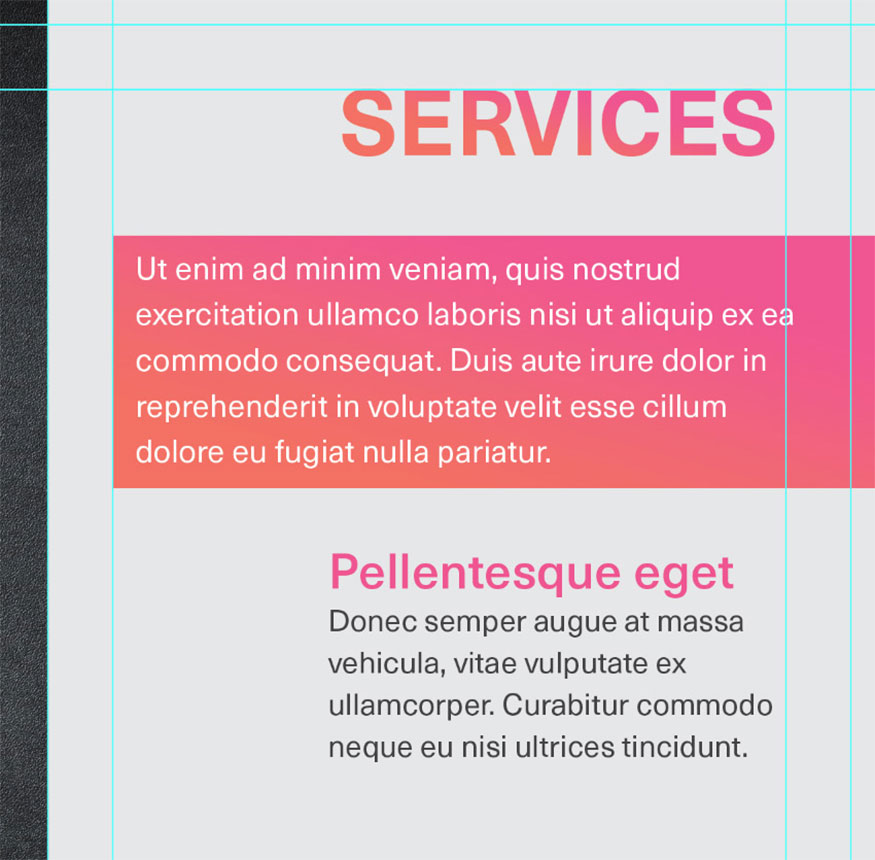
- Step 4: To list the services, first create a text box with a width of 56 mm, use Neue Haas Unica in Medium at 17 pt and set it to dark pink (color code #EF5591) and enter the service name.
- Step 5: In the same text box, enter a brief description of the service. Below use Neue Haas Unica at Regular at 10.5 pt, set to medium gray (color code #414142).
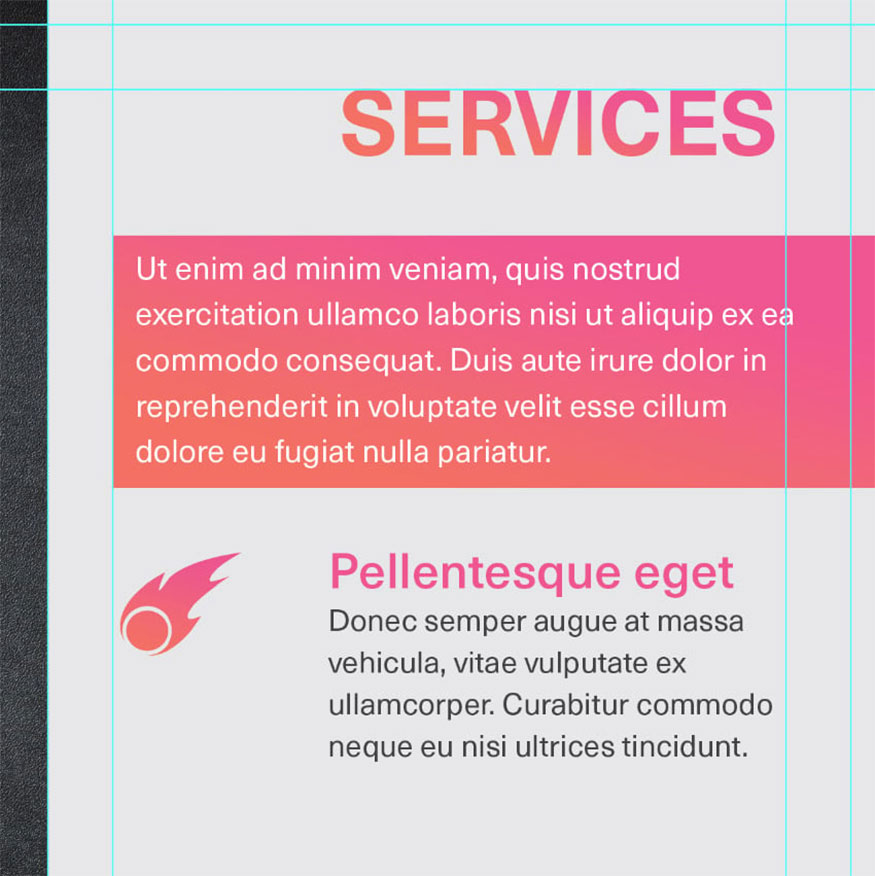
- Step 6: Add icons related to the service to the left of the text. Continue using the pack of 15 space and astronaut icons. Copy and paste the same pink to orange gradient from the rectangle into the icon.
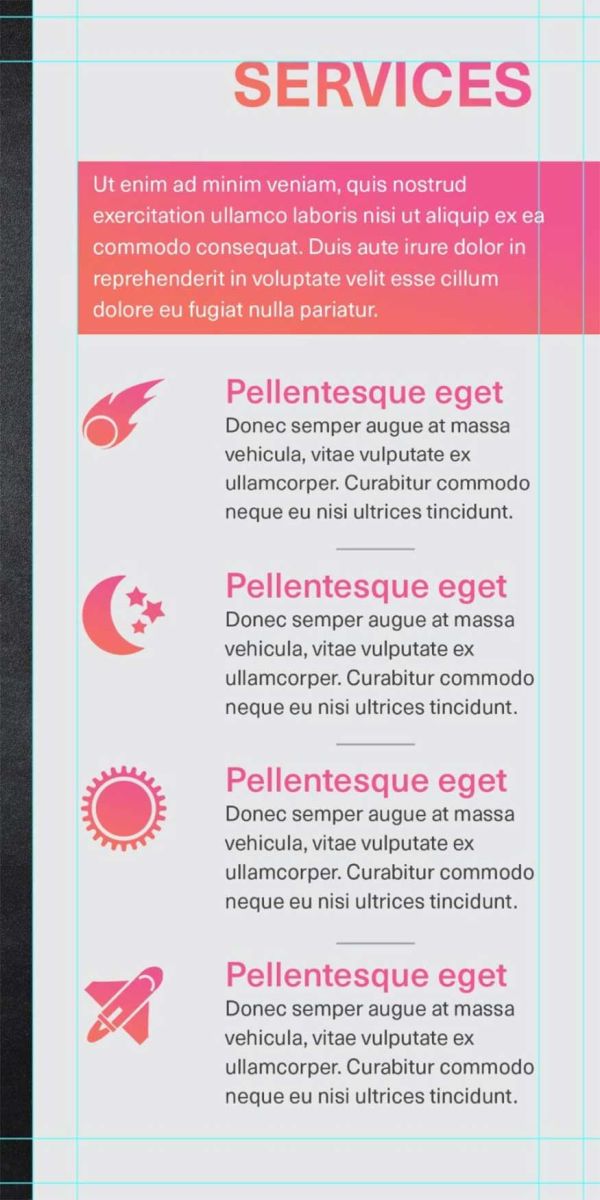
- Step 7: Repeat this step for all services, then group the services into groups, keeping text and icons together.
When finished, continue to group the different services into one group and name it "Services Offered".
- Step 8: Complete the “Services” panel by adding some 1 px medium gray lines, color code #414142 between the different services with the Line Tool.
Group all the layers you just created into a group named “Services”.
- Step 9: For the rest of the back of the document, combine the middle and left boxes to form one large box.
Start by adding a 201 x 52 mm pink and orange gradient rectangle towards the bottom, center of the left canvas.
- Step 10: Take the copy of the previously extracted object and place it on the left side of the canvas, aligning the bottom edge of the image with the bottom edge of the gradient rectangle.
Create a gradient fill layer, set Style: Linear and Angle: 90 and clip it to the subject.
Use the soft black Brush tool to mask the gradient covering the subject's face and upper body.
Group these two layers together, name the group “Model”.

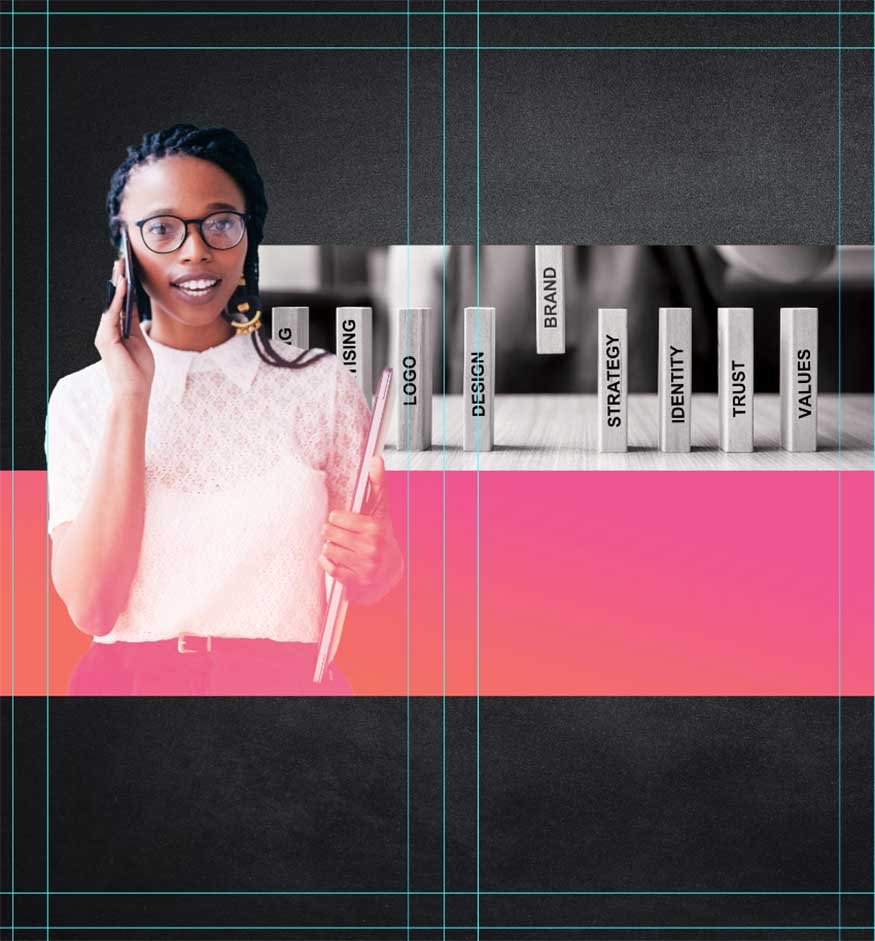
- Step 11: Create a second rectangle below the Model group and above the gradient rectangle.
- Step 12: The color of the shape is not important because we can combine the background image. We will use the image of a wooden Domino.
- Step 13: Click Image => Adjuemnts => Hue/Saturation to make the image grayscale.
Give it a light blue tone by clicking Image => Adjustments => Color Balance setting the color parameters to +15 blue, -15 red.
Finally, click Image => Adjustments => Brightness/Contrast to increase the contrast to +56.

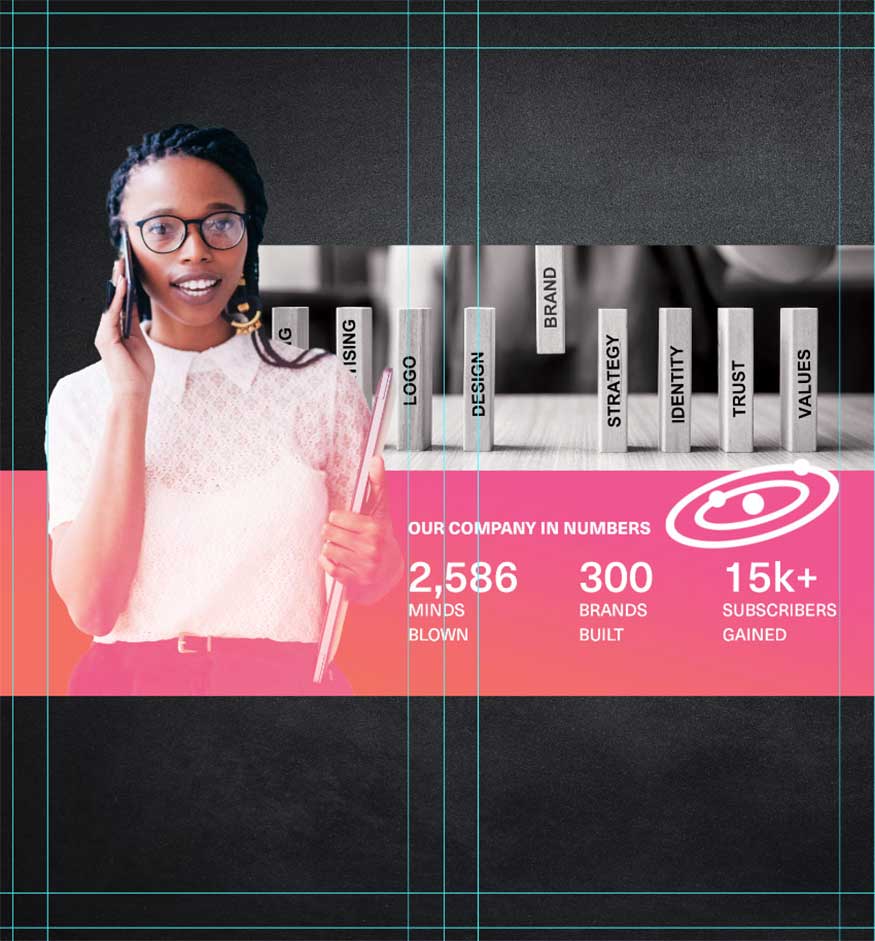
- Step 14: Add all your company information to the gradient rectangle using the Neue Haas Unica font.
Below, use Heavy for the title “Our Company” and Medium for the statistics.
Add any logos or branding, set to white to fill in any gaps!
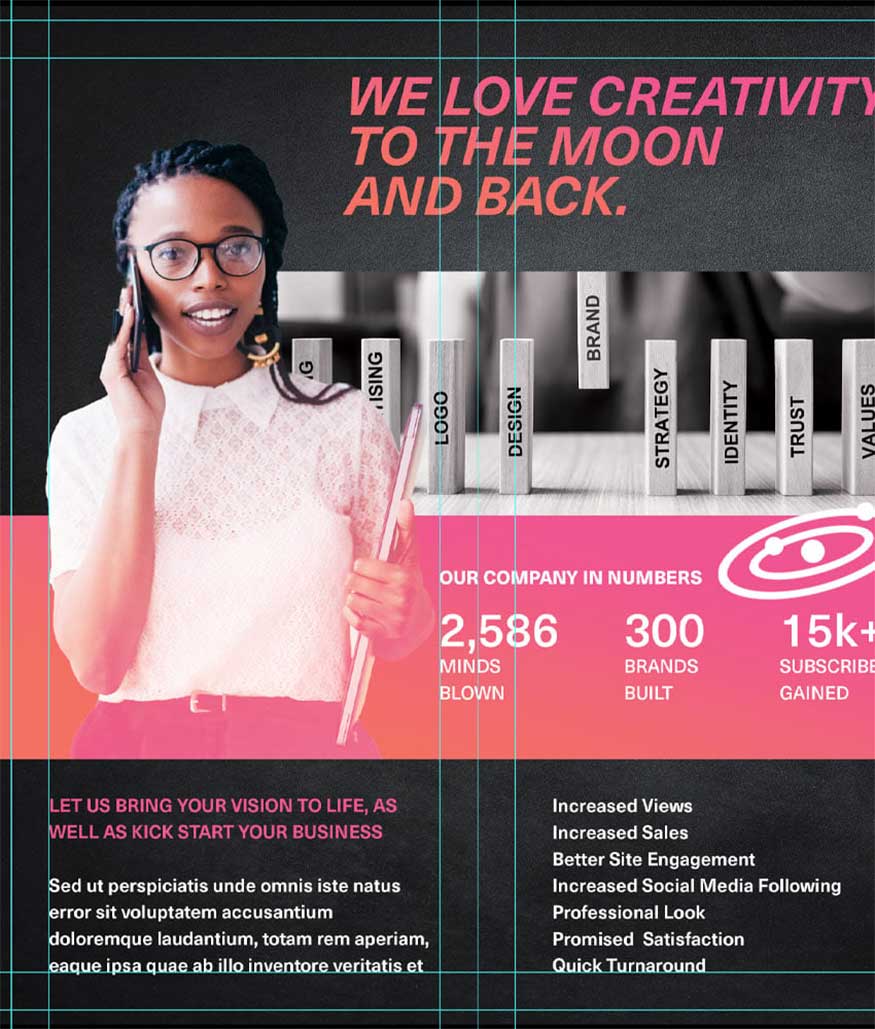
- Step 15: Add a title to the top of the brochure using Neue Haas Unica font in bold italics. Set the color pink to orange for this text to make the design more impressive.

- Step 16: Finally, fill in the bottom half of the brochure with a brief “about us” section and a list of results.
For subtitles, use Neue Haas Unica bold font at 11 pt, set to dark pink (color code #EF5591), the subtext below is set to white.
For the list on the right, I used the same Neue Haas Unica font bolded at 11 pt, using white.
- Step 17: To finish things off, you can add some checkmarks next to each list item. Group all the checkmarks together with the list text and you're done.
Above is all the basic information on how to create a tri-fold Brochure template in Photoshop extremely simply and easily. Hope you can apply it successfully to your design!


VIP Products


Best Selling Products
Genuine Adobe Illustrator account
99 USD
Adobe Premiere Pro Account
99 USD
Plugin Retouch4me
69 USD
Upgrade Duolingo Super
29 USD
Upgrade genuine Capture One account
120 USD
Autodesk All App Account Copyright
120 USD
Genuine Cheap Canva Pro
39 USD
ChatGPT Plus Account (GPT-4)
16 USD
Copyright Adobe Lightroom Account
59 USD
Upgrade Genuine Office 365
49 USD
Windows 10 & 11 Pro Key
36 USD
MidJourney Account
29 USD
Capcut Pro 1 Year
39 USD
Freepik Premium Account
59 USD
Adobe Photoshop Copyright - Full App
120 USD