Best Selling Products

Autodesk All App Account Copyright
120 USD

Plugin Retouch4me
69 USD

Adobe Premiere Pro Account
99 USD

MidJourney Account
29 USD

Copyright Adobe Lightroom Account
59 USD

Windows 10 & 11 Pro Key
36 USD

Freepik Premium Account
59 USD

Capcut Pro 1 Year
39 USD

Upgrade genuine Capture One account
120 USD

Adobe Photoshop Copyright - Full App
120 USD

Genuine Adobe Illustrator account
99 USD

Genuine Cheap Canva Pro
39 USD

ChatGPT Plus Account (GPT-4)
16 USD

Upgrade Genuine Office 365
49 USD

Upgrade Duolingo Super
29 USD
Create fog in Photoshop with SaDesign
Nội dung
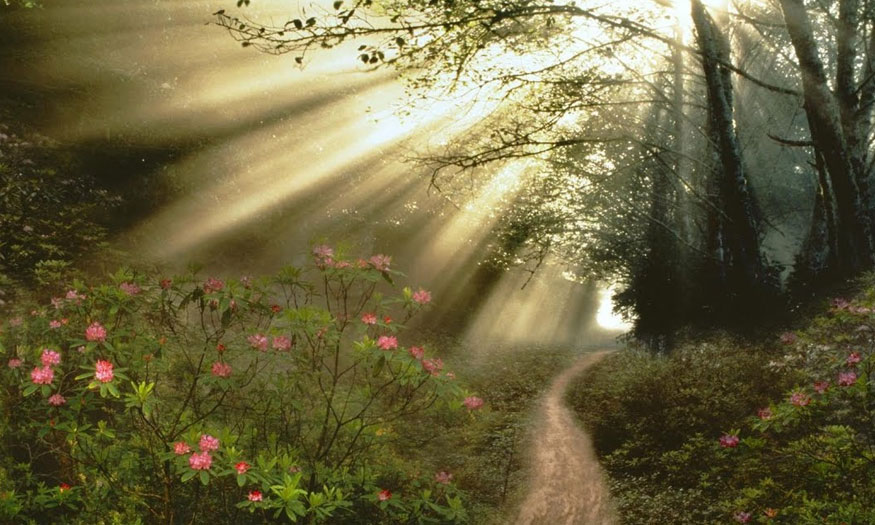
Creating fog in Photoshop is one of the extremely interesting weather change effects that you should not miss. Creating fog is quite simple and does not take too much time. SaDesign will specifically guide you on the steps in the following article!

Creating fog in Photoshop is one of the extremely interesting weather change effects that you should not miss. Creating fog is quite simple and does not take too much time. SaDesign will specifically guide you on the steps in the following article!

1. Step 1 - Neural Filters and turn on Depth Blur
First, go to Filter => Neural Filters and turn on Depth Blur. Then default settings, check the output depth map. Now our image will look like this:
2. Step 2 - Create fog for the design
Set the Depth Map to Screen, this step is used to create fog for the design. Pay attention to tweaking some of the fog layers to create a beautiful and impressive design.
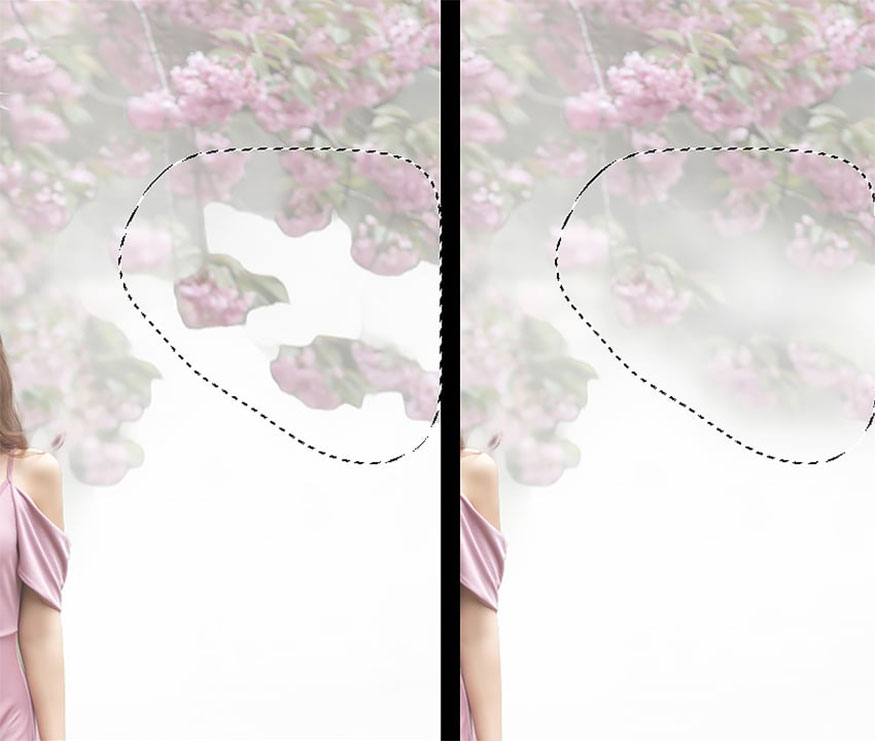
Then, click on the Lasso Tool, set the Feather to 100px. Select the areas you want to create fog.
Once you have selected the area you want to create fog, go to Filter => Blur => Gaussian Blur, set the Radius high until the edges are softened. Suggested ideal Radius level is 120 px.
When you are satisfied with the result, right-click and select Convert to Smart Object to turn the foggy background layer into a Smart Object.
3. Step 3 - Create a new Layer
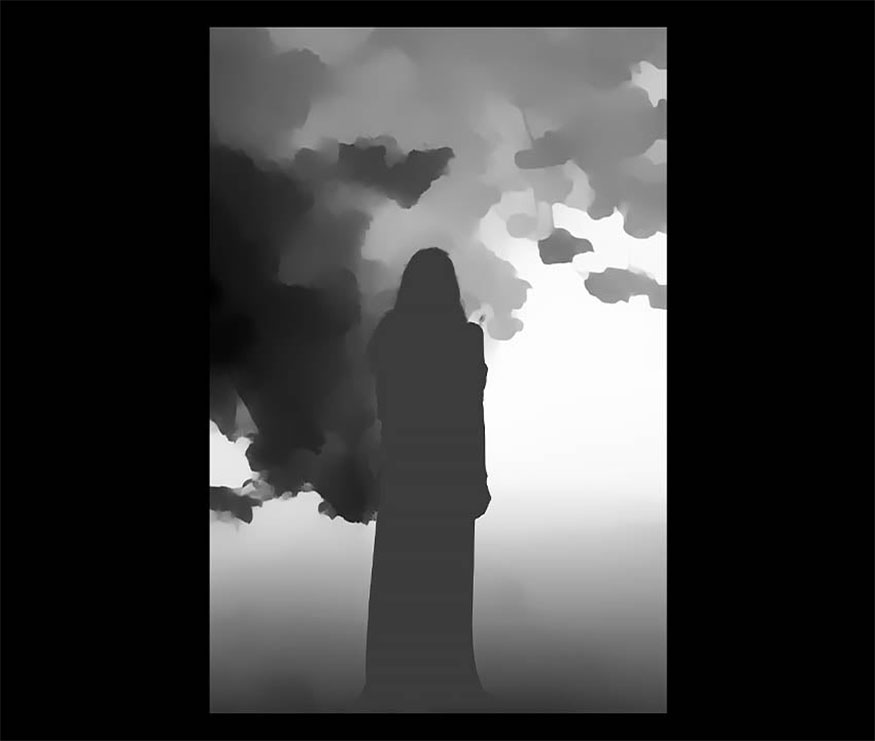
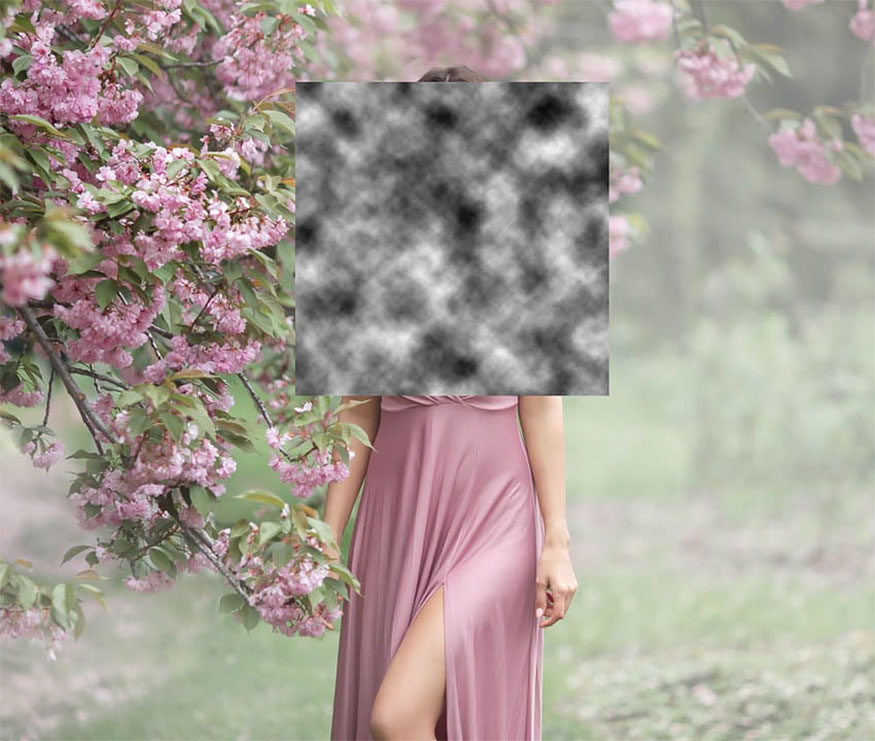
Create a new Layer, set black and white colors for Foreground and Background. Go to Filter => Render => Clouds, select the Rectangular Marquee tool, copy and paste a square part of the clouds onto New Layer.
Then press Delete the initially displayed cloud layer.
4. Step 4 - Create a sense of movement.
Select the Transform tool to increase the size of the cloud to fill the canvas. Setting the layers to overlays, clip them into the fog base layer to give the fog more texture, helping to create a sense of movement.
This is one of the great ways to quickly create a fog layer in Photoshop.
You can save the rendered clouds so that you can create your own fog overlay Photoshop texture.
tao-suong-mu-trong-photoshop-5
5. Step 5 - Control the intensity of the fog.
You reduce the Opacity of the foggy background until it reaches the desired level. Below set the Opacity to 50%. Besides, you can use any other adjustment tool to control the intensity of the fog.
As instructed below, we use the Curves tool to reduce the darkness of the fog layer, thereby removing the fog covering the subject and foreground.
You brighten the highlights of the background layer to increase the intensity of the fog, thereby choosing the right parameters for the image.

6. Step 6 - Create visible fog above the object.
Duplicate the cloud layers and set them to Screen, then position them on top of the object.
Click on the Curves tool to darken the layer to create visible fog above the object.
Use the Hue/Saturation tool with Colorize Checked to adjust the color of the fog.

7. Step 7 - Finally
Duplicate the depth map layers then bring them below all the fog layers and set to overlay. This has the effect of deepening the shading of the image.
This technique works especially well for landscape images, try it and you'll immediately see the differences before and after editing.
With the instructions above, we can create fog in Photoshop simply and easily. Wishing you success with your images and don't forget to follow Sadesign to see more useful information related to photoshop!
- Turn a Photo into a Vintage image Security Camera Image
- Create fire text effects in Photoshop with SaDesign


VIP Products


Best Selling Products
Autodesk All App Account Copyright
120 USD
Plugin Retouch4me
69 USD
Adobe Premiere Pro Account
99 USD
MidJourney Account
29 USD
Copyright Adobe Lightroom Account
59 USD
Windows 10 & 11 Pro Key
36 USD
Freepik Premium Account
59 USD
Capcut Pro 1 Year
39 USD
Upgrade genuine Capture One account
120 USD
Adobe Photoshop Copyright - Full App
120 USD
Genuine Adobe Illustrator account
99 USD
Genuine Cheap Canva Pro
39 USD
ChatGPT Plus Account (GPT-4)
16 USD
Upgrade Genuine Office 365
49 USD
Upgrade Duolingo Super
29 USD