Best Selling Products

Genuine Cheap Canva Pro
39 USD

Freepik Premium Account
59 USD

Adobe Premiere Pro Account
99 USD

Upgrade Duolingo Super
29 USD

Autodesk All App Account Copyright
120 USD

MidJourney Account
29 USD

Capcut Pro 1 Year
39 USD

Upgrade genuine Capture One account
120 USD

ChatGPT Plus Account (GPT-4)
16 USD

Genuine Adobe Illustrator account
99 USD

Plugin Retouch4me
69 USD

Copyright Adobe Lightroom Account
59 USD

Adobe Photoshop Copyright - Full App
120 USD

Windows 10 & 11 Pro Key
36 USD

Upgrade Genuine Office 365
49 USD
Create a very interesting Glitch effect in Photoshop with SaDesign
Nội dung
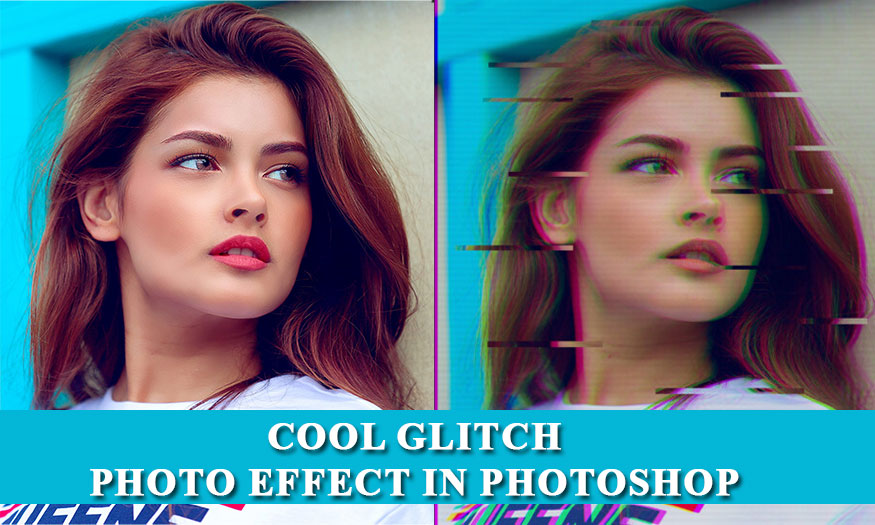
The Glitch effect features digital noise lines that will make your photo more unique. Now these noisy lines can be made using Adobe Photoshop software. Let's learn with SaDesign how to create interesting Glitch effects in Photoshop through the shares below.
The Glitch effect features digital noise lines that will make your photo more unique. Now these noisy lines can be made using Adobe Photoshop software. Let's learn with SaDesign how to create interesting Glitch effects in Photoshop through the shares below.
1. What is the Glitch effect in Photoshop?
Glitch is a specific error effect, interference effect. It was inspired by TV screens with interference or flickering sound clips.

When using this effect, your image will appear horizontal or vertical lines that are inconsistent. Glitch effect makes your design more unique, attractive and mysterious.
2. How to create Glitch effect in Photoshop
To be able to create Glitch effect in Photoshop, you need to combine many different tools. Let's take a look at the following steps:
2.1. Adjust the color channels of the photo to create Glitch effect in Photoshop.
Step 1: First, we need to upload the photo we want to create the Glitch effect.
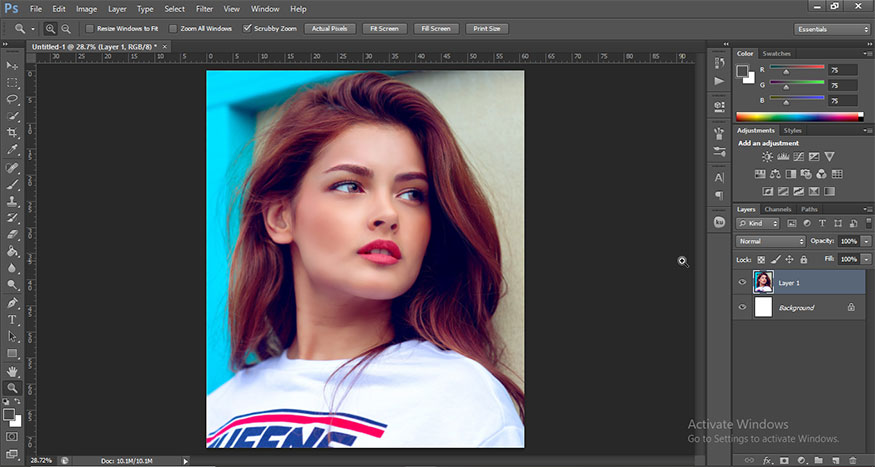
Step 2: Press the key combination Ctrl + J 2 times to duplicate this layer 2 more times, now we have a total of 3 layers.
I renamed photos 1, 2, 3 from bottom up as shown.
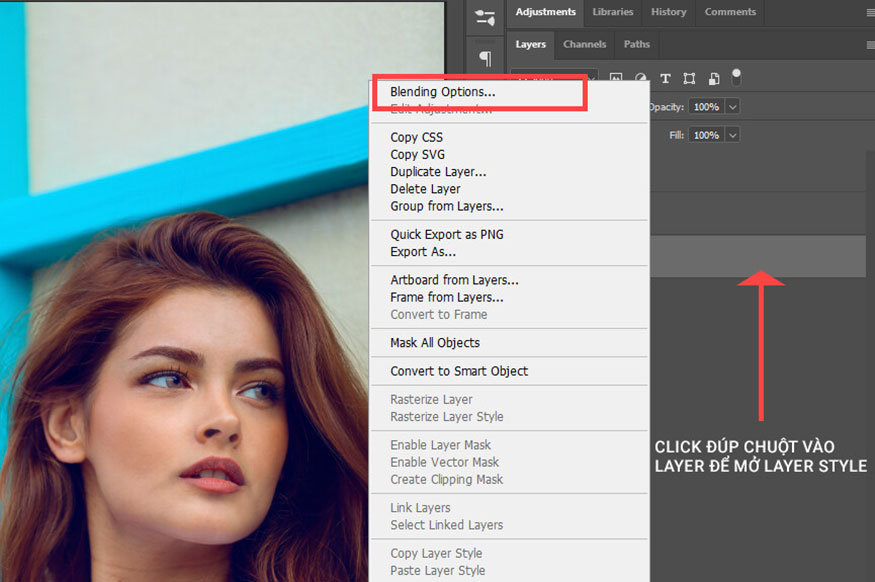
Step 3: On the "Photo 1" layer, right-click and select Blending Options. The Layer Style panel will now appear. You can double-click that layer to open the Layer Style.
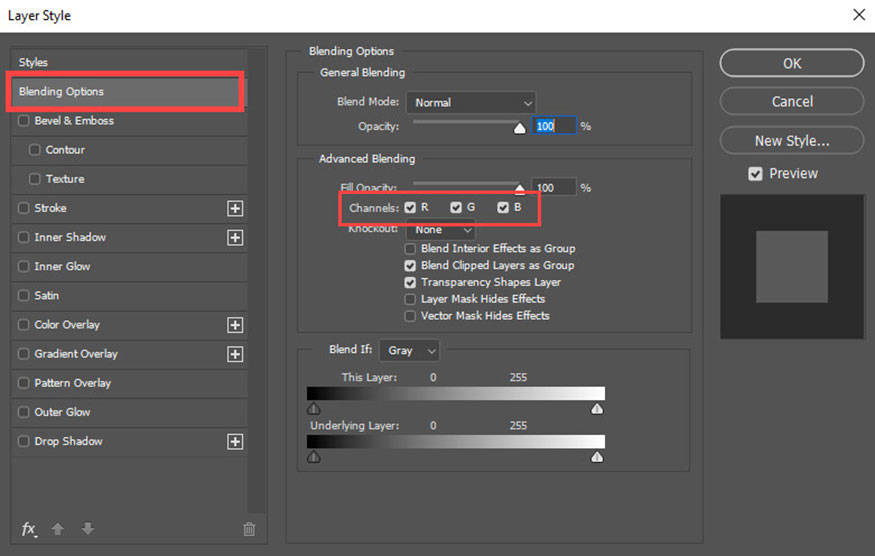
In the Layer Style panel, select the Blending Options section and then pay attention to the Channels section. This is the color channel of the image, it includes 3 channels including: R (Red: red), G (Green: green) and B (Blue: blue).
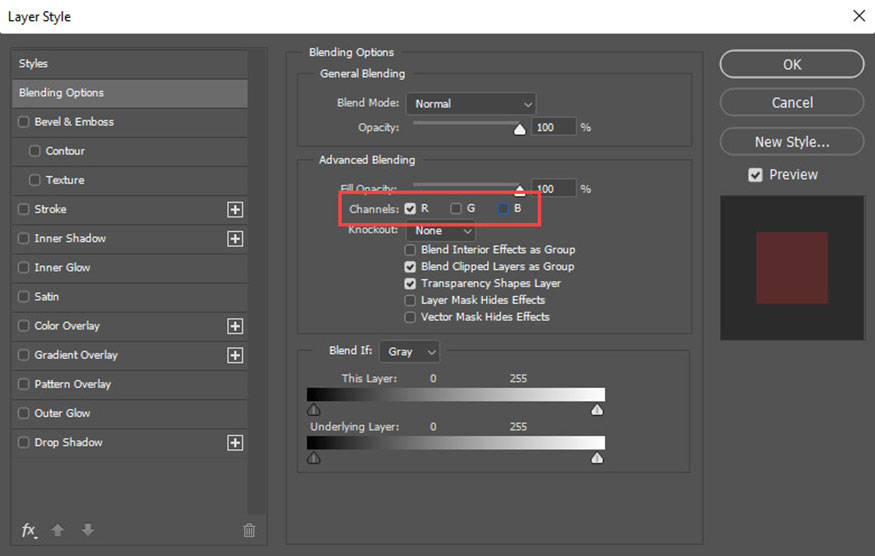
With the layer of "PHOTO 1", uncheck the two color channels G and B, keeping only the R channel.
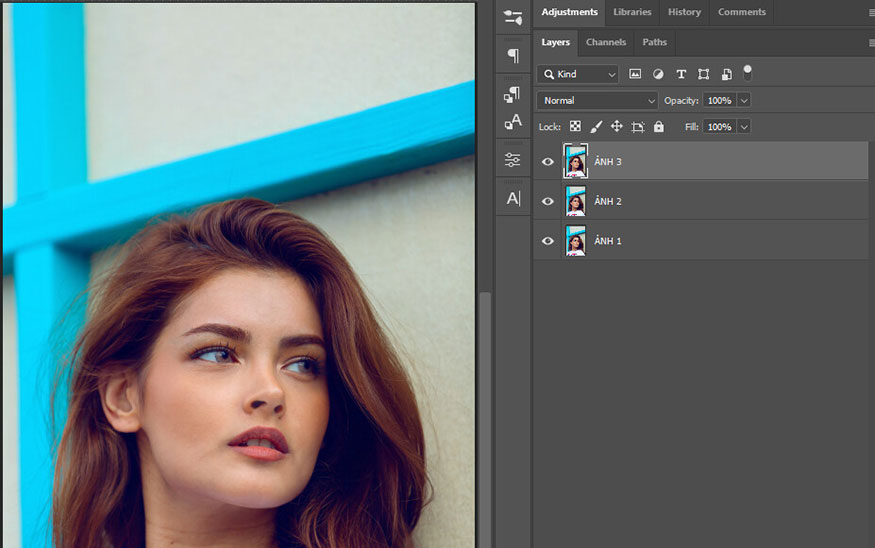
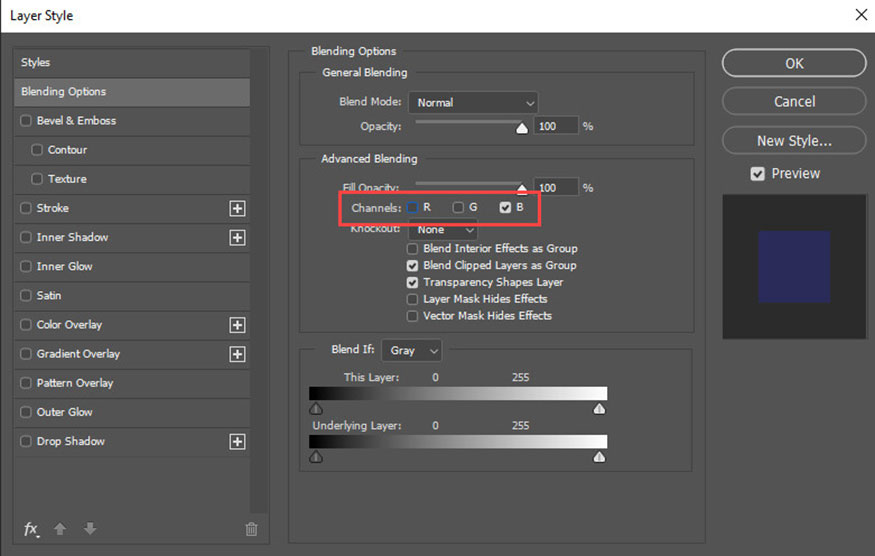
Step 4: Repeat the same steps as above with the two layers "PHOTO 2" and "PHOTO 3" as follows:
Layer "PHOTO 2": uncheck the R and B color channels, keep only the G channel.

Layer “PHOTO 3”: uncheck the R and G color channels, keep only the B channel.
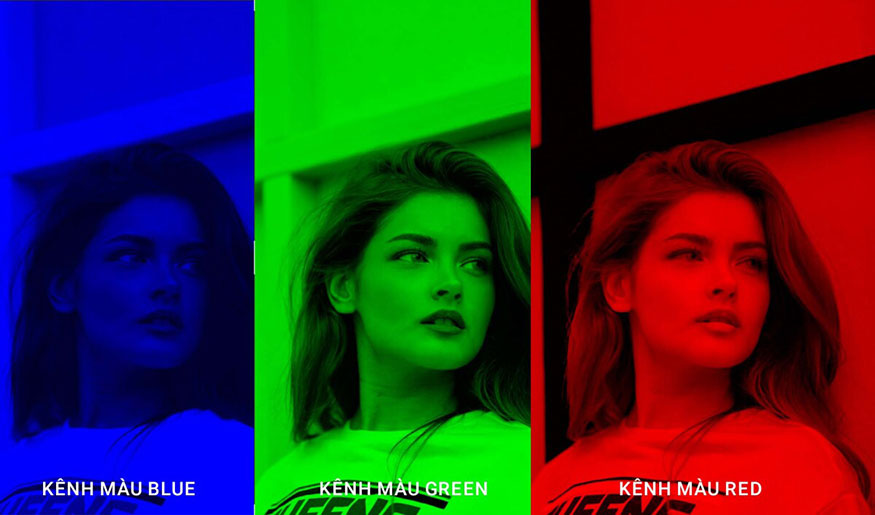
If you turn off the eyes of each layer in turn with the icon ![]() , you will see each image color channel you have selected.
, you will see each image color channel you have selected.
2.2. Creating multi-color effects for photos
After creating 3 separate color channels for the photo, we will proceed to blend them to create a color mixing effect, thereby creating Glitch effect.
Step 1: Select the Move Tool (V), select each image layer one by one, then use the arrow keys on the keyboard to move them slightly to the sides, little by little.
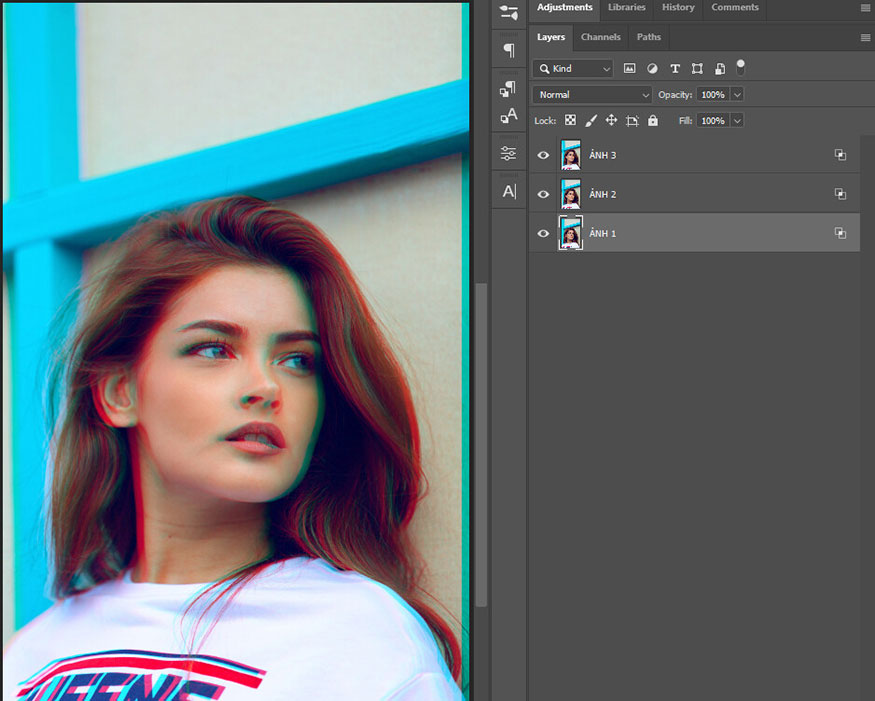
Step 2: We can see the color layers above each layer are separating, continue with the remaining 2 layers.
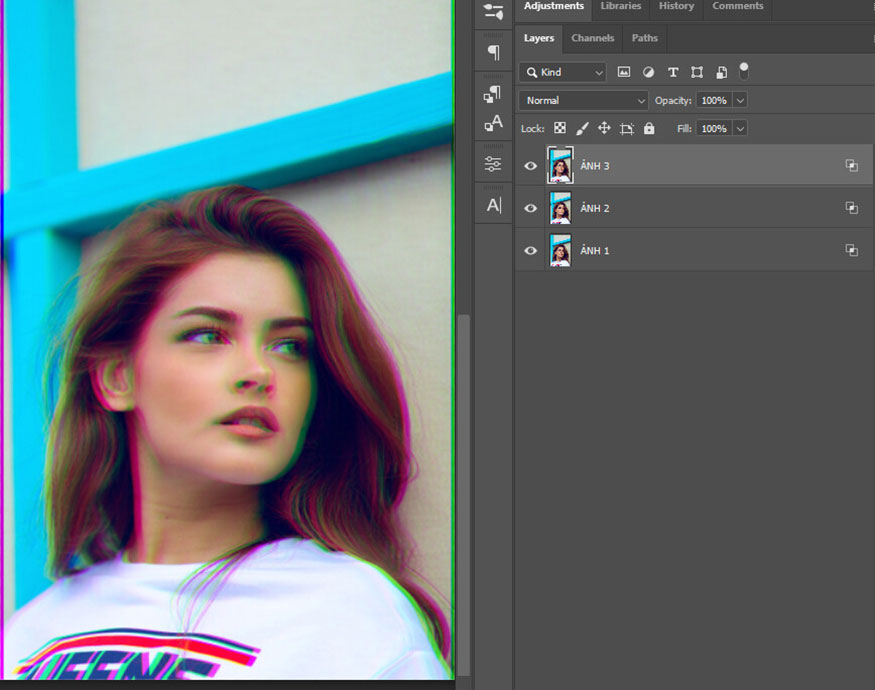
The current 3 color channels are overlapping each other unevenly, thereby creating an eye-catching color mixing effect.
2.3. Creating wavy lines for a very interesting Glitch effect in Photoshop
In this part, we will create wavy lines for the photo. It will make the Glitch effect more unique.
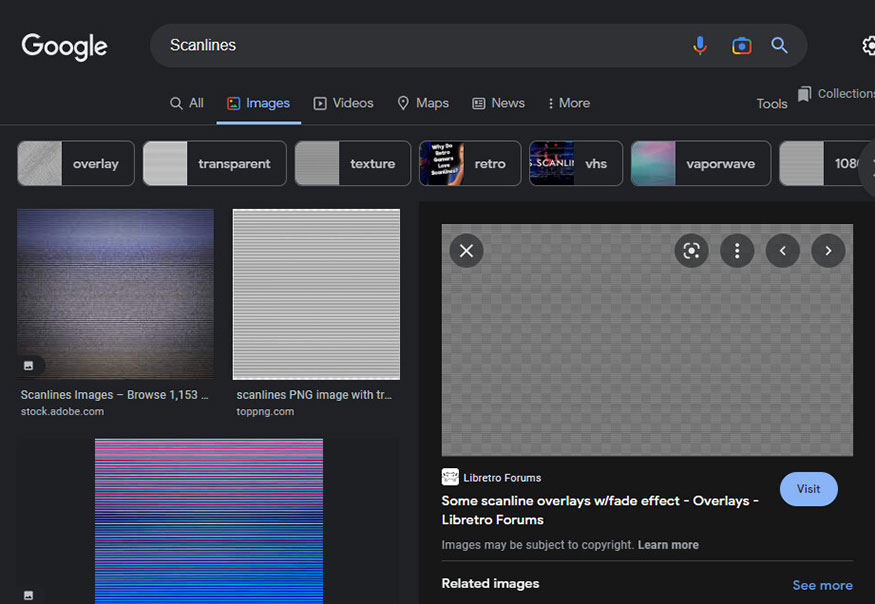
Step 1: To get the same interference effect as on TV, go to Google and search for the keyword “Scanlines”. Then select the image and download the “Scanlines” image to your computer.
Step 2: After downloading the noise line image to your computer, open it in Photoshop and set the Opacity level to about 25%.
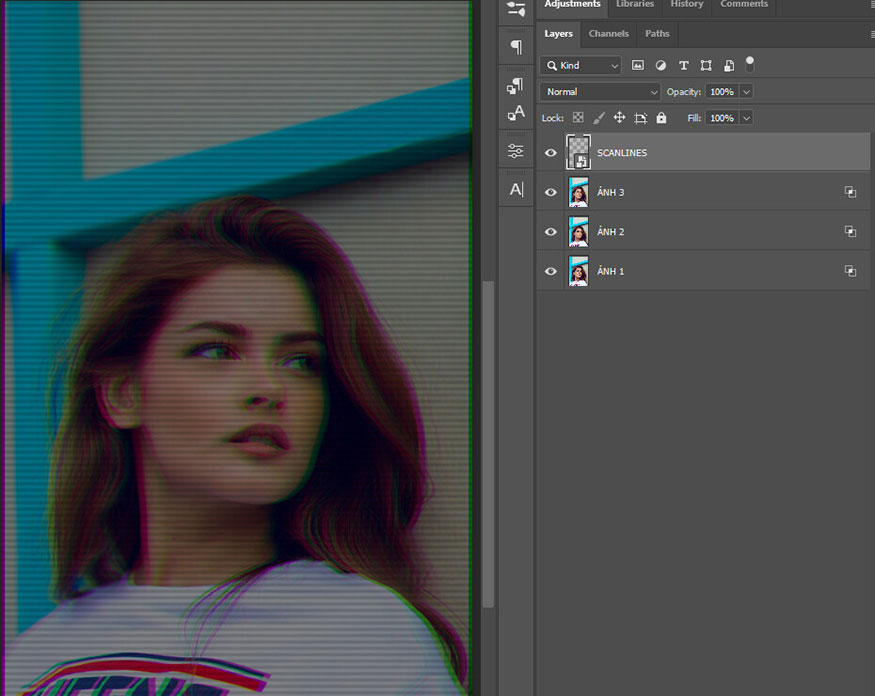

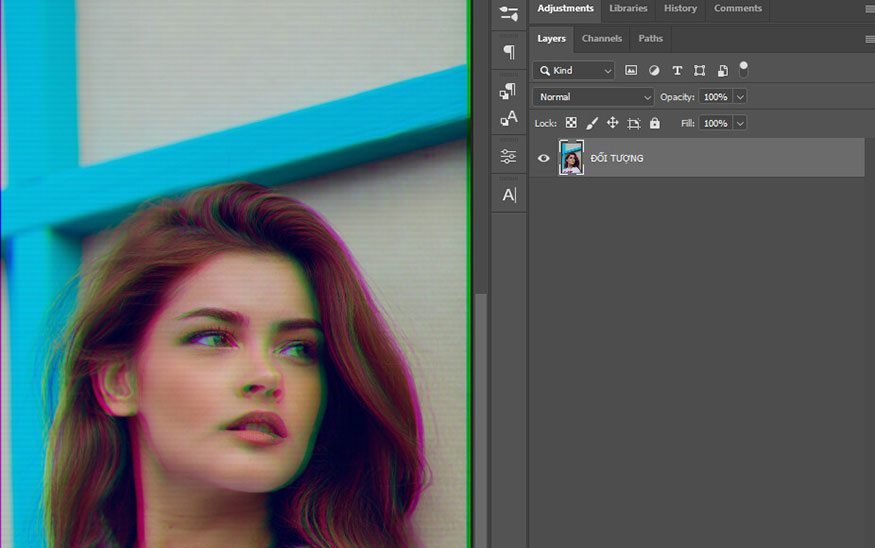
Step 3: The above steps help you add noise texture. Now hold down the Shift key while selecting all the previous layers and press Ctrl + E to merge all the layers into one.
Then, press the key combination Ctrl + J again to Copy the merged layer.
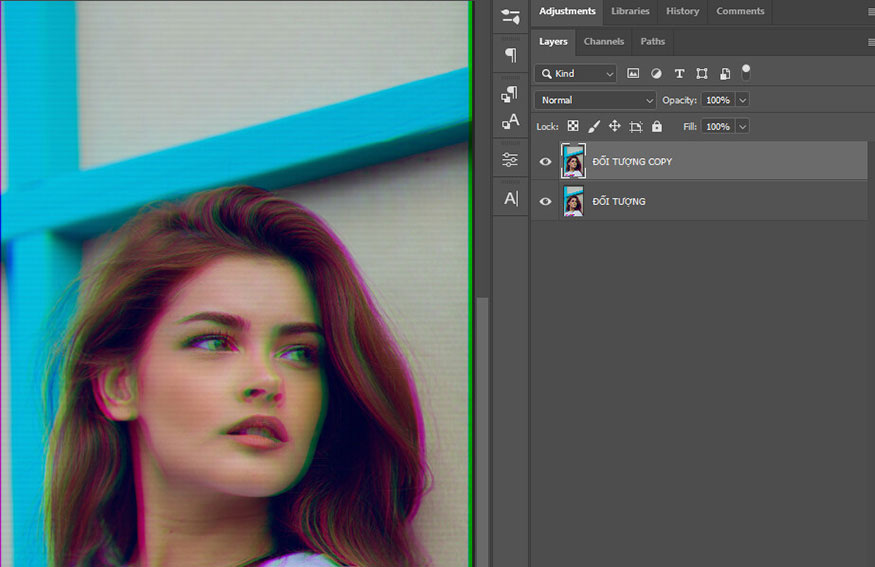
Step 4: However, this is not the final step, now you need to create many broken lines on the image to bring the most realistic Glitch effect.
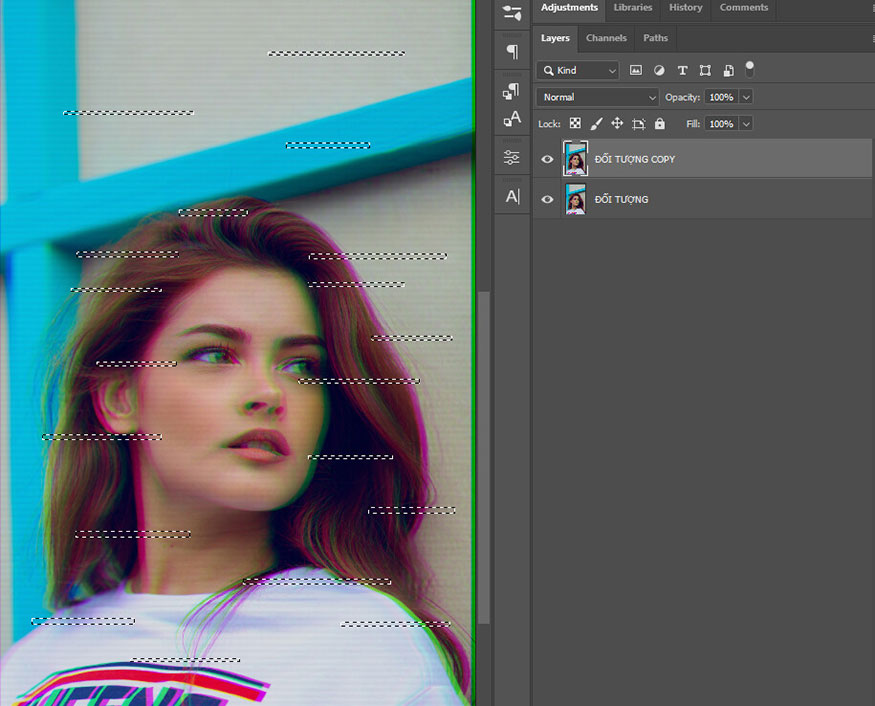
On the toolbar, select the Rectangular Marquee Tool, then select the Add to Selection box to be able to draw multiple shapes at the same time.
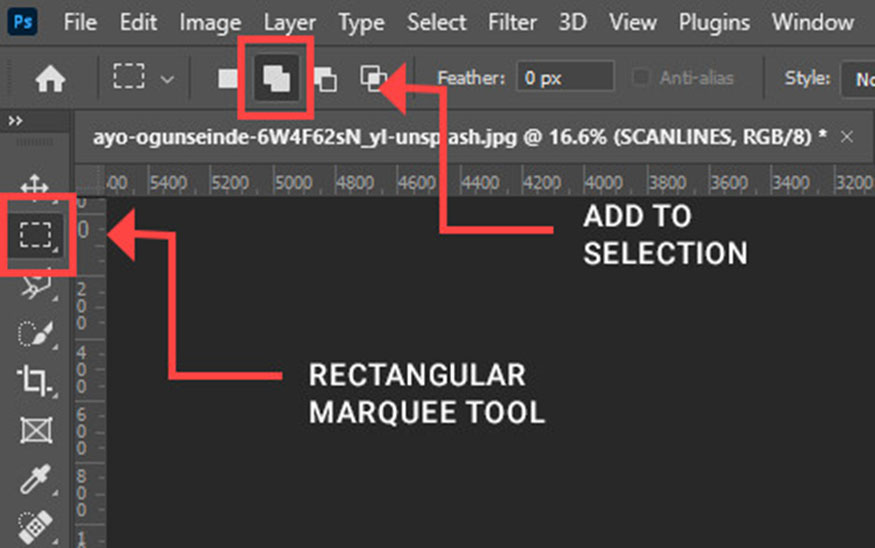
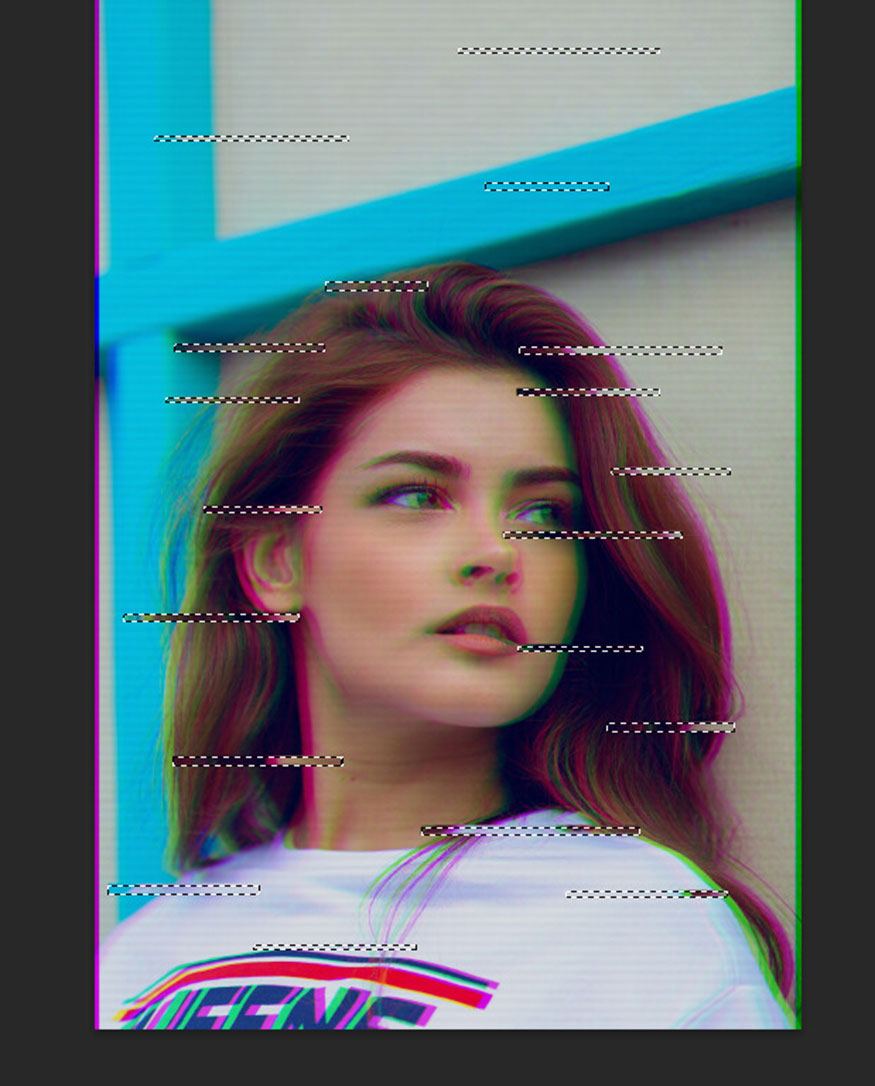
Use the Rectangular Marquee Tool to draw a series of rectangles of varying sizes around the object image. You can refer to the drawings as shown below.
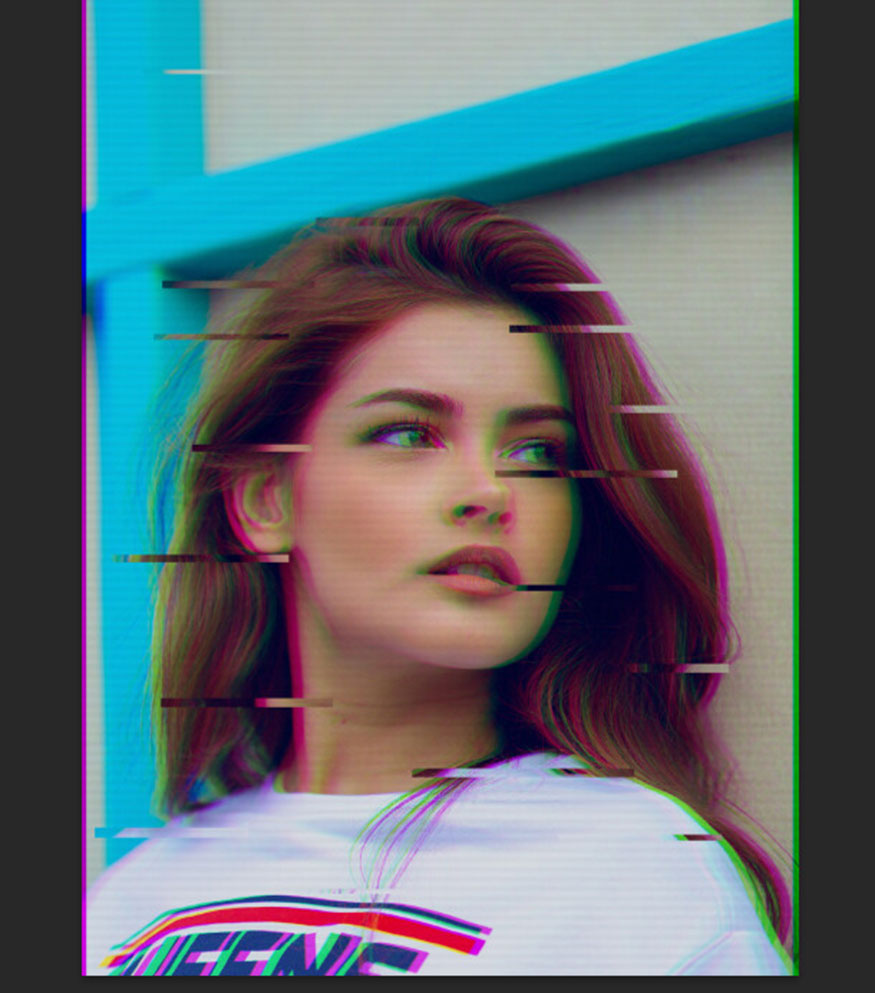
Step 5: On the toolbar, select the Move Tool (V) again and move the mouse to one of the newly drawn rectangles. You will see a pair of scissors appear next to the mouse pointer. Now move your mouse a little to the right or left, depending on your preference.
Finally, press Ctrl + D to deselect all selections.
So, the extremely interesting Glitch effect in Photoshop has been completed. We have an image of a girl with broken noise lines and the typical blue and pink tones.
Above is a summary of how to create extremely interesting Glitch effects in Photoshop. You can customize it to your liking to get the most interesting results. Try it out to see surprising results.


VIP Products


Best Selling Products
Genuine Cheap Canva Pro
39 USD
Freepik Premium Account
59 USD
Adobe Premiere Pro Account
99 USD
Upgrade Duolingo Super
29 USD
Autodesk All App Account Copyright
120 USD
MidJourney Account
29 USD
Capcut Pro 1 Year
39 USD
Upgrade genuine Capture One account
120 USD
ChatGPT Plus Account (GPT-4)
16 USD
Genuine Adobe Illustrator account
99 USD
Plugin Retouch4me
69 USD
Copyright Adobe Lightroom Account
59 USD
Adobe Photoshop Copyright - Full App
120 USD
Windows 10 & 11 Pro Key
36 USD
Upgrade Genuine Office 365
49 USD