Best Selling Products
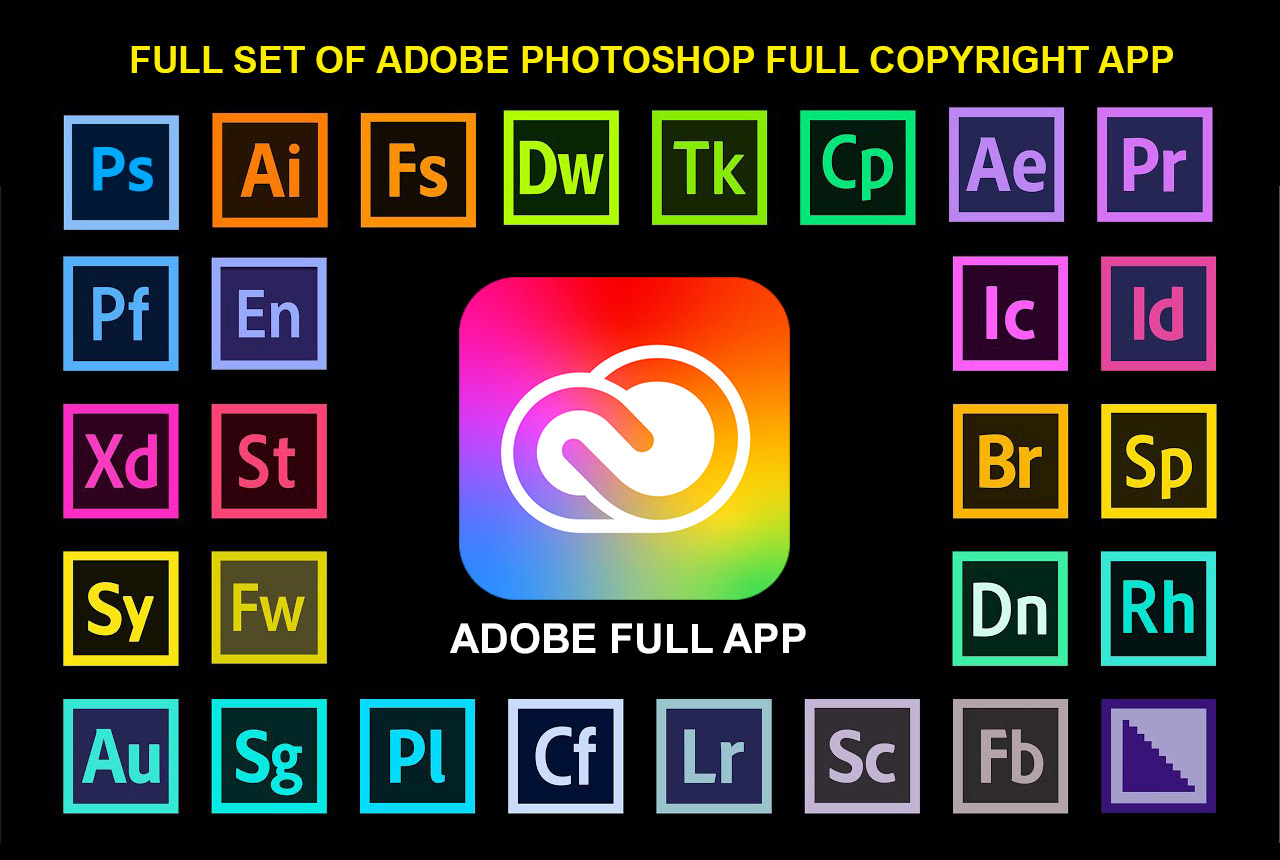
Adobe Photoshop Copyright - Full App
120 USD
Genuine Cheap Canva Pro
39 USD

Freepik Premium Account
59 USD

Upgrade Duolingo Super
29 USD
Genuine Adobe Illustrator account
99 USD

MidJourney Account
29 USD
Windows 10 & 11 Pro Key
36 USD
Capcut Pro 1 Year
39 USD
Upgrade genuine Capture One account
120 USD
Adobe Premiere Pro Account
99 USD
Autodesk All App Account Copyright
120 USD
Plugin Retouch4me
69 USD

ChatGPT Plus Account (GPT-4)
16 USD
Copyright Adobe Lightroom Account
59 USD
Upgrade Genuine Office 365
49 USD
Secrets to quickly mastering CapCut PC, even for beginners.
Nội dung
- 1. What is CapCut PC? Key features of the software.
- 2. How to use CapCut PC in 7 simple steps
- Step 1: Download and install CapCut PC on your computer.
- Step 2: Create a new project in CapCut
- Step 3: Import the video, images, and audio you want to edit.
- Step 4: Familiarize yourself with the interface and editing tools.
- Step 5: Edit and combine videos, add text, and adjust audio.
- Step 6: Add effects, filters, and finalize the video.
- Step 7: Export the video and save the finished product to your computer.
- 3. Secrets to Mastering CapCut PC Faster
- 4. Conclusion
Want to create eye-catching videos to post on TikTok, Facebook, or YouTube but don''t know where to start? CapCut PC is a video editing tool worth trying thanks to its intuitive interface, many creative effects, and convenient editing features. Even without prior video editing experience, you can quickly get acquainted with the software and create products with your own unique style. To use the software proficiently, you should start with the basics such as installation, project creation, data import, cutting and splicing, and adding effects. This article from Sadesign will guide you through 7 simple steps to use CapCut PC, helping you easily practice and improve your video editing skills right on your computer.

1. What is CapCut PC? Key features of the software.
CapCut PC is video editing software for computers, developed by ByteDance, the company behind TikTok. This tool supports users in performing many editing operations such as cutting and splicing videos, adding music, inserting text, creating subtitles, adjusting colors, and using visual effects. Thanks to its user-friendly interface, CapCut PC is suitable for beginners in content creation, while also meeting the needs of creating sales videos, tutorial videos, or entertainment clips for social media. Some of the outstanding features that make CapCut PC a popular choice include:
-
Flexible video editing: Cut, merge, arrange footage, and adjust duration as desired.
-
Diverse effects library: Provides filters, transition effects, stickers, and various fonts to make your videos more lively.
-
Convenient audio tools: Supports adding background music, adjusting volume, and processing audio using the provided features.
-
Subtitling: Some versions support speech recognition and automatic subtitling, saving editing time.
-
Customize aspect ratio: Allows you to adjust the video aspect ratio to fit TikTok, Facebook Reels, YouTube Shorts, and other platforms.

2. How to use CapCut PC in 7 simple steps
Step 1: Download and install CapCut PC on your computer.
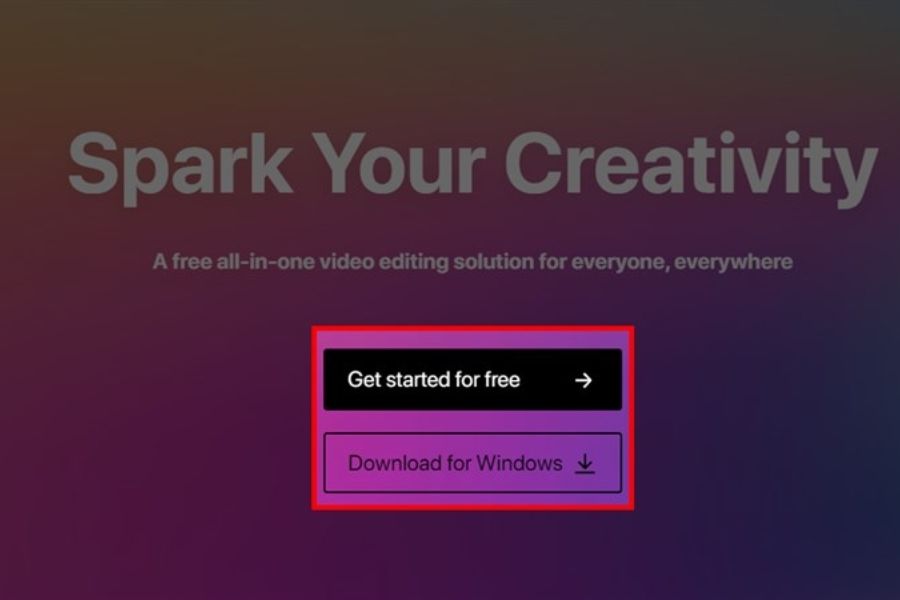
First, open your browser and go to the official CapCut homepage at capcut.com. Here, find the option to download the desktop application and choose the version compatible with your operating system. Downloading software from the official source helps you avoid installing unsafe applications and gives you a chance to receive the latest updates.
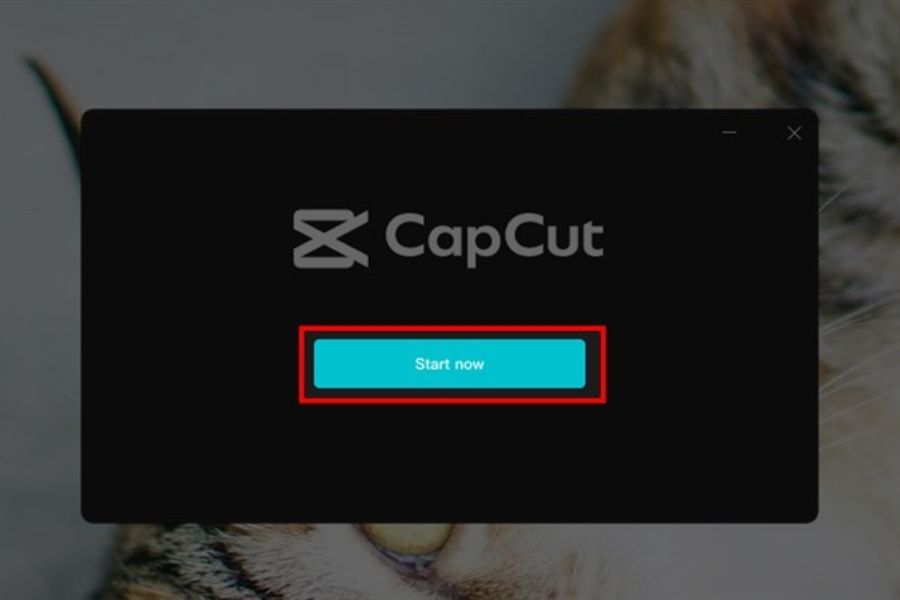
After downloading the installation file, open it and follow the on-screen instructions to complete the installation process. Once the software is ready, launch CapCut and log in to your account if prompted. Before you begin editing, you should check your disk space and ensure your computer meets the system requirements for the application to run smoothly.
Step 2: Create a new project in CapCut
After opening the application, look for the option to create a new project, usually called "New project" or something similar depending on the version. When you select this option, CapCut will take you to the editing interface, where you can import data, arrange video clips, and perform editing operations. This is the main workspace you will use throughout the video editing process.
To get started, you should begin with a short project instead of immediately editing long videos. For example, choose a product video or a few moments from a trip to practice. This way, you'll grasp the basic workflow and easily check the results after each change.
Step 3: Import the video, images, and audio you want to edit.
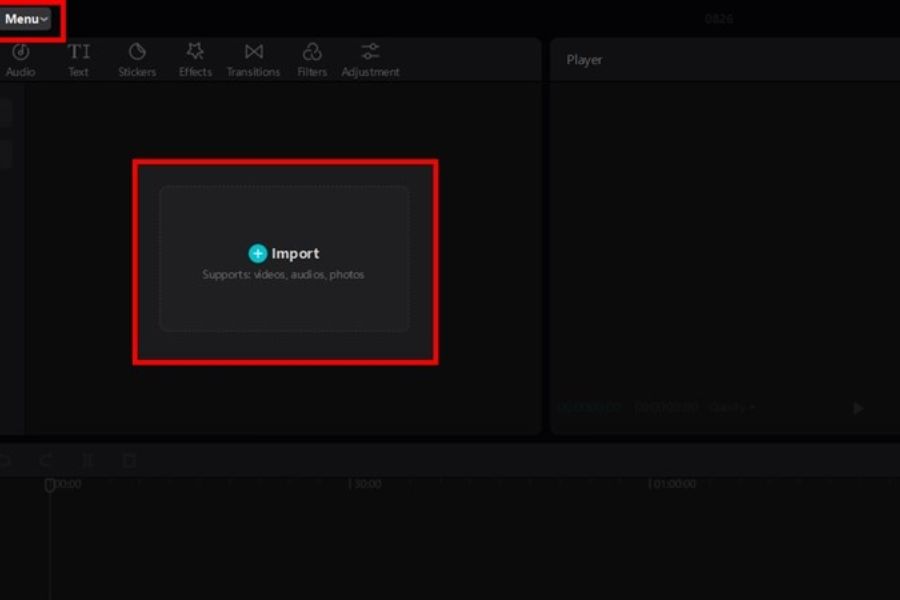
In the project interface, find the Media or Import area to add data from your computer. Click the import file button, select the video, image, or audio you want to use, and wait for the application to load them into the project library. You should also prepare your resources beforehand and save them in separate folders to make the search process faster.
Once the files appear in the library, drag the necessary content down to the timeline to begin editing. If the video has many shots, arrange them in a logical order so that the story is clearly told. You should check the image quality, sound, and duration of each file before editing to minimize unwanted errors in the following steps.
Step 4: Familiarize yourself with the interface and editing tools.
The CapCut PC interface is typically divided into separate areas for easy operation. The Media Library is used to manage resources, the preview pane displays video results, the tool panel provides editing options, and the timeline helps organize elements chronologically. Understanding the function of each area will save you time searching for tools while working.
To practice, try selecting a video clip on your timeline and observing the options that appear in the editing panel. You can start with simple operations such as resizing the frame, adjusting the position, or reviewing the video using the playback controls. Once you're familiar with the interface, you'll easily be able to combine various tools to create a complete video without getting confused when switching between functions.
Step 5: Edit and combine videos, add text, and adjust audio.
This is a crucial step in making your video more coherent and engaging. You can move the player to the desired editing location, use the Split tool to separate the segments, and then delete unnecessary parts. Next, rearrange the footage, adjust the duration, and test playback to ensure the content runs smoothly without interruption. For social media videos, removing lengthy opening sequences often helps the content get straight to the point.
After completing the image section, you can open the Text tool to add titles, captions, or important information. If you want to create automatic subtitles, use Auto Captions when available and review the content afterward. You can also add background music by importing an audio file, then adjusting the volume so that the dialogue isn't drowned out. Prioritize legible text, clear audio, and a presentation that matches the video's theme.
Step 6: Add effects, filters, and finalize the video.
Once you've finished editing, you can use transition effects, color filters, and stickers to make your video more lively. Explore sections like Effects, Transitions, or Filters to choose the effects that best suit your content. For example, a product introduction video might use gentle transitions, while a travel clip could incorporate brighter colors and a faster pace.
However, you shouldn't add too many effects just because they're eye-catching. Adjust the brightness, contrast, and color so that the shots are consistent, and check if the text and stickers are obscuring the subject. After editing, play back the entire video to check the continuity between scenes, the clarity of the sound, and the accuracy of the subtitles. This step helps you identify details that need correction before exporting the final product.
Step 7: Export the video and save the finished product to your computer.
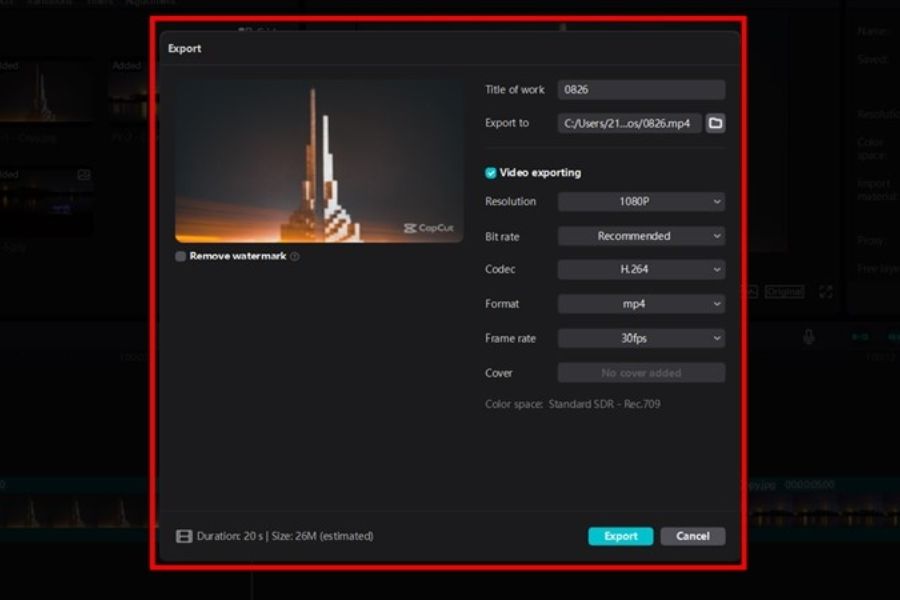
After completing the editing process, select Export to open the video export settings panel. Here, name the file, choose a save folder, and adjust parameters such as resolution, frame rate, or format according to your needs. If uploading videos to TikTok or Reels, you can prioritize a vertical 9:16 aspect ratio; for regular videos on YouTube, a horizontal 16:9 aspect ratio is usually more suitable.
Next, click Export and wait for CapCut to process the video. The completion time depends on the project length, output quality, and computer configuration. Once exported, you should open the saved file to check the image, sound, subtitles, and duration before uploading. If the video is blurry or not displayed correctly in terms of aspect ratio, go back to the project to check the settings and re-export with the appropriate parameters.
3. Secrets to Mastering CapCut PC Faster
To use CapCut PC effectively, you should practice regularly with small projects instead of trying to learn all the features at once. Start by cutting and splicing a short video, then try adding a title, background music, and transition effects. Once you're familiar with the basic process, you can continue exploring advanced tools to improve the quality of your product. Some helpful tips you should apply include:
-
Practice each skill individually: Focus on editing first, then move on to color correction, subtitles, and effects.
-
Organize your scientific resources: Use clear file names and categorize videos, images, and audio to save time searching.
-
Utilize keyboard shortcuts: Learn the commonly used keyboard shortcuts in your installed version to work faster.
-
Save your project regularly: This reduces the risk of losing progress if the application crashes.
-
Review the video before exporting: Check the image, sound, subtitles, and frame rate to minimize errors.
-
Refer to trends selectively: Learn how to create engaging videos while maintaining your own style and paying attention to resource copyright.
4. Conclusion
CapCut PC is the perfect tool for beginners on their video creation journey thanks to its intuitive interface and diverse features. By following just 7 simple steps—from software installation, project creation, data import, editing, and video export—you can create basic videos for personal or professional use. The most important thing is consistent practice and skill improvement. Once you've mastered the fundamentals, you can explore advanced effects, AI tools, and more creative video editing techniques. Start with a simple project today to gradually master CapCut PC and create engaging videos in your own unique style.











VIP Products

Best Selling Products
Adobe Photoshop Copyright - Full App
120 USD
Genuine Cheap Canva Pro
39 USD
Freepik Premium Account
59 USD
Upgrade Duolingo Super
29 USD
Genuine Adobe Illustrator account
99 USD
MidJourney Account
29 USD
Windows 10 & 11 Pro Key
36 USD
Capcut Pro 1 Year
39 USD
Upgrade genuine Capture One account
120 USD
Adobe Premiere Pro Account
99 USD
Autodesk All App Account Copyright
120 USD
Plugin Retouch4me
69 USD
ChatGPT Plus Account (GPT-4)
16 USD
Copyright Adobe Lightroom Account
59 USD
Upgrade Genuine Office 365
49 USD