Best Selling Products

Windows 10 & 11 Pro Key
36 USD

Genuine Adobe Illustrator account
99 USD

Adobe Premiere Pro Account
99 USD

Upgrade Duolingo Super
29 USD

Upgrade Genuine Office 365
49 USD

Capcut Pro 1 Year
39 USD

ChatGPT Plus Account (GPT-4)
16 USD

Freepik Premium Account
59 USD

MidJourney Account
29 USD

Copyright Adobe Lightroom Account
59 USD

Autodesk All App Account Copyright
120 USD

Genuine Cheap Canva Pro
39 USD

Plugin Retouch4me
69 USD

Adobe Photoshop Copyright - Full App
120 USD

Upgrade genuine Capture One account
120 USD
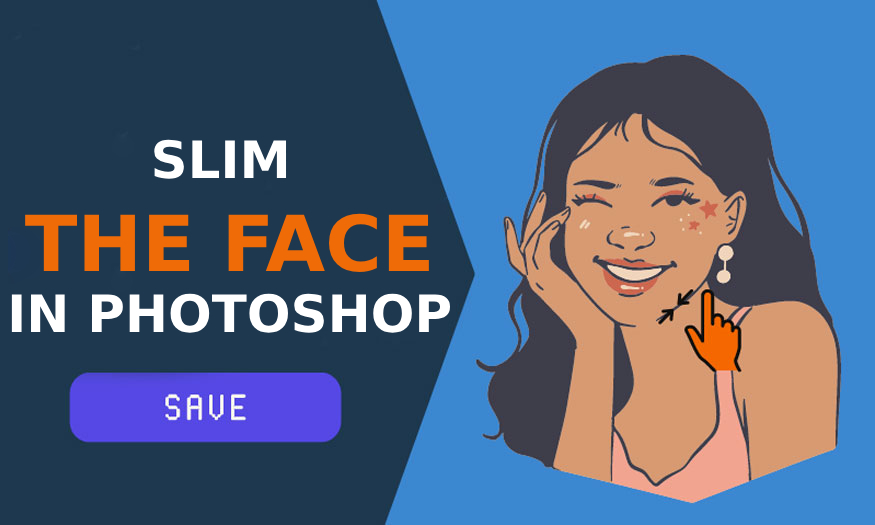
Slim the face in Photoshop effectively and naturally
Nội dung
To help the model's face become slimmer, we need to use the face slimming feature in Photoshop. In the article below, Sadesign will guide you how to perform face slimming in Photoshop with the Liquify tool extremely quickly, simply and naturally, making the photo more impressive.

To help the model's face become slimmer, we need to use the face slimming feature in Photoshop. In the article below, Sadesign will guide you how to perform face slimming in Photoshop with the Liquify tool extremely quickly, simply and naturally, making the photo more impressive.
1. Instructions for squeezing a face in Photoshop
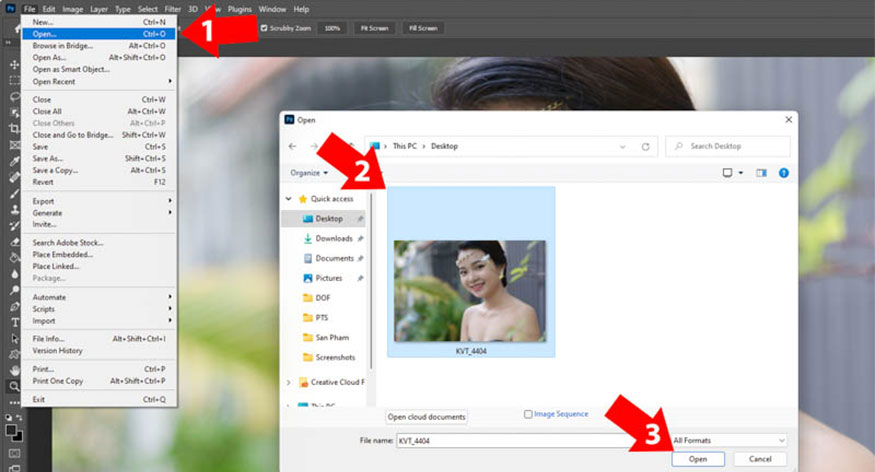
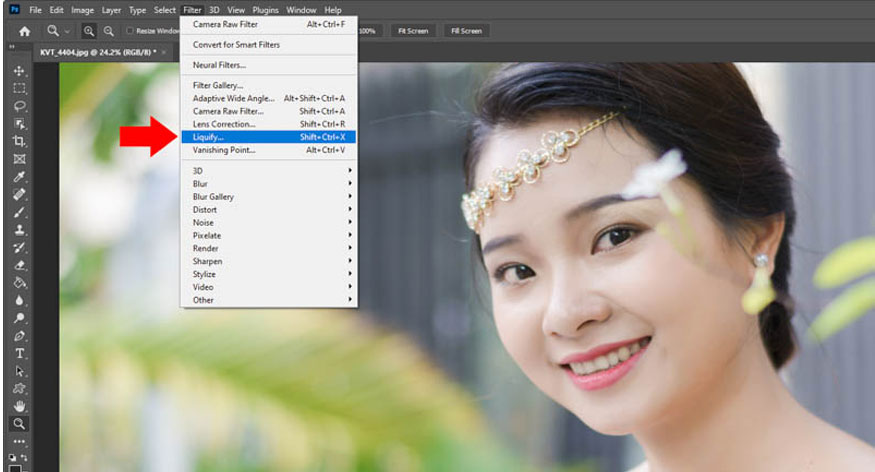
First, you need to go to Photoshop => select File (1) => Open => Select photo (2) => click Open (3) or you can open the image by pressing the shortcut Ctrl + O.
You duplicate the original layer by pressing the keyboard shortcut Ctrl+J => move to Filter => Liquify or using the keyboard shortcut Ctrl+Shift+X. This is the tool used to slim faces in Photoshop CS6 to Photoshop 2022.
In Liquify, click on the humanoid icon in the left corner to see a frame surrounding the model's face. With old versions of Photoshop, this feature cannot be used or it may be because the Graphics Card is not compatible with Photoshop.
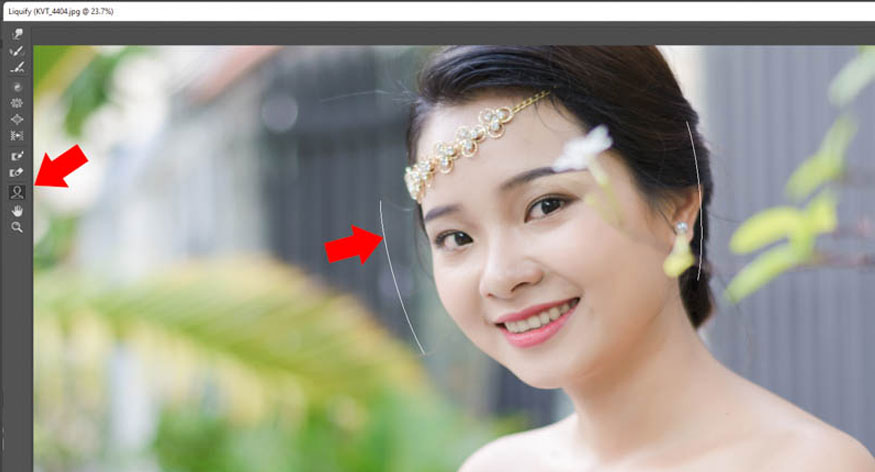
You move the mouse close to the model's face to get the boundary line and anchor point. To make your face slimmer, click on the dot next to the red arrow, then drag it inward. You can click on the chin and forehead to make more beautiful adjustments. In case there are many people in the photo, just click on another face and make the same adjustment. It can be said that this is the simplest and easiest way to perform face slimming in Photoshop.
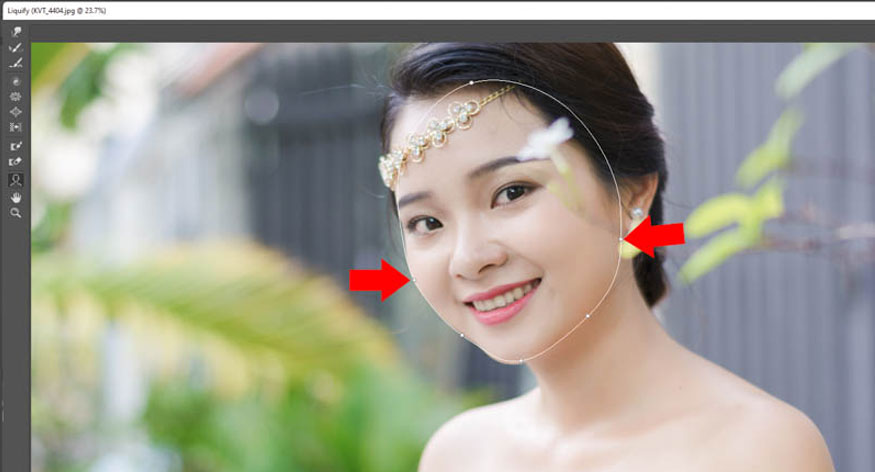
If you are not familiar with dragging the mouse, you can move to Face Shape, here drag the Jawline to the left to make the chin smaller. You can drag Face Width to the left to make your face slimmer. You can make Forehead changes to make the forehead higher.

Finally, use the Chin Height tool to make the chin higher or lower. So we have helped adjust the model's face to be much smaller when dragging the Jawline to the left.
Once you get used to Liquify you can experiment with the Forward Warp Tool. The mouse will turn into a circle like the illustration. You just need to click on the location where you want to slim the face. Then drag the mouse inward to make the face slimmer.
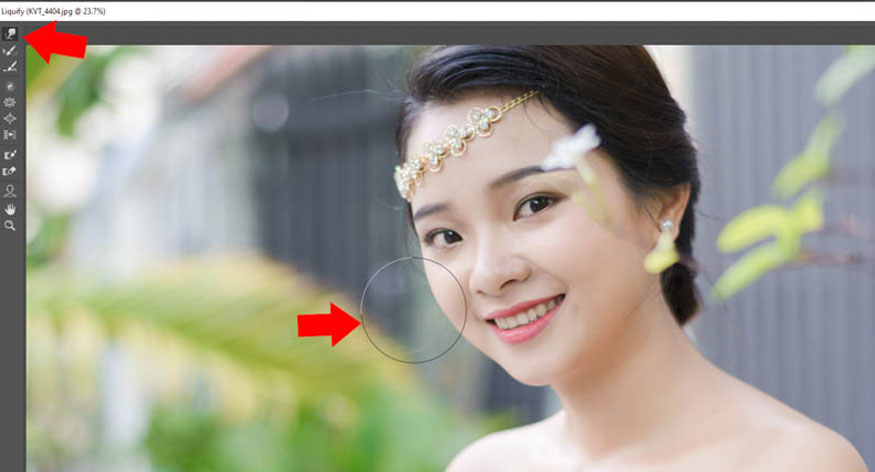
In the Forward Warp Tool you can slim any part of the face without depending on the Face Shape parameter.

If the Brush is too large for the model's face, enter the Brush Tool, change the size in the Size section, you can also press the [ ] key to increase or decrease the Brush size in Liquify. If you can't use the shortcut, please change the keyboard to English, because Vietnamese keyboard is not compatible with Photoshop.
2. Note to slimming faces in Photoshop
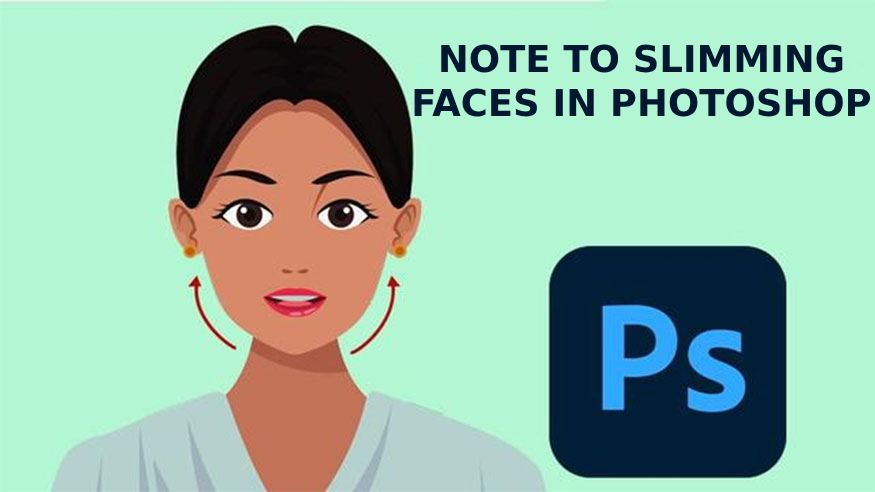
Squeezing faces in Photoshop is simple and easy, but you need to keep in mind a few notes to help to slim faces effectively:
● Faces in The photo is usually automatically recognized by the software so you can select and edit each face.
● Face-Aware Liquify tool integrated in the software has the most effective ability to recognize and edit faces.
● Software that supports symmetrical face editing helps you edit one part of the face, the other half will automatically be edited symmetrically.
● The Restore tool does not apply to changes in Liquify.
● When moving the mouse over a face, if not being careful, the face will be erased or shrink unintentionally. So, you need to adjust your hand so that the mouse is always under control.
3. Answering some questions about face slimming in Photoshop
What is the tool used to perform face slimming in Photoshop?
=> The Liquify tool is used to slim faces in Photoshop. You can do this by pressing Filter => Liquify.
What is the face slimming shortcut in Photoshop?
=> To slim a face in Photoshop, use the keyboard shortcut Ctrl+Shift+X to open the Liquify tool.
Why can't Liquify recognize faces?
=> Liquify's inability to recognize faces may be due to the fact that your Graphics Card is not compatible with Photoshop. Please click Edit => Preferences => Performance to perform the test.
So, in the above article, we have learned in detail how to perform face squeezing in Photoshop quickly and easily. This method will help the model's face in the photo become much slimmer and more impressive. The Liquify feature in Photoshop 2022 can automatically detect faces, helping to bring high editing efficiency and more effective use than previous versions. If you have not installed the latest version of Photoshop, please contact Sadesign for detailed advice and support on the service.


VIP Products


Best Selling Products
Windows 10 & 11 Pro Key
36 USD
Genuine Adobe Illustrator account
99 USD
Adobe Premiere Pro Account
99 USD
Upgrade Duolingo Super
29 USD
Upgrade Genuine Office 365
49 USD
Capcut Pro 1 Year
39 USD
ChatGPT Plus Account (GPT-4)
16 USD
Freepik Premium Account
59 USD
MidJourney Account
29 USD
Copyright Adobe Lightroom Account
59 USD
Autodesk All App Account Copyright
120 USD
Genuine Cheap Canva Pro
39 USD
Plugin Retouch4me
69 USD
Adobe Photoshop Copyright - Full App
120 USD
Upgrade genuine Capture One account
120 USD