Best Selling Products

Plugin Retouch4me
69 USD

Upgrade Duolingo Super
29 USD

Genuine Adobe Illustrator account
99 USD

Capcut Pro 1 Year
39 USD

Freepik Premium Account
59 USD

Adobe Photoshop Copyright - Full App
120 USD

Copyright Adobe Lightroom Account
59 USD

Upgrade Genuine Office 365
49 USD

ChatGPT Plus Account (GPT-4)
16 USD

Windows 10 & 11 Pro Key
36 USD

Upgrade genuine Capture One account
120 USD

Autodesk All App Account Copyright
120 USD

Adobe Premiere Pro Account
99 USD

MidJourney Account
29 USD

Genuine Cheap Canva Pro
39 USD
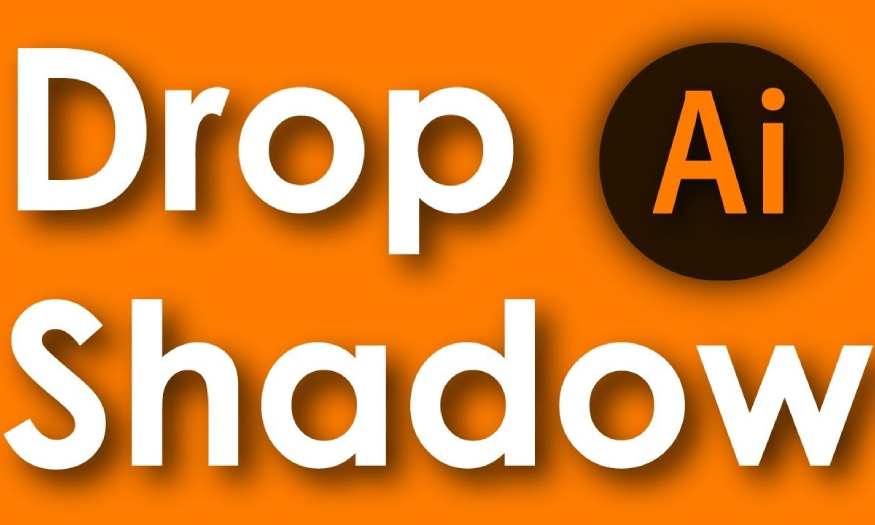
Steps to Create drop shadow in Illustrator
Nội dung
Drop shadow is one of the commonly used techniques in graphic design to create depth and attraction for design products. Join SaDesign to refer to the steps to create drop shadow in Illustrator in the following article to perform this technique easily and effectively.
.jpg)
1. What is Drop Shadow in Illustrator?
Drop Shadow is the effect of a shadow falling from an object such as the shadow of an object when illuminated. The Drop Shadow effect describes the shape and configuration of the object as well as helps to increase the realism and depth of the image. Thanks to that, the design is more vivid, making the overall picture more attractive.
For graphic design in general and Illustrator in particular, the Drop Shadow effect plays a particularly important role such as:
Add depth and dimension to objects.
Create contrast, helping to highlight design elements
Increases image realism with effective light simulation.
.jpg)
2. Steps to create Drop Shadow in Illustrator
To create Drop Shadow in Illustrator we follow these basic steps:
2.1. Step 1
First in Illustrator you need to select the subject you want to create a shadow, then just go to Effect => Stylize => Drop Shadow. Immediately the Adobe Illustrator Drop Shadow window will appear for you to choose the shadow settings in Illustrator.
Click Preview to preview the applied shadow effect live and notice the changes you choose to make.
.jpg)
2.2. Step 2
Click on Mode to see the drop-down menus, you can choose the blending mode of the drop shadow in Illustrator. As this tutorial we will use Overlay, you can try and use other blending modes as you like. Use the up/down arrow buttons on your keyboard to switch blending modes with each other easily.
.jpg)
2.3. Step 3
To set the transparency of a drop shadow in Illustrator, click on the Opacity value. Then hover over the current value and roll the scroll wheel on your mouse to easily adjust the parameter.
You can also use the arrow buttons or type in the desired value in the input field. Holding down the Shift key while you click one of the arrow buttons will increase/decrease the value by 10%. For this example we will keep the value at 50%.
.jpg)
2.4. Step 4
Set the X and Y Offset to control the placement of your shadow in Illustrator. The X Offset will move your shadow horizontally, while the Y Offset will move your shadow vertically.
Set a negative value if you want to move your shadow up or to the left. For this tutorial we set both values to 15 px.
.jpg)
2.5. Step 5
The Blur setting controls the opacity of the shadow in Adobe Illustrator. You can set it to 0px to add a sharp shadow or increase it to make the shadow larger. In this example it is 20px.
.jpg)
2.6. Step 6
You can set the color of the drop shadow in Illustrator using Color. Click on the color wheel then select the color that suits your needs. For this tutorial we will keep the default black color.
.jpg)
2.7. Step 7
The color of the shadow will be affected by the fill color of the shape, to adjust this adjust the value of Darkness, set it to 0% to use the same shadow color to fill the shape.
.jpg)
Increase Darkness if you want a darker shade of fill color for the drop shadow in Illustrator. Click OK when you are done, and you have successfully created a drop shadow in Illustrator.
So you can easily create drop shadow in Illustrator to apply to your photo editing projects.
Knowing how to create drop shadows in Illustrator not only improves your design skills but also helps you increase your creativity in your designs. Wish you success in applying this technique to make your work more impressive and attractive.


VIP Products


Best Selling Products
Plugin Retouch4me
69 USD
Upgrade Duolingo Super
29 USD
Genuine Adobe Illustrator account
99 USD
Capcut Pro 1 Year
39 USD
Freepik Premium Account
59 USD
Adobe Photoshop Copyright - Full App
120 USD
Copyright Adobe Lightroom Account
59 USD
Upgrade Genuine Office 365
49 USD
ChatGPT Plus Account (GPT-4)
16 USD
Windows 10 & 11 Pro Key
36 USD
Upgrade genuine Capture One account
120 USD
Autodesk All App Account Copyright
120 USD
Adobe Premiere Pro Account
99 USD
MidJourney Account
29 USD
Genuine Cheap Canva Pro
39 USD