Best Selling Products
The method of taking beautiful pictures like an artistic master
Nội dung
Taking a picture of art is like solving a difficult problem, it is not that we just pick up the camera and take it, we have a beautiful artistic picture.
 taking beautiful pictures
In the moment of shooting you must capture the truest emotions of the person or the scene, so it requires a knowledge of your shooting equipment as well as the subject.
Today, SaDesign Retouching will share with you methods of taking beautiful photos like an artistic master to capture the eye right from the eye.
Creative shooting ideas
First you need to have an idea for those pictures, then combine the unique scenery and style, you can shoot close-up or shoot far away. Depending on the purpose you are taking the picture, you will set the lighting accordingly.
Bringing stories through pictures
To have beautiful and successful pictures, it is important that you create a plot that connects with it. We had a little discussion about which figure would be the best choice for the story before we started editing, here are a few examples from our draft discussion.
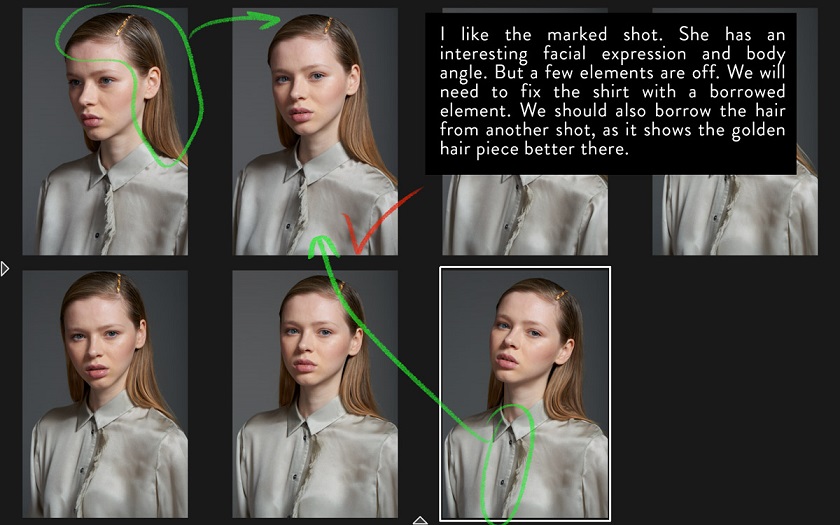 fix the shirt with a borrowed element
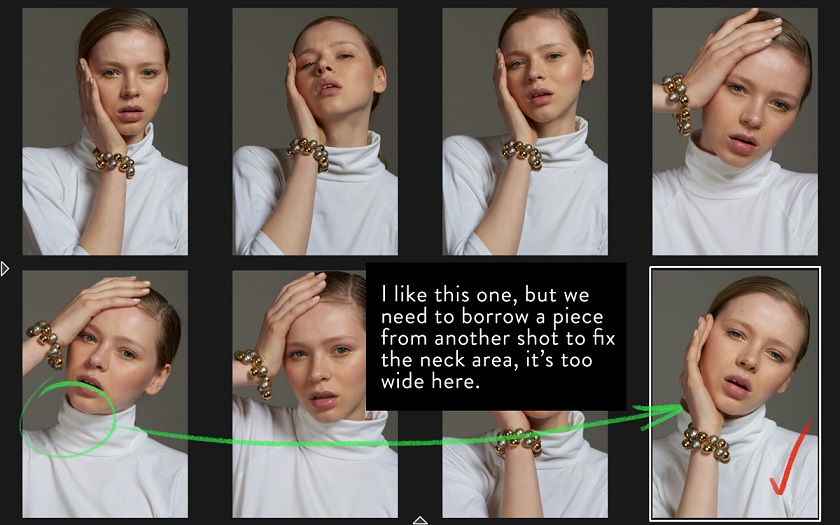 fix the neck area
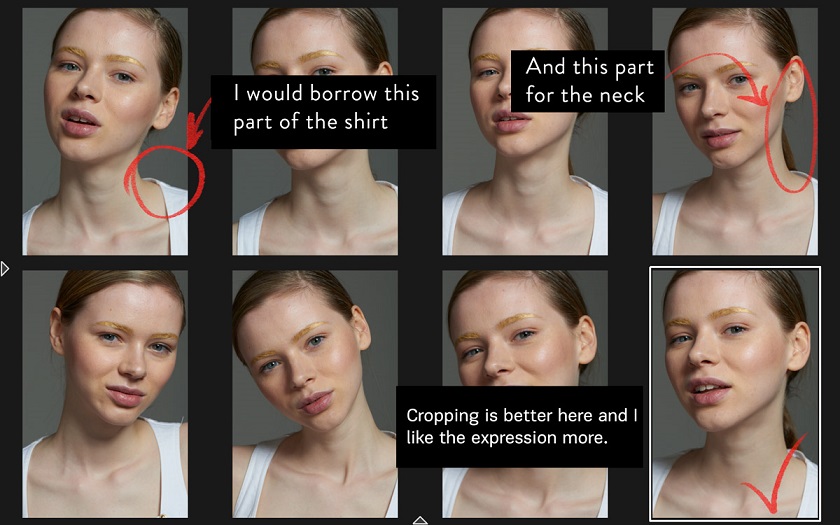 3 problems to fix
After we have the results we have selected the last 7 images
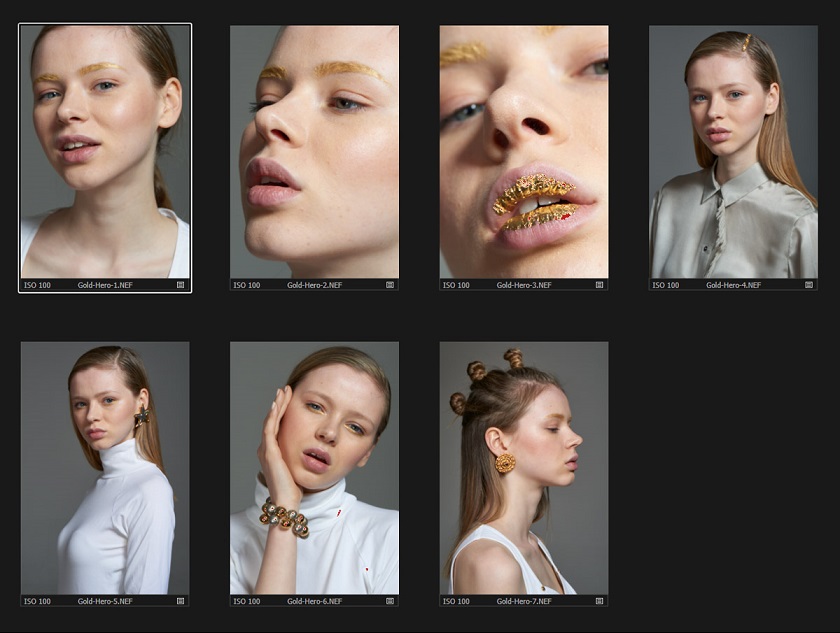 selected the last 7 images
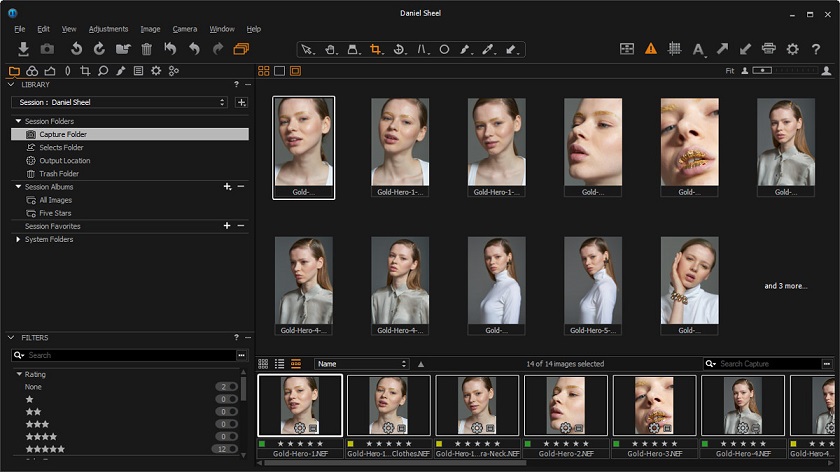 capture folder
Composition Rule
You can search for a composition to create a great image, you can refer to the 3 rules below.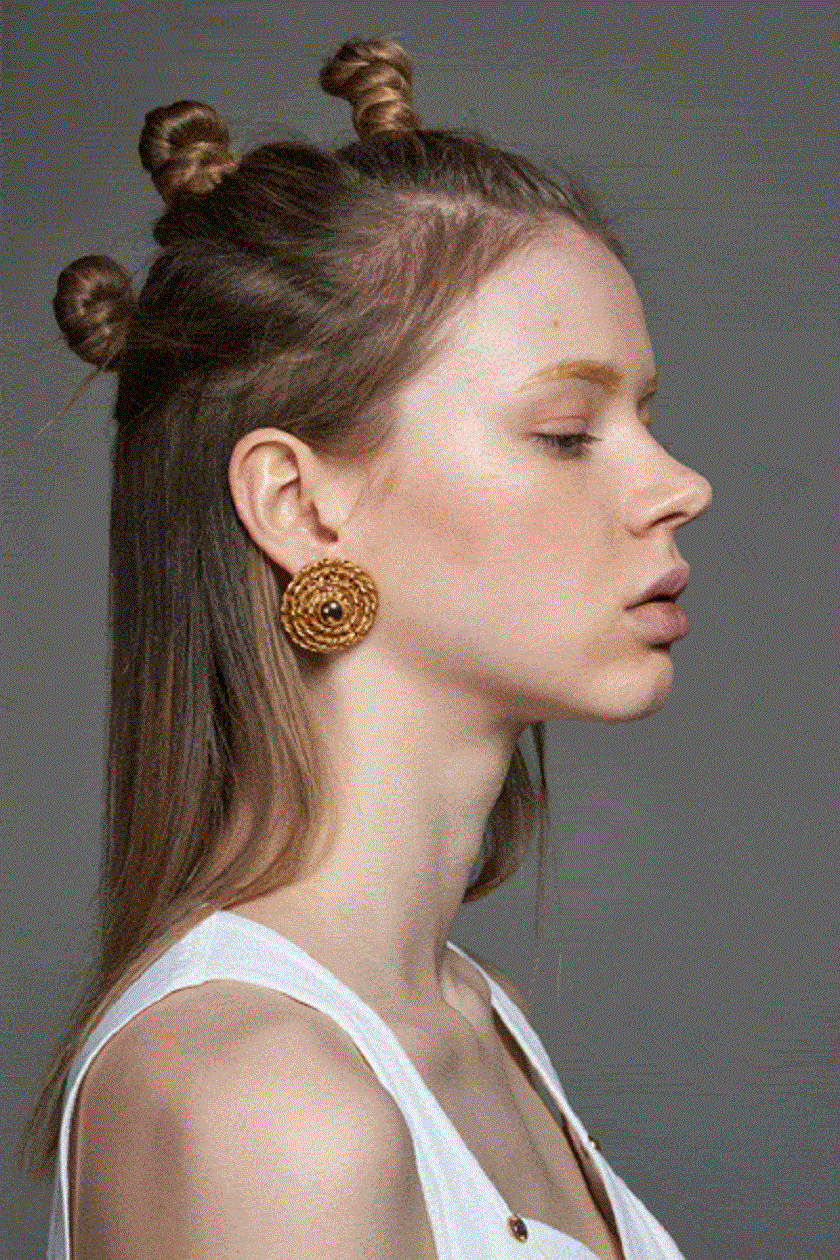 3 rules below
- Silhouette: Every image must have its shadow because it will help viewers easily read the body shape. Our brain is always looking for simple shapes and it's also better for the eye when we look at it.
- The lines in the image will help you create direction that gives a composition and is more eye-catching to the viewer.
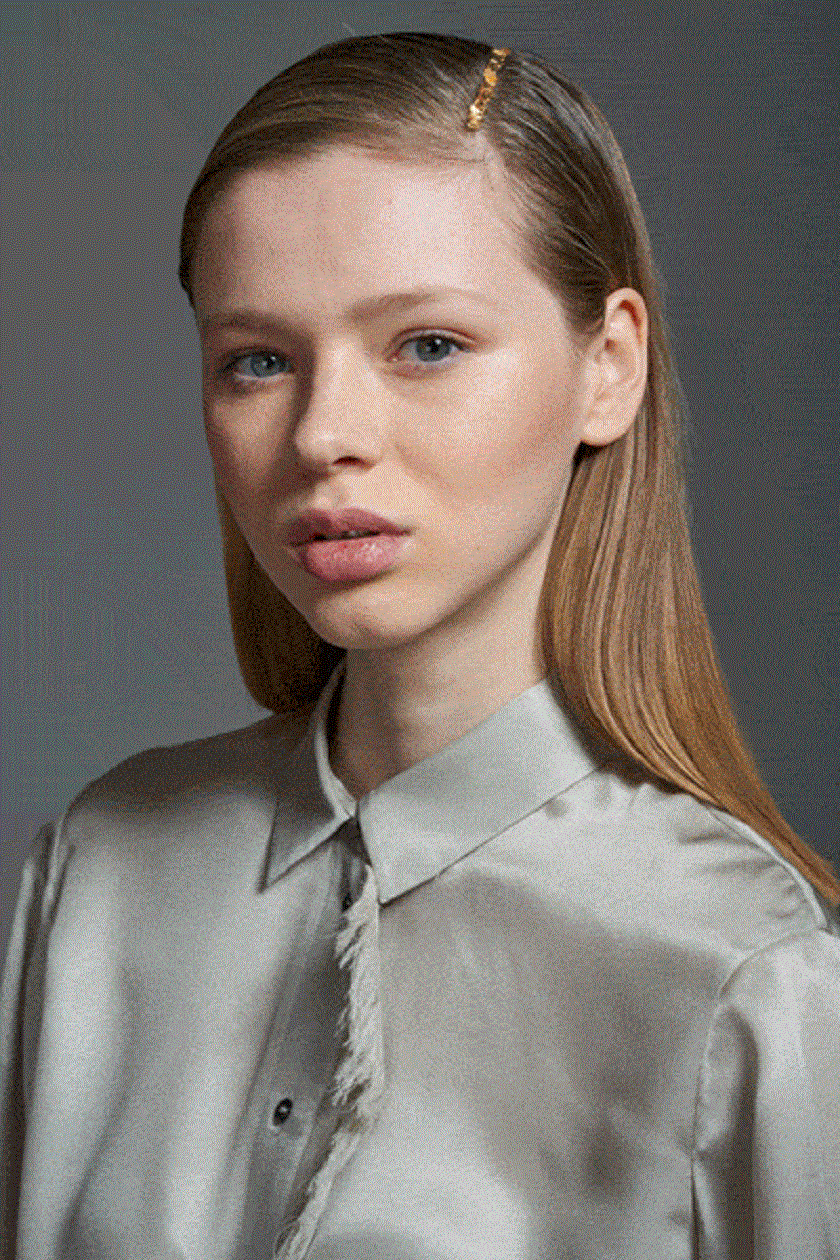 eye-catching to the viewer
- Fibonacci spiral: This spiral will be a great tool for you to build your composition around as it will help you provide strong points to bring attention to your viewers.
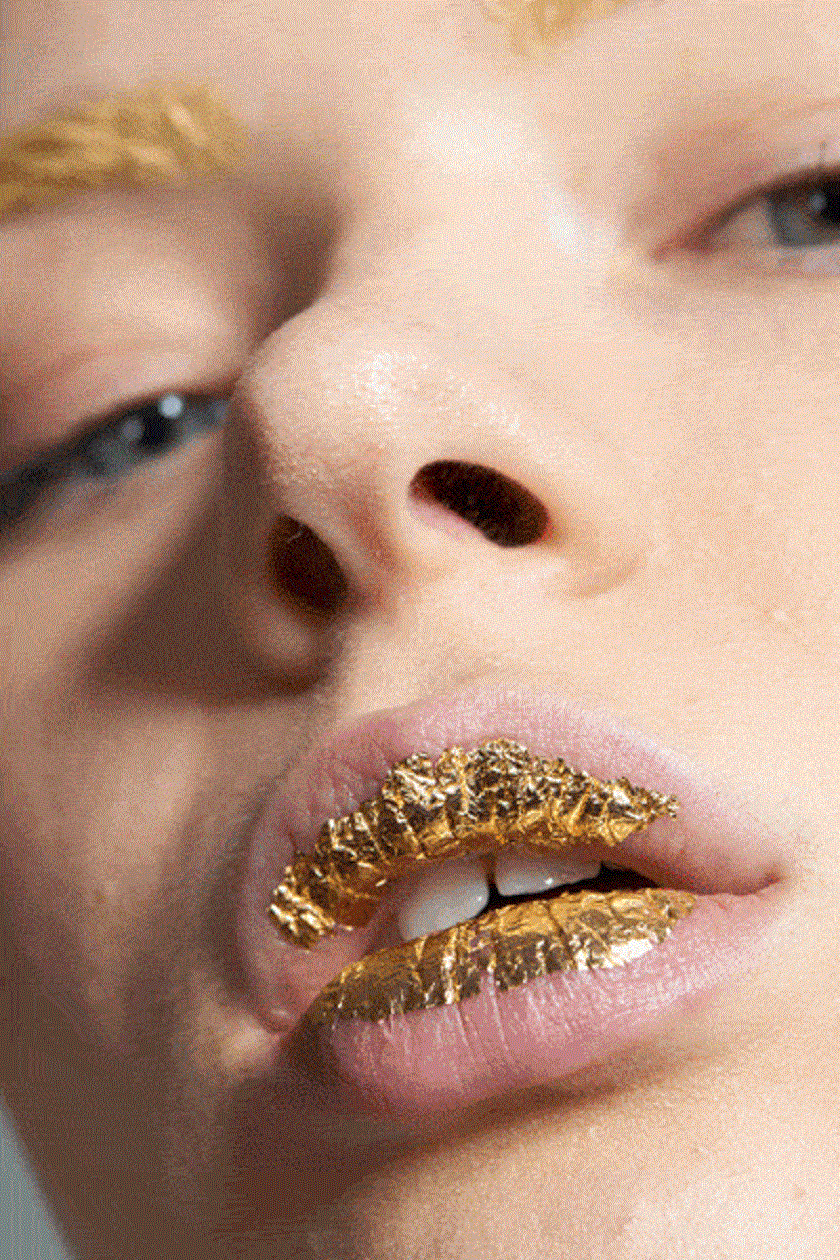 Fibonacci spiral
- Maximum Contrast Area (GAC): The above image perfectly illustrates this composition rule. The viewer's eyes will be drawn to a triangle as they move from one part to another and will stop on important parts of the image.
Post-production image editing
After many years of work, I have a lot of editing experience so it allows me to bring a good working effect.
Combining images
The first thing you need to care about is that the combination, you will have to correct all the essential elements in the image and borrow extras from other files.
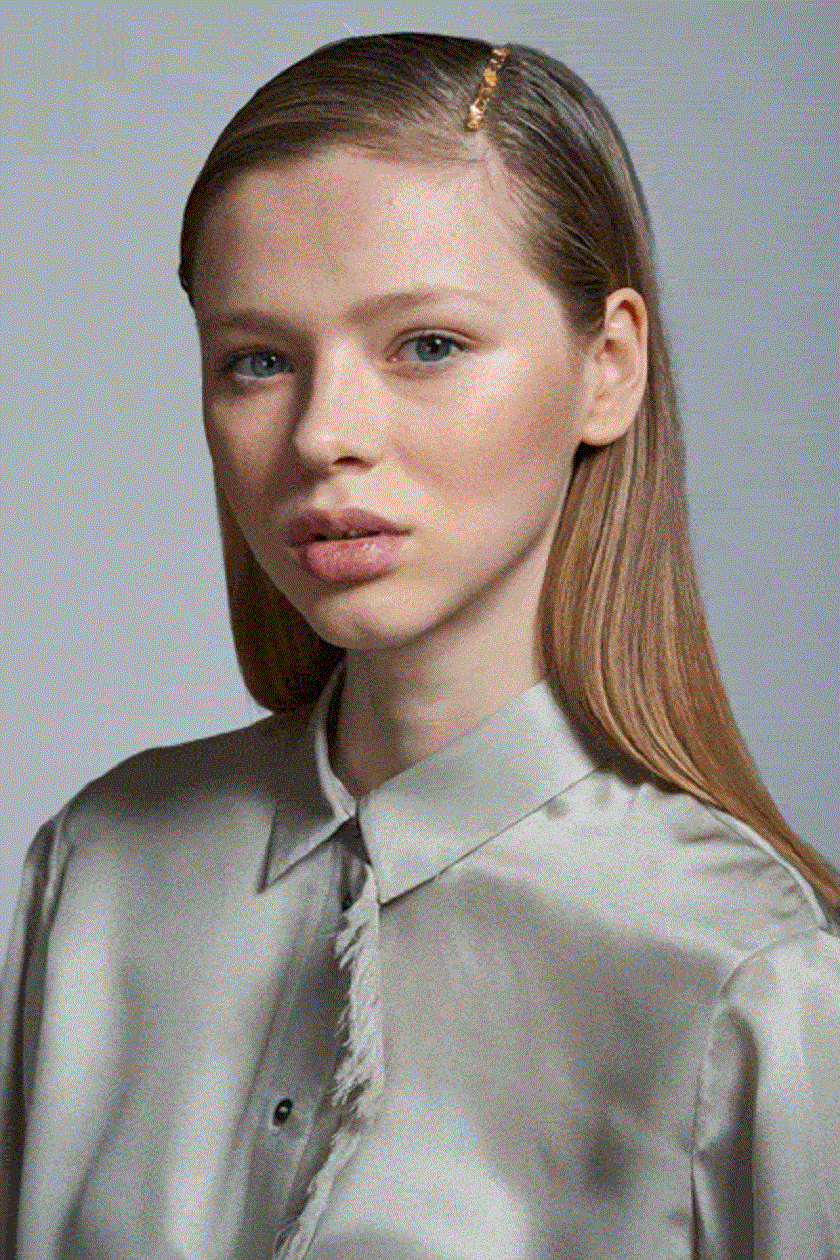 Combining images
In the image above, I am not satisfied with the way the model's shirt is photographed and hair. The shirt looks a bit tangled and the gold flakes in his hair are too far from his face.
The fix for these elements is that you need to replace them with parts from other images at an early stage in post-production it is much easier and more reasonable, because when you do the synthesis This is going to be quite difficult so it will probably cause some unnecessary problems.
Retouching
My first retouching routine is a basic cleaning: It is at this stage that I will remove dust spots, fine hairs and blemishes like pimples, bruises or wrinkles.
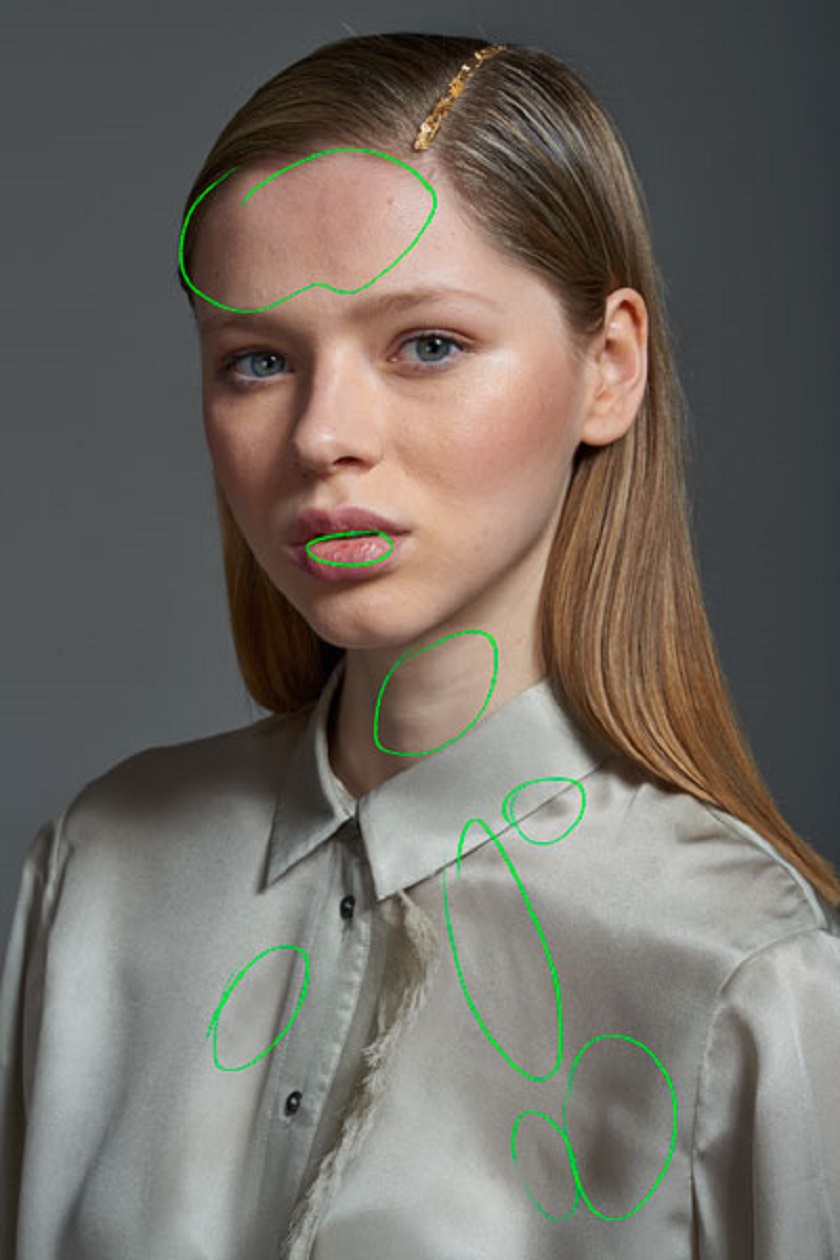 basic cleaning
Next is Dodging & Burning, where you can see patches of skin and deep creases on the model's shirt. Because in order to make the most natural photo editing, it is best to leave some imperfections, but it is important that you be selective and leave only details without making people. look at distractions from the vital elements of one's own image.
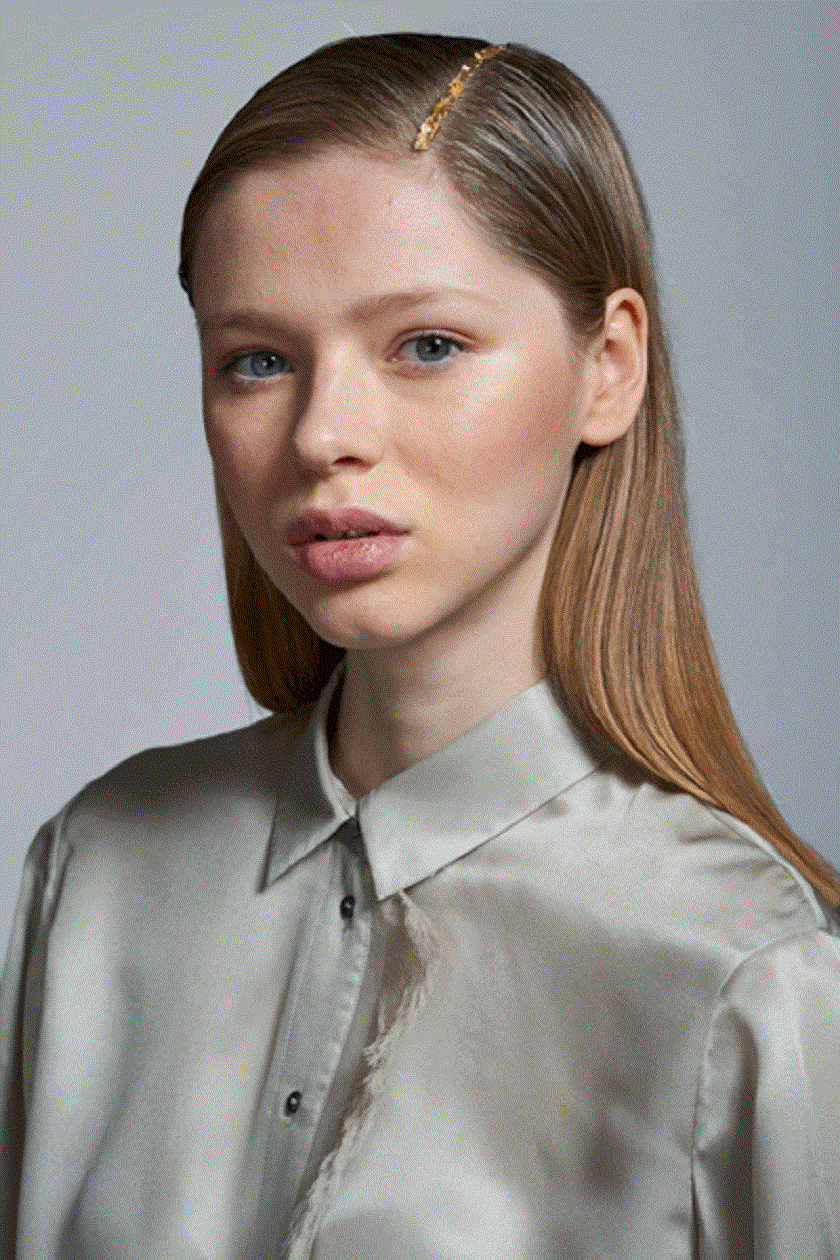 Dodging & Burning
The image below is the spots where I have marked the areas that I care about most.
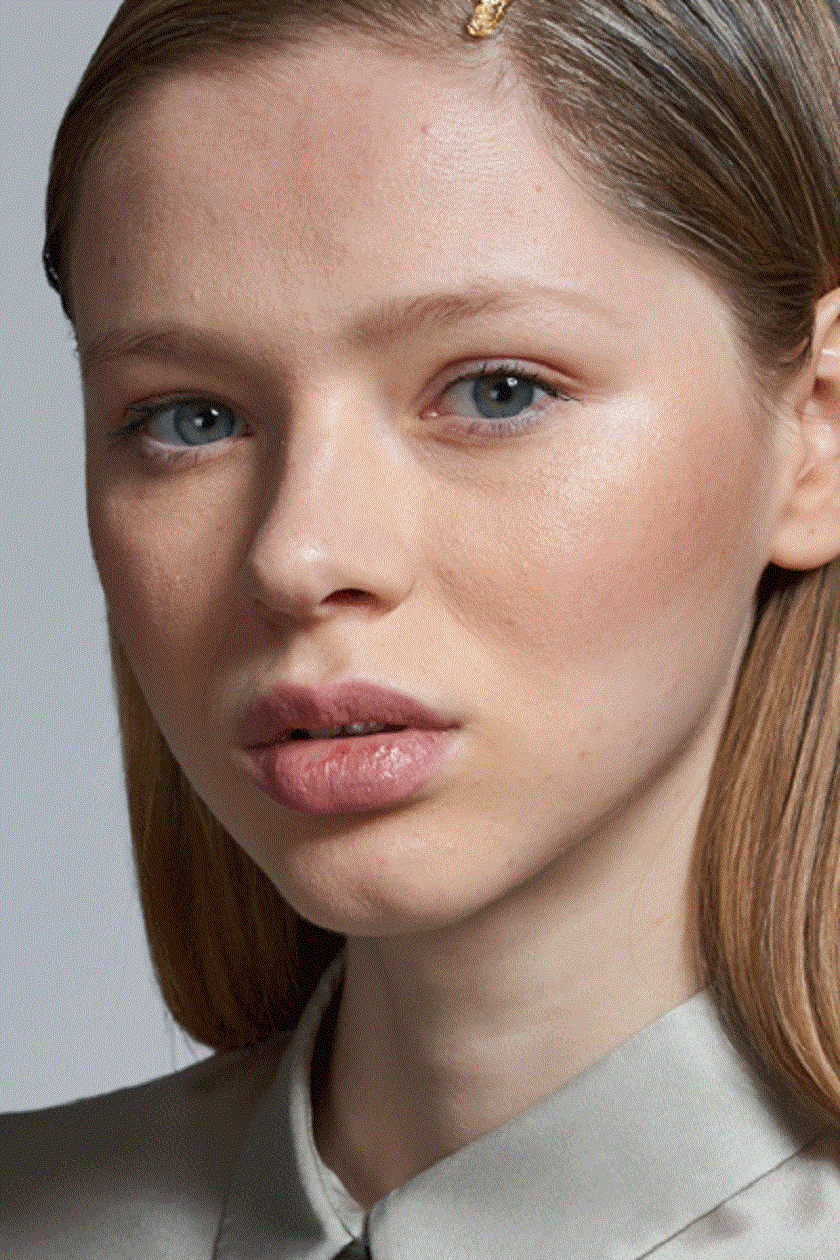 the areas that I care about most
Color correction
Color is a very important element in photography, it is something that will hint at the emotions the viewer must experience when looking at an image. In the images below I wanted to create strong emotions, so I chose a light and warm color grading.
Color grading is quite complicated but I keep things simple and use a basic complementary palette to categorize images. My main colors are:
 My main colors
The distribution of colors across the entire image is intentional: colder backgrounds draw more attention to a color-graded model with warmer tones.
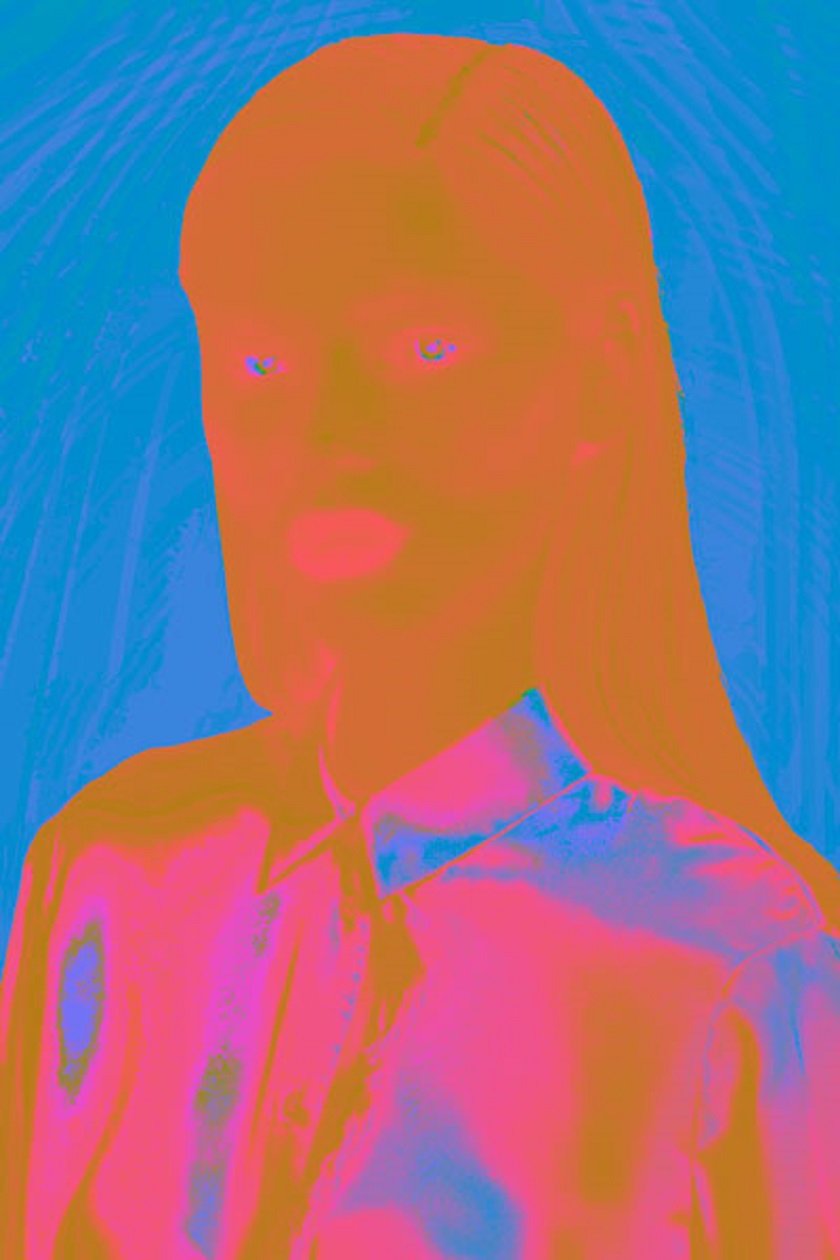 colors across the entire image
I used very basic tools to achieve the desired results, mainly masks and curves.
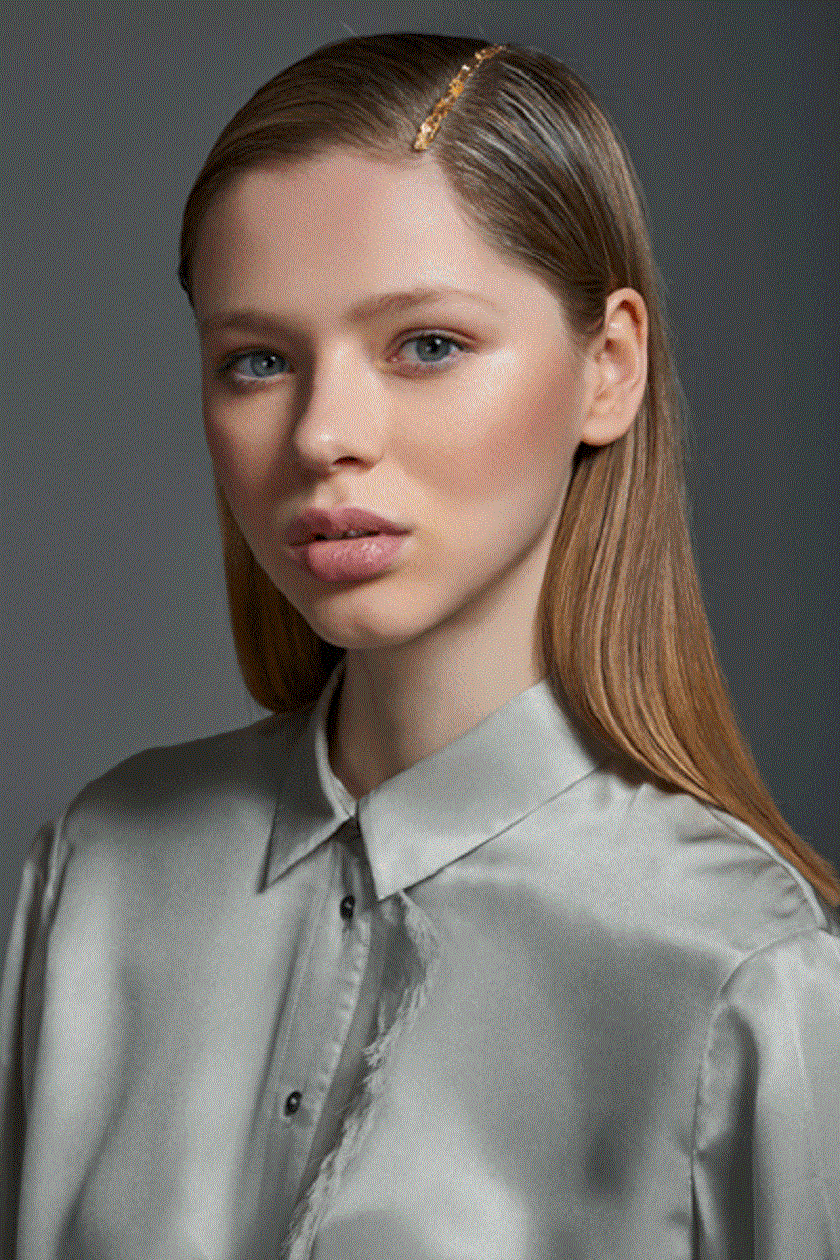 masks and curves
The first step you need to do is separate the subject from the background: I used ReMask software to create this section and most of the options you'll see below. I use ReMask quite often in my workflow to have exact selections. Or you can also use photoshop software in the Refine Edge tool (or with new software in Select and Mask).
Then I worked on image contrast. I use a brightness mask quite often to target different ranges of values in the image:
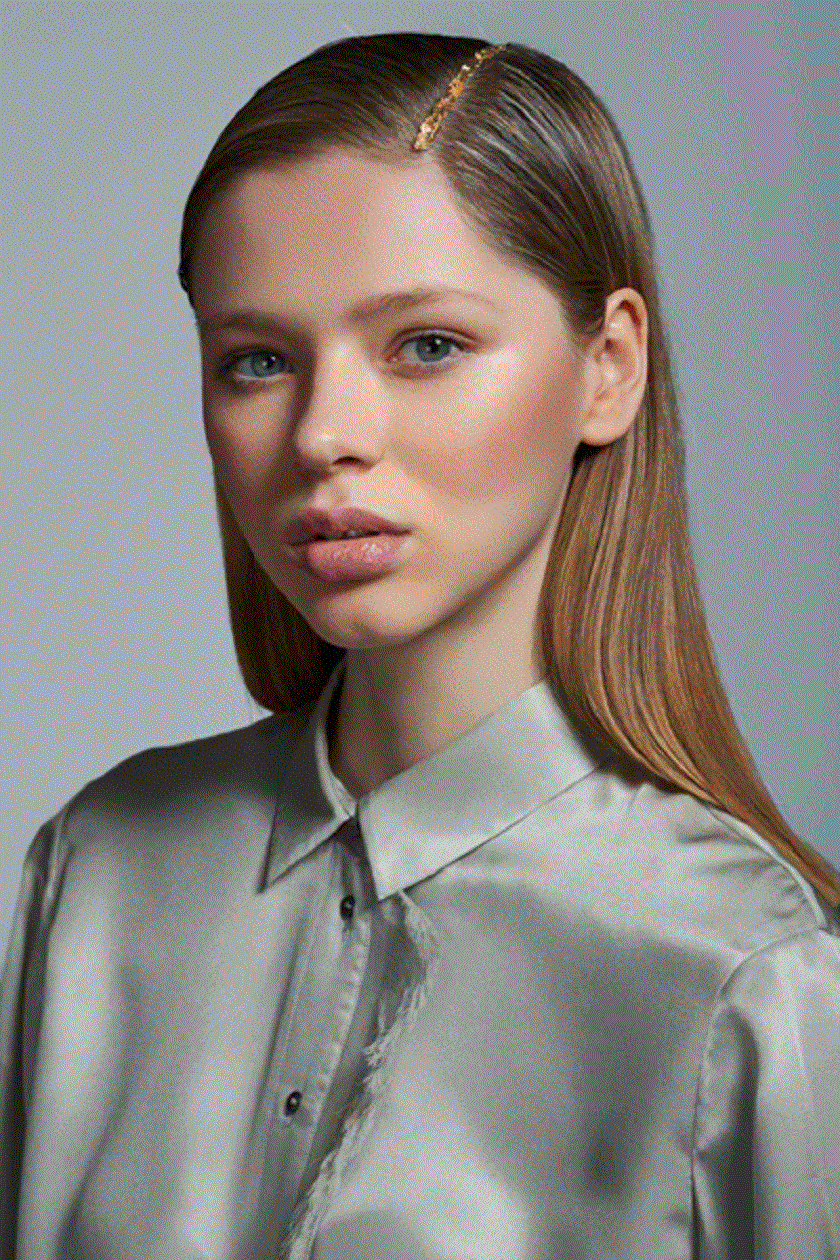 image contrast
Time to work on inconsistent skin color, you can see in the image below. I exaggerated the colors in areas that needed editing:
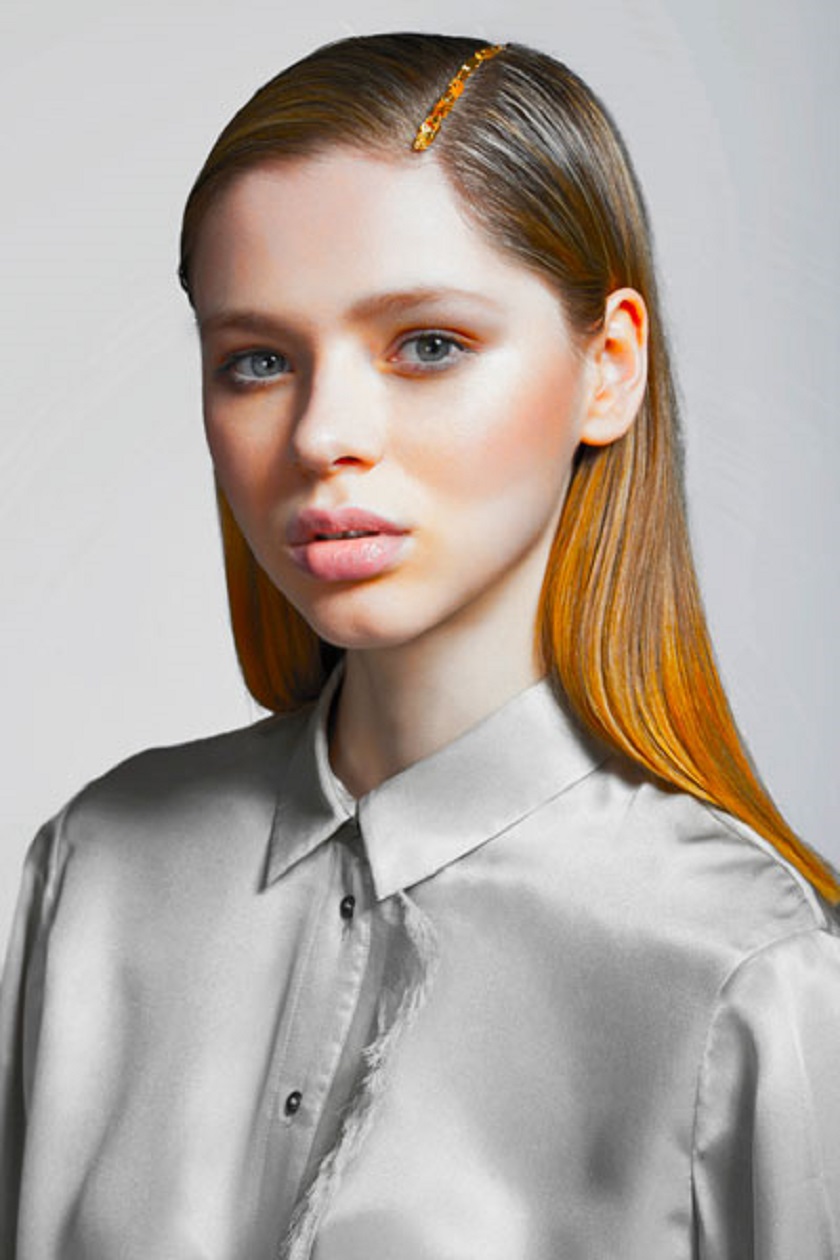 exaggerated the colors
The model's neck is unsaturated, while the areas around her mouth and cheeks are excessively saturated. I made a soft mask to the skin and adjusted its color:
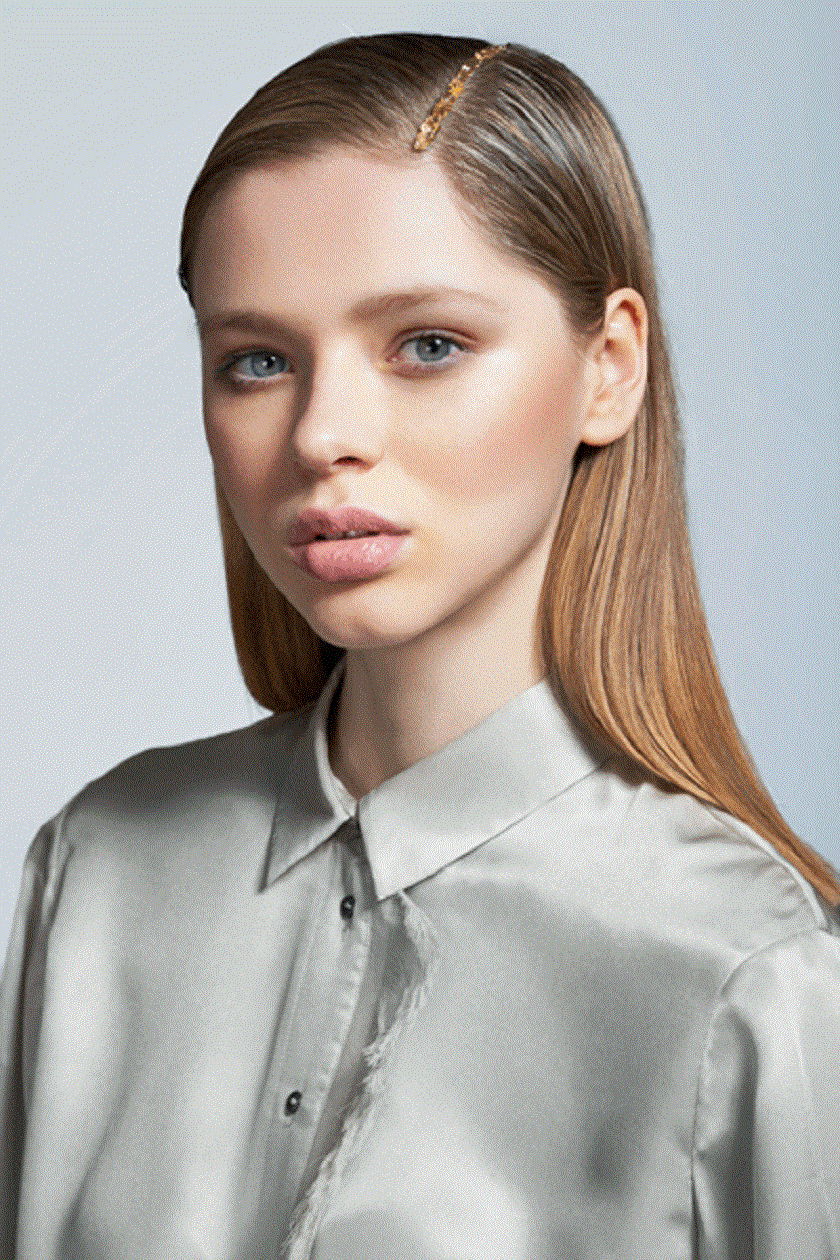 skin and adjusted
In the majority of images, the clothes are light in color, so I modified the shirt in this image to keep the look the best. consistent throughout the story, then make final adjustments to overall contrast and saturation:
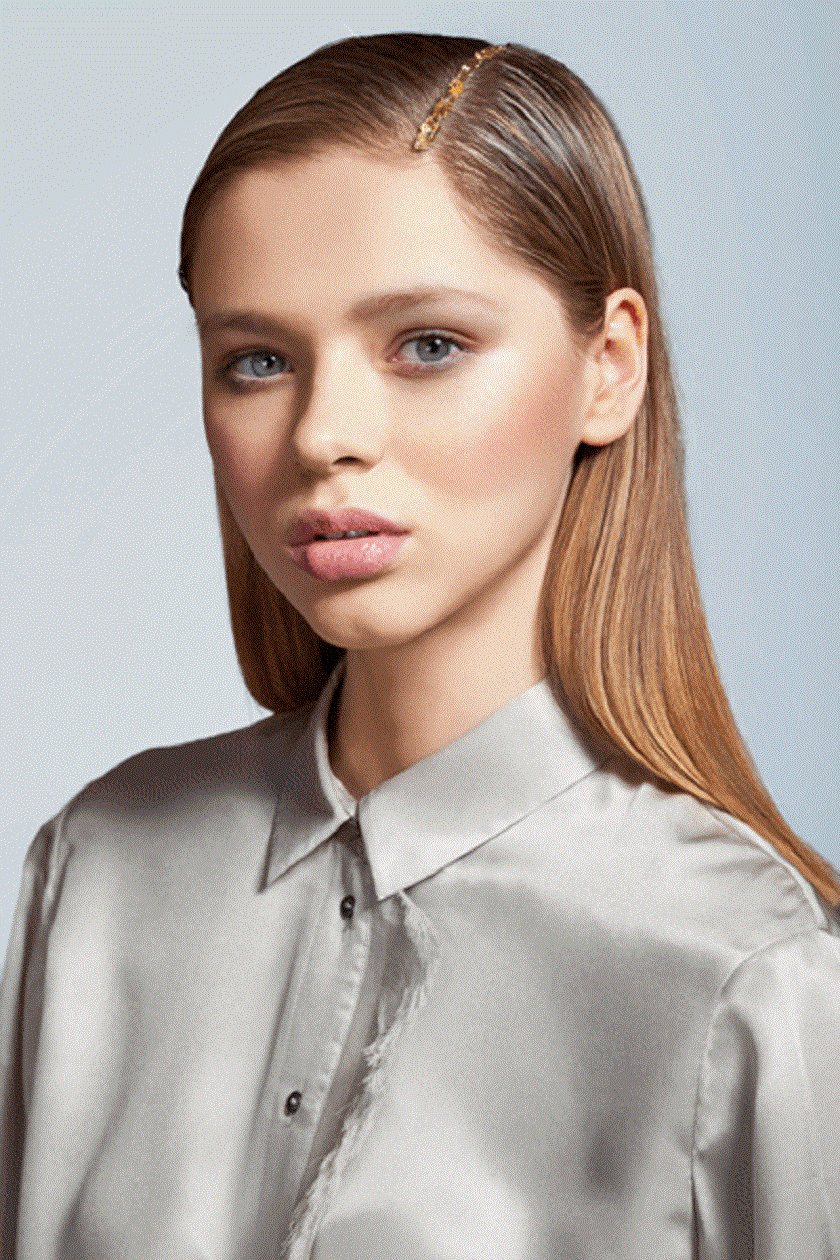 contrast and saturation
Here's the process from the initial state of the image to the final look::
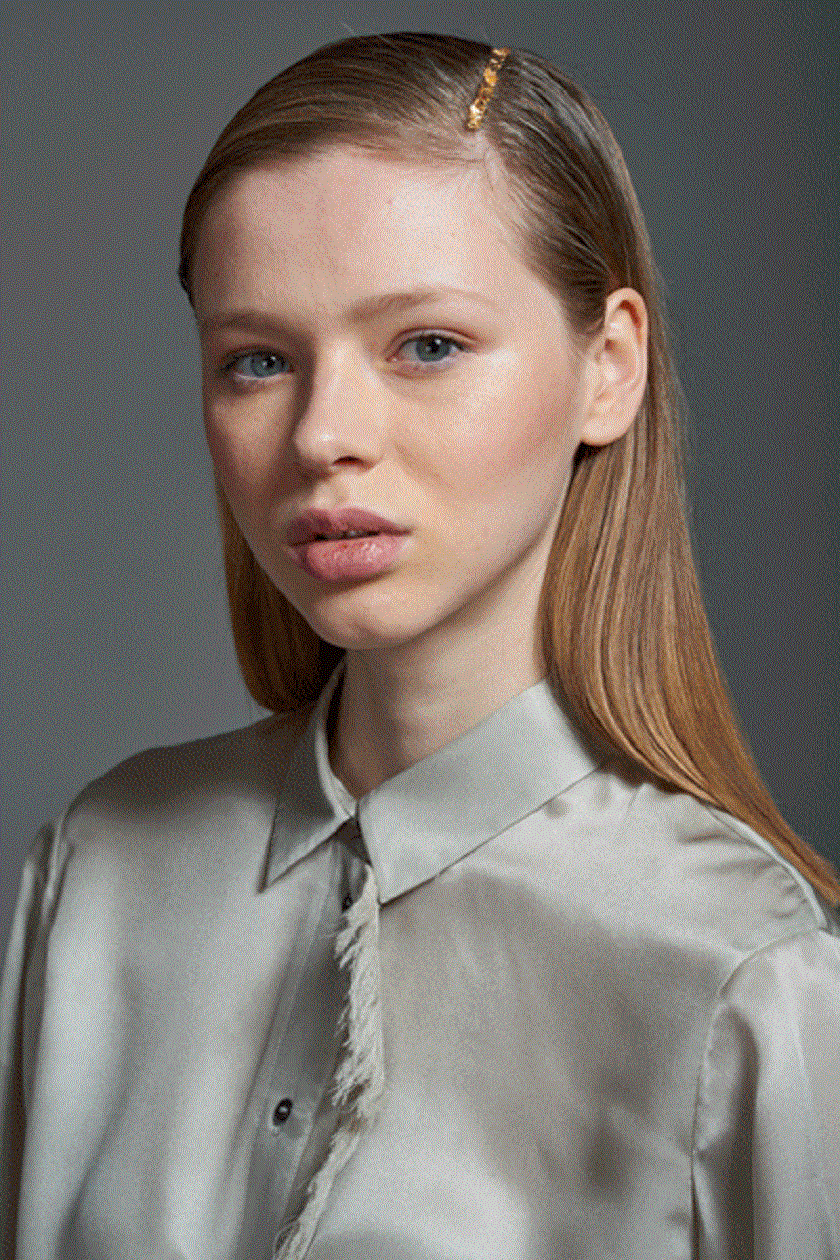 the final look
Above is the direction How to get a good artistic picture, hope you to like this article.
See more 6 Editing issues to Avoid Before Taking a Photo


