1. The evolution of layered jigsaw puzzle art in the digital age.
The history of creating multi-layered images originates from the double exposure technique in traditional film photography. This is a process where the artist allows light to enter the same film frame twice before developing, creating a superposition of two different moments on a single surface. This technique requires precise calculations of brightness and composition so that the details of the later layer do not completely overwhelm the earlier layer, creating a surreal and ethereal work.
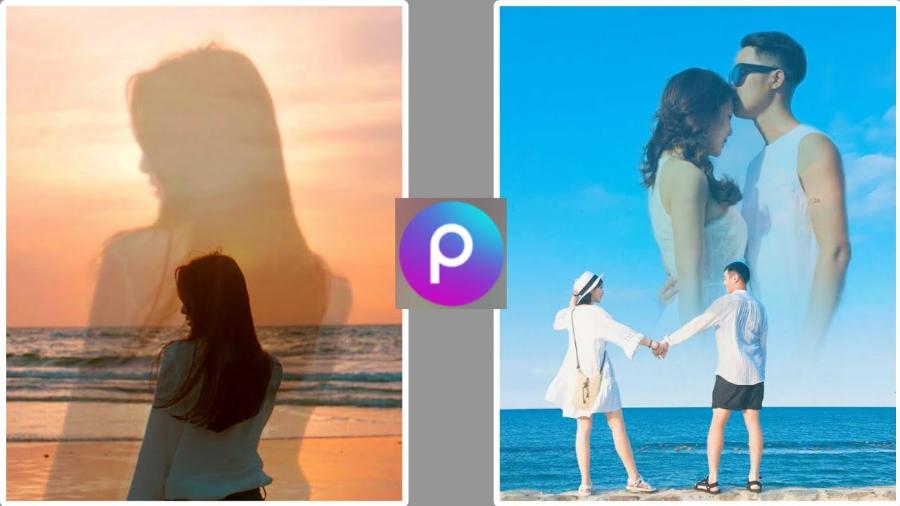
The shift from analog to digital photography has made image layering more flexible and accessible than ever before. Instead of relying on luck in a darkroom, designers can now deeply manipulate individual pixels, adjusting the blending and color of layers with absolute precision. The intersection of classic photographic thinking and modern processing technology has transformed this genre into a powerful storytelling tool, helping to express abstract concepts such as memory, soul, or the connection between humans and the natural world.
2. The artistic significance and communication value of image layering.
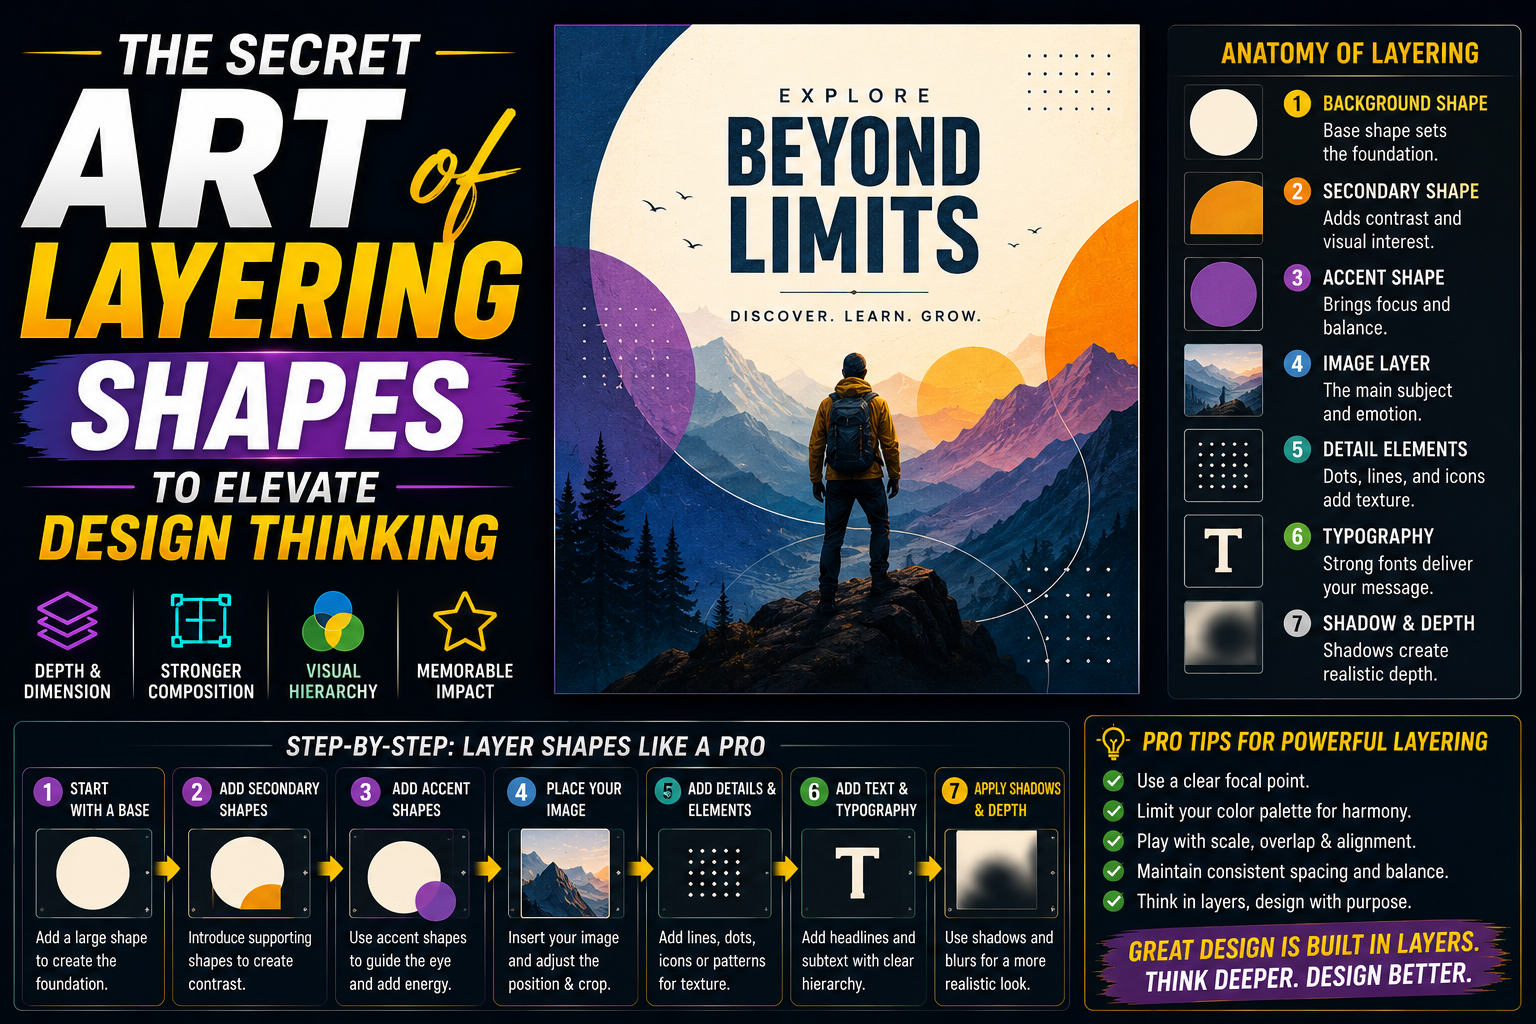
Combining multiple layers of imagery creates a visual depth that simple photographs cannot achieve. In art, this is how artists express their inner world, embedding metaphorical messages about the relationship between humans and their surroundings. These works often compel viewers to pause longer to analyze and contemplate, thereby creating a strong emotional connection.
In the field of media and marketing, this technique helps brands convey complex values in the most visual way. A movie poster or a music album cover using layered images often creates an impression of professionalism and groundbreaking creativity. This not only helps attract the attention of potential customers but also positions the brand in the high-end, artistic, and distinctly aesthetic segment.
3. The fundamental elements for creating a perfect layered photo collage.
3.1. Choose a subject with clear lines.
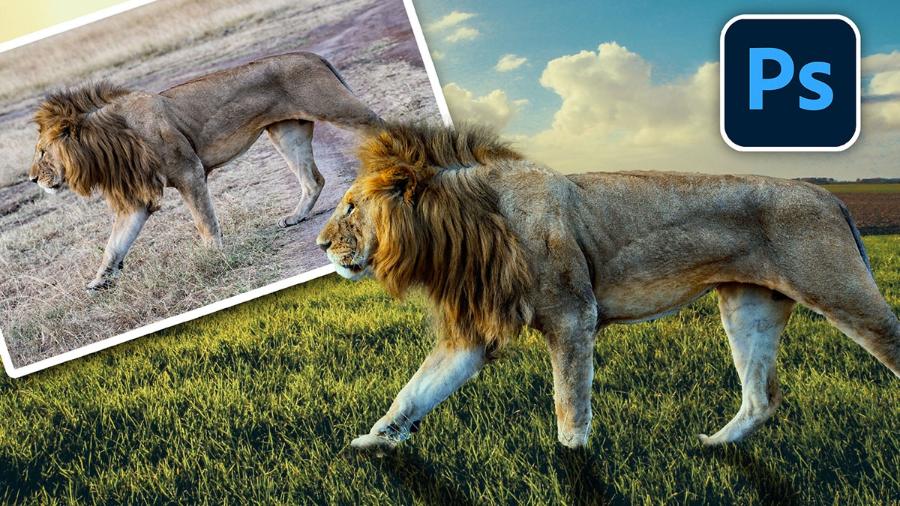
The main subject photograph, usually a portrait or a distinctive object, serves as the "template" for the entire work. Photographs with high contrast and clearly separated light and dark areas are most conducive to the layering process. The outlines around the subject need to be sharp so that when a second layer is superimposed, the viewer can still subtly discern the original shape.
3.2. The correlation between background image content and main image content
The background image (the second layer) should either complement or completely contrast to create visual interest. For example, a pensive portrait combined with a bustling city scene will evoke a sense of disorientation, while one set against a backdrop of trees will convey a feeling of peace. The thematic harmony between the image layers is key to creating a meaningful story, rather than simply a meaningless collection of images.
4. Professional computer-aided image stacking process
4.1. Using Layer Mask Technique in Adobe Photoshop
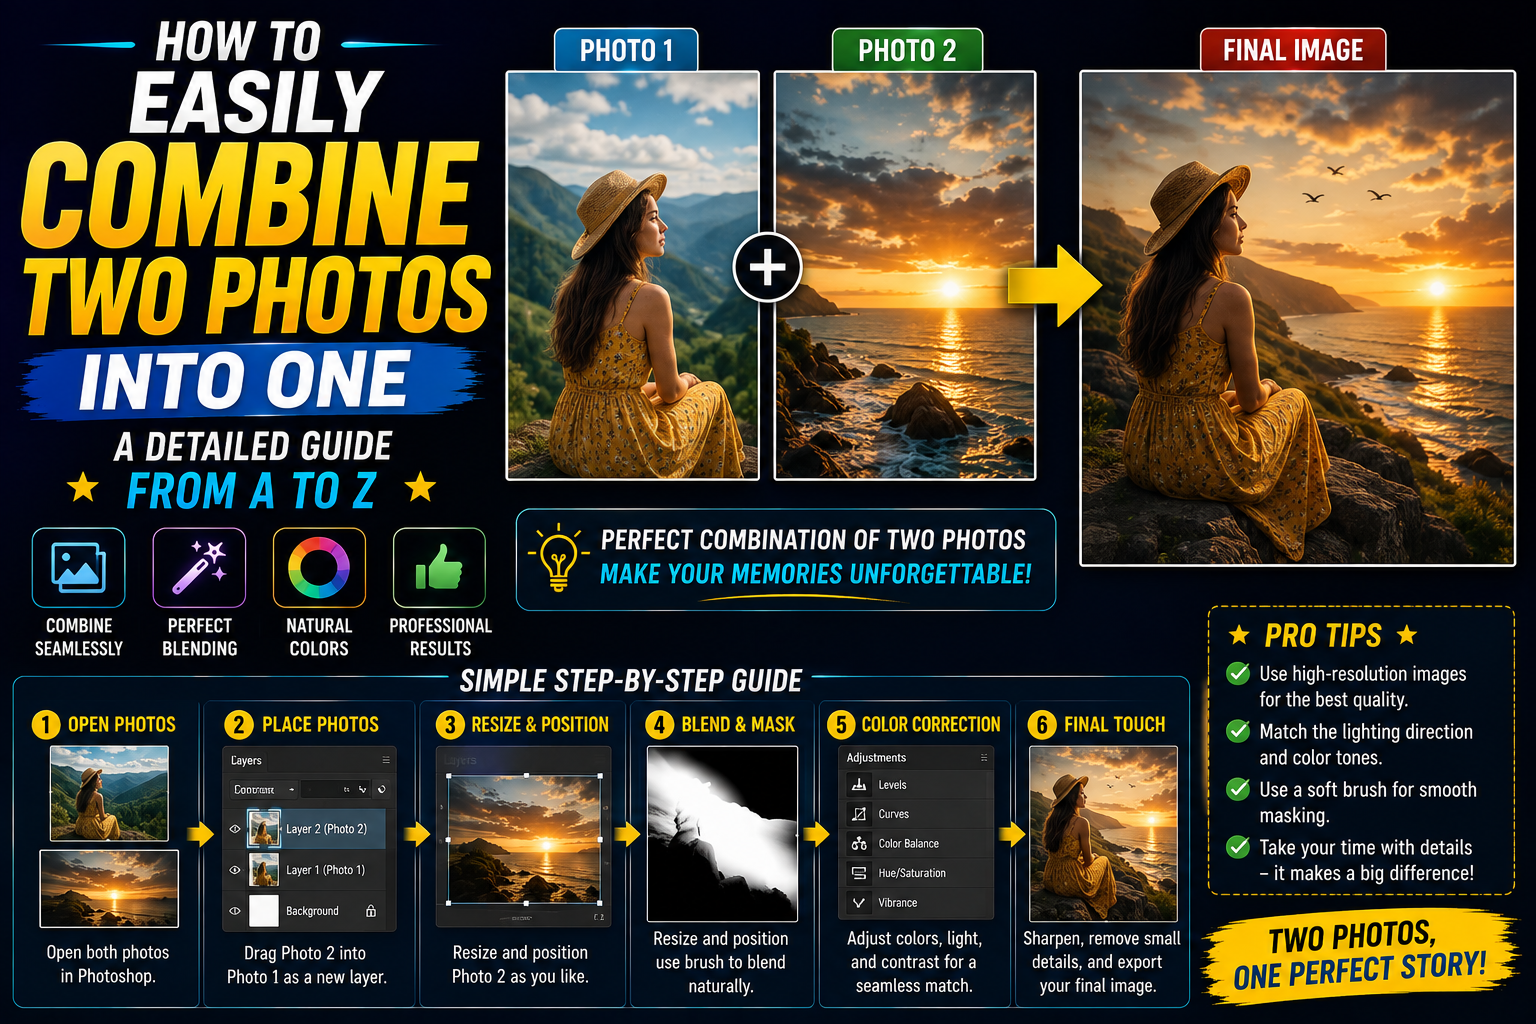
Photoshop remains the most powerful tool for performing complex image layering operations. The first step after placing two images into separate layers is to create a layer mask for the top image. Use a brush with the appropriate softness to erase or reveal desired areas of the image, creating a smooth transition between the two frames.
4.2. Exploring Blending Modes
Blending Modes are the heart of image layering in digital environments. Modes like Screen , Lighten , and Overlay allow image layers to interact based on the brightness and hue of each pixel. Experimenting with different blending modes will help you find the most natural lighting effect, where details of the background image seamlessly blend into the dark areas of the main subject.
5. How to create layered photo collages on a smartphone
5.1. Take advantage of popular free photo editing apps.
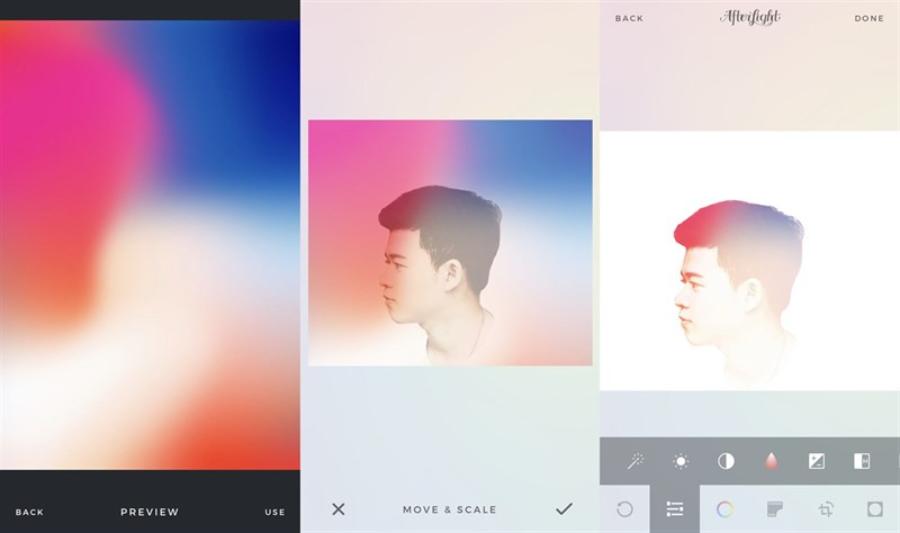
Ordinary users can now easily create works of art right on their phones using apps like Snapseed or PicsArt. These tools have built-in Double Exposure features, allowing users to layer images with just a few taps. Although they don't have all the advanced features of a computer, the ability to adjust opacity and the available color filters are still enough to produce impressive results for social media.
5.2. Fine-tuning operations on the touchscreen
Using your finger or a stylus to draw on the mask areas requires a certain level of precision. You should zoom in on the image when working on the outlines around the eyes, hair, or small details to ensure the colors don't smudge. Patience in erasing and adjusting the shading of each area will help the photo avoid a crude, "edited" look.
6. Techniques for synchronizing color and light for image layers
6.1. Balancing color temperature between layers
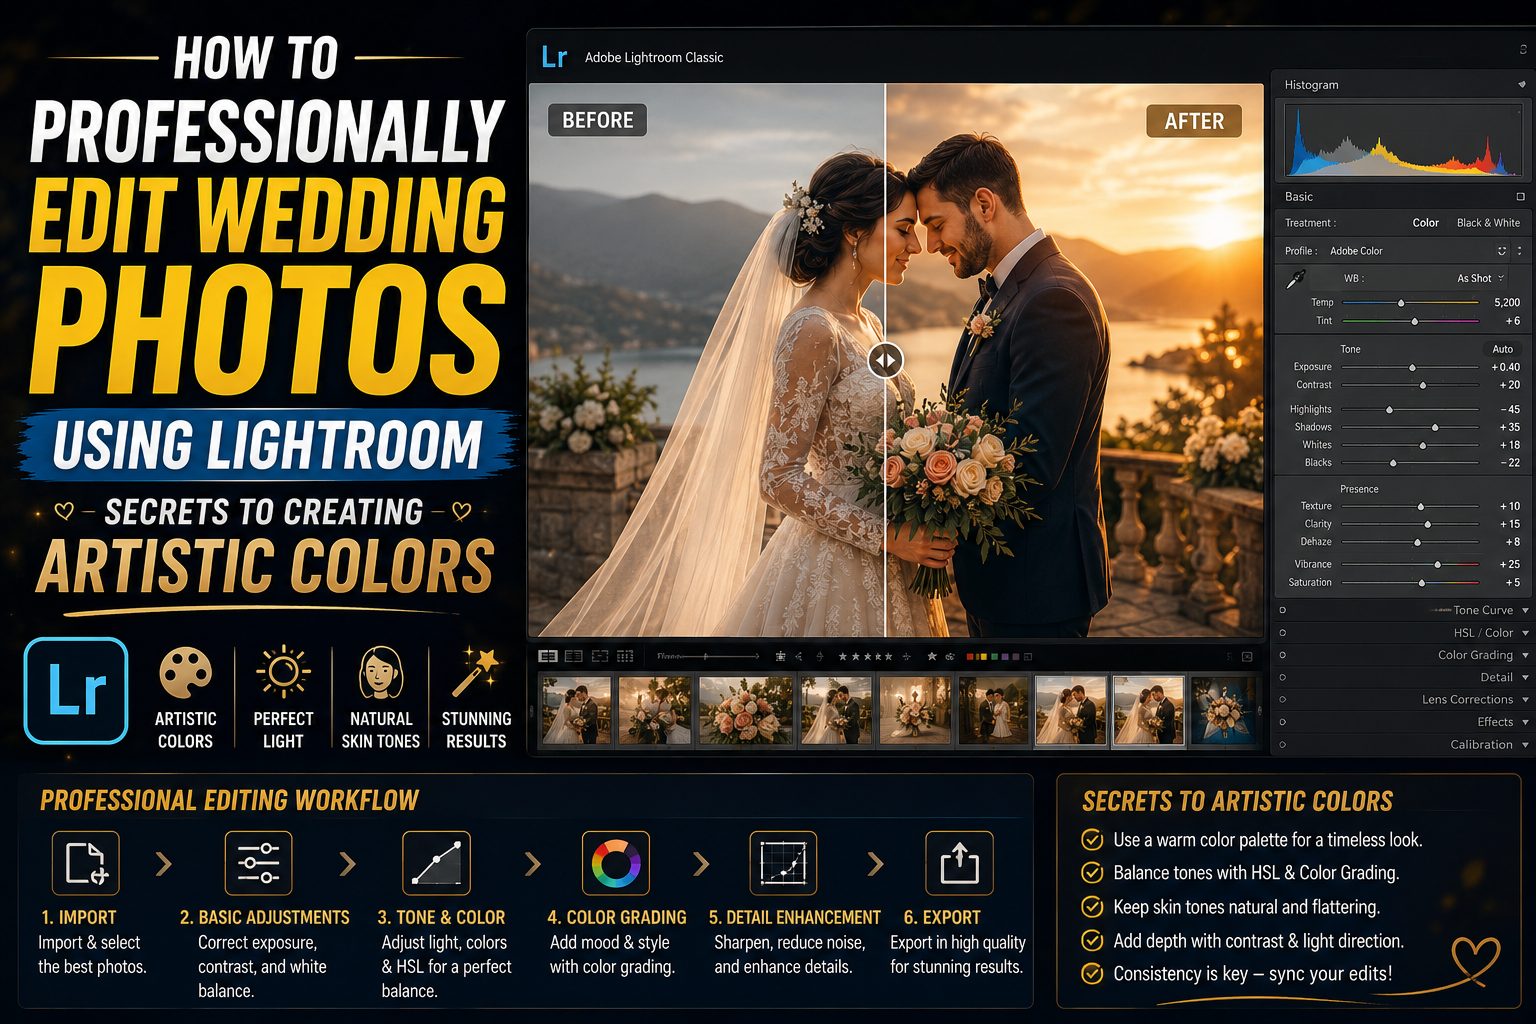
A common mistake when layering images is using two photos with contrasting color temperatures without post-processing. If the portrait has a warm tone while the background has a cool blue tone, the resulting artwork will look disjointed. Using Color Balance or Selective Color tools to adjust the overall color tone of the entire piece is essential to create consistency.
6.2. Adjust the light intensity to create depth.
Lighting plays a crucial role in deceiving the viewer's perception. You should identify the dominant light source and adjust the image layers so that shadows and highlights blend together. Adding a touch of vignette effect (darkening the corners) or light leaks will make the composite image more profound and cinematic.
7. Trends in AI application for automatic image overlaying.
Artificial intelligence is completely transforming the image creation process by automating complex manual tasks. Current AI tools are capable of extremely accurate subject recognition and suggest the most optimal color blending options. Users simply provide the idea, and the AI will perform background removal, exposure calculation, and image layering in seconds, significantly saving time for professional designers.
8. Common mistakes and how to fix them when overlaying photos.
8.1. Image detail distortion phenomenon
When both images contain too much fine detail, layering them on top of each other creates a visually jarring mess. To remedy this, blur the less important parts of the background image or reduce the color saturation of one of the layers. Always remember that simplicity and negative space are what create sophistication in a work of art.
8.2. Loss of the main subject's identifying characteristics
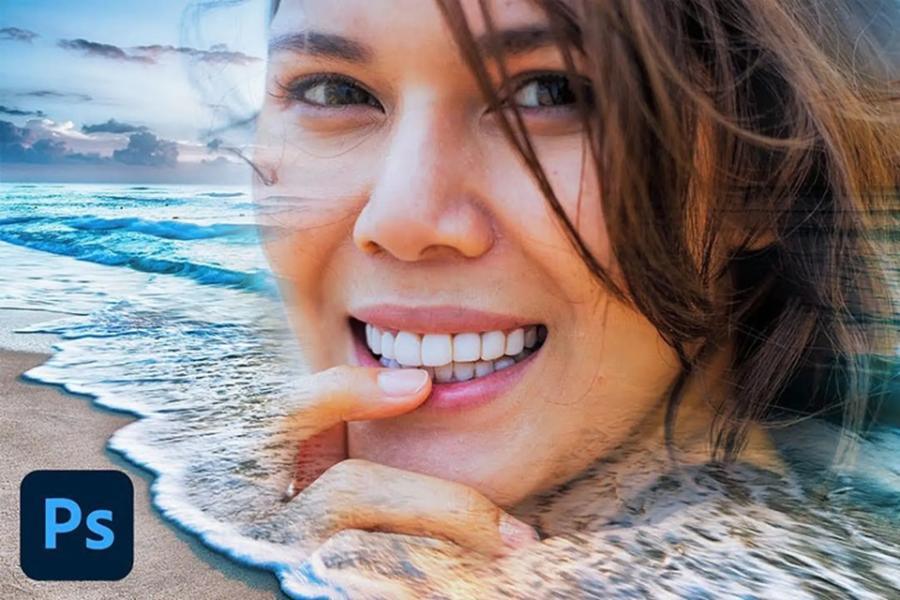
The goal of image overlaying is to create interplay, not to erase the subject. If the background image is too prominent over key features like the eyes or lips, the photo will lose its essence. Using a low-blur eraser to highlight important facial expressions will help maintain the subject's vitality in the photograph.
9. Applications of overlaid images in Website and UI/UX design
In modern interface design, layered hero images often convey a sense of luxury and technological sophistication. This technique solves the problem of display space when trying to convey multiple messages simultaneously while maintaining a spacious web layout. The combination of real-world images and layered digital graphics creates a futuristic design style, highly suitable for businesses in the technology, creative, and fashion industries.
10. Conclusion
The journey to mastering the art of photography is a path that demands unwavering patience and passion. Mastering the technique of superimposing images is not simply about learning an editing trick, but about opening a new door to exploring different perspectives of the world. Each photograph you create is a personal imprint, an experiment with light and shadow to discover the hidden beauty beneath ordinary surfaces