Best Selling Products
This is How to Create a Pencil Drawing Interface in Photoshop
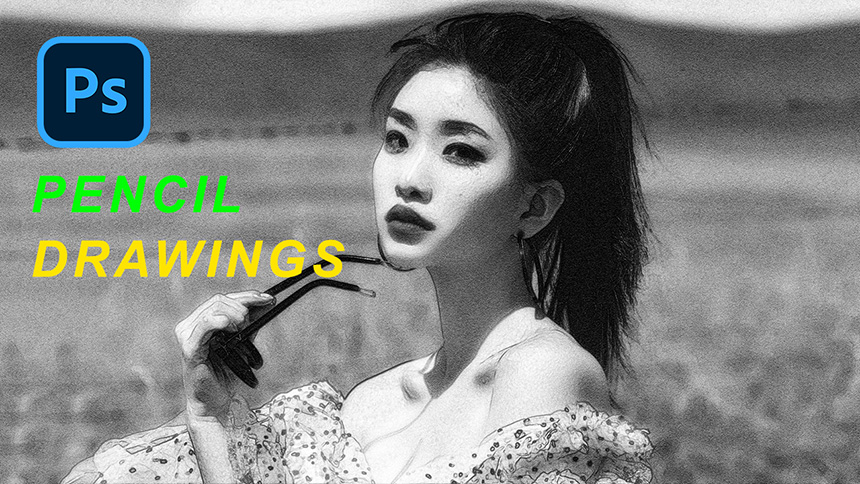
Hi guys, welcome to SaDesign channel, today I’ll show you how to transform photo to amazing pencil drawing. Stay tuned!
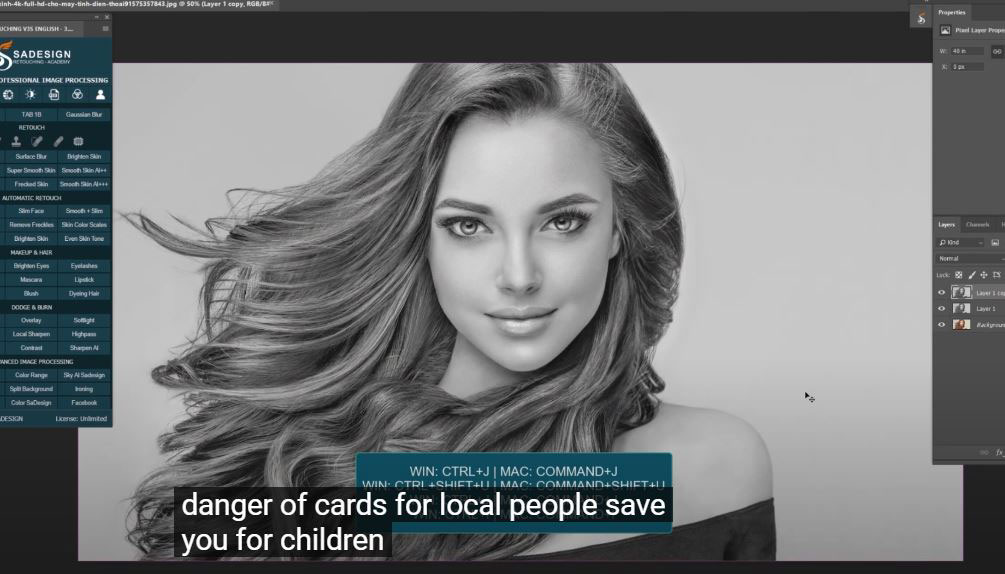
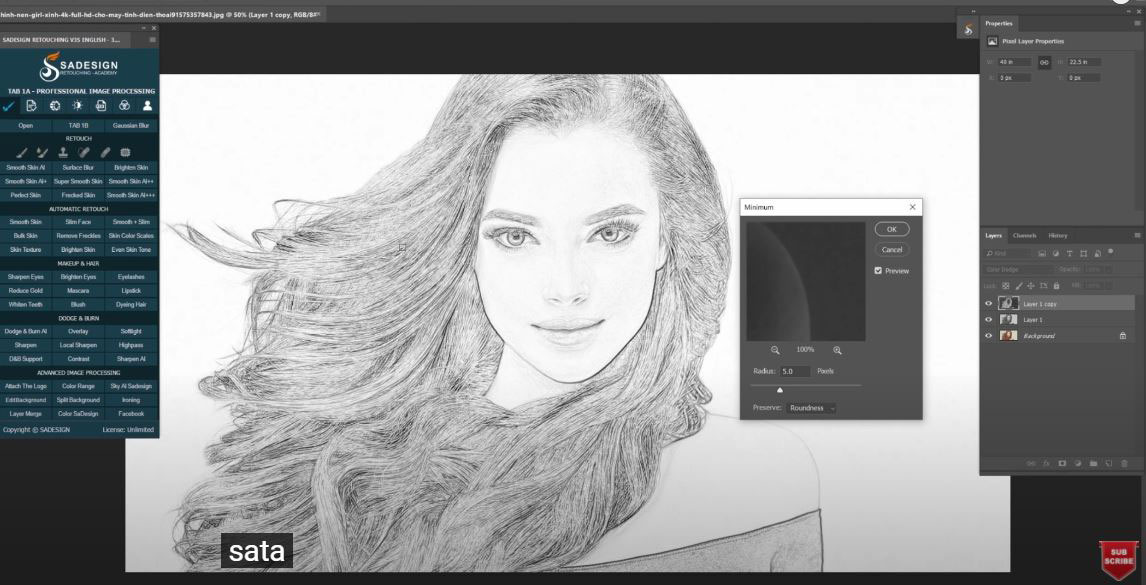
(1). At first, right click to the background layer and choose “convert to smart object”, duplicate layer with CTRL or CMD + J. Create Black & White layer in adjustment icon. Turn off the copy layer and go to Filter > Filter Gallery > choose Diffuse Glow in Distort folder, change amount of graininess to 10, Glow amount to 5 and Clear amount to 10, then turn on “Diffuse Glow and copy it with the icon at the bottom.
(2). Change one of them to “Texturizer” in Texture folder, in texture box choose “Sandstone”, light is “Top” and OK.
(3). Turn on the copy layer back, Filter > Filter Gallery > turn off “texturizer” layer and change Diffuse Glow to “Glowing Edges” in stylize folder with Edge brightness is 16 and smoothness is 6
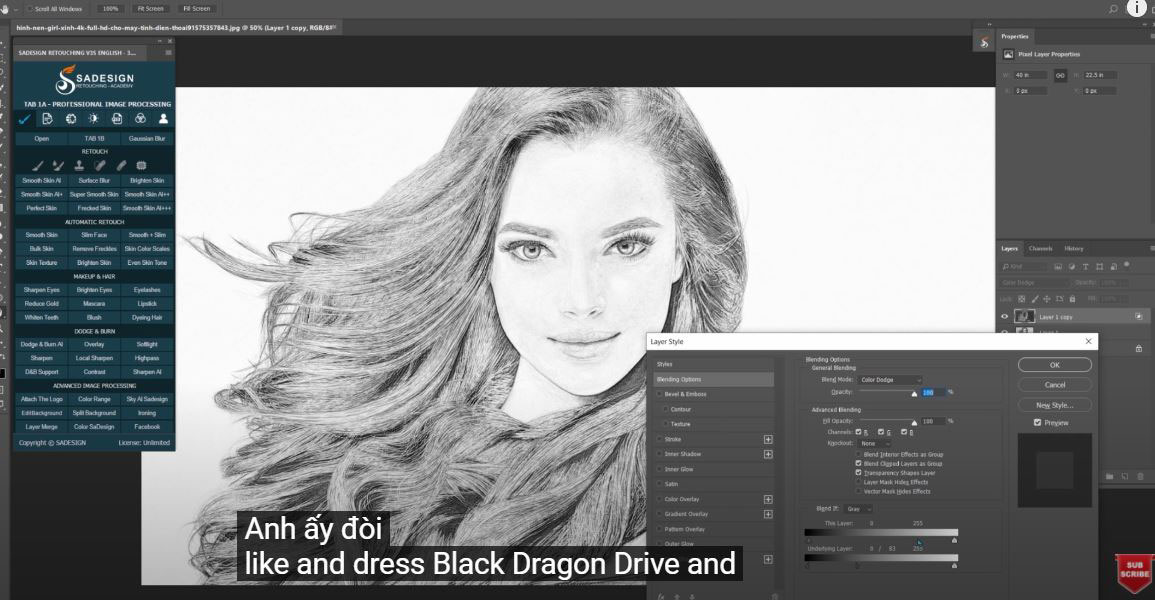
(4). Right click to adjustment icon and choose Invert, clipping mask it with CTRL + ALT + G for Window or CMD + OPTION + G for MAC. Change blending mode from normal to Linear Burn. Reduce the opacity to around 60%. After that, add layer mask to it and use brush with 38% opacity and black foreground to remove the effect on areas that we want to eliminate
(5). Create “Levels”, decrease mid tone to 0.89 and increase black to 5. That’s it! Enjoy your result!
If you find this tutorial is helpful, please hit like and subscribe buttons and you can enjoy our tutorials about Photoshop technique, tips while learning. Free tutorials are launch day by day so it will satisfy your needs in case you are interested in Photoshop. Please leave comments right below the video in case you have any questions. Thank you and See ya!
Watch the video right here:
Watch the video here:
REGISTER FOR FREE PHOTOSHOP LEARNING
============================
The most powerful Retouch tool processor
DOWNLOAD:
✅ SADESIGN PANEL ENGLISH: https://sadesign.ai/retouching/
✅ SADESIGN PANEL VIETNAM: https://www.retouching.vn/


