Best Selling Products

Capcut Pro 1 Year
39 USD

Upgrade Duolingo Super
29 USD
Adobe Photoshop Copyright - Full App
120 USD

Upgrade Genuine Office 365
49 USD

MidJourney Account
29 USD

Freepik Premium Account
59 USD

ChatGPT Plus Account (GPT-4)
16 USD
Copyright Adobe Lightroom Account
59 USD

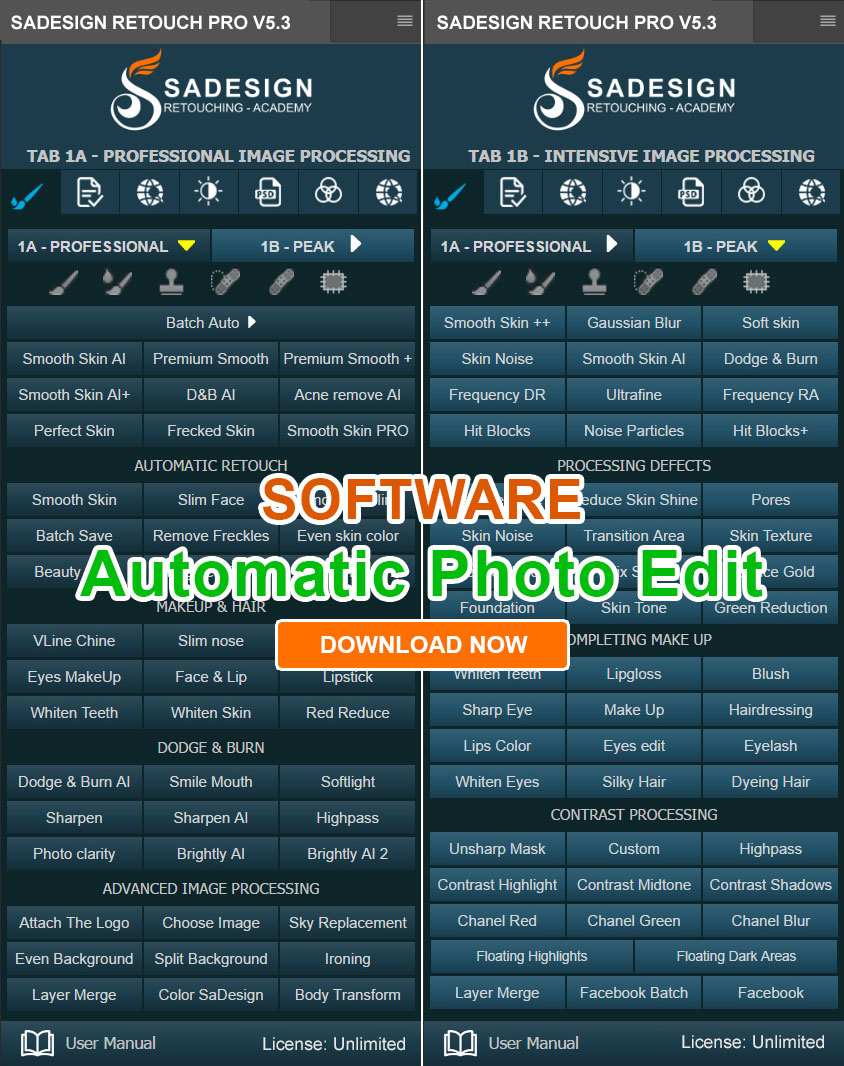
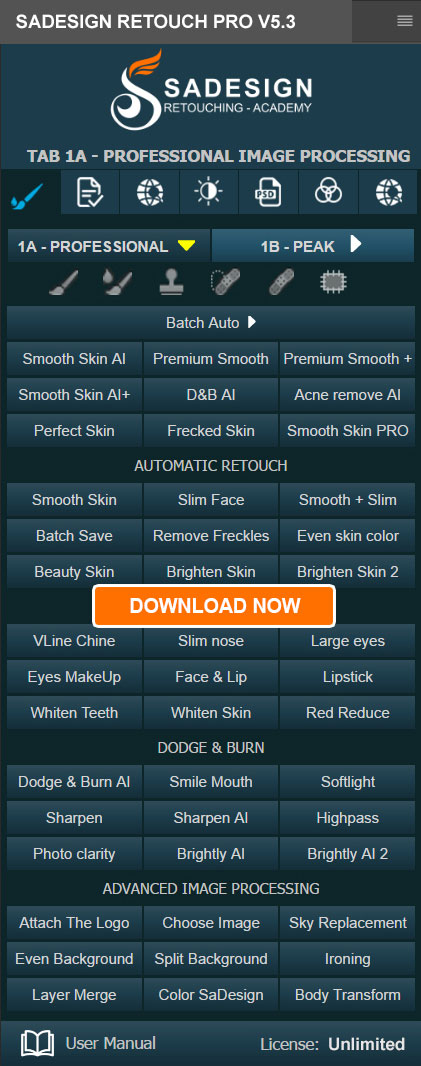
Plugin Retouch4me
69 USD

Upgrade genuine Capture One account
120 USD

Genuine Adobe Illustrator account
99 USD

Windows 10 & 11 Pro Key
36 USD

Adobe Premiere Pro Account
99 USD

Genuine Cheap Canva Pro
39 USD

Autodesk All App Account Copyright
120 USD
Tips for Handheld Landscape Photography Without a Tripod
Nội dung
- 1. No tripod means you need a faster shutter speed
- A simple formula to estimate the slowest shutter speed
- 2. Increasing the shutter speed affects ISO and aperture
- 2.1 Should you adjust aperture or ISO
- 3. Remove filters when shooting handheld landscapes
- 4. Make use of image stabilization
- 5. Don't forget composition
- 6. Conclusion
Sometimes you can''''''''t bring one because of a long trip, rough terrain, or rules at the shooting location. Other times you simply don''''''''t want to use it, because you want to move fast, stay flexible, and capture the moment as soon as the good light appears. So what should you do then? This article will guide you step by step to shoot high-quality handheld landscape photos, from choosing the shutter speed and balancing aperture and ISO to making use of image stabilization and keeping a firm grip on composition.
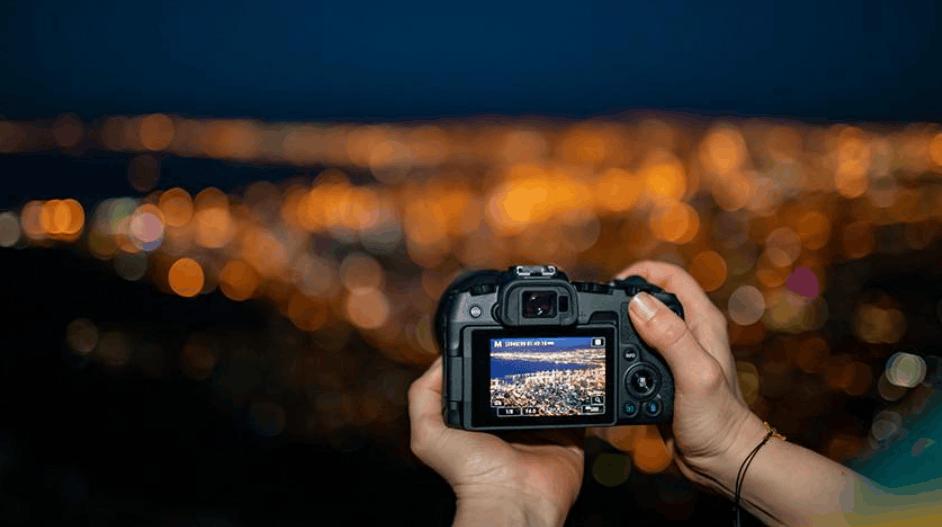
1. No tripod means you need a faster shutter speed
The biggest advantage of a tripod is that it lets you use slow shutter speeds while keeping maximum sharpness. When shooting handheld, this becomes much harder. Modern stabilization technology is truly amazing, but it still isn't enough to fully replace a sturdy tripod. That is why shutter speed is the most important factor when you shoot handheld.
To get sharp photos, you need to raise the shutter speed until the camera no longer registers shake. Just a little movement from your hands, your breathing, or the act of pressing the shutter button is enough to blur details, especially when you print large or view at high magnification.
A simple formula to estimate the slowest shutter speed
A popular rule of thumb is to use the focal length as the denominator of the time fraction. At a 35mm focal length, the slowest shutter speed should be about 1/35 second, usually rounded to 1/30. At 70mm it is 1/70, at 200mm it is 1/200, and so on. However, this is only a reference guideline, not an absolute rule. Some cameras, thanks to a light sensor, a balanced body, or a good stabilization system, deliver very good results at much slower speeds. Others do the opposite. Sensor resolution also matters, because the more pixels a camera has, the more clearly small shakes show up.
The most important habit you should form is to always zoom the preview image to 100 percent to check sharpness right at the location. Slight blur is often impossible to notice on the camera's small screen and only becomes obvious when you get home and open the photo on a computer, by which time everything is too late. If you see the image starting to look soft, the simple fix is to raise the shutter speed and shoot again.
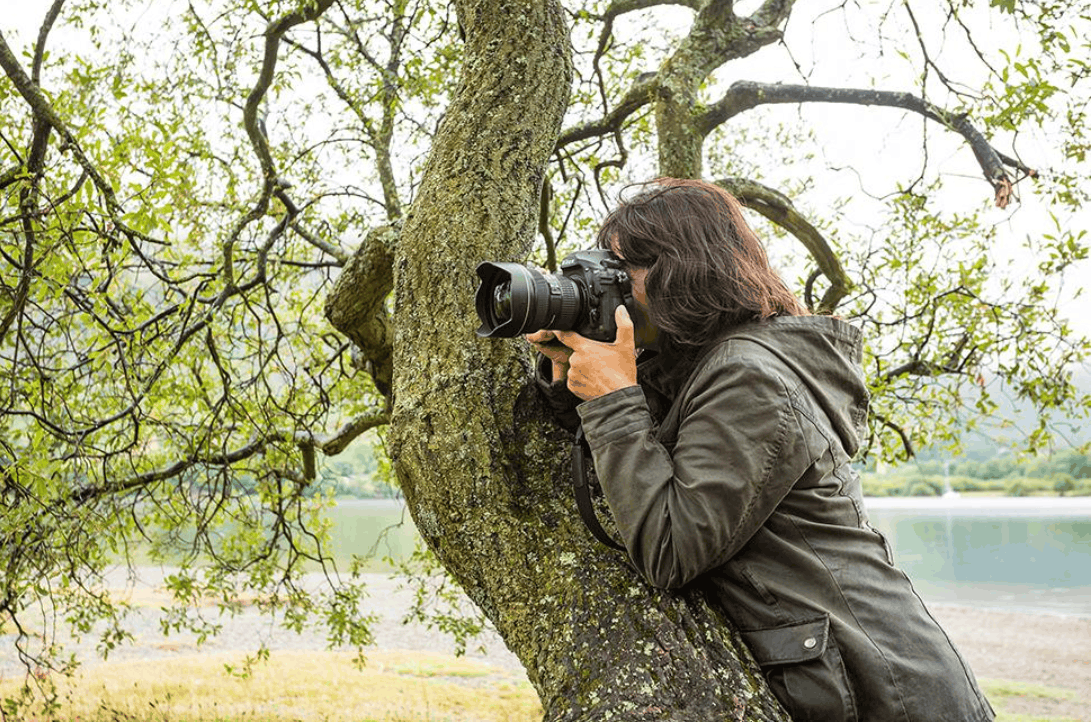
In addition, your holding technique has a big impact too. Keep your elbows close to your body, support the underside of the lens with one hand, and stand with your feet firmly planted shoulder-width apart. Breathe in and out gently, then press the shutter button at the end of an exhale. When possible, lean against a tree trunk, a wall, or a rock, or rest the camera on a backpack to create a support point. Shooting several frames in a row also increases the chance of getting at least one perfectly sharp frame.
2. Increasing the shutter speed affects ISO and aperture
Changing the shutter speed means changing the amount of light passing through the lens. A long exposure time lets more light into the sensor, making the image brighter. A short exposure time does the opposite, and the image becomes darker. To keep the photo properly exposed, you need to compensate by adjusting the ISO or the aperture.
So which one should you choose? The not-so-good news is that there is no single answer, because each situation calls for a different adjustment. However, there are still useful guidelines for ordinary landscape photography. If you aren't clear on how ISO and aperture work, review this foundational knowledge first, since it is at the core of everything for anyone learning photography.
2.1 Should you adjust aperture or ISO
When you use a fast shutter speed, the image inadvertently becomes darker, and the purpose of adjusting ISO or aperture is to brighten the photo again.
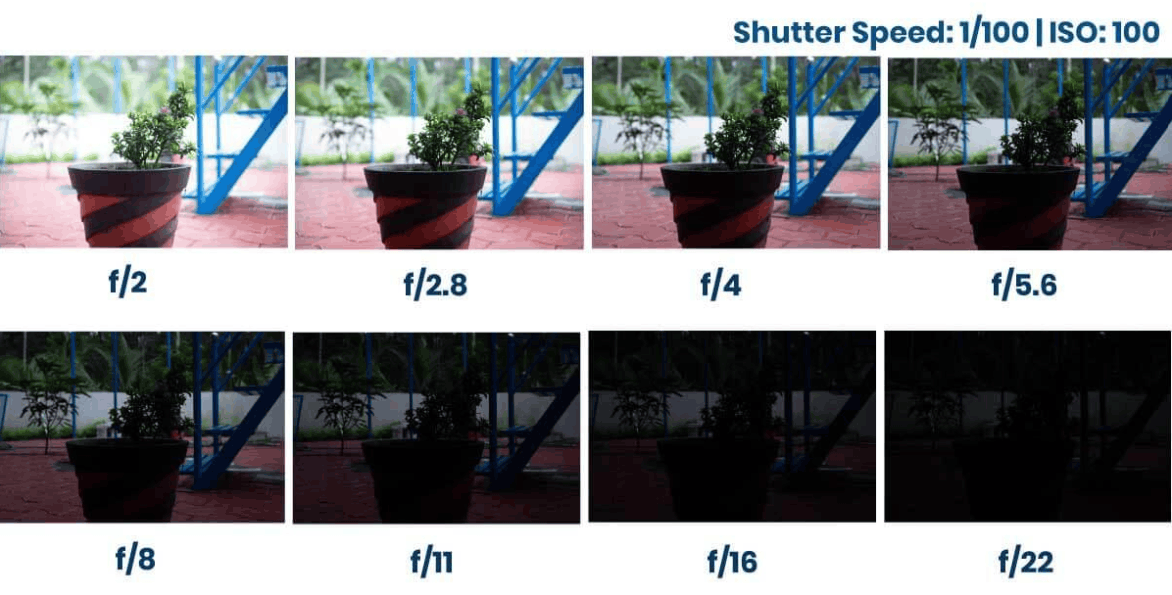
Using aperture to brighten the image
To brighten the image with aperture, you need to open the aperture wider, meaning use a smaller f-number, so that more light reaches the sensor in the brief moment the shutter is open. The price to pay is that the depth of field becomes shallower. For example, at f/2.8, the subject you focus on will be clear, but the rest of the frame may blur out completely. This is great for close-up photos, but not ideal for ordinary landscapes, where we want sharpness spread evenly from foreground to background. In addition, at the widest aperture, many lenses also lose sharpness in the corners of the image.
Using ISO to brighten the image
The second option is to raise the ISO, which also makes the photo brighter. However, this has consequences too, the biggest being the appearance of extra grain and noise. High-end cameras handle high ISO much better than entry-level ones. For example, a professional body can use ISO 1600 and still produce an acceptable image, while a basic camera already shows considerable noise from around ISO 400. Therefore, the general principle is to always try to use the lowest ISO possible in each specific situation.
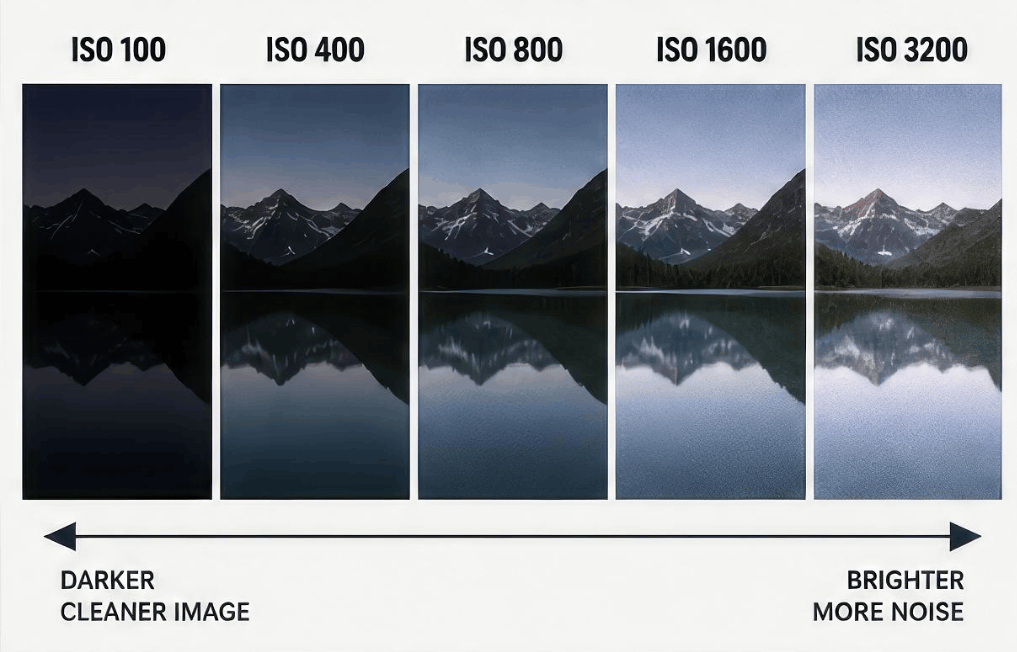
2.2 So which setting should you adjust
You now know two ways to brighten the image when using a fast shutter speed: open the aperture or raise the ISO. The problem is that both negatively affect image quality, one by losing sharpness and the other by increasing noise. This is a trade-off you have to accept when shooting handheld in low light.
The practical approach is to avoid opening the aperture wider than f/5.6, although this number also depends on focal length. The longer the focal length, the smaller the aperture you need, and vice versa. Opening wider than this level usually causes a clear drop in overall sharpness. Meanwhile, ISO has more room to work with. Keep the ISO as low as possible, but be ready to raise it until the image is bright enough. The reason is that noise is much easier to handle in post-processing than rescuing an out-of-focus photo. With today's AI noise reduction tools, high-ISO photos have become far more usable than before.
The best results usually come from a harmonious combination of both. For example, you can use an aperture of f/7.1 together with ISO 320. Of course, the exact settings still depend on the circumstances. If you want more convenience, you can use auto ISO mode and set a minimum shutter speed limit, so the camera automatically raises the ISO to keep the speed from dropping below the safe threshold.
3. Remove filters when shooting handheld landscapes
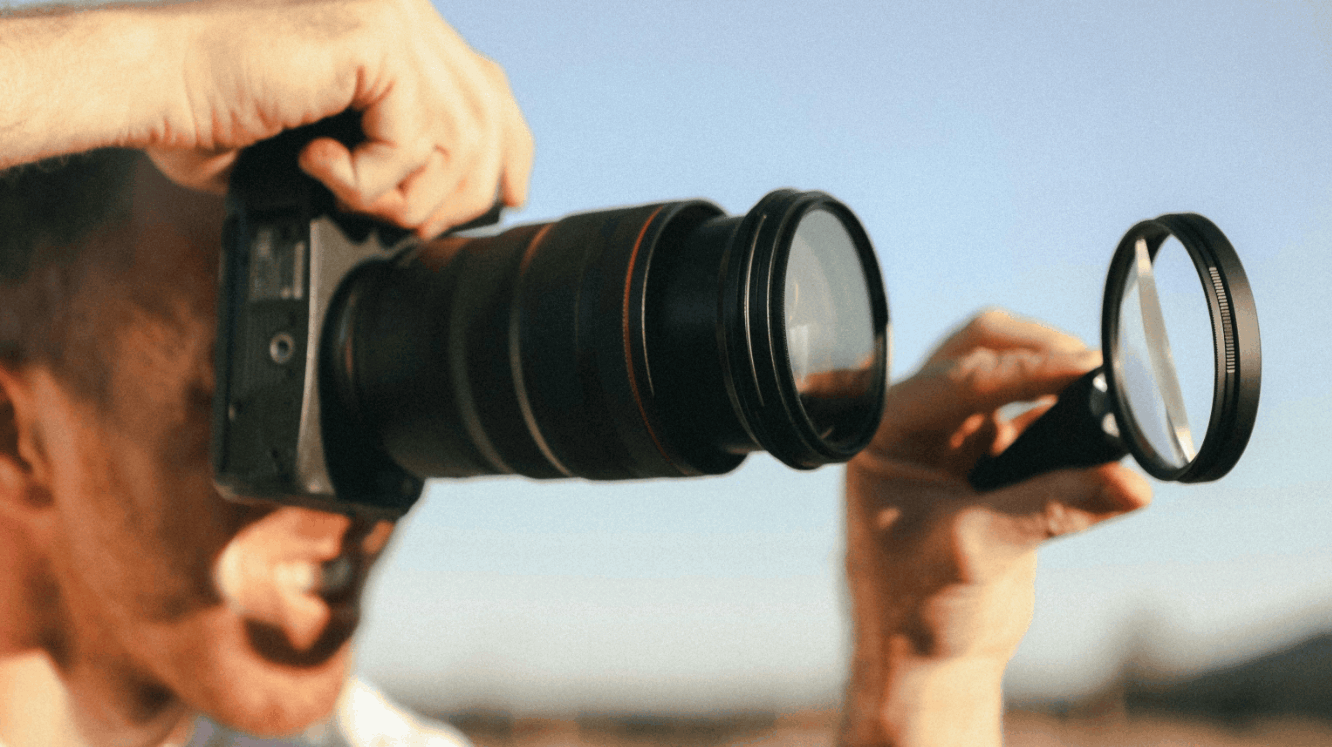
This may sound obvious, but it needs emphasizing that you should avoid ND filters or any filters that darken the image when shooting handheld. The main purpose of an ND filter is to lengthen the exposure time, which goes completely against the needs of handheld shooting. The only exception is when you shoot in harsh midday sun and need to bring the speed down to around 1/100 second to create a certain effect.
4. Make use of image stabilization
The name of this feature varies by brand. Canon calls it Image Stabilizer, Fujifilm calls it Image Stabilisation, and Nikon calls it Vibration Reduction (VR). It is usually a small switch on the lens barrel. In addition, many modern bodies also have built-in sensor-based stabilization, which often works together with in-lens stabilization to increase effectiveness.
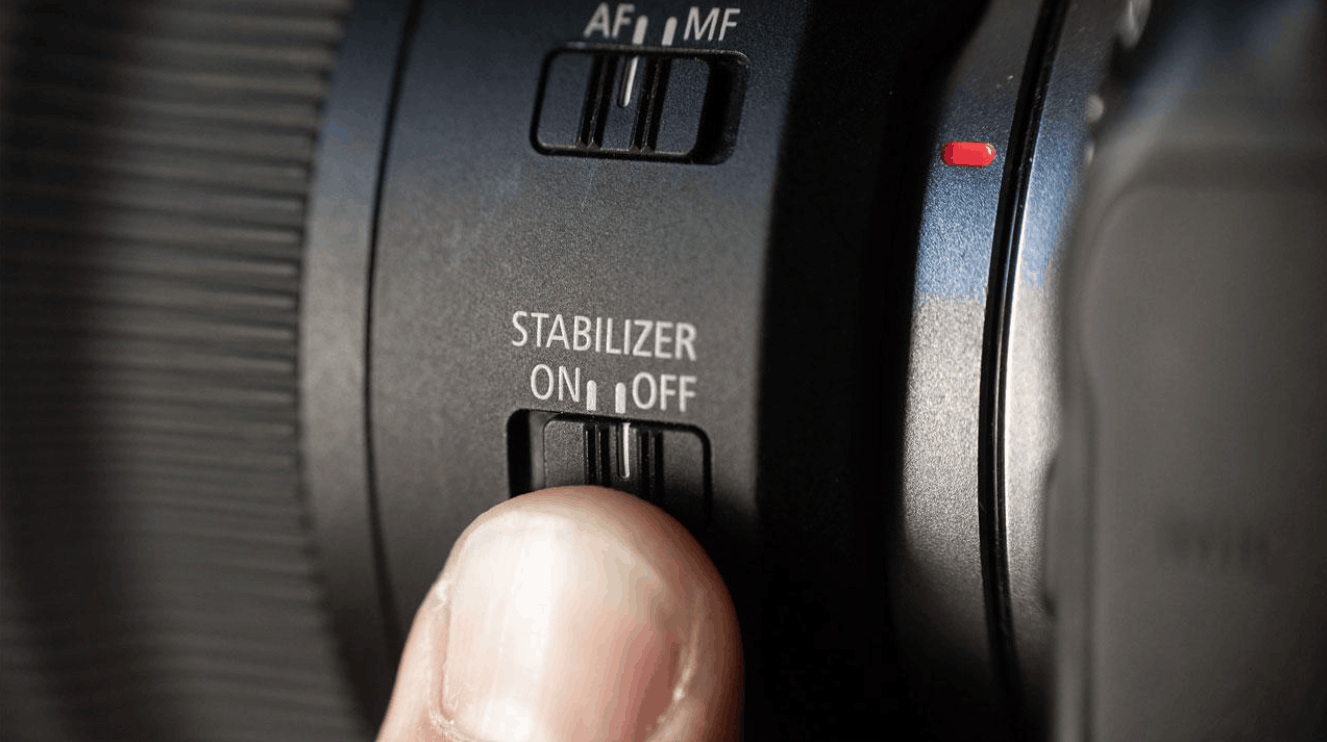
Taking a sharp photo at a slightly slow shutter speed without a tripod is not easy, and this is exactly where stabilization comes into play. This technology can make a huge difference, letting you use speeds several stops slower than normal. However, you should turn this feature off when placing the camera on a tripod, because the system may compensate for a vibration that doesn't exist and inadvertently blur the image. Some newer cameras can automatically detect a tripod, but checking is still a good habit.
You need to understand the limits of this technology correctly. Stabilization only compensates for the shake of the person holding the camera; it cannot freeze moving subjects such as leaves in the wind or water waves. It also isn't always as effective as advertised. There are cases where a telephoto lens at a long focal length produces sharp images at much slower speeds than before, but not every frame succeeds. Treat stabilization as a tool that gives you an extra safety margin, not a miracle. Shooting many frames in a row and checking carefully is still the surest way.
5. Don't forget composition
One of the biggest challenges of handheld shooting is remembering that these photos are just as important as those taken with a tripod. Many people tend to treat handheld photos as snapshots, just raising the camera, pressing the button, and moving on, and as a result they miss many worthwhile frames.
Take the time to optimize every element you can control. Look through the viewfinder, move your position until the composition is truly solid, and consider leading lines, foreground, the horizon, and the distribution of light and dark areas. Then shoot, review the image, check sharpness, and adjust if necessary. The advantage of handheld shooting is flexibility: you can try many low angles, high angles, or unusual positions that a tripod can hardly reach.
A lesson worth remembering is to shoot every photo with the mindset that you are ready to print large. That means every frame deserves care, not just a quick snapshot. Those kinds of photos, you can already make with your phone.
6. Conclusion
A tripod is an important tool for landscape photographers, and every photographer should own one, because it opens up techniques you can't achieve any other way. However, there are times when you don't need it, or can't bring it along.
Whatever the reason, there is nothing wrong with shooting landscapes handheld. You can still create impressive photos that are just as striking, as long as you are clearly aware of the limits. The key is to use a shutter speed fast enough to get sharp photos, because slow speeds turn camera shake and motion into blur. This problem is especially obvious when shooting in low light, when you need to balance aperture and ISO to get the correct exposure. Avoid filters that darken the image, make use of image stabilization, and always keep your attention on composition.
















VIP Products






Best Selling Products
Capcut Pro 1 Year
39 USD
Upgrade Duolingo Super
29 USD
Adobe Photoshop Copyright - Full App
120 USD
Upgrade Genuine Office 365
49 USD
MidJourney Account
29 USD
Freepik Premium Account
59 USD
ChatGPT Plus Account (GPT-4)
16 USD
Copyright Adobe Lightroom Account
59 USD
Plugin Retouch4me
69 USD
Upgrade genuine Capture One account
120 USD
Genuine Adobe Illustrator account
99 USD
Windows 10 & 11 Pro Key
36 USD
Adobe Premiere Pro Account
99 USD
Genuine Cheap Canva Pro
39 USD
Autodesk All App Account Copyright
120 USD