Best Selling Products
Use masks in Illustrator
Nội dung
Mask in Illustrator is a powerful and flexible design tool, opening up countless creative possibilities for users. The following article Sadesign will help you learn how to work with Mask in Illustrator extremely simply and effectively.
1. What are the functions of Mask in Illustrator?
Illustrator is a powerful vector graphics software, loved for its ability to create sharp images and flexible editing. One of the features that makes Illustrator powerful is the ability to use Masks to control and manipulate images.
1.1. Vector Mask
Vector Mask is a great tool that allows you to hide part of an object using another vector shape. This shape can be any shape you create in Illustrator, from simple shapes like rectangles and circles to complex shapes drawn with the Pen Tool. The parts inside the Mask shape will be visible, while the parts outside will be hidden.
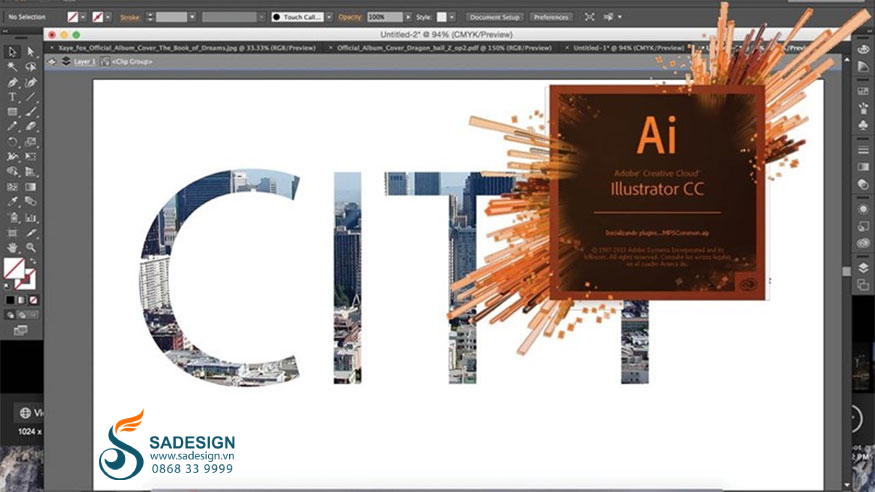
You can think of Vector Masks as masks that cover unwanted parts of an image. Vector Masks offer great flexibility and are easy to adjust during the design process. You just change the shape of the Mask and the image will update accordingly. This allows you to experiment with different designs quickly and efficiently.
1.2. Clipping Mask
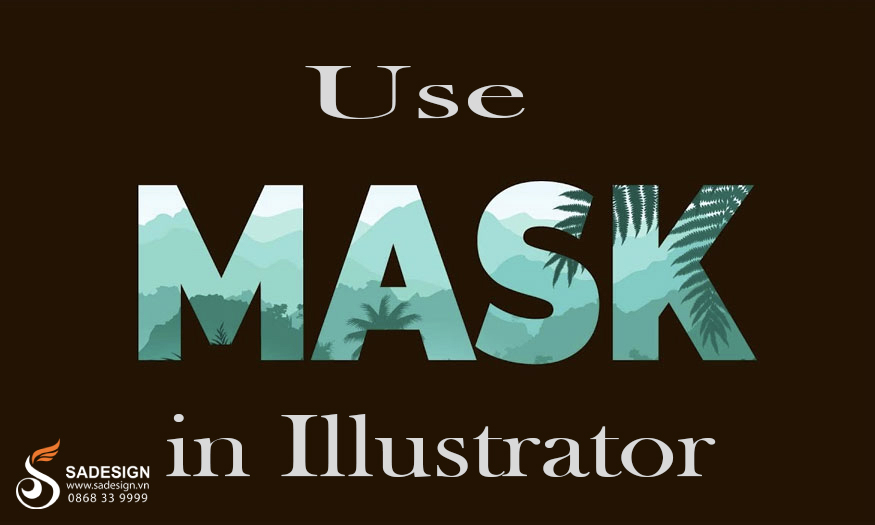
Clipping Mask is a powerful tool that allows you to clip one object to the shape of another. The object you use to clip acts as a mold, allowing only the part of the object that is inside the mold to be visible. Using Clipping Mask helps you create unique effects and arrange design elements neatly and professionally.
Imagine you have a photo and want to place it inside a circle. You can use that circle as a Clipping Mask, and the photo will be automatically cropped to the shape of the circle. The part outside the circle will be hidden, leaving only the part inside the circle visible.
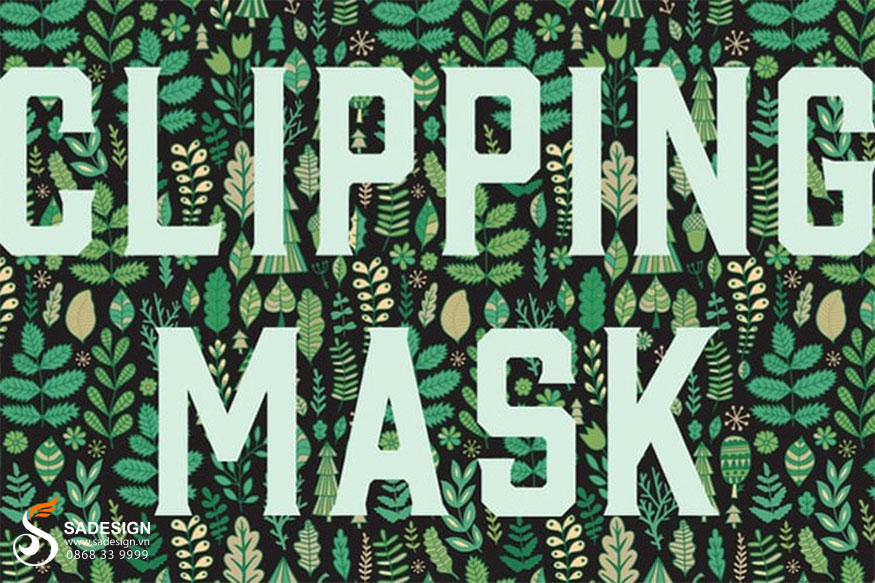
Clipping Masks are great for creating unique and subtle image effects. You can use them to create cropped images, outline text, or create repeating designs. The ability to create these effects makes Clipping Masks an indispensable design tool in Illustrator.
2. How Vector Masks and Clipping Masks Work in Illustrator
Each type of Mask has its own way of working, understanding how they work will help you use them effectively. How Masks work is summarized with diagrams and visual examples, helping you grasp them quickly and easily apply them in practice.
2.1. How Vector Masks Work in Illustrator
With Vector Mask we have the following commands:
2.1.1. Opacity Mask
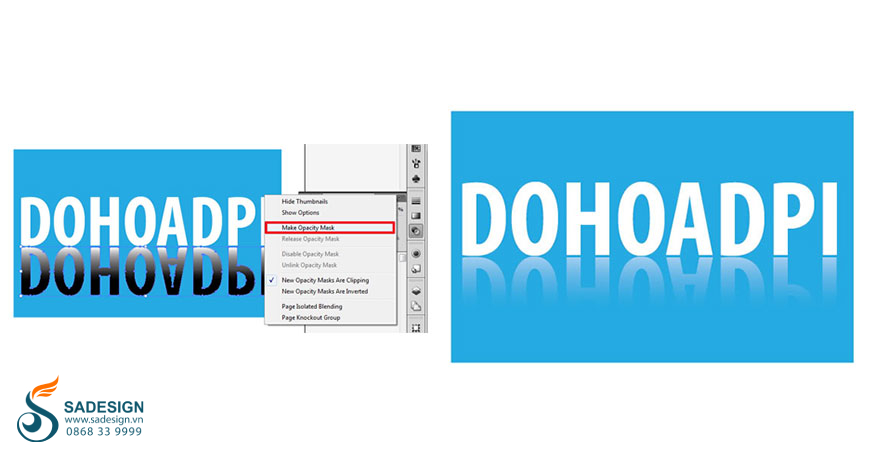
Opacity Masks are often used to create gradients from colored to transparent. They are commonly used to create reflections. If you want to perform this command, you need to apply the following basic steps:
First, you need to copy the text and place it in the position as shown below:
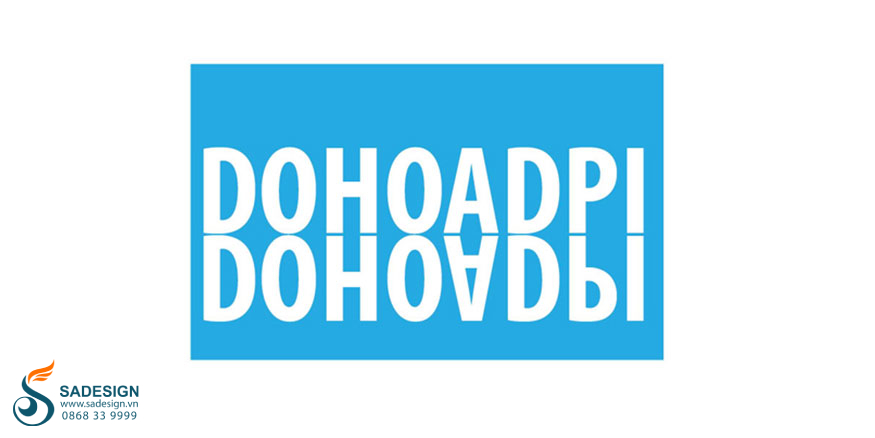
Select the text below then go to the menu Type > Create Outline (or press the shortcut key Ctrl + Shift + O) to create the object. Next you need to press Ctrl + C and Ctrl + F to copy another object to overlap it.
Then you need to fill the Gradient for the newly copied object as follows:
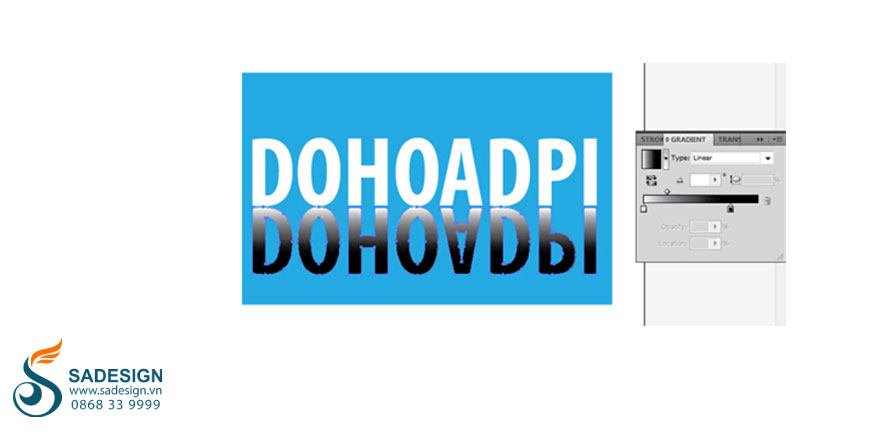
Select both objects and go to the pop-up menu of the Transparency panel > click Make Opacity Mask, reduce the Opacity and we will get the image below:
2.1.2. Vector Mask
With this command, you can do the same as above. With this tool, you can do more customization without depending on the Gradient color blocks. You can easily show or hide the part you want to edit as you like.
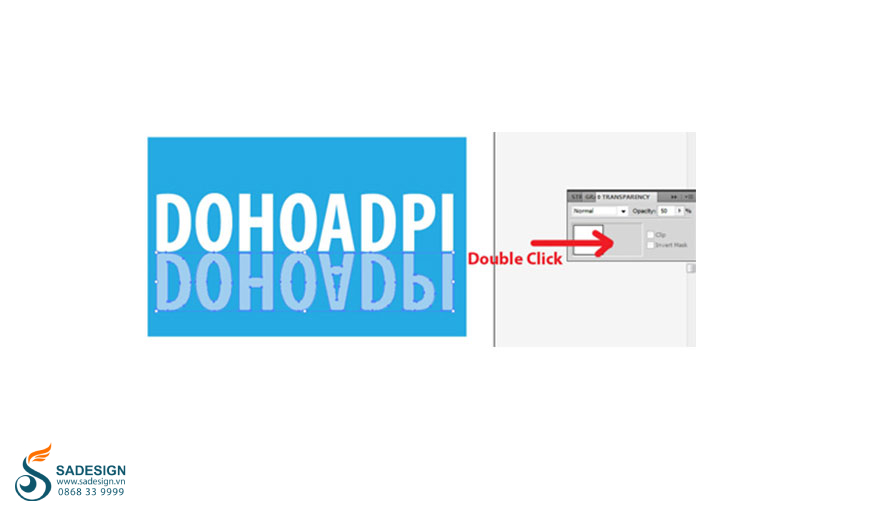
First, copy the text and then press the shortcut Ctrl + Shift + O to convert it into an object. Then press Ctrl + C to copy the newly created object > double click on the blank space next to thumbnails in the Transparency panel as shown below:
After the mask has been created, press Ctrl + B to paste the copied vector. Be careful not to press Ctrl + V because it will cause the position to be skewed. When pasting, we will get the image below:
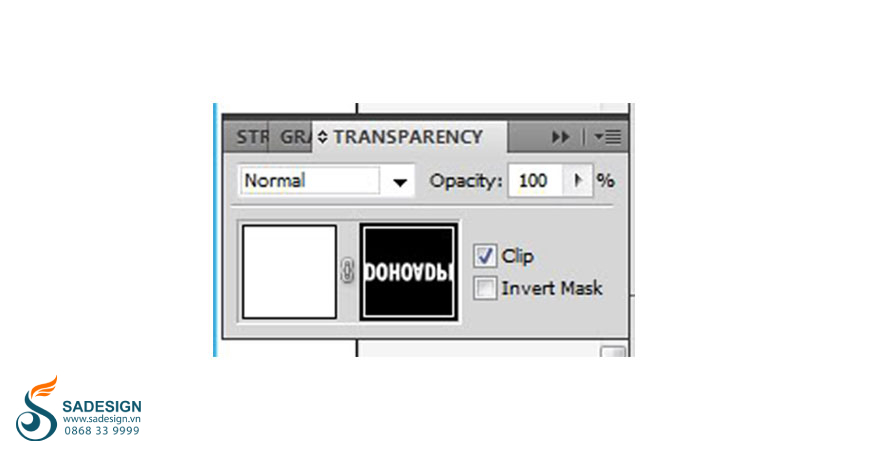
In this example, the vector array is white, so when pasted, it will already be white. If you make multi-colored vector arrays, when pasted, they will be the same as the original vector you are working with.
At this point, you need to convert the vector you just pasted back to black or white. Because masks can only be done with black, white and gray levels (similar to Photoshop).
Once you have converted to black, white or gray, you can use the Pen tool to draw additional vector patches overlaying them. For the part you want to hide, draw a black patch, and for the part you want to show, draw a white patch. You can use all the effects as usual for these additional patches.
In this example, we use Pen to draw a random area, then use Gaussian Blur to make it fade away.
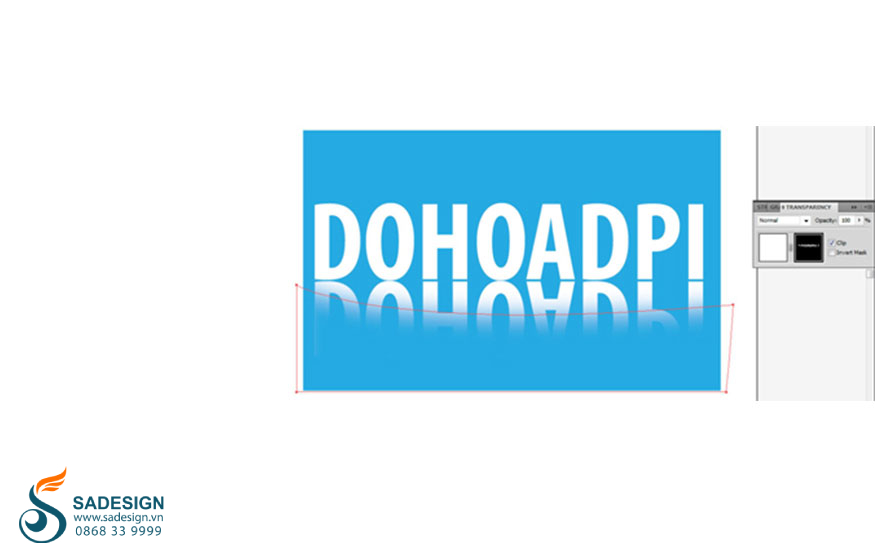
For the part you want to cover, just draw the area and then fill it with black like in Photoshop, extremely convenient.
Once done, if you want to exit Mask mode, double-click on the white thumbnails, which are located on the left in the Transparency panel, to return to the original working mode.
2.2. How Clipping Masks Work in Illustrator
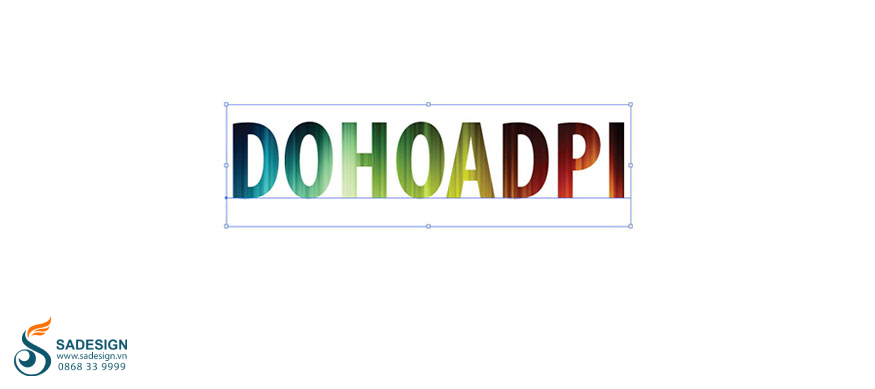
With this command, to use it you need to place the image, then type text or draw a path according to the content you want to use.
Note that the path (or text) must be placed above the image to be cropped. Select both objects by going to the Object menu > Clipping Mask > Make (Ctrl + 7). The image will then only retain the part within the path (or text), with the part outside the edge being hidden. If you want to edit the path (text) or image, do the following:
Click on the Direct Selection tool (A), in the Options bar, there will be 2 icons for you to choose:
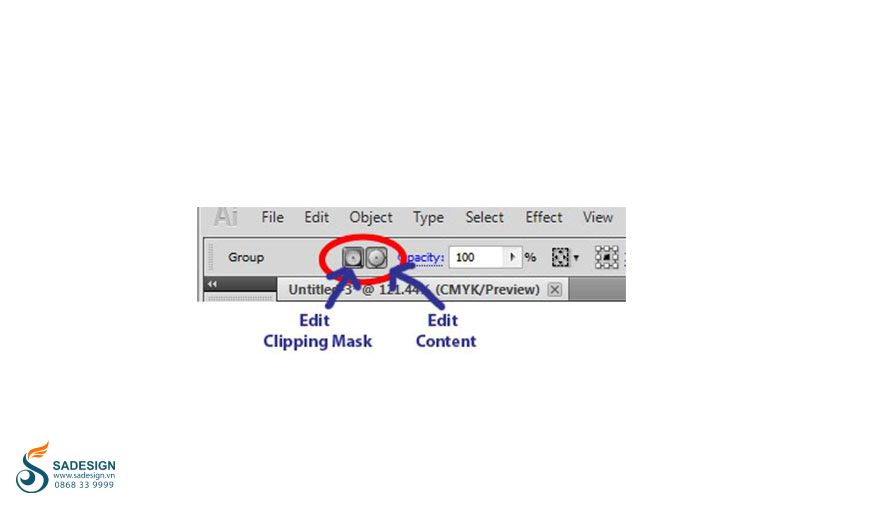
Edit Clipping Mask: When you click on this tool, you will be able to edit the path (As this tutorial shows, you can edit text such as position, change font, change size, track/kern,...) without affecting the image inside.
Edit Content: Helps edit the image content inside without affecting the path. The path only stays in one place and you can move the image to display other contents of the image.
3. Address providing cheap copyright Adobe Illustrator
To make the most of Illustrator's features and ensure a professional, stable working environment, using licensed software is essential. Using licensed software not only helps you work with peace of mind but also ensures the rights of software developers, contributing to maintaining the development of useful applications for the community.
Buy Adobe All apps copyright cheap
Currently, there are many reputable software distributors on the market that provide licensed Adobe Illustrator at competitive prices. One of them you absolutely should not ignore is Sadesign.
Sadesign is currently the leading unit in providing licensed Adobe Illustrator. Choosing Sadesign to upgrade licensed Illustrator software, you will get:
Buy a genuine Adobe Illustrator license, quality assurance
The cost of upgrading to licensed Illustrator is extremely preferential, helping users save costs effectively.
Get advice, support and quick installation of licensed software
Fast and flexible payment.
Sadesign staff is always ready to support customers when problems arise.
Mask is a powerful and flexible design tool in Illustrator, helping you control images and create unique effects. Hopefully this article has provided you with useful knowledge about Mask in Illustrator, thereby giving you more confidence in creating unique and creative graphic designs.
Installation and support contact information:
🏡 SADESIGN Software Company Limited
📨 Email: phamvansa@gmail.com
🌍 Website: https://sadesign.ai


.png)


