Best Selling Products

Plugin Retouch4me
69 USD

Upgrade Duolingo Super
29 USD

Upgrade Genuine Office 365
49 USD

Genuine Adobe Illustrator account
99 USD

Adobe Photoshop Copyright - Full App
120 USD

Upgrade genuine Capture One account
120 USD

Adobe Premiere Pro Account
99 USD

MidJourney Account
29 USD

Genuine Cheap Canva Pro
39 USD

Windows 10 & 11 Pro Key
36 USD

Capcut Pro 1 Year
39 USD

Copyright Adobe Lightroom Account
59 USD

ChatGPT Plus Account (GPT-4)
16 USD

Autodesk All App Account Copyright
120 USD

Freepik Premium Account
59 USD
What is a gradient in Photoshop? How to create a stunning color transition effect.
Nội dung
- 1. What is a gradient in Photoshop?
- 2. Common types of gradients in Photoshop
- 2.1. Linear Gradient
- 2.2. Radial Gradient
- 2.3. Angle Gradient
- 2.4. Reflected Gradient
- 2.5. Diamond Gradient
- 3. How to create a gradient in Photoshop using the Gradient Tool
- 3.1. Step 1: Open the Gradient Tool
- 3.2. Step 2: Choose Gradient Colors
- 3.3. Step 3: Choose the Gradient Style
- 3.4. Step 4: Drag the Gradient onto the design area.
- 4. How to create a gradient using Gradient Overlay
- 4.1. Step 1: Select the layer you want to create a gradient on.
- 4.2. Step 2: Select Gradient Overlay
- 4.3. Step 3: Adjust the parameters
- 5. How to create beautiful gradient effects using Gradient Maps
- 6. Tips for creating more beautiful gradients in Photoshop.
- 7. Conclusion
Gradients in Photoshop are a familiar technique, yet they have a significant impact on the quality of a design. By skillfully blending two or more colors, you can transform a plain background into a space with depth, highlight a subject, or make text stand out. In particular, knowing how to create gradients in Photoshop gives you many more options for working with posters, banners, advertisements, thumbnails, and social media designs. The appeal of gradients lies in their ability to create smooth transitions between colors instead of distinct blocks of color.
1. What is a gradient in Photoshop?
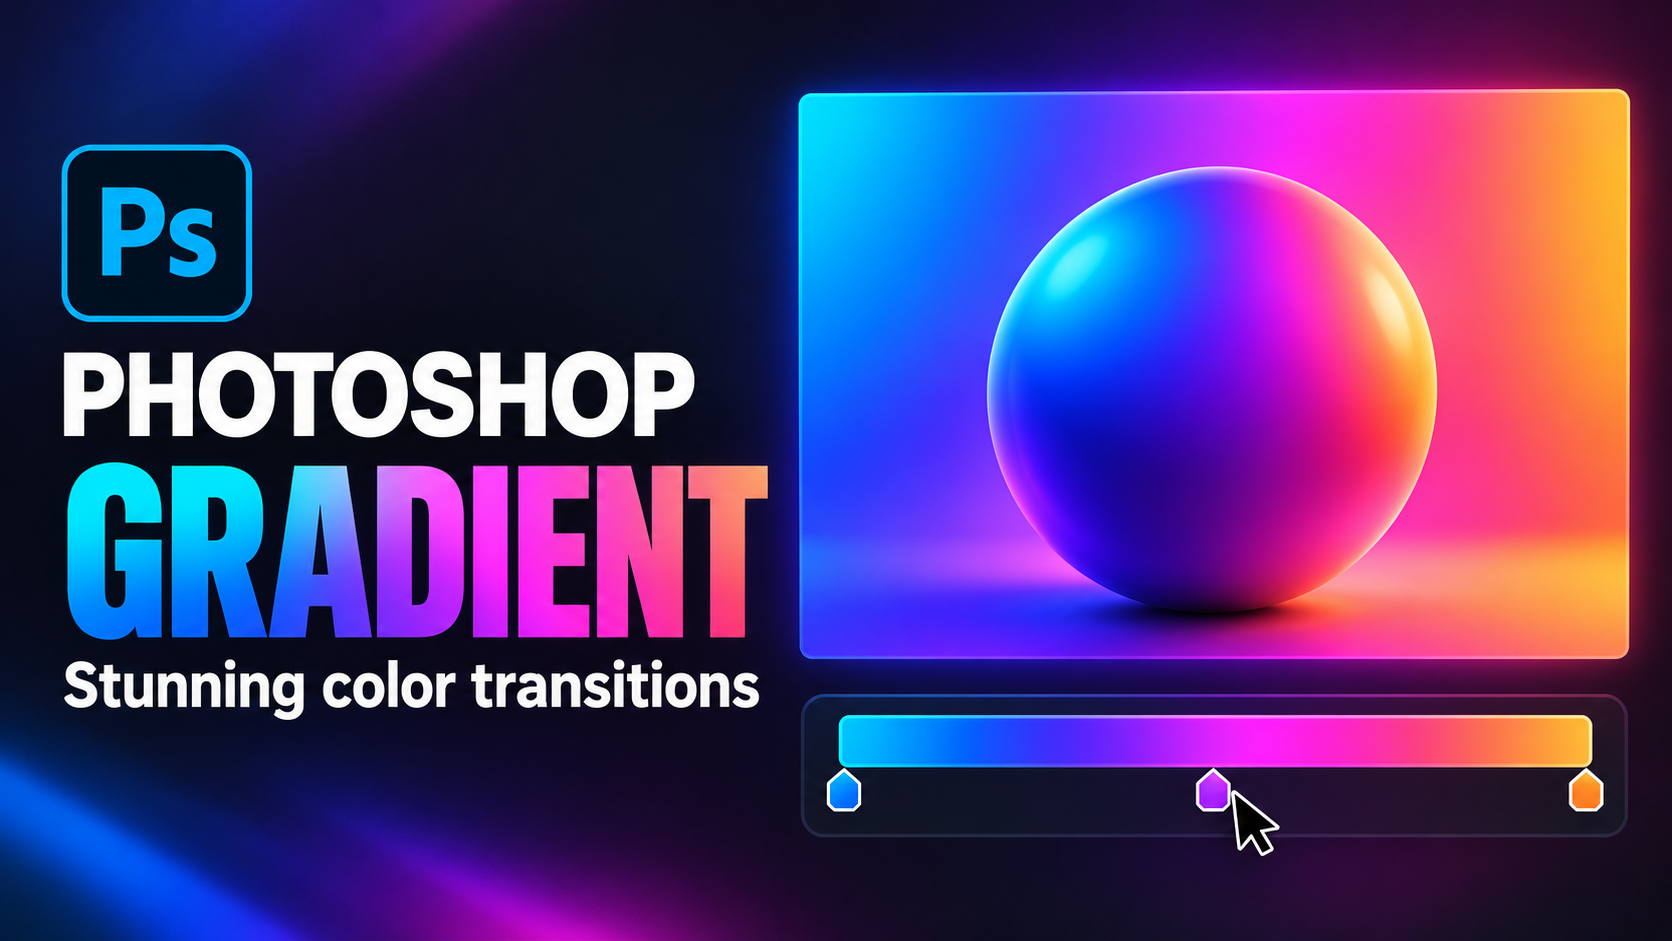
Gradients are transition effects between two or more colors in a specific direction or shape. Instead of using only one color in an area, Photoshop allows one color to gradually transition smoothly to another, creating a more natural and deeper feel. Depending on the settings, gradients can transition from light to dark, from one color to another, or combine multiple shades to create eye-catching artistic effects. In graphic design, gradients are used very flexibly. You can use them as backgrounds, to create lighting, to color over images, to decorate text, or to highlight a specific area. A well-coordinated gradient can make a design look more modern and professional without adding too much detail.
Some notable advantages of gradients include:
-
Create depth and a sense of movement in the image.
-
It helps to make the background less monotonous and adds more visual interest.
-
Highlight the text, logo, or subject in the design.
-
Create visual effects of light, shadow, and space.
-
It can be combined with many other Photoshop tools to create complex effects.
-
Easily adjust color, gradient direction, and transparency.
2. Common types of gradients in Photoshop
2.1. Linear Gradient
Linear gradients create a color transition effect along a straight line. This is the most common type of gradient and also the easiest to use for beginners. You simply drag your mouse from the starting point to the ending point to determine the direction of the transition. This style is particularly suitable for designing backgrounds, banners, posters, or creating a color transition area behind text.
-
The color changes along a straight line.
-
It can be dragged horizontally, vertically, or diagonally.
-
Suitable for backgrounds and large areas of color.
-
The direction of the color transition is easy to control.
2.2. Radial Gradient
Radial gradients create a circular color transition effect, starting from a central point and spreading outwards. This type of gradient is very useful when you want to create the feeling of light emanating from a specific location. You can use radial gradients to simulate light, create a highlight behind a subject, or emphasize an area in a design.
-
Create a focused area of light.
-
Suitable for lighting and glowing effects.
-
It can be used to highlight the subject.
-
Suitable for modern-style backgrounds.
2.3. Angle Gradient
Angle gradients create color transitions based on the angle of rotation around a fixed point. This effect often provides a more unique and dynamic feel compared to linear gradients. Angle gradients can be used when designing creative layouts, abstract backgrounds, or images requiring special color effects.
2.4. Reflected Gradient
Reflected Gradient creates a symmetrical color transition effect based on the gradient line. This style is often used when you want to create a sense of reflection or a balanced composition. It is particularly useful in designs that require symmetrical effects, reflected light, or artistic backgrounds.
2.5. Diamond Gradient
Diamond gradients create color transitions in a diamond shape. When you drag the gradient, the colors spread outwards from the starting point in a characteristic geometric structure. This type of gradient isn't as commonly used as Linear or Radial Gradients, but it's very useful when you want to create unique backgrounds or artistic effects.

3. How to create a gradient in Photoshop using the Gradient Tool
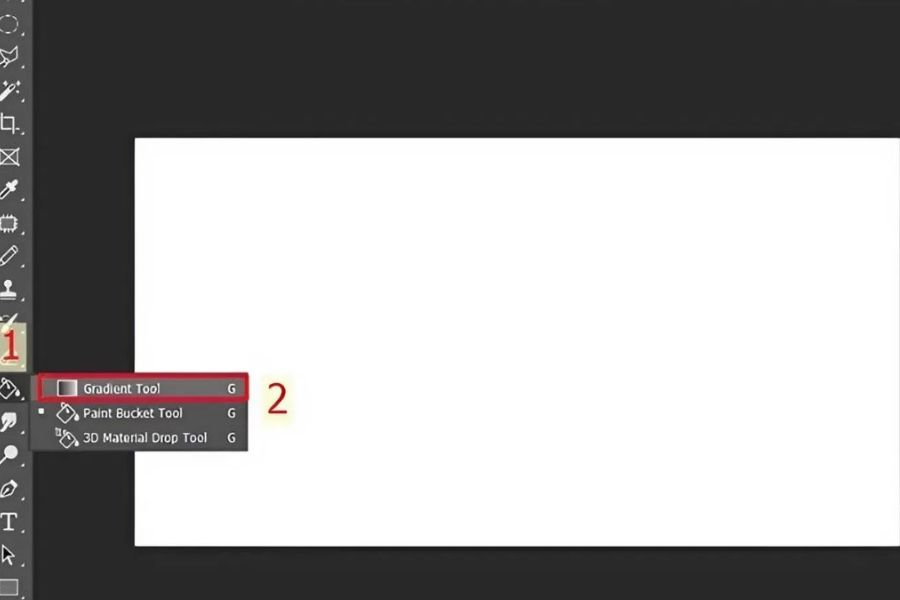
3.1. Step 1: Open the Gradient Tool
First, open the image or design file you want to edit in Photoshop. Then, find the Gradient Tool on the toolbar or use the shortcut G to quickly activate it. When the Gradient Tool is selected, you will see gradient-related options appear on the control bar at the top of the interface.
3.2. Step 2: Choose Gradient Colors
Click the gradient bar at the top to open the gradient selection area. Here, you can choose a pre-made preset or open the Gradient Editor to adjust the colors yourself. If you want to create a gradient with your own unique touch, select color points and change the colors as needed. You can also add more color points to create a more complex transition effect.
Some color matching principles to keep in mind:
-
Prioritize colors that have a similar tonal range.
-
Avoid using too many colors in a gradient.
-
Contrasting colors can create a strong visual impact, but the intensity needs to be controlled.
-
For the background, prioritize colors that make the subject and text easy to see.
-
You can reduce the opacity to make the gradient blend into the image more naturally.
3.3. Step 3: Choose the Gradient Style
After choosing the colors, select a suitable gradient style such as Linear, Radial, Angle, Reflected, or Diamond. If you want to create a simple background, a Linear Gradient is usually the easiest to control. If you want to create a focused area of light, a Radial Gradient would be more suitable.
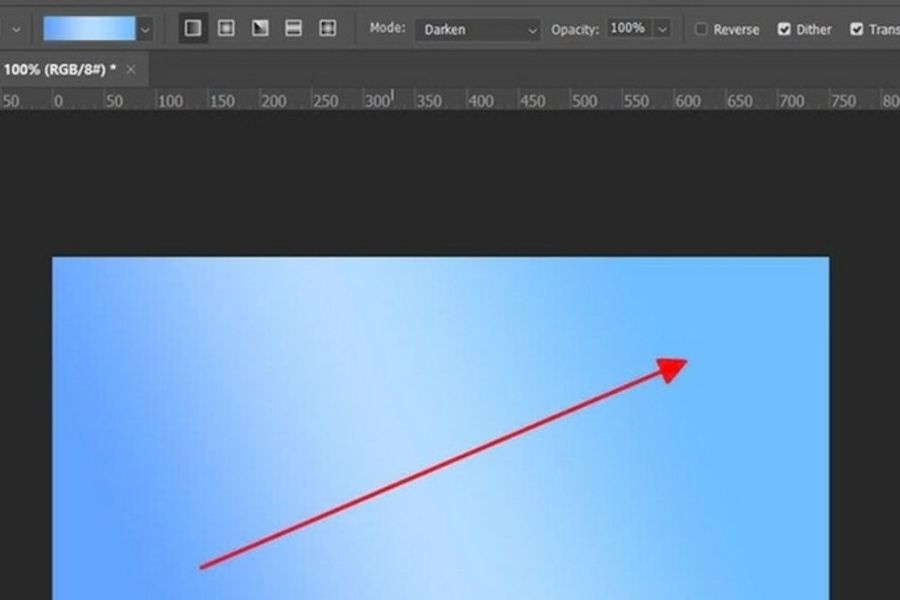
3.4. Step 4: Drag the Gradient onto the design area.
Finally, move the mouse to the starting position and drag to the ending point in the desired direction. The length of the drag will directly affect the color transition range. If you are not satisfied, you can drag in a different direction to experiment. This is also the advantage of the Gradient Tool, because you can change the direction and range of the color transition very quickly.
4. How to create a gradient using Gradient Overlay
4.1. Step 1: Select the layer you want to create a gradient on.
In the Layers panel, select the layer you want to apply the effect to. This could be text, a shape, a logo, or any object. Then, right-click on the layer and select Blending Options to open the Layer Style panel.
4.2. Step 2: Select Gradient Overlay
In the Layer Style window, select Gradient Overlay . Photoshop will display options for you to edit the gradient effect. Click on the gradient bar to select a preset or open the color editing area. This is where you can change the color, gradient style, and gradient direction.
4.3. Step 3: Adjust the parameters
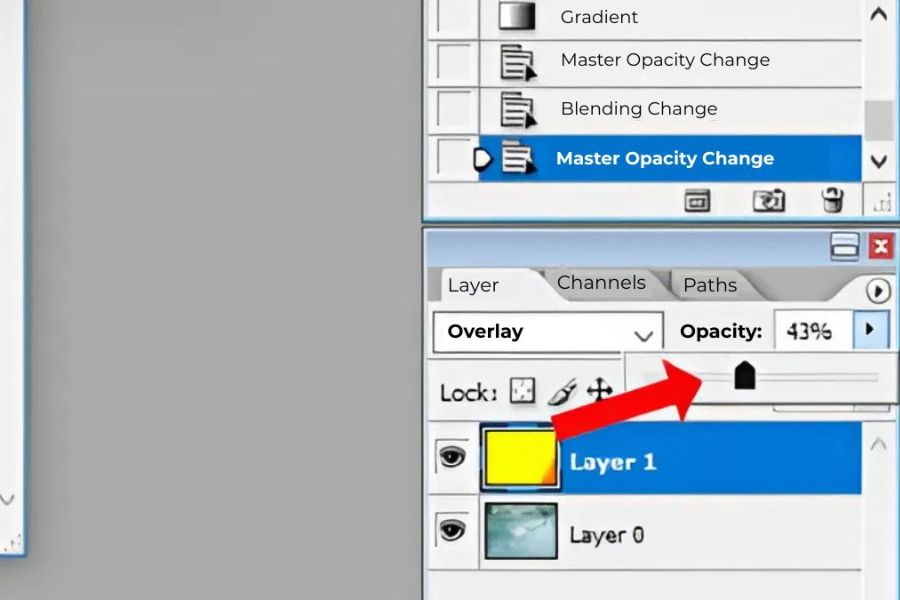
After selecting the gradient, adjust the parameters to make the effect suitable for your design. You can change the Blend Mode, Opacity, Style, Angle, and Scale. Scale determines the range of the color transition, Angle determines the direction of the transition, and Opacity controls the intensity of the effect. Gradient Overlays are particularly suitable when you want to create gradient text in Photoshop because the effect can be edited at any time without destroying the original layer.
5. How to create beautiful gradient effects using Gradient Maps
Gradient maps are a powerful tool if you want to change the overall color scheme of an image. Instead of simply overlaying a color layer onto the image, a gradient map maps the light and dark areas of the image to the colors set in the gradient. This allows you to transform an ordinary photo into an artistic image with just a few steps. The process is relatively simple:
-
Open the image you want to edit in Photoshop.
-
Chọn Layer > New Adjustment Layer > Gradient Map.
-
Name the layer if necessary, then confirm.
-
Click on the gradient bar to select a color.
-
Try different presets or create your own color palette.
-
Adjust the opacity to make the effect blend into the image more naturally.
Upgrade your licensed version of Photoshop.
6. Tips for creating more beautiful gradients in Photoshop.
Creating gradients isn't difficult, but making them truly beautiful depends heavily on color coordination. A gradient with too many colors or inappropriate contrast can make the design look cluttered. Conversely, a well-chosen color palette will give the image depth and a more professional feel. You can refer to some of the following tips:
-
Use analogous colors: Colors that are close together on the color wheel often create a smooth transition.
-
Controlled use of contrasting colors: Suitable for posters, banners, or designs where you want to create a strong focal point.
-
Avoid using too many colors: Two to three colors are usually enough to create a beautiful and manageable gradient.
-
Pay attention to brightness: Two colors with vastly different tones can sometimes make the transition area appear harsh.
-
Choose colors according to the design purpose: Gradients for branding, fashion photography, technology posters, or youthful designs will require different color combinations.
7. Conclusion
Gradients in Photoshop are a fundamental technique with incredibly wide applications. From simple manipulation using the Gradient Tool, you can progress to Gradient Overlays, Gradient Maps, Blend Modes, and Layer Masks to create unique color effects. Understanding how each type of gradient works and knowing how to combine colors will easily transform simple designs into images with depth, visual appeal, and a more professional look. If you're new, start with Linear Gradients and Radial Gradients to understand how colors transition. Then, try combining Gradient Overlays with Layer Styles or Gradient Maps to explore more styles. Most importantly, don't be afraid to experiment with drag direction, colors, opacity, and Blend Modes. Just changing a small parameter can completely alter the final effect.





















VIP Products








Best Selling Products
Plugin Retouch4me
69 USD
Upgrade Duolingo Super
29 USD
Upgrade Genuine Office 365
49 USD
Genuine Adobe Illustrator account
99 USD
Adobe Photoshop Copyright - Full App
120 USD
Upgrade genuine Capture One account
120 USD
Adobe Premiere Pro Account
99 USD
MidJourney Account
29 USD
Genuine Cheap Canva Pro
39 USD
Windows 10 & 11 Pro Key
36 USD
Capcut Pro 1 Year
39 USD
Copyright Adobe Lightroom Account
59 USD
ChatGPT Plus Account (GPT-4)
16 USD
Autodesk All App Account Copyright
120 USD
Freepik Premium Account
59 USD