Best Selling Products

Windows 10 & 11 Pro Key
36 USD

MidJourney Account
29 USD

Capcut Pro 1 Year
39 USD

Upgrade Duolingo Super
29 USD

Freepik Premium Account
59 USD

ChatGPT Plus Account (GPT-4)
16 USD

Adobe Premiere Pro Account
99 USD

Upgrade Genuine Office 365
49 USD

Plugin Retouch4me
69 USD

Upgrade genuine Capture One account
120 USD

Copyright Adobe Lightroom Account
59 USD

Adobe Photoshop Copyright - Full App
120 USD

Autodesk All App Account Copyright
120 USD

Genuine Cheap Canva Pro
39 USD

Genuine Adobe Illustrator account
99 USD
What Is a Preset in Lightroom? A Guide to Downloading Lightroom Beach Preset Formulas
Nội dung
- 1. What is a Lightroom preset?
- 2. Why are Lightroom beach presets so popular?
- 2.1 Create highly vibrant beach tones
- 2.2 Make skin tones brighter and more natural
- 2.3 Create a consistent photo style
- 3. Outstanding advantages of using Lightroom presets
- 3.1 Save photo editing time
- 3.2 Easy to use even for beginners
- 3.3 Many different color styles available
- 4. Guide to downloading Lightroom beach presets
- 4.1 Find presets that match your photo style
- 4.2 Download presets from trusted sources
- 5. How to add presets to Lightroom Mobile
- 5.1 Import presets into the app
- 5.2 Copy and paste preset settings
- 6. How to add presets to Lightroom on desktop
- 6.1 Import presets into Lightroom PC
- 6.2 Apply presets to photos
- 7. Tips for better photo editing with Lightroom beach presets
- 7.1 Combine presets with manual adjustments for more depth
- 7.2 Prioritize well-lit photos for maximum preset performance
- 7.3 Avoid overusing one preset for every photo
- 8. Should you buy Lightroom beach presets?
- 9. Conclusion
In the era of rapidly growing social media, the demand for photo editing to create beautiful, color-coordinated images is becoming increasingly popular.
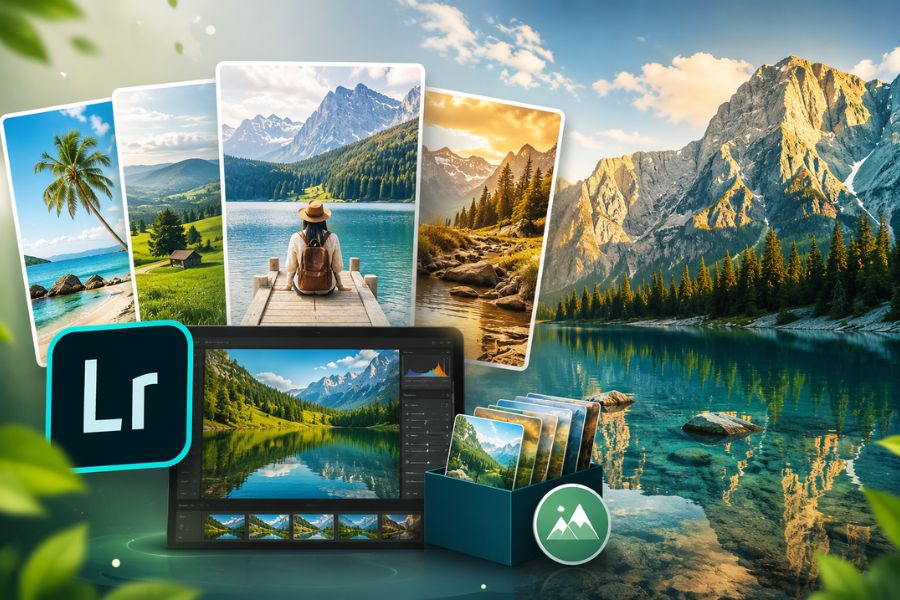
1. What is a Lightroom preset?
A Lightroom preset is simply a pre-configured color grading formula set up within Lightroom software. This formula includes various settings such as brightness, contrast, highlights, shadows, sharpness, colors, and photo effects. When applied to an image, all these parameters automatically adjust to create a complete color tone in just a few seconds.
Today, presets are considered an extremely useful “assistant” for photography lovers who do not have much advanced editing experience. Instead of spending dozens of minutes adjusting every parameter manually, users only need to choose the right preset to instantly get a beautiful photo.
In particular, Lightroom beach presets are highly favored by young users because of their ability to create bright, fresh colors with a strong summer vibe. These tones make beach photos stand out more, improve skin tones, and give the overall image a much more professional appearance.
.jpg)
2. Why are Lightroom beach presets so popular?
2.1 Create highly vibrant beach tones
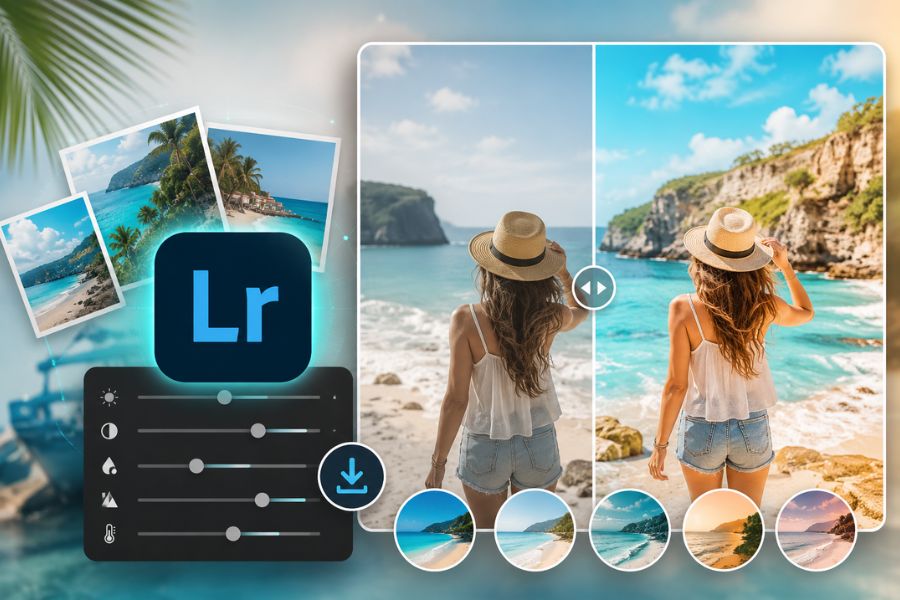
The biggest appeal of Lightroom beach presets is their ability to transform ordinary photos into vivid and captivating images. Turquoise ocean tones, clear skies, and soft golden sunlight give photos depth and an extremely “chill” atmosphere.
Beach presets are usually designed in a youthful, modern style, making them perfect for travel photos, check-in shots, or outdoor photo collections. With the right application, your photo will look like it was captured with a professional camera.
2.2 Make skin tones brighter and more natural
Besides enhancing scenery, Lightroom beach presets also brighten skin tones and make the overall image more harmonious. This is why many people love using beach presets for outdoor or seaside photography.
After applying the preset, skin tones often appear fresh and soft without looking overly harsh. This helps maintain a natural appearance while still standing out when posted on social media.
2.3 Create a consistent photo style
Another reason beach presets are loved is their ability to synchronize colors across an entire photo album. If you regularly post on Instagram, Facebook, or TikTok, using the same preset tone will make your profile look much more professional.
Many travel bloggers and creators today use their own presets to build a personal visual identity. This is also an effective way to make content more eye-catching and memorable to viewers.
.jpg)
3. Outstanding advantages of using Lightroom presets
3.1 Save photo editing time
One of the biggest benefits of using Lightroom beach presets is time-saving. Instead of manually adjusting every parameter, users only need a few simple actions to get a beautiful tone.
This is especially suitable for people who frequently take travel photos or need to edit large numbers of images in a short time.
3.2 Easy to use even for beginners
Lightroom presets are designed so that anyone can use them easily, even those who have never learned photo editing before. Lightroom’s intuitive interface combined with ready-made presets makes the editing process much simpler.
Users only need to import the preset into the app and choose the suitable preset to create professional-looking photos instantly.
3.3 Many different color styles available
Today, there are many Lightroom beach preset packs online with diverse styles such as:
Crystal-clear Maldives blue ocean tones.
Soft summer golden sunlight tones.
Highly artistic warm orange sunset tones.
Bright white Korean-style tones.
Vintage film retro-style tones.
Each preset creates a unique mood, making it easy for users to choose according to personal preference.
.jpg)
4. Guide to downloading Lightroom beach presets
4.1 Find presets that match your photo style
Before downloading a preset, you should identify the editing style you love. If you prefer soft and fresh photos, choose turquoise or bright white tones. If you want more vibrant photos, sunset orange or golden tones are better choices.
Choosing the right preset will help your edited photos achieve better results and reduce the need for excessive re-editing.
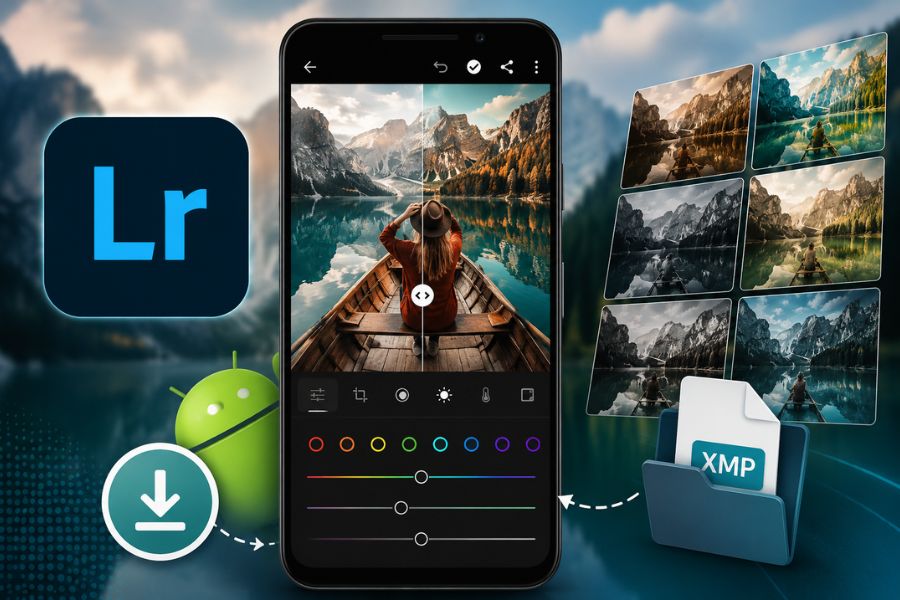
4.2 Download presets from trusted sources
Currently, many websites offer free and paid Lightroom beach presets. However, you should prioritize trusted sources to ensure file quality and avoid import errors in Lightroom.
Presets usually come in two common formats:
DNG files for Lightroom Mobile.
XMP files for Lightroom PC.
After downloading, save presets in an easy-to-find folder for convenient future use.
.jpg)
5. How to add presets to Lightroom Mobile
5.1 Import presets into the app
After downloading the DNG file containing Lightroom beach presets, open Lightroom on your phone and add the preset photo to your library.
Once imported, open the preset photo and tap the three-dot icon in the upper-right corner of the screen.
5.2 Copy and paste preset settings
Next, select “Copy Settings” to save all preset color parameters. Then return to the photo you want to edit, tap the three-dot icon again, and select “Paste Settings.”
The new tone will be instantly applied in just a few seconds. This is an extremely fast editing method widely used today.
6. How to add presets to Lightroom on desktop
6.1 Import presets into Lightroom PC
For Lightroom desktop, adding Lightroom beach presets is also simple. Open Lightroom and go to the Develop section.
In the Presets panel on the left side, click the plus icon and choose “Import Presets.” Then locate the downloaded preset file and import it into the software.
6.2 Apply presets to photos
After successful import, the preset will appear in Lightroom’s preset list. Users only need to open the target photo and choose the desired preset to apply it instantly.
Additionally, you can still fine-tune lighting and colors to better match different shooting conditions.
.jpg)
7. Tips for better photo editing with Lightroom beach presets
7.1 Combine presets with manual adjustments for more depth
Although Lightroom beach presets can instantly improve photos within seconds, combining them with manual adjustments will make the image truly professional and natural. In reality, every photo has completely different lighting, colors, and shooting angles, so no preset is perfect for all situations. After applying a preset, adjust a few settings for better harmony and more attractive colors while avoiding an overly “fake” look.
Important settings to adjust after using presets include:
Exposure: Increase or decrease brightness to avoid underexposed or overexposed photos.
Contrast: Add depth and make the subject stand out more.
Highlights: Prevent sky or sunlight details from being lost.
Temperature: Adjust warmth or coolness for more natural ocean and skin colors.
Shadows: Brighten dark areas for better light balance.
Combining presets with light manual adjustments not only improves photo quality but also creates your own style instead of relying on overly generic preset usage.
7.2 Prioritize well-lit photos for maximum preset performance
One of the most important factors determining whether edited photos look beautiful is the original image quality. No matter how expensive or famous your Lightroom beach preset pack is, if the original image is too dark, underexposed, or noisy, the final result will still fall short. That is why choosing the right shooting time and lighting conditions is extremely important.
Beach presets usually work best with outdoor photos featuring natural light or soft sunlight during early morning and sunset. At these times, sky, ocean, and skin colors naturally look their best, making presets perform more effectively.
For better results, keep in mind:
Shoot in places with stable natural light.
Avoid heavily backlit or extremely low-light photos.
Prioritize early morning or late afternoon for beautiful sunlight tones.
Keep images sharp and avoid blur, as presets cannot fully fix poor-quality shots.
Choose simple backgrounds so preset tones stand out better.
When the original photo has good lighting, presets will make the ocean bluer, the sky clearer, and the overall image much more captivating.
7.3 Avoid overusing one preset for every photo
Many people tend to use only one Lightroom beach preset for an entire album without any changes. However, this can sometimes make photos look unnatural or mismatched to specific contexts. A beautiful preset does not mean it fits every image, so you should flexibly switch or combine different presets for fresher results.
For example, bright sunny beach photos work well with fresh turquoise tones to emphasize water color. Meanwhile, sunset photos are better suited to warm orange presets for a cozier feeling.
Tips for more effective preset usage include:
Do not apply one preset to every lighting condition.
Flexibly adjust tones based on photo concepts.
Add light film grain or effects for artistic enhancement.
Reduce preset intensity if colors are too strong or unnatural.
Create your own presets after editing for personal consistency.
Using presets correctly helps save editing time while producing professional, eye-catching photos with a unique personal touch.
.jpg)
8. Should you buy Lightroom beach presets?
There are many free Lightroom beach preset packs online today. However, paid presets are usually more carefully crafted in terms of colors and compatibility with various photo types.
If you frequently edit photos for social media posting, content creation, or online business, investing in quality presets will save significant time and enhance professionalism.
Additionally, paid presets are often regularly updated and provide better user support compared to random free presets found online.
9. Conclusion
Lightroom presets have become an extremely popular photo editing tool thanks to their ability to help users create beautiful photos with just a few simple steps. In particular, Lightroom beach presets are loved by many because of their bright, fresh tones and modern summer-inspired style. Not only do they save time, but they also help synchronize colors across entire albums and improve image quality for social media uploads. If you love beautiful beach travel photos and want faster editing, then Lightroom beach presets are definitely something you should not miss!


VIP Products


Best Selling Products
Windows 10 & 11 Pro Key
36 USD
MidJourney Account
29 USD
Capcut Pro 1 Year
39 USD
Upgrade Duolingo Super
29 USD
Freepik Premium Account
59 USD
ChatGPT Plus Account (GPT-4)
16 USD
Adobe Premiere Pro Account
99 USD
Upgrade Genuine Office 365
49 USD
Plugin Retouch4me
69 USD
Upgrade genuine Capture One account
120 USD
Copyright Adobe Lightroom Account
59 USD
Adobe Photoshop Copyright - Full App
120 USD
Autodesk All App Account Copyright
120 USD
Genuine Cheap Canva Pro
39 USD
Genuine Adobe Illustrator account
99 USD