Best Selling Products
What is Layer? Instructions for Working with Layers in Photoshop
Nội dung
- 1. What is Layer in Photoshop?
- 2. Types of Layers in Photoshop
- 2.1. Background Layer
- 2.2. Text Layer
- 2.3. Shape Layer
- 2.4. Adjustment Layer
- 2.5. Smart Object Layer
- 3. Basic Operations With Layers In Photoshop
- 3.1. Create New Layer
- 3.2. Delete Layer
- 3.3. Moving Layers
- 3.4. Changing the Order of Layers
- 3.5. Grouping Layers
- 4. Advanced Operations With Layers In Photoshop
- 4.1. Using Layer Mask
- 4.2. Using Clipping Mask
- 4.3. Apply Layer Styles
- 4.4. Shortcut Keys for Working with Layers
- 5. Optimize the Process of Working with Layers
- 6. Conclusion
Learn about layers in Photoshop and basic and advanced operations to use effectively. Detailed instructions for beginners and professional graphic designers.

Layers are one of the most important features in Photoshop, helping users make complex edits and create creative designs. Understanding how layers work and how to manipulate layers in Photoshop will help you optimize your workflow, bringing the highest efficiency in graphic design. In this article, sadesign will introduce layers, basic and advanced operations so you can use Photoshop proficiently.
1. What is Layer in Photoshop?
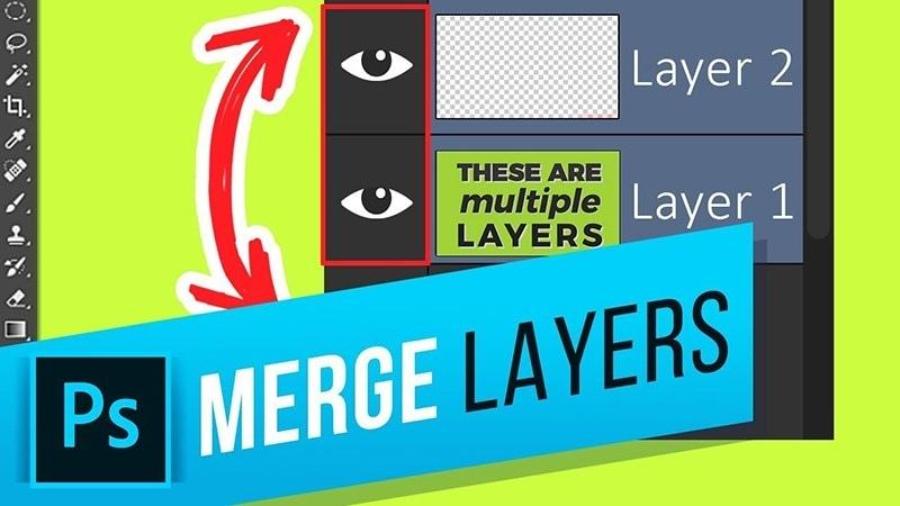
In Photoshop, layers are separate layers that you can work with in a design project. Each layer contains an object or design element, such as text, images, or special effects. Using layers allows you to edit and change parts of an image without affecting other parts.
.jpg)
These layers are like thin layers of paper stacked on top of each other, you can change or edit them without affecting the other layers. This makes the design process much more flexible and easier than working on a single image without any division.
Each layer acts as a transparent sheet, allowing you to add, edit, or delete content without affecting other layers. This provides ultimate flexibility and control when working with complex graphic elements. Layers can contain images, text, effects, or color adjustments, and they can be arranged, grouped, or applied with blending modes to create unique effects. Understanding how to use layers is an important skill for improving your creativity and productivity in Photoshop.
2. Types of Layers in Photoshop
Photoshop supports many different types of layers, each with its own unique features and uses. Understanding the different types of layers will help you work more efficiently during the design process.
2.1. Background Layer
The Background layer is the default background layer in every Photoshop image. It is the first layer you see when you open a new image. The background layer cannot be transparent and is usually locked, so you cannot edit it directly without converting it to a regular layer.
.jpg)
The Background layer in Photoshop is one of the most basic and important types of layers, serving as the foundation for graphic designs. This is the default layer that appears when you create a new document in Photoshop, and is usually locked to prevent unwanted editing. The Background layer is often used to contain a background color, image, or basic elements that serve as a background for other layers. However, you can unlock this layer for editing or convert it into a regular layer if needed. Understanding how the Background Layer works will help you manage your design projects more efficiently and professionally.
2.2. Text Layer
When you add text to a photo, Photoshop automatically creates a text layer. This layer allows you to edit the text content, changing the font, size, color, and other attributes without affecting the rest of the image.
Text Layer is a specialized layer used to add text to your design. It is a powerful tool that allows you to easily create and edit text content with a wide range of font, size, color, and style options. Text Layer not only supports simple text creation but also provides high customization capabilities, such as applying layer effects, warping text, or integrating with other graphic elements. This helps designers convey messages effectively and creatively in their design projects.
2.3. Shape Layer
Shape layers are created when you draw basic shapes like rectangles, circles, or other vector shapes. These shapes are managed by Photoshop as vectors, allowing you to resize them without losing their shape.
Shape Layer allows users to create graphic objects with high definition and flexible customization, suitable for designs that require precision such as icons, buttons, or illustrations. With non-destructive editing capabilities, shapes in Shape Layer can be resized, colored, and contoured without losing quality. In addition, Photoshop provides many support tools such as Rectangle Tool, Ellipse Tool or Custom Shape Tool for users to easily create shapes according to their needs. Using Shape Layer not only helps to organize design files scientifically but also brings high efficiency in editing and project management.
2.4. Adjustment Layer
Adjustment layer is a special layer used to change image parameters such as brightness, contrast, color without affecting other layers. This is very useful when you need to adjust the color tone or light without losing the original information of the image.
2.5. Smart Object Layer
Smart object layers allow you to edit an image in a layer without changing the original image. When you add an image as a smart object, you can resize, edit, or apply effects without losing the original image quality.
3. Basic Operations With Layers In Photoshop
To work effectively with Photoshop, you need to know how to work with layers. Here are some basic operations that you will use frequently when working with layers in Photoshop.
.jpg)
3.1. Create New Layer
To create a new layer in Photoshop, you can choose Layer > New > Layer from the menu bar, or use the keyboard shortcut Ctrl + Shift + N (Windows) or Cmd + Shift + N (Mac). You can also create layers from drawing tools, creating text, or adding images.
3.2. Delete Layer
When you no longer need a layer, you can easily delete it. To delete, simply select the layer in the layers panel, then press the Delete key or drag the layer to the trash icon at the bottom of the layers panel.
3.3. Moving Layers
To move a layer, simply select it and use the Move Tool (shortcut V ). Then, drag the layer to a new location in the workspace. Note that you can move layers with different content (images, text, shapes, etc.) without affecting other layers.
3.4. Changing the Order of Layers
You can change the order of layers in the layers panel by dragging them up or down. The order of layers affects how they appear, with layers at the top obscuring layers below.
3.5. Grouping Layers
To organize layers in your project, you can group them. To group layers, simply select the layers you want to group (hold Shift and select multiple layers), then press Ctrl + G (Windows) or Cmd + G (Mac). This will make managing layers easier, especially when working on complex projects.
4. Advanced Operations With Layers In Photoshop
Once you've mastered the basics, you can move on to more advanced operations to optimize your workflow and create more creative designs.
4.1. Using Layer Mask
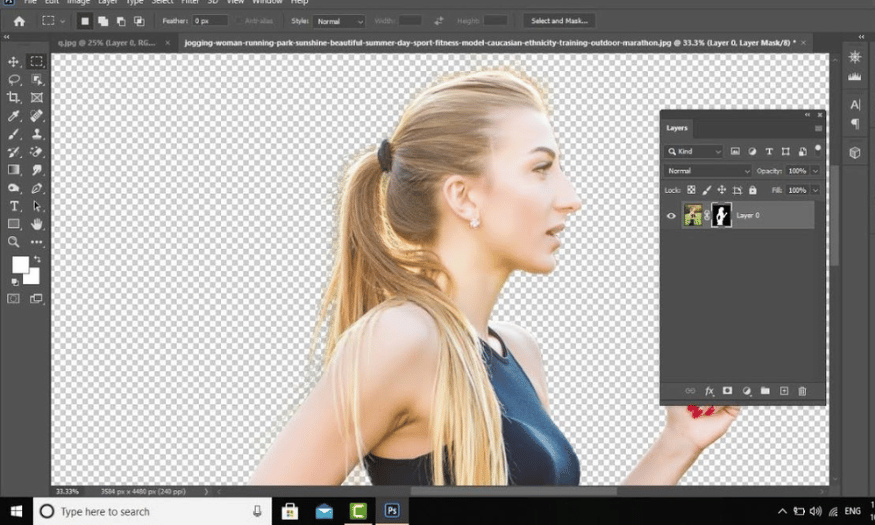
Layer Masks are a powerful feature in Photoshop that allows you to hide or show parts of a layer without permanently deleting it. To use a layer mask, simply select the layer, click the Layer Mask icon at the bottom of the layers panel, and then use the brush tool to paint on the mask.
4.2. Using Clipping Mask
Clipping masks are a powerful way to apply one layer (or image) to another without affecting the other parts. To create a clipping mask, place the layer you want to apply it to below the layer, then press Ctrl + Alt + G (Windows) or Cmd + Option + G (Mac).
4.3. Apply Layer Styles
Layer Styles allow you to add special effects like shadows, highlights, outlines, gradients, etc. to a layer. To apply a layer style, select the layer you want to edit and click the fx icon at the bottom of the layer panel.
4.4. Shortcut Keys for Working with Layers
To work faster and more efficiently, using keyboard shortcuts is indispensable. Here are some useful shortcuts when working with layers in Photoshop:
Ctrl + J (Windows) / Cmd + J (Mac) : Duplicate layer.
Ctrl + Shift + E (Windows) / Cmd + Shift + E (Mac) : Merge all layers.
Ctrl + G (Windows) / Cmd + G (Mac) : Group layers.
Ctrl + Shift + I (Windows) / Cmd + Shift + I (Mac) : Select inversely.
5. Optimize the Process of Working with Layers
Optimizing your layer workflow will save you time and increase your design efficiency. Here are some helpful tips:
Naming layers : To easily identify layers while working, name each layer clearly. This is especially important when working on large projects with many layers.
Use layer groups : Create layer groups to make organization and management easier, especially when you're working with many different elements in a project.
Use Smart Objects : If you're working with large or complex images, use smart objects to minimize quality loss when resizing or applying effects.
6. Conclusion
Layers are a basic yet powerful feature in Photoshop that helps users work more efficiently and create professional designs. Understanding how to work with layers, from basic to advanced, will save you time and help you create perfect products. By practicing and applying the techniques you learn, you will become a true Photoshop expert.


